This site is supported by our readers. We may earn a commission, at no cost to you, if you purchase through links.
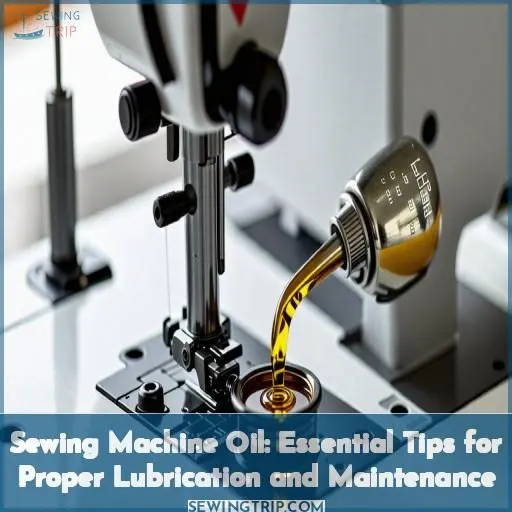
Before oiling, unplug the machine and refer to the user manual for specific directions.
Avoid household oils as they can damage the internal components.
Apply small drops of high-quality, clear sewing machine oil to key areas like the bobbin case, shuttle hook, and moving parts.
Wipe away excess oil and test on scrap fabric.
Regularly oiling based on frequency of use will minimize wear, eliminate squeaks, and protect against rust.
You’ll be amazed at how a little proper lubrication can breathe new life into your sewing sessions.
Table Of Contents
- Key Takeaways
- Importance of Oiling a Sewing Machine
- Safety Precautions Before Oiling
- Oiling a Drop-in Bobbin Machine
- Oiling a Front-Load Bobbin Machine
- Oiling Frequency and Oil Type
- Preparing for Oiling
- Cleaning Before Oiling
- Applying Oil
- Finishing Up
- Oiling Frequency Based on Usage
- Frequently Asked Questions (FAQs)
- Conclusion
Key Takeaways
- Proper lubrication with high-quality, clear sewing machine oil is essential for maintaining smooth operation and longevity of the machine. Avoid using household oils as they can damage internal components.
- Before oiling, unplug the machine and refer to the user manual for specific directions on where and how to apply the lubricant. Clean the bobbin case and base plate thoroughly.
- Apply small drops of oil to key areas like the bobbin case, shuttle hook, and moving parts. Wipe away excess oil and test on scrap fabric. Regularly oiling based on frequency of use will minimize wear and eliminate squeaks.
- Oil the machine more frequently if sewing daily or for extended periods. Consider sewing frequency, duration, and speed when determining the oiling schedule. Oil after or before projects, or during long sewing sessions.
Importance of Oiling a Sewing Machine
Lubricating your sewing machine is crucial for its durability and peak performance.
By regularly applying a few drops of premium sewing machine oil, you can extend the life of your faithful companion.
The oil lubricates the complex mechanisms, minimizing wear on essential components.
This not only eliminates irritating squeaks and rattles but also maintains the precision of your stitches.
Additionally, the oil serves as a protective shield, guarding your machine against the damaging effects of rust and corrosion.
Whether you’re an experienced seamstress or a novice crafter, adopting this simple maintenance practice into your sewing routine will reap benefits in the long run.
Your machine will express its gratitude with years of dependable, effortless operation.
Safety Precautions Before Oiling
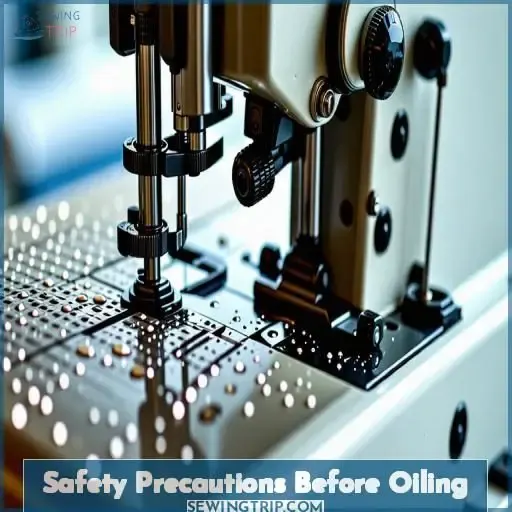
Before lubricating your sewing machine, it’s essential to disconnect it from the power source to avoid any mishaps. Furthermore, refer to the user guide for specific directions on lubrication, as using domestic oils or lubricants not intended for sewing machines can result in damage.
2.1 Unplug the Machine
When pondering oiling regularity and post-oiling tendencies, it’s imperative to always initiate by disconnecting the machine.
This action ensures safety and avoids any potential mishaps during the lubrication process.
Furthermore, it’s vital to gather the required materials and refer to the user manual for precise instructions.
Refrain from using household oils and remember to wipe away any excess oil for optimal maintenance.
2.2 Consult the User Manual
Before lubricating your sewing machine, refer to the user guide. It includes precise instructions on where and how to apply lubricant. Adhere to the manufacturer’s suggestions to guarantee proper lubrication and avert damage. The manual is your indispensable resource for safe and efficient lubrication.
| Location | Lubrication Frequency | Lubricant Type |
|---|---|---|
| Needles | Weekly | Sewing Machine Lubricant |
| Tension Discs | Monthly | Sewing Machine Lubricant |
| Bobbin Winder | Quarterly | Sewing Machine Lubricant |
| Presser Foot | Annually | Sewing Machine Lubricant |
2.3 Avoid Using Household Oils
Avoid using household oils when lubricating your sewing machine. They can damage delicate parts and cause more harm than good. Stick to high-quality, clear sewing machine oil for best performance and longevity. Follow manufacturer guidelines for oiling frequency and consult tutorials for step-by-step guidance.
Oiling a Drop-in Bobbin Machine
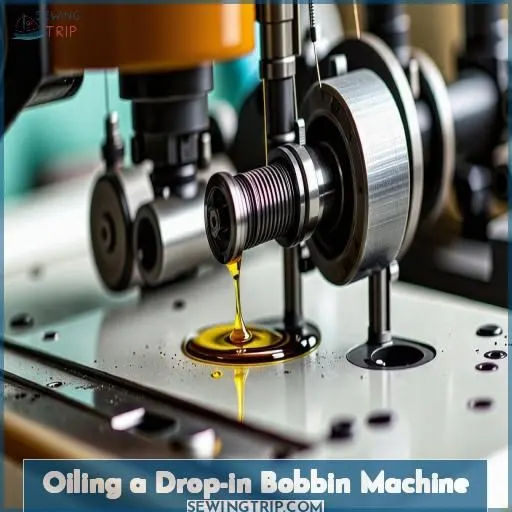
To oil a drop-in bobbin machine, start by removing the needle plate and bobbin to access the base area. Then, clean the bobbin case and base plate thoroughly before carefully applying a few drops of sewing machine oil to the wick located under the bobbin case.
3.1 Remove the Needle Plate and Bobbin
To oil your drop-in bobbin machine, first remove the needle plate and bobbin. This allows you to access the wick under the bobbin case, where you’ll place a single drop of oil. Careful removal and cleaning sets the stage for smooth, quiet sewing.
| Step | Action |
|---|---|
| 1 | Remove needle plate |
| 2 | Remove bobbin |
| 3 | Locate wick under bobbin case |
| 4 | Apply 1 drop of oil to wick |
| 5 | Reassemble machine |
3.2 Clean the Bobbin Case and Base Plate Area
To guarantee optimal performance, clean the bobbin case and base plate, essential steps before oiling a drop-in bobbin machine. Regularly remove lint, preventing accumulation, and preserving the machine. Identifying the oiling locations, such as the wick, ensures adequate lubrication for smooth sewing. Maintain a consistent cleaning schedule for efficient operation. (Source)
3.3 Apply Oil to the Wick Under the Bobbin Case
To apply oil to the wick under the bobbin case of a drop-in bobbin machine:
- Place a drop of high-quality, clear sewing machine oil on the wick.
- Use only a small amount of oil, avoiding excessive lubrication.
- Reassemble the machine components, including the needle plate and bobbin.
- Test the machine on scrap fabric to ensure proper lubrication (Source).
Oiling a Front-Load Bobbin Machine
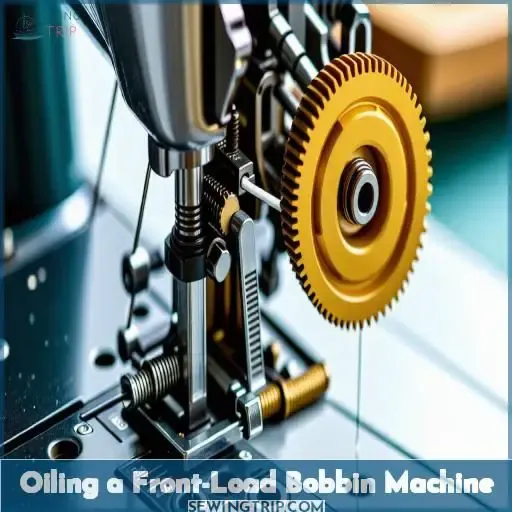
For front-load bobbin machines, you’ll need to remove the bobbin case and thoroughly clean the shuttle race area. Once cleaned, apply a small drop of sewing machine oil to the rim of the shuttle hook and lubricate the hand of the shuttle driver as outlined in your machine’s manual.
4.1 Remove the Bobbin Case and Clean the Shuttle Race
To lubricate your front-loading bobbin machine, first remove the bobbin case and clean the shuttle race. Use a soft cloth to gently wipe away any lint or debris, ensuring a smooth surface for proper lubrication and maintenance. This essential cleaning step prepares your machine for peak performance.
4.2 Apply Oil to the Rim of the Shuttle Hook
Next, apply a small drop of sewing machine oil to the rim of the shuttle hook. This lubricates the critical contact point between the hook and the thread, ensuring smooth operation and preventing wear. Pay attention to the oil’s thickness, amount, and how often you apply it for the best results.
4.3 Lubricate the Hand of the Shuttle Driver
Next, lubricate the hand of the shuttle driver. Apply a small drop of sewing machine oil to this component, following the manufacturer’s instructions. This helps guarantee smooth, quiet operation of the front-loading bobbin system. Remember to use the right oil type and frequency for your machine.
Oiling Frequency and Oil Type
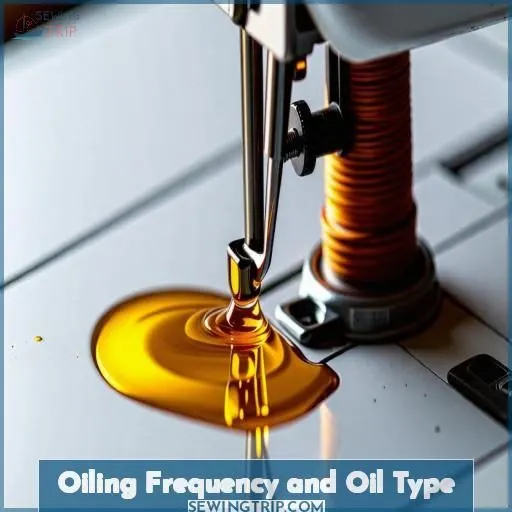
You should oil your sewing machine regularly, following the manufacturer’s recommendations for frequency. Use only high-quality, clear sewing machine oil; avoid using household oils like WD-40 or grease, as they can damage the machine’s internal components.
5.1 Oil Regularly as Per Manufacturer’s Recommendations
To maintain the smooth operation of your sewing machine, lubricate it periodically as advised by the manufacturer. This practice guarantees adequate lubrication, minimizes wear and tear, and prolongs the machine’s longevity. For superior performance, administer a small amount of premium sewing machine oil to the designated areas.
5.2 Use High-quality, Clear Sewing Machine Oil
Use a high-grade, lucid sewing machine oil to guarantee efficient lubrication and longevity. Seek an oil with the appropriate thickness that’s compatible with your machine. Store it securely to maintain its efficacy, and don’t economize on cost – quality oil is worth the expenditure.
5.3 Avoid Using WD-40 or Grease
Avoid using WD-40 or household oils on your sewing machine. They can damage delicate parts. Stick to high-quality sewing machine oil, applying just a drop or two to key areas. Follow the manufacturer’s oiling schedule for peak performance and longevity. A little oil goes a long way!
Preparing for Oiling
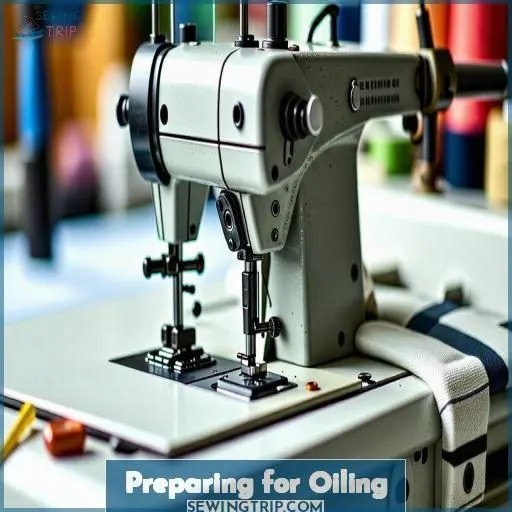
Before oiling your sewing machine, gather all the necessary materials like a clean cloth, tweezers, and high-quality sewing machine oil recommended by the manufacturer. Turn off and unplug the machine, then remove any extra pieces like the needle plate to access the internal components that need lubrication.
6.1 Gather Necessary Materials
To prepare for oiling your sewing machine, make sure you have all essential materials like sewing machine oil, a clean cloth for cleaning, newspaper for protection, and tweezers for precise application.
Proper storage of your oil is crucial for extended life.
Keep in mind to follow a regular oiling routine for optimal machine performance.
Use the appropriate oil types and applicators as recommended.
6.2 Turn Off and Unplug the Machine
Before oiling your sewing machine, remember to turn off and unplug the machine for safety (Source). Proper preparation, like this step, guarantees you can lubricate the machine effectively. Not merely does this practice maintain the machine’s longevity, but it also prevents any accidents during the oiling process.
6.3 Remove Extra Pieces and the Stitch Plate
To prepare for oiling, remove any extra accessories like the bobbin, needle, and stitch plate. This will give you better access to the machine’s inner workings and guarantee thorough cleaning and lubrication. Take care not to lose any small parts during this process.
- Remove the bobbin and bobbin case.
- Take off the stitch plate or needle plate.
- Check the user manual for any other removable components.
- Keep all parts organized to simplify reassembly.
Cleaning Before Oiling
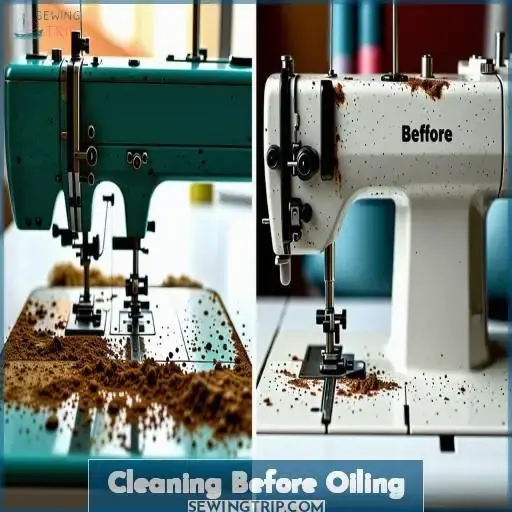
To begin the cleaning process before oiling, use a stiff brush to thoroughly remove any lint or debris accumulated in your sewing machine’s moving parts. For areas where lint is compacted, carefully use tweezers to extract it, and clean the bobbin hook area with a soft cloth.
7.1 Use a Stiff Brush to Remove Lint
Use a stiff brush to gently sweep away any lint or debris that has accumulated around the bobbin case and hook area. This thorough cleaning will help guarantee the oil is applied directly to the necessary components, maximizing the efficacy of your sewing machine maintenance.
7.2 Use Tweezers for Compacted Lint
If you encounter compacted lint that your stiff brush can’t remove, reach for a pair of tweezers. Gently pluck out the stubborn lint, taking care not to damage any delicate components. Compressed air can also help dislodge hard-to-reach lint buildup.
7.3 Clean the Bobbin Hook With a Soft Cloth
Next, use a soft cloth to gently clean the bobbin hook. This will remove any lint or debris that has accumulated. Avoid using harsh materials that could damage the delicate components. Compressed air can also be helpful for reaching tight spaces and dislodging stubborn lint.
Applying Oil
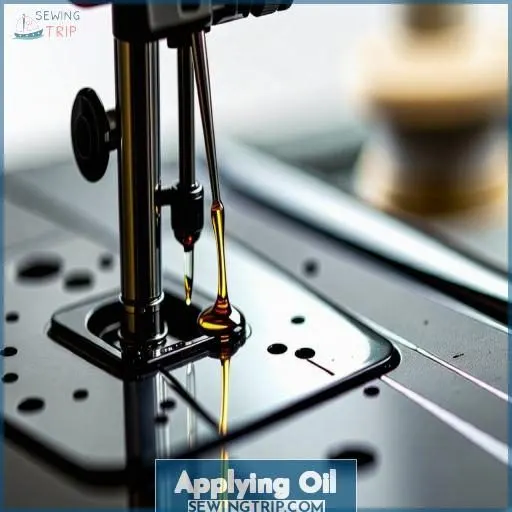
When applying oil to your sewing machine, use only sewing machine oil specifically designed for this purpose. Apply small drops of oil directly to the bobbin housing unit and shuttle hook areas, following the manufacturer’s recommendations for oiling locations.
8.1 Use Only Sewing Machine Oil
When applying oil to your sewing machine, remember to use only top-notch sewing machine oil to guarantee adequate lubrication and prevent possible problems with oil thickness, compatibility, evaporation, contamination, and consumption . Utilizing the appropriate oil type is essential for preserving your machine’s functionality and extended lifespan.
8.2 Apply Small Drops of Oil
When applying oil, use just a few small drops. Avoid over-oiling, as excess oil can attract lint and grime. Consider using an oil dispenser or applicator tool for precise, controlled application. Store oil in a cool, dark place to maintain its viscosity and quality.
8.3 Oil the Bobbin Housing Unit and Shuttle Hook
When lubricating the bobbin housing unit and shuttle hook, make sure to use the appropriate oil type and follow the suggested lubrication schedule. Carefully apply a few drops of sewing machine oil to these areas to preserve their performance and prevent potential difficulties. Regular lubrication is vital for the sewing machine to perform at its best.
Finishing Up
Once you’ve oiled all the necessary parts, it’s vital to prevent any oil from touching the fabric-contacting components. Meticulously remove any excess oil from the machine, then test it on a spare piece of fabric to guarantee proper operation.
9.1 Avoid Oil on Fabric-touching Parts
Avoid applying excess oil on fabric-touching parts, as it can lead to oil accumulation and staining. Use just a drop or two of the appropriate viscosity oil to prevent premature evaporation. Carefully clean up any spills or drips to maintain your sewing machine’s pristine condition.
9.2 Wipe Away Excess Oil
When completing the oiling process, eliminate any remaining oil with a clean cloth to avoid any spills on fabric-sensitive parts. This step guarantees appropriate upkeep by preventing oil residue buildup. Thoroughly removing excess oil is vital for preventing oil stains on your projects. Meticulous post-oiling maintenance enhances the efficacy of the oiling techniques employed and prolongs the machine’s longevity .
9.3 Test the Machine on Scrap Fabric
After oiling, sew on a scrap fabric to absorb excess oil. Test the machine’s performance and listen for any unusual noises. Adjust oil drop size if needed. Sew more frequently to avoid excess oil buildup. Use high-quality sewing machine oil for best results.
Oiling Frequency Based on Usage
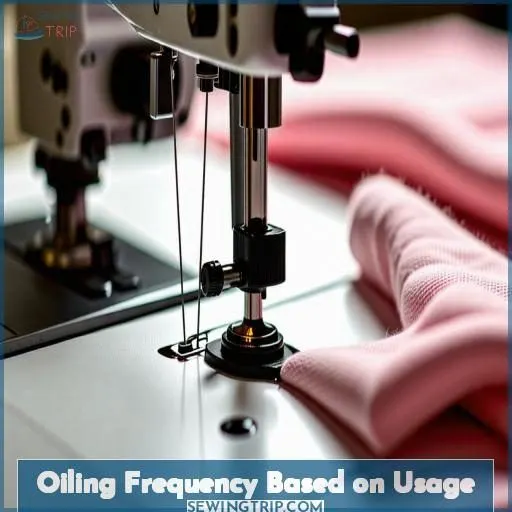
The frequency of oiling your sewing machine depends on how often you use it. If you sew daily or for extended periods, it’s a good idea to oil your machine more frequently – before starting a new project, after finishing one, or even during longer sewing sessions.
10.1 Oil More Frequently if Sewing Daily
If you sew daily, oil your machine more frequently. This helps maintain peak performance and stitch quality. Use the correct sewing machine oil, store it appropriately, and avoid homemade solutions that could damage your machine. Regular oiling is crucial for a smooth-functioning sewing companion.
10.2 Consider Sewing Frequency, Duration, and Speed
The frequency of oiling depends on your sewing habits. Heavy use, high speeds, and extended sessions mean more oil consumption. Consider your oiling habits and oil type preference to determine the ideal oiling frequency using an oiling frequency calculator or tutorial.
10.3 Oil After or Before Projects, or During Long Projects
Oil your machine before or after projects to keep it running smoothly. During long sewing sessions, pause periodically to apply a drop or two of high-quality sewing machine oil. Avoid using household oils like WD-40, which can damage delicate components.
Frequently Asked Questions (FAQs)
What can you use to oil a sewing machine?
Forget about using any old oil lying around – for your trusty sewing machine, only high-quality sewing machine oil will do! This specialized lubricant is designed to keep those intricate parts running smoothly, ensuring precision stitches and a long, happy life for your talented companion.
What oil can I substitute for sewing machine oil?
You can’t substitute for sewing machine oil – it’s specially designed for that purpose. Using other oils risks damaging your machine over time. It’s best to purchase high-quality sewing machine oil from a reputable source.
Can I use WD-40 to oil my sewing machine?
Absolutely not. WD-40 is a degreaser, not a lubricant. It can damage your sewing machine’s internal parts over time. Always use high-quality sewing machine oil to properly lubricate and maintain your machine.
How do you know if your sewing machine needs oil?
Like an antique clock, your sewing machine needs regular love and care. If it’s sounding gruff or sluggish, some fresh oil can help get those gears turning smoothly again.
Does the sewing machine need a specific type of oil?
Yes, you’ll need to use a specific oil designed for sewing machines. Regular household oils can damage the machine’s delicate internal components. Always check your manual for the manufacturer’s recommended sewing machine oil.
What parts should I avoid oiling to prevent damage?
Yo! Avoid oiling the needle plate and areas where fabric touches to prevent staining. Skip external plastic parts too, as oil can cause cracking.
How often should I clean the sewing machine before oiling?
You should clean your sewing machine regularly, even if you don’t see much lint buildup. It’s best to do a thorough cleaning before oiling to make sure the oil can properly lubricate all moving parts.
What precautions should be taken before oiling a sewing machine?
Like a well-oiled machine, preparation is key. Unplug your sewing machine and consult the manual for specific oiling instructions. Avoid household oils; use only approved lubricants. Clean lint and debris first for smooth sailing.
How do I determine the frequency of oiling based on machine usage?
You’ll need to oil your machine more frequently if you sew often or for extended periods. Listen for noisy operation – that’s a sign it needs lubricating. Check your manual, but a general guideline is oiling after every major project or every few months.
Conclusion
Properly oiling your sewing machine is the key to unleashing its full capabilities and durability.
Like a well-lubricated machine, you’ll navigate through projects effortlessly when you adhere to the appropriate techniques and frequency outlined in tutorials on sewing machine oil.
Don’t allow grinding noises and interruptions to hinder your creative momentum.
Maintain your machine’s smooth operation with consistent, strategic lubrication.


