This site is supported by our readers. We may earn a commission, at no cost to you, if you purchase through links.
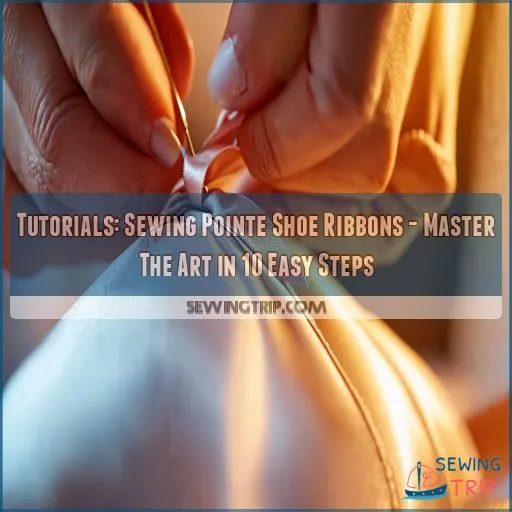
It’s not just about making your shoes look pretty – it’s your secret weapon for stability and control.
You’ll need 7/8 to 1-inch wide ribbons, about 22 inches long.
Choose between nylon for durability or polyester satin for that classic look.
Grab a sharp needle, strong thread, and scissors.
Position your ribbons carefully – they’re like your feet’s guardian angels, keeping you aligned and preventing mid-pirouette bailouts.
With proper placement and secure stitching, you’ll dance with confidence, knowing your shoes won’t let you down.
But wait, there’s more to learn about customizing your fit and adding that extra touch of elegance!
Table Of Contents
- Key Takeaways
- Why Sew Ribbons on Pointe Shoes?
- Choosing The Right Ribbons for Pointe Shoes
- Essential Tools for Sewing Pointe Shoe Ribbons
- Preparing Ribbons for Sewing on Pointe Shoes
- Proper Placement of Ribbons on Pointe Shoes
- Step-by-Step Guide to Sewing Pointe Shoe Ribbons
- Adding Elastic for Extra Support and Fit
- Tying Pointe Shoe Ribbons Correctly
- Common Mistakes to Avoid When Sewing Ribbons
- Maintaining and Replacing Pointe Shoe Ribbons
- Frequently Asked Questions (FAQs)
- Conclusion
Key Takeaways
- You’ll need 7/8 to 1-inch wide ribbons, about 22 inches long, and you should position them low inside the shoe, angled slightly forward for optimal support.
- Sew ribbons using strong thread and a whip stitch technique, creating a square pattern of stitches for secure attachment without piercing the outer satin layer. For optimal results, use high-quality thread options that are stronger and more durable, reducing the risk of stitches breaking, and then sew using strong thread and a whip stitch technique, creating a square pattern of stitches for secure attachment without piercing the outer satin layer.
- Adjust ribbon tension for comfort, tie a secure double knot above your ankle bone, and tuck in loose ends to prevent tripping hazards.
- Regularly inspect your ribbons for wear, reinforce stitches as needed, and replace them when they show signs of fraying or loss of elasticity.
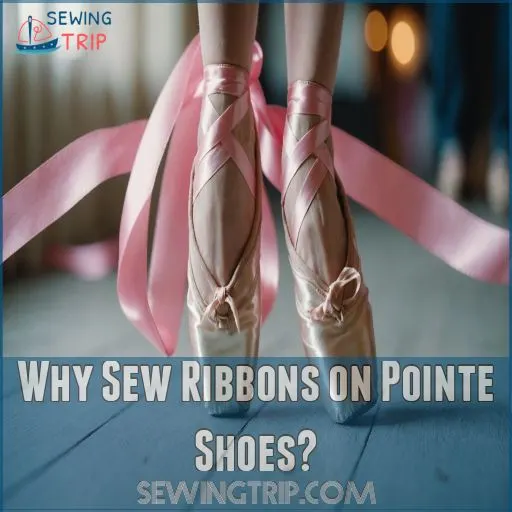
Why Sew Ribbons on Pointe Shoes?
Sewing ribbons on pointe shoes is essential for securing them to your feet and providing essential support during dance.
You’ll prevent injuries and maintain proper alignment while adding a personal touch to your dance gear.
Securing The Shoe to The Foot
On your journey to pointe perfection, sewing ribbons is your ticket to a secure fit.
You’ll transform those slippery satin shoes into an extension of your feet.
Here’s why it’s important:
- Prevents shoe slippage during intricate footwork
- Guarantees proper alignment for safer dancing
- Allows for customized fit and comfort
- Adds a touch of elegance to your pointe shoes
Master this skill, and you’ll dance with confidence, knowing your shoes won’t bail on you mid-pirouette.
Providing Support and Stability
Ribbons aren’t just for show – they’re your secret weapon for stability en pointe.
By sewing them on properly, you’ll create a snug fit that hugs your ankles like a best friend.
This extra support is a game-changer, helping you maintain balance and control as you pirouette across the stage.
Think of it as giving your feet a sturdy foundation to build your dance dreams on.
Maintaining Proper Foot Alignment
Properly sewn ribbons act as your foot’s guardian angels, keeping your alignment on point.
They’re not just for show; they’re your secret weapon for maintaining that perfect arch and toe alignment.
Let’s break down why these ribbons are the unsung heroes of your pointe game:
- Cradle your heel to absorb shock and align your foot
- Support your inner and outer arches to control pronation
- Stabilize your ankle for better balance and reduced strain
- Distribute weight evenly to minimize pressure on your plantar fascia
Preventing Injuries
Sewing ribbons on pointe shoes isn’t just about looking graceful; it’s your secret weapon against injuries.
With proper alignment in mind, let’s talk about keeping those feet safe.
You’ll want to position your ribbons strategically to support your ankles and prevent those pesky falls.
Check out this table for a quick guide:
| Ribbon Placement | Benefit | Injury Prevention |
|---|---|---|
| Slightly forward | Holds shank flush | Reduces falling forward |
| Higher vamp | Secures metatarsals | Prevents shoe slippage |
| Elastic addition | Improves proprioception | Enhances foot control |
Remember, well-sewn ribbons are your first line of defense in the battle against ballet boo-boos!
Adding Aesthetic Appeal
Beyond safety, you’ll love how ribbons transform your pointe shoes into works of art.
With a rainbow of ribbon colors at your fingertips, you’re the master of your own ballet canvas.
Let your creativity shine:
- Match ribbons to costumes for a cohesive look
- Create personalized designs that reflect your style
- Use themed ribbons to tell a story through your feet
It’s like giving your shoes a makeover – practical and pretty!
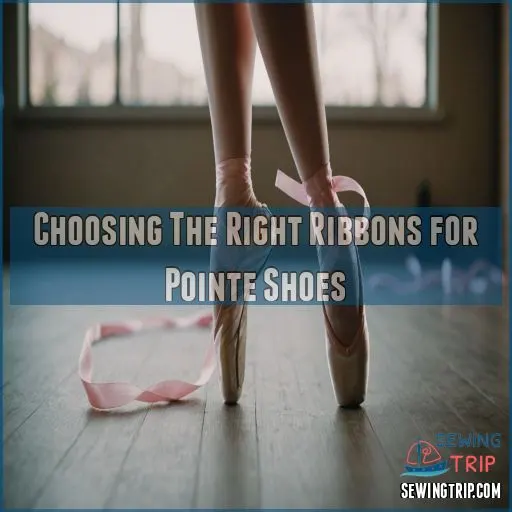
Choosing The Right Ribbons for Pointe Shoes
You’ll need to select the right ribbons for your pointe shoes to make sure you have comfort and support during your dance.
Pointe shoe ribbons should be seven-eighths to one inch wide and about twenty-two inches long.
Choose between nylon or polyester satin ribbons, considering factors like finish, color, and stretch to suit your needs and preferences.
Ribbon Materials: Nylon Vs. Polyester Satin
Nylon offers superior durability and stretch, hugging your ankles tighter for better support.
It’s a budget-friendly option that’ll keep you dancing longer.
Polyester satin, on the other hand, brings that classic look to the stage.
While it might bunch a bit for beginners, it lays flat and exudes elegance.
Choose based on your priorities: comfort, cost, or tradition.
Ribbon Finishes: Shiny Vs. Matte
When choosing ribbon finishes, you’re faced with a shiny vs. matte dilemma. Your preference can impact both performance and aesthetics.
Consider these factors:
- Shiny ribbons add a polished look but can be slippery
- Matte ribbons blend better with tights and offer better grip
- Your choice should align with your teacher’s and classmates’ preferences
Ultimately, select a finish that feels comfortable and enhances your control. Remember, your ribbons are more than just pretty packaging – they’re essential tools for your performance.
Ideal Ribbon Width and Length
Choosing the right ribbon width and length can make or break your pointe shoe experience.
You’ll want to aim for an inch-wide ribbon to provide ample support without digging into your ankles.
For length, cut four equal pieces from your ribbon roll – two for each shoe.
Remember, the outside ribbon will be slightly shorter than the inside one due to ankle wrapping.
Adjust as needed for your unique foot shape and shoe style.
Ribbon Color Selection
The right ribbon color can make or break your pointe shoe look.
Consider the occasion and dress code, just like when choosing Fabric for Formal Wear, to make sure your overall appearance is cohesive.
Go for a shade that matches your shoes and tights for a seamless appearance .
While pink is traditional, don’t be afraid to explore options that reflect your personal style or team colors.
Remember, matte satin ribbons often blend better with tights than shiny ones.
Your ribbon choice is your chance to wrap up your look with flair!
Stretch Vs. Non-stretch Ribbons
You’re at a crossroads: stretch or non-stretch ribbons for your pointe shoes? Let’s break it down:
- Stretch ribbons hug your ankles tighter, offering better support
- Non-stretch ribbons provide a classic look and lay flat against the ankle
- Stretch satin relieves stress on your Achilles tendon
- Personal preference plays a role in your choice
Consider your performance needs and comfort.
Stretch ribbons allow for natural flexion, while non-stretch offer traditional stability.
The right choice empowers your dance.
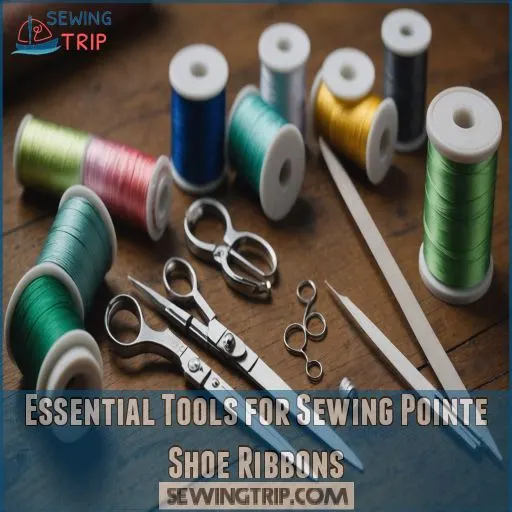
Essential Tools for Sewing Pointe Shoe Ribbons
You’ll need the right tools to sew pointe shoe ribbons effectively.
Gather strong needles, durable thread matching your ribbon color, sharp scissors, pins for securing ribbons, and a lighter or matches to singe ribbon ends.
Strong Needles for Sewing
For sewing pointe shoe ribbons, you’ll need strong needles that can handle the job.
Opt for sharp, durable needles like leather or denim types in sizes 80/12 to 100/16.
These sturdy needles will easily pierce through ribbon and shoe materials without bending or breaking.
Remember to replace your needle if it becomes dull or bent.
Taking good care of your needle makes for smooth sewing and helps you achieve those perfect ribbon attachments.
Durable, Color-matching Thread
Now that you’ve got your needle ready, let’s talk thread.
Pick a strong, durable thread that matches your ribbons perfectly.
Waxed dental floss, button thread, or upholstery thread are great options.
You want your stitches to blend in seamlessly, like a ballerina’s graceful movements.
Remember, the right thread tension is key – not too tight, not too loose. It’s the Goldilocks of sewing!
Scissors for Cutting Ribbons
Sharp scissors are your best friend when cutting pointe shoe ribbons. Choose a pair that feels comfortable in your hand and cuts cleanly. For the best results, use scissors specifically designed for cutting fabric, as regular scissors can lead to uneven cuts and fraying.
Here are some tips to keep in mind:
- Fabric scissors work best for precise cuts
- Keep them sharp to prevent fraying
- Store them properly to maintain their edge
- Consider left-handed scissors if needed
Remember, the right tools make all the difference in mastering this ballet essential.
Pins for Securing Ribbons
Pins are your secret weapon for perfect ribbon placement.
Safety pins or sewing pins will do the trick.
They’re like mini anchors, holding your ribbons steady while you work your magic.
Place pins strategically to keep ribbons at the right angle – slightly forward for a snug fit.
Remember, you’re aiming for that Goldilocks zone: not too tight, not too loose.
With pins, you’re the master of your pointe shoe destiny.
Lighter or Matches for Singeing Ribbon Ends
With a lighter or matches, you’ll tame those fraying ribbon ends like a pro.
Gently wave the edge through the flame, watching it "melt" slightly.
This sealing technique works best on polyester ribbons, preventing unraveling and giving your pointe shoes a polished look.
Remember, safety first: don’t set the ribbon ablaze, just a quick touch will do the trick (Source).
Your ribbons will thank you for this smooth finish!
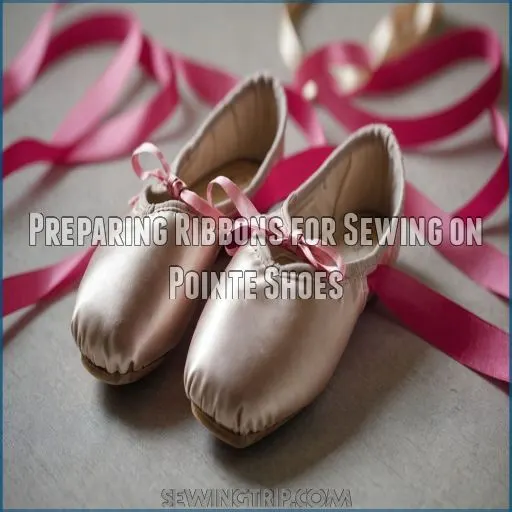
Preparing Ribbons for Sewing on Pointe Shoes
You’ll need to prepare your ribbons before attaching them to your pointe shoes.
Measure and cut the ribbons to length.
Fold the ends to prevent fraying.
Singe the tips if desired.
Mark their placement on the shoes for accurate attachment.
Measuring and Cutting Ribbons to Length
Most dancers find that the perfect ribbon length is about 22 inches.
Start by measuring your foot size and add an extra 2-3 inches for tying.
Cut the ribbon in half, then halve those pieces again for four equal strips.
You’ll need one strip for each side of your shoe.
Remember, it’s better to err on the longer side – you can always trim later.
Folding Ribbon Ends to Prevent Fraying
Now that you’ve cut your ribbons, let’s tackle fraying.
You’ll want to fold those ends like you’re wrapping a tiny present for your toes.
Take each ribbon end and fold it over twice, about 1/4 inch each time.
This creates a neat little package that won’t unravel during your pirouettes.
Stab stitch near the top fold to keep everything in place.
It’s like giving your ribbons a tidy haircut!
Singeing Ribbon Tips
Mastery over fraying ribbons awaits you!
Grab your ribbon singeing tools: a lighter or matches will do the trick.
Hold the flame close to the ribbon’s edge, but don’t let it touch. The heat will melt and seal the fibers, preventing fraying.
If you’re not comfortable with fire, try clear nail polish or a fray-stopping product as alternatives.
Remember, safety first – keep water nearby, just in case!
Marking Ribbon Placement on Shoes
With your ribbons prepped, it’s time to mark their ideal placement on your pointe shoes.
Fold the heel down in the direction of the toe, creating a natural crease.
This crease is your guide for ribbon positioning.
Use a pencil to draw a line along this fold, angling slightly forward for comfort and support as your ankle flexes.
This personalized approach makes sure your foot shape is accounted for, giving you that perfect fit you’ve been dreaming of.
Creating Loops for Secure Attachment
Creating loops for your pointe shoe ribbons is like tying a secure knot in your dance journey.
Fold a half-inch square at the ribbon’s end – it’s your secret weapon against fraying (Source).
This little loop isn’t just for show; it’s the key to a rock-solid attachment.
Place it smack in the middle of your shoe for that perfect, snug fit.
Remember, every dancer’s feet are unique, so find what works best for you.
Proper Placement of Ribbons on Pointe Shoes
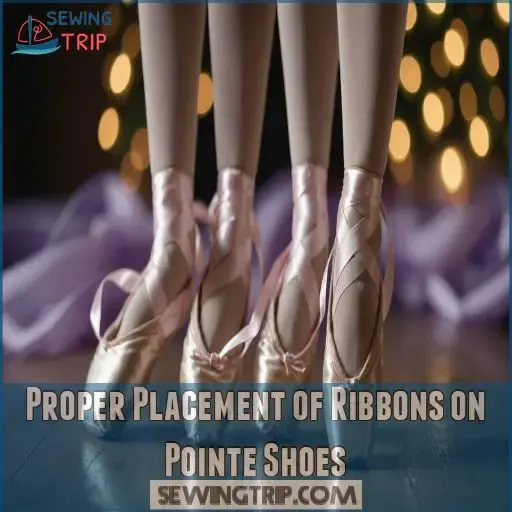
You’ll need to position your pointe shoe ribbons just right for the best support and comfort.
Place them low inside the shoe, angled slightly forward.
This will secure your foot without interfering with the drawstring or hindering your movement.
Positioning Ribbons for Optimal Support
Proper ribbon placement is the secret sauce for the best support in your pointe shoes.
You’ll want to position them just right to keep your ankles happy and your feet snug as a bug.
Here’s the lowdown:
- Align ribbons with your ankle bones for maximum stability
- Make sure there’s even tension across both sides of your foot
- Leave enough slack for flexibility without compromising support
Remember, your foot shape’s unique, so fine-tune the placement to suit your personal needs (Source).
Angling Ribbons for Comfort and Effectiveness
Carefully angling your ribbons can make a world of difference in comfort and support.
Aim for a slight diagonal, about 45 degrees, in the direction of the front of your shoe. This angle helps distribute tension evenly across your foot and ankle.
| Ribbon Angle | Impact on Performance |
|---|---|
| Too Vertical | Reduced ankle support |
| Just Right | Balanced stability |
| Too Angled | Restricted movement |
Remember, your foot shape matters. Experiment to find your sweet spot – where the ribbons hug your ankle without pinching or sliding.
Avoiding Interference With Drawstrings
You’ve angled your ribbons perfectly, now let’s tackle those pesky drawstrings.
The key is to avoid a ribbon-drawstring tangle that’ll leave you feeling like a marionette on stage.
Here’s how to keep your ribbons clear:
- Locate the drawstring channel
- Mark a spot 1/4 inch away
- Position your ribbon there
- Sew with precision
By giving the drawstring some breathing room, you’ll maintain control and grace in every step.
Adjusting Placement for Individual Foot Shape
Now that you’ve mastered avoiding drawstring interference, let’s fine-tune your ribbon placement for your unique foot shape, much like adjusting a petite dress form adjustable size 0 to capture exact body measurements for a perfect match.
Remember, one size doesn’t fit all when it comes to pointe shoes!
Consider these key factors when adjusting your ribbons:
| Foot Feature | Impact on Placement | Adjustment Tip |
|---|---|---|
| High arch | Ribbon sits higher | Move up 1/4 inch |
| Low arch | Ribbon sits lower | Move down 1/4 inch |
| Bunions | Affects angle | Angle slightly outward |
| Long toes | Changes heel height | Place closer to heel |
| Short toes | Alters foot curve | Place closer to box |
Experiment with these adjustments to find your perfect fit and showcase your arch beautifully.
Ensuring Symmetry Between Left and Right Shoes
After tailoring the placement to your unique foot shape, it’s time to create a mirror image for both shoes.
Achieve perfect symmetry with these steps:
- Measure ribbon length precisely for each foot
- Mark placement points using a ruler
- Double-check angles before sewing
Remember, your feet might be fraternal twins rather than identical!
Use visual checks and foot measurements to guarantee balanced comfort.
Your pointe shoes should feel like two peas in a pod, ready to dance in perfect harmony.
Step-by-Step Guide to Sewing Pointe Shoe Ribbons
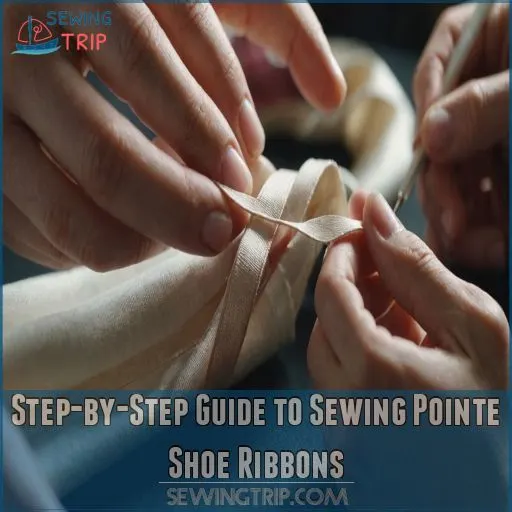
You’ll master the art of sewing pointe shoe ribbons with this step-by-step guide.
From threading your needle to creating secure stitches, you’ll learn the precise techniques needed to attach ribbons that provide the best support and comfort for your dance performance.
Threading The Needle and Knotting The Thread
While threading the needle might seem intimidating, it’s your first step to mastery.
Choose a strong needle and match your thread thickness to the task at hand.
To secure your knot, try the surgeon’s knot for extra hold.
Maintain proper thread tension as you work – not too tight, not too loose.
Experiment with different knot variations to find what works best for you and your pointe shoes.
Attaching Ribbons to The Shoe Lining
With your needle threaded, let’s secure those ribbons.
To avoid puckering or distorting the shoe lining, make sure to maintain even thread tension for leather.
Position the ribbon on the shoe lining, about 1/2 inch from the heel seam.
You’re in the driver’s seat now, ready to make your mark.
Here’s your game plan:
- Mark ribbon placement with a pencil
- Fold ribbon end to prevent fraying
- Pin ribbon in place for stability
- Double-check positioning on both shoes
- Keep thread tension consistent for neat stitches
Using Whip Stitches for Secure Attachment
The whip stitch is your secret weapon for securing pointe shoe ribbons.
Start by threading your needle with strong, waxy thread.
Bring the needle up through the cotton lining, avoiding the satin outer layer.
Create small, diagonal stitches that wrap around the ribbon’s edge.
Maintain consistent stitch depth and tension for durability.
Vary your stitch direction to reinforce weak spots and prevent fraying.
You’ll master this technique in no time!
Creating a Square Pattern of Stitches
Now that you’ve mastered whip stitches, let’s create a square pattern for extra strength.
Start at one corner of the ribbon, sewing in a clockwise direction.
Keep your stitch length consistent, about 1/8 inch apart.
Maintain even thread tension as you go.
When you reach a corner, take an extra stitch to secure it.
This square pattern will keep your ribbons firmly in place, ready for countless pirouettes.
Tying Off and Hiding Thread Ends
After completing your square stitching pattern, it’s time to secure those pesky thread ends.
Thread-end security is essential for preventing unraveling.
Tie off with a sturdy knot technique, then use your needle to weave the remaining thread through nearby stitches.
This creates hidden stitches for a neat finish.
Remember, a tidy knot is like the cherry on top of your pointe shoe sundae – small but mighty important!
Adding Elastic for Extra Support and Fit
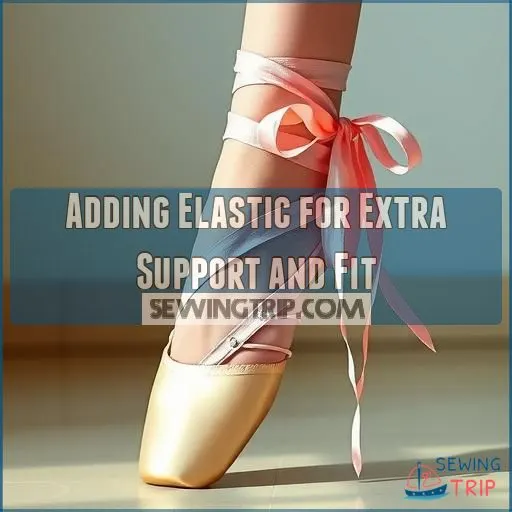
Adding elastic to your pointe shoes enhances support and improves fit.
You’ll learn how to choose the right elastic width, determine the best placement, and securely attach it for maximum comfort and stability.
Choosing The Right Elastic Width
For elastic width, you’ll want to strike a balance between support and flexibility.
Choose 1/2 to 3/4 inch wide elastic for most dancers.
Your foot type and dance style play a role – wider elastic offers more ankle support, while narrower allows greater freedom of movement.
Consider your shoe fit too; snug shoes may need less elastic support.
Remember, the right width will feel like a second skin, not a straitjacket!
Determining Elastic Placement on The Shoe
You’ve got the right elastic width, but where do you put it?
Let’s nail down that perfect placement.
Start by slipping your foot into the shoe.
Position one end of the elastic near your outer ankle, then stretch it across your foot to behind your inner ankle.
This crossover style offers excellent support.
Remember, your foot shape and shoe type play a big role here.
Comfort is key!
Sewing Elastic Inside Vs. Outside The Shoe
The placement of elastic can make or break your pointe shoe comfort.
Inside or outside? It’s not just a matter of aesthetics.
Sewing elastic inside offers a sleek look but can be trickier.
Outside placement provides easier access for adjustments.
Your choice impacts durability and fit.
Let’s explore both options:
- Invisible support hugging your arch from within
- Snug elastic embracing your foot like a second skin
- Ribbons of strength peeking out, ready for action
- A delicate dance between form and function
- Your toes, poised and powerful, supported by hidden helpers
Techniques for Attaching Elastic Securely
Securing elastic to your pointe shoes is like giving them a snug hug.
Place the elastic about 1/2 inch from the back middle seam, halfway down to the sole.
Use dental floss for extra strength and a thimble to protect your fingers.
Sew the perimeter with a rectangular stitch pattern, leaving the top slightly looser for flexibility.
This technique helps your shoes stay put during pirouettes and leaps.
Adjusting Elastic Tension for Comfort
Striking the perfect balance, elastic tightness can make or break your pointe shoe comfort.
Adjust tension based on your unique foot shape, aiming for a snug fit without overstretching.
Start with a looser fit and gradually tighten, testing your range of motion.
Remember, individual fit is key – what works for your dance buddy mightn’t work for you.
Fine-tune until you’ve got that Goldilocks tension: not too tight, not too loose, but just right.
Tying Pointe Shoe Ribbons Correctly
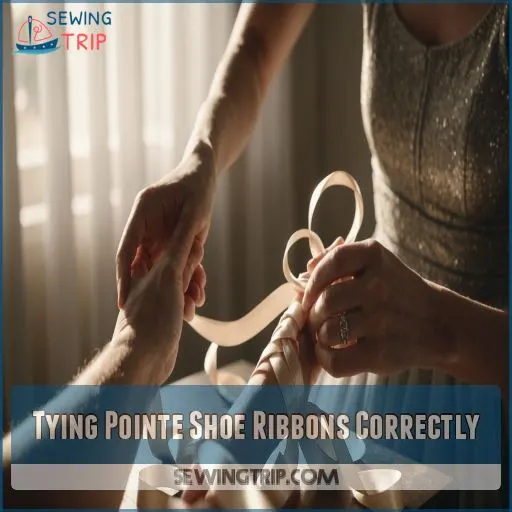
You’ll learn to tie your pointe shoe ribbons correctly, ensuring a secure fit for your dance.
This important step prevents slipping and provides the support you need to perform at your best.
Creating a Secure Double Knot
Now that you’ve got your ribbons and elastic in place, let’s tie that perfect double knot.
Cross the ribbons at your ankle, wrapping each twice around.
Pull them snug, but not too tight – you want control without cutting off circulation.
Create a basic knot, then loop one end through again.
Tug both ends firmly to lock it in place.
Voila! You’re ready to dance with confidence.
Positioning The Knot for Comfort
The sweet spot for your pointe shoe ribbon knot is right above your ankle bone.
This placement minimizes Achilles tendon pressure while maximizing ankle support.
You’ll want to find that perfect balance between ribbon tension and comfort.
As you tie, consider your unique foot shape – what feels snug for one dancer might pinch for another.
Remember, a well-placed knot is your ticket to dancing on air!
Tucking in Loose Ends
Finishing touches make all the difference in tying your pointe shoe ribbons.
After knotting, tuck the loose ends neatly under the wrapped ribbon.
This prevents unsightly dangling and potential tripping hazards.
Smooth the edges down, ensuring they’re hidden and secure.
For extra hold, try a spritz of hairspray on the knot.
Remember, neat ribbons contribute to your overall performance and safety but also look professional.
Adjusting Ribbon Tension for Optimal Fit
Achieving the perfect ribbon tension is like finding your dance rhythm – it’s all about balance. You’ll want to adjust your ribbons to fit snugly without constricting your foot’s movement, just like adjusting thread tension to prevent issues such as loose or baggy stitches Signs of Tension Issues.
As you tie, consider: Your unique foot shape and dance style The shoe’s break-in stage * Injury prevention through proper support.
Remember, too tight can cause tendinitis, while too loose won’t provide enough stability. Experiment with different tensions until you find your Goldilocks zone – not too tight, not too loose, but just right.
Common Mistakes to Avoid When Sewing Ribbons
You’ll want to avoid common pitfalls when sewing pointe shoe ribbons to guarantee proper fit and longevity.
From sewing through the outer satin layer to overtightening ribbons, these mistakes can compromise your shoe’s performance and comfort.
Sewing Through The Outer Satin Layer
Now that you’ve mastered tying ribbons, let’s tackle a common pitfall: sewing through the outer satin layer.
You might think it’s no big deal, but it’s like putting a hole in your favorite shirt – not ideal!
Stick to the lining only to preserve your shoe’s aesthetic impact and durability.
To achieve this look, practice the blind hem stitch, a technique that creates an invisible finish by catching just a thread or two of the fabric edge, as described in how to sew step by step. This sewing technique keeps your stitches invisible from the outside, maintaining that sleek, professional look dancers crave.
Incorrect Ribbon Placement or Angle
While you’ve mastered avoiding the outer satin, let’s tackle another common pitfall: incorrect ribbon placement.
You want your ribbons to be your dance partners, not your enemies!
Proper placement impacts ankle support, foot alignment, and prevents shoe slippage.
Aim to sew ribbons about 3cm away from the middle stitched seam.
Remember, your feet are unique – what works for others mightn’t be your perfect fit.
Experiment and find your sweet spot!
Using Weak Thread or Improper Stitching Techniques
Don’t let weak thread or sloppy stitching turn your pointe shoes into a dancer’s nightmare. To make sure your ribbons stay put and your feet stay safe, focus on these key points:
- Choose strong, durable thread to prevent breakage and maintain seam strength
- Use proper tension to avoid puckering and skipped stitches
- Master the basics of hand sewing by understanding what is hand sewing to ensure secure and even stitches, then master the whip stitch technique for secure ribbon attachment
Remember, your stitching is the lifeline between you and your art. Dance on with confidence!
Neglecting to Singe or Secure Ribbon Ends
Neglecting to secure ribbon ends can unravel your hard work faster than you can say "pirouette."
To boost ribbon durability, always singe or seal the edges after cutting.
Use a lighter to gently melt the fibers, or brush on clear nail polish for a frayed-free finish.
This simple sewing technique extends your ribbons’ lifespan, saving you time and frustration.
Remember, well-maintained ribbons mean more dance floor freedom!
Overtightening Ribbons or Elastics
Properly secured ribbons are a dancer’s best friend, but overtightening them can be your feet’s worst enemy.
You might think snug ribbons equal better control, but they can cause foot pain and circulation issues.
Aim for a Goldilocks fit – not too tight, not too loose.
This sweet spot prevents blisters, reduces ribbon breakage, and protects your shoes from unnecessary damage.
Remember, your feet need room to breathe and move gracefully.
Maintaining and Replacing Pointe Shoe Ribbons
You’ll need to keep a close eye on your pointe shoe ribbons to make sure they’re always in top shape.
Regularly inspect them for wear, reinforce stitches when needed, and replace ribbons once they show signs of significant damage.
This will maintain proper support and safety during your dance practice.
Regular Inspection for Wear and Tear
Frequently check your pointe shoe ribbons for signs of wear and tear.
Look for fraying edges, weakened stitches, or excessive elastic stretch.
These telltale signs can sneak up on you like a silent dance partner.
Examine the shoe itself for any damage where ribbons attach.
Stay ahead of the game by timing replacements before ribbons give out mid-performance.
Remember, well-maintained ribbons are your ticket to graceful, injury-free dancing.
Reinforcing Stitches as Needed
Your pointe shoes have weathered many performances, but don’t hang up those dancing shoes just yet!
It’s time to reinforce those stitches and keep your ribbons in tip-top shape.
Here’s how to give your shoes some TLC:
- Use a strong, thin needle and high-quality thread
- Choose thread that matches your shoe color for a seamless look
- Apply tight, even stitches to reinforce weak areas
- Consider using a zigzag stitch for extra stability
With these tricks up your sleeve, you’ll be dancing on air in no time!
Knowing When to Replace Worn Ribbons
Dance shoes, like all things, have an expiration date.
Ribbon fraying is a telltale sign it’s time for a change.
If your ribbons feel stiff or have lost their elasticity, they’re past their prime.
Check the length – if they’re too short to tie securely, it’s curtains for them.
Don’t let discolored ribbons steal the spotlight.
Remember, fresh ribbons mean happy feet!
Proper Cleaning and Care of Ribbons
Once you’ve replaced worn ribbons, keep them in top shape.
Regular care extends ribbon lifespan and maintains your pointe shoes’ pristine look.
Here’s how to clean and care for your ribbons:
- Handwash gently using lukewarm water and mild soap
- For stubborn stains, add a few tablespoons of vinegar to the rinse water
- Air-dry or roll in a clean towel; never wring or machine dry
- Store ribbons flat or loosely rolled to prevent creasing
Remember, well-maintained ribbons are the unsung heroes of your dance bag!
Adjusting Ribbon Placement as Shoes Break In
As pointe shoes break in, they mold to your feet, potentially affecting ribbon placement.
Keep an eye on how your shoes fit as you dance.
If you notice discomfort or slipping, it’s time to adjust.
Carefully unpick stitches and reposition ribbons slightly forward or backward.
This helps guarantee the best support as your foot shape changes.
Remember, a well-fitting shoe is like a second skin – it should move with you, not against you.
Frequently Asked Questions (FAQs)
How do you sew ribbon on to point shoes?
Picture delicate satin shoes awaiting transformation.
You’ll thread your needle, marking placement carefully.
Fold ribbons, whipstitch securely to the lining, angling slightly forward.
Don’t catch the drawstring!
You’re crafting your perfect fit, one stitch at a time.
What angle do you sew pointe shoe ribbons?
You’ll want to sew your pointe shoe ribbons at a slight angle in the direction of the front of the shoe.
This provides more security and support as you dance.
Fold the heel down to mark the ideal placement.
How long should pointe shoe ribbons be?
Don’t get your ribbons in a twist!
Your pointe shoe ribbons should be about 6 feet long initially.
Cut this in half for each shoe.
After tying, trim excess, leaving 5-2 inches beyond the knot.
How do you keep pointe shoe ribbons from fraying?
Keep your pointe shoe ribbons pristine by cutting ends diagonally or in a V-shape.
For extra protection, seal them with a lighter’s flame, clear nail polish, or craft glue.
Products like Fray Check offer a quick fix for busy dancers.
How often should pointe shoe ribbons be replaced?
Replace pointe shoe ribbons when they fray, look worn, or lose elasticity.
Typically, this happens every few months for regular dancers.
Listen to your feet – if the ribbons aren’t holding securely, it’s time for fresh ones.
Can I use ribbon glue instead of sewing?
Like a dancer’s graceful steps, your pointe shoes need secure footing.
You shouldn’t use ribbon glue instead of sewing.
Proper stitching guarantees durability and safety.
Sew your ribbons for the best support and longevity.
You’ll feel more confident and in control on stage.
Are there alternatives to traditional satin ribbons?
You’ve got options beyond traditional satin ribbons.
Try elastic ribbons for comfort and support, or matte satin for a less slippery feel.
Some dancers even use wide elastics for a modern twist.
Experiment to find your perfect fit!
How do I adjust ribbon tension for different feet?
Telegraphing your feet’s needs, adjust ribbon tension by sewing one side first.
Stretch over your ankle to find the sweet spot.
Mark and sew next to the binding’s edge.
Test the fit and finish if it feels right.
Can I reuse ribbons from old pointe shoes?
Reusing pointe shoe ribbons is a smart move.
Cut the stitches off your old shoes and you’ll have perfectly sized ribbons for your new pair.
It’s a thrifty trick many dancers use to save time and money.
Conclusion
Sewing pointe shoe ribbons is like weaving a dancer’s lifeline.
With these steps, you’ve learned the secret to stability and grace.
Remember, practice makes perfect.
As you master this art, you’ll feel the difference in every pirouette and relevé.
Don’t be afraid to experiment with placement and tension to find your perfect fit.
Your feet will thank you, and your dancing will soar to new heights.
Keep refining your technique, and soon, sewing pointe shoe ribbons will be second nature.

