This site is supported by our readers. We may earn a commission, at no cost to you, if you purchase through links.
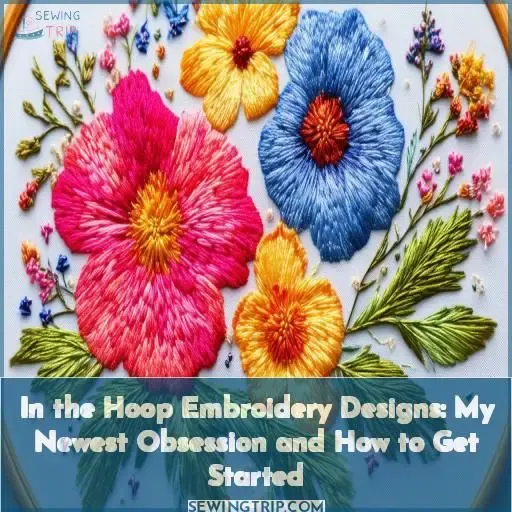
Imagine crafting pouches, bags, and other personalized items with fewer materials and an affordable setup. Plus, it’s a fantastic way to explore creativity, with endless options for customization using various fabrics, threads, and embellishments.
With the right tools and a reliable machine like the Janome 500E, you’re set for success. Ready to elevate your embroidery game and discover the magic of in-the-hoop creations? Keep going!
Table Of Contents
Key Takeaways
- Dive into the world of in-the-hoop embroidery and unlock intricate designs made easy!
- Personalize your projects like a pro with endless customization options, from fabric choices to vibrant threads.
- Choose a reliable embroidery machine like the Janome 500E for seamless stitching and high-quality results.
- With proper techniques and a dash of creativity, you’ll be stitching up a storm and creating unique masterpieces in no time!
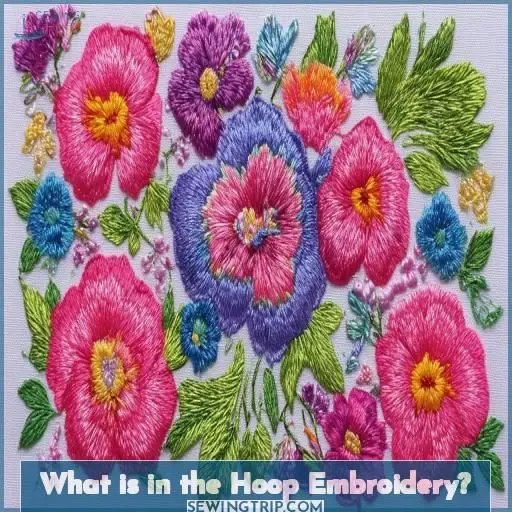
What is in the Hoop Embroidery?
In the hoop embroidery" is a technique where your entire project gets completed within the embroidery hoop, eliminating the need for additional sewing steps (Source). It offers exciting benefits like time-saving precision and versatility, allowing you to create intricate designs like pouches and bags with ease .
Definition and Explanation of in the Hoop Embroidery
In the hoop embroidery, or ITH, is a technique where an entire project is stitched directly in an embroidery hoop. This method uses pre-designed patterns, like machine embroidery designs, to create various items without additional sewing. Fabric preparation and precise hooping are essential for successful results, making it a popular choice among embroidery enthusiasts .
Benefits of in the Hoop Embroidery Designs
In the hoop embroidery designs offer unparalleled time-saving benefits by simplifying complex projects into easy, guided steps. Their versatility covers various items, from accessories to home decor. Affordability? Sure, you need fewer materials and tools. Plus, they ignite your creativity, allowing personalizations for truly unique creations. Embroidery tutorials, patterns, and lessons become enjoyable learning experiences when coupled with vibrant threads.
Examples of in the Hoop Embroidery Projects
Immerse yourself in the realm of in the hoop embroidery through these imaginative endeavors that meld fabric choice, stabilizer selection, and masterful hooping techniques. Unleash intricate designs using diverse embroidery formats and SVG files for cutting machines:
- Zippered Pouches: Ideal for organizing small items.
- Tote Bags: Customizable and practical.
- Coasters: Functional and decorative.
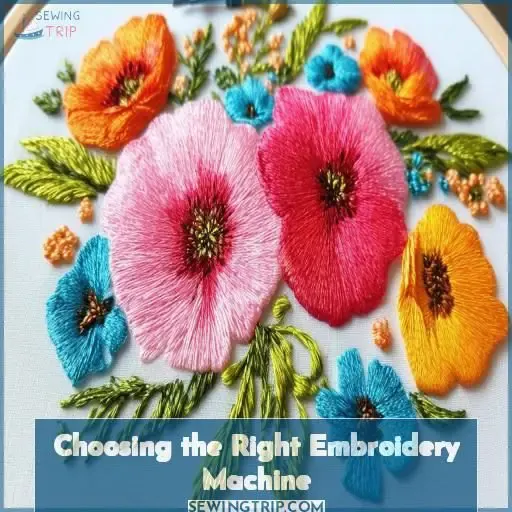
Choosing the Right Embroidery Machine
Selecting the appropriate embroidery machine is critical for ensuring the quality and efficiency of your in-the-hoop projects. You should consider features like hoop size versatility, built-in designs, and ease of use when making your selection, with the Janome 500E often recommended for its exceptional capabilities .
Importance of Selecting a Reliable Embroidery Machine
When delving into in the hoop embroidery designs, selecting a dependable embroidery machine is essential. The Janome 500E, acclaimed for its machine capabilities and reliable results, is highly recommended for Grand Slam Designs. Its capacity to handle difficult patterns guarantees your projects, guided by photo instructions, are of the highest quality.
| Feature | Janome 500E | Importance |
|---|---|---|
| Reliability | High | Consistent results |
| File Compatibility | Multiple formats | Versatility |
| User-Friendly | Yes | Ease of use |
Stitch with confidence!
Features to Look for in an Embroidery Machine
When choosing an embroidery machine, prioritize these features to enhance your creative journey with in the hoop embroidery designs, such as a lined purse or zipper case:
- Embroidery Field Size: Ensures ensures you can handle various project dimensions.
- Automatic Thread Cutter: Saves time and ensures ensures clean cuts.
- Built-in Designs and Editing Software: Expands creative possibilities without extra costs.
Janome 500E as a Recommended Option
The Janome 500E stands out for its exceptional embroidery options and machine capabilities, making it perfect for beginners. Known for affordable quality, its ITH projects are a breeze. With final dimensions suited to various projects, it’s a favorite in the hoop embroidery designs obsession.
| Feature | Benefit | Notes |
|---|---|---|
| Large Embroidery Area | More creative space | Ideal for bigger designs |
| User-Friendly Interface | Easy to navigate | Great for beginners |
| High-Speed Stitching | Quicker completion | Save time on projects |
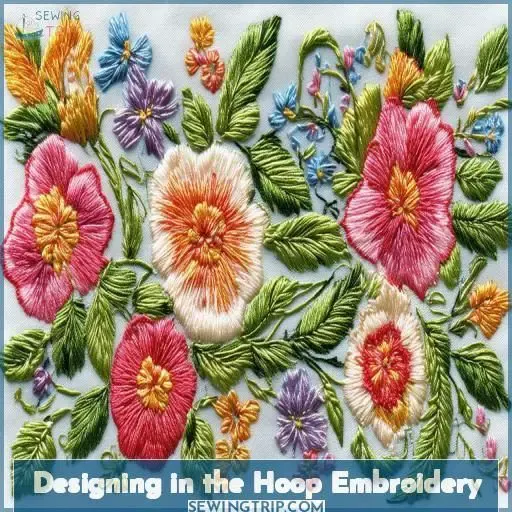
Designing in the Hoop Embroidery
When you’re designing in the hoop embroidery, you’ll need software and tools that allow for easy customization and personalization of your projects. It’s vital to adhere to clear instructions and directions to guarantee your designs turn out perfectly, providing a rewarding and creative experience.
Software and Tools for Creating in the Hoop Designs
Now that you’ve got the perfect embroidery machine, the next step is to master the right software for in-the-hoop designs. Essential tools like Hatch Embroidery, EmbroideryStudio, and BuzzEdit will streamline your process . These software programs offer robust editing capabilities, ensuring your projects achieve unparalleled precision and personalization .
Customization Options for Personalized Projects
Moving from creating designs, you can now personalize your projects with ease for a unique touch. Consider these customization options:
- Explore various design ideas to suit your style.
- Choose the right fabric for durability and feel.
- Experiment with dynamic color combinations.
- Select threads that add visual appeal and vibrancy.
- Add intricate embellishments to enhance your designs.
Importance of Clear Instructions and Directions
Clear instructions and detailed directions are essential for designing in the hoop embroidery. They grant beginners the confidence to follow along confidently, creating beautiful projects. Extensive tutorials and beginner-friendly patterns offer helpful tips, simplifying complex steps.
| Element | Importance |
|---|---|
| Clear Instructions | Confidence in execution |
| Detailed Directions | Assurance of accurate outcome |
| Helpful Tips | Overcomes common challenges |
| Beginner-friendly | Encourages learning and mastery |
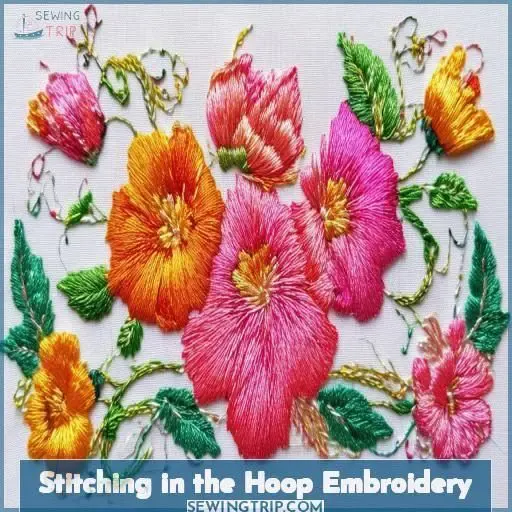
Stitching in the Hoop Embroidery
Start by carefully preparing your fabric and stabilizer, ensuring they’re both wrinkle-free and properly aligned. Next, hoop the fabric correctly to avoid any slack, adjusting the tension so that the material stays taut throughout the stitching process.
Preparing the Fabric and Stabilizer
Start by choosing quality fabric suited for your embroidery design. Pair it with the right stabilizer—options include cut-away, tear-away, or wash-away stabilizers for various fabric types. Layer the stabilizer beneath your fabric, ensuring no wrinkles. Smooth out any creases gently for a flat surface, making sure your fabric selection and stabilizer techniques work in harmony.
Hooping the Fabric Correctly
To hoop fabric correctly, follow these steps to maintain precision and quality in your in the hoop embroidery:
- Fabric preparation: Iron your fabric to remove wrinkles.
- Stabilizer selection: Choose an appropriate stabilizer based on your fabric type.
- Hoop size suitability: Match the hoop size to your project.
- Fabric tension check and hoop adjustment: Ensure the fabric is taut without stretching.
Stitching the Design in the Hoop
Now that you’ve hooped the fabric correctly, it’s time to stitch. Begin by verifying the stabilizer selection is right and adjust the tension. This guarantees smooth stitching. Place the design accurately within the hoop. Follow these steps for a perfect stitch:
| Step | Action | Purpose |
|---|---|---|
| 1 | Stabilize | Prevents shifting |
| 2 | Tension | Ensures consistency |
| 3 | Place | Accurate design placement |
Happy stitching!
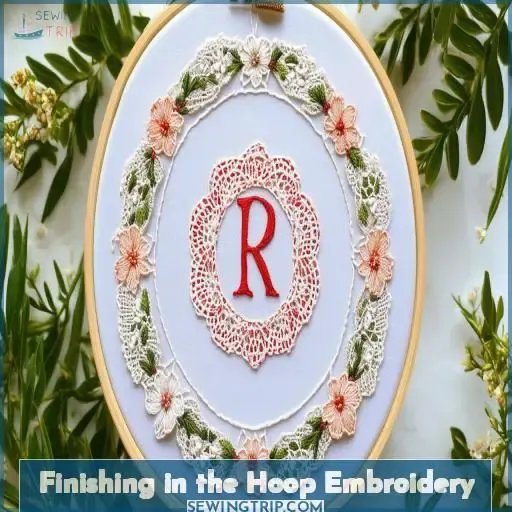
Finishing in the Hoop Embroidery
In this final phase of your in the hoop embroidery project, learn how to remove the design from the hoop gracefully and effectively trim any excess fabric and stabilizer. Mastering these finishing techniques guarantees your work looks polished and professional, giving your creations that refined touch.
Removing the Design From the Hoop
After completing the stitching, carefully remove the design from the hoop to maintain its integrity and guarantee a professional finish. Follow these steps:
- Use small embroidery scissors to snip any remaining threads near the hoop.
- Gently release the fabric from the hoop’s grip.
- Inspect for residual hoop marks and smooth them out for a flawless presentation.
Trimming Excess Fabric and Stabilizer
After you remove the design from the hoop, carefully trim the excess fabric and stabilizer for a polished look. Use sharp embroidery scissors to achieve precision. Here’s a quick tool comparison:
| Tool | Best For | Pros | Cons |
|---|---|---|---|
| Embroidery Scissors | Precision Cuts | Sharp, easy to maneuver | Small size |
| Rotary Cutter | Straight Edges | Quick, efficient | Requires mat |
| Appliqué Scissors | Trimming Felt/Thick Fabrics | Cuts close to stitching lines | Bulky for small areas |
| Seam Ripper | Removing Stitches | Precise, easy to use | Can snag fabric |
Techniques for Creating a Professional Finish
For a professional finish in hoop embroidery, select quality liner fabrics and guarantee accurate zipper installation for practicality. Choose the right materials and guarantee precise design placement. Master hooping techniques by tightening the fabric to avoid puckering. Following these steps can elevate your project, making it look polished and expertly crafted.
Frequently Asked Questions (FAQs)
What does in the hoop embroidery design mean?
In the hoop embroidery designs let you complete projects entirely within your embroidery machine’s hoop. This method combines multiple steps into one, simplifying the process and ensuring precise, high-quality results .
How do you center embroidery designs in a hoop?
To center an embroidery design in a hoop, align the fabric’s center point with the hoop’s center by using templates or marking tools, adjusting the position as necessary for accuracy and ensuring the design fits perfectly.
Do you leave embroidery in the hoop?
Don’t leave your embroidery in the hoop after stitching—it can cause creases or deformities over time, making your hard work go down the drain. Always remove it once done to preserve its pristine quality (Source).
Why are my outlines off on my embroidery design?
Adjusting the tensions on both the bobbin and top thread can improve alignment. Additionally, make certain your fabric is securely hooped and re-calibrate your machine’s hoop placement, utilizing templates for precise alignment (Source).
What types of stabilizers are best to use?
Pfft, stabilizers? Just joking, they’re essential! For stability, use cut-away for knit fabrics, tear-away for woven fabrics, and water-soluble for sheer materials. Trust these, and your designs stay pitch-perfect" .
How can I avoid puckering in fabric?
To prevent fabric puckering in embroidery, make certain of proper tension settings, use high-quality stabilizers, and choose a suitable needle size. Always secure the fabric tightly in the hoop, and test on a sample first .
What precautions are needed for metallic threads?
To avoid headaches with metallic threads, use a metallic needle, adjust tension settings, sew slowly, use a smooth thread path, choose a quality thread, and apply a thread stand to reduce kinking .
Are in-the-hoop designs suitable for beginners?
Imagine transforming fabric into art effortlessly. In-the-hoop designs are perfect for beginners, guiding you through each step with precision, ensuring that your creative journey is smooth, enjoyable, and rewarding .
Can in-the-hoop designs be resized easily?
Resizing in-the-hoop embroidery designs isn’t straightforward. Adjustments to size can alter stitch density and design quality, necessitating software with specific tools to maintain proportions and balance thread coverage effectively .
Conclusion
Imagine the exhilaration as intricate patterns come to life, stitched effortlessly within your hoop, making in-the-hoop embroidery designs my latest fixation and soon to be yours too.
With the right machine like the Janome 500E, essential software, and proper techniques, you’re set to craft personalized masterpieces.
Elevate your creativity, explore endless design possibilities, and enjoy the simplicity and efficiency of in-the-hoop embroidery.
Ready to transform your embroidery game? Delve into this engaging craft today!

