This site is supported by our readers. We may earn a commission, at no cost to you, if you purchase through links.
Sewing machines come in various sizes, with dimensions ranging from compact models to larger industrial machines. For instance, the Janome 1600P-QC sewing machine has dimensions of approximately 19.6 inches in width, 12.7 inches in height, and 7 inches in depth.
The Singer Heavy Duty 4423 model measures 15.5 inches in width, 6.25 inches in height, and 12 inches in depth. These dimensions can vary depending on the specific model and its features, such as the type of stitches it offers, the speed at which it sews, and the materials it is designed to work with.
Table Of Contents
- Key Takeaways
- How Big Are Sewing Machines Dimensions?
- Universal Needles: 70 (10) – 110 (18)
- Sharps Needles: 70 (10) – 90 (14)
- Ball Point Needles: 70 (10) – 90 (14)
- Stretch Needles: 75 (11) – 90 (14)
- Jeans Needles: 90 (14) – 100 (16)
- Loosen the Needle Screw and Remove the Old Needle
- Loosen the Needle Screw and Remove
- Frequently Asked Questions (FAQs)
- Conclusion
Key Takeaways
- Sewing machines come in various sizes, with dimensions ranging from compact models to larger industrial machines.
- Universal needles are the most commonly used needles for a wide range of woven and knit fabrics, and their size depends on the weight of the fabric.
- Sharp needles, also known as universal needles, are versatile and suitable for a wide range of sewing projects, making them a staple in any sewer’s toolkit.
- Ball point needles are specially engineered to navigate the threads of rib knits, fleece, and double knit without causing a snag fest.
How Big Are Sewing Machines Dimensions?
Sewing machines come in a range of sizes, with dimensions varying based on the specific model and its intended use. For example, portable sewing machines are designed to be lightweight and compact, with dimensions like the AH600 model measuring 11-3/4 inches high, 14 inches wide, and 6 inches deep, and weighing around 14 lbs.
On the other hand, a computerized sewing machine like the Bruxel Gala has dimensions of 16.5 inches by 6.6 inches by 11.8 inches.
Another model, the Juki DDL5550N, has a bed size of 517mm by 178mm and a maximum sewing speed of 5500 rpm/spm.
These dimensions can help you choose a sewing machine that fits your available space and your specific sewing needs.
Universal Needles: 70 (10) – 110 (18)
Universal needles are the most commonly used needles for a wide range of woven and knit fabrics. They’ve a slightly rounded point that helps prevent fabric damage. The selection of needle size depends on the weight of the fabric you’re using. For lightweight fabrics like silk, chiffon, and organza, use smaller needle sizes like 60/8 or 70/10. For medium-weight fabrics like cotton, linen, and satin, use 80/12 or 90/14. For heavyweight fabrics like denim, canvas, and upholstery materials, use 100/16, 110/18, or 120/20.
Universal needles are suitable for various fabric types, including woven fabrics, synthetics, and some knit fabrics. They’re designed for general sewing on a home sewing machine and are compatible with most brands.
When choosing a universal needle, consider the fabric’s weight and the sewing technique you’ll be using. Polyester/cotton or silk threads should be used with a universal needle.
To maintain the quality of your sewing machine needles, replace them after every project or when they show signs of wear, such as bending or burrs. Clean your sewing machine regularly to prevent lint and debris buildup that can cause needle-related issues. Store your needles in a safe and organized container to prevent damage.
Sharps Needles: 70 (10) – 90 (14)
Sharps needles, also known as universal needles, are essential for sewing various types of fabrics, including natural materials like cotton, linen, and wool, as well as cotton jersey. They’ve a sharp point and are available in sizes ranging from 70 to 90, with the number indicating the needle’s diameter in millimeters multiplied by 100. These needles are versatile and suitable for a wide range of sewing projects, making them a staple in any sewer’s toolkit.
The anatomy of a sharps needle includes the shank, shaft, groove, eye, and point. The shank is the flat and rounded part that mounts onto the sewing machine, while the shaft spans from the shank to the tip of the needle, including the groove, eye, and tip. The groove is the rest of the needle that spans from the shaft down to the pointy tip, including the eye and the tip. The eye is the part where the sewing thread passes through, and the point can be sharp or rounded depending on the needle’s use.
When choosing a sharps needle, consider the thickness of the fabric you’ll be sewing. Thicker needles are suitable for heavier fabrics, while thinner needles are better for delicate fabrics. Additionally, different needle sizes vary by thickness, with larger numbers indicating a thicker needle shaft. For example, a size 70 needle is 0.7mm in diameter, while a size 90 needle is 0.9mm in diameter.
To use a sharps needle, follow these steps:
- Loosen the needle screw on your sewing machine and remove the old needle.
- Insert the new sharps needle with the flat side of the shank facing the rear of the machine.
- Push the needle up as far as it will go before tightening the screw.
Remember to change the needle after every project or after 6 hours of usage to maintain the performance and longevity of your sewing machine.
Ball Point Needles: 70 (10) – 90 (14)
Delving into the realm of knit fabrics, you’ll find your loyal companions, ball point needles, ranging in sizes from 70 (10) to 90 (14). These aren’t your ordinary sharp soldiers; they’re specially engineered to navigate the threads of rib knits, fleece, and double knit without causing a snag fest. Envision them as gentle giants, gently nudging fibers aside with the grace of a ballet dancer, ensuring your polyester/cotton blend threads glide through effortlessly.
Selecting the appropriate sewing machine needle size isn’t merely about avoiding a conflict with your fabric; it’s about mastering the art of seamless stitches. So, when confronted by a stretchy opponent, equip yourself with ball point needles and witness your sewing projects transform from tangled messes to masterpieces of innovation.
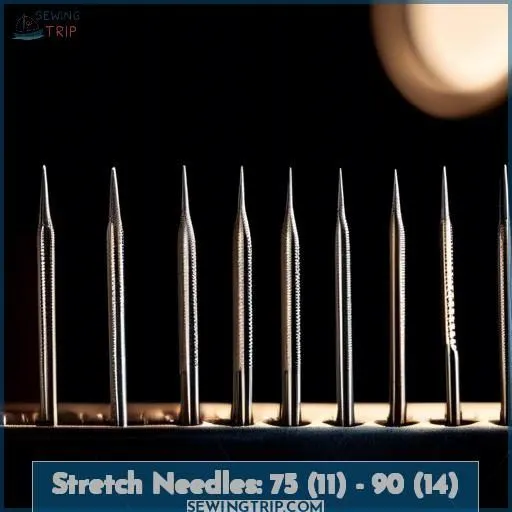
Stretch Needles: 75 (11) – 90 (14)
When handling stretch fabric, you’re in for an exhilarating adventure. Think of stretch needles as your loyal companions, prepared to glide through spandex and elastic fabrics with effortless grace. These needles, ranging from 75 (11) to 90 (14), are the unsung champions for your sewing machine measurements, ensuring your athletic wear and dance costumes are free of skipped stitches and puckered seams.
Imagine them as acrobats, skillfully traversing the elastic tightrope of your fabric. This thorough guide wouldn’t dare abandon you in uncertainty, so recall, for a seamless performance on elastic materials, seize a stretch needle and behold your creations seamlessly bending and stretching.
Jeans Needles: 90 (14) – 100 (16)
Jeans needles are indispensable for sewing through dense fabrics like denim, heavy twill, canvas, and synthetic or blends. These needles are engineered to withstand the challenges of sewing through thick materials without breaking or bending.
- Needle Endurance: Jeans needles are built to withstand, ensuring that your sewing machine can meet the challenges of sewing through tough fabrics.
- Needle Dimensions: Jeans needles typically range from 90 (14) to 100 (16), offering a range of dimensions to suit various projects and fabric thicknesses.
- Needle Varieties: Different needle types are available for different fabrics and projects. Universal needles, ball point needles, stretch needles, and sharps needles each have their own specific uses and dimensions.
When it comes to needle upkeep, it’s vital to replace needles after each project and inspect them after machine jams. A thumping sound during sewing is a clear indication that it’s time to switch the needle. By following these guidelines, you can maintain the longevity of your sewing machine and the quality of your DIY projects.
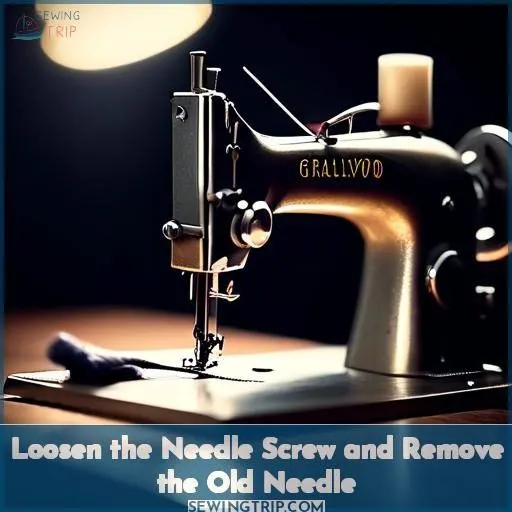
Loosen the Needle Screw and Remove the Old Needle
To loosen the needle screw and remove the old needle, follow these steps:
- Turn off the sewing machine and raise the needle by turning the handwheel counterclockwise until the needle touches the needle stopper.
- Lower the presser foot lever and place fabric or paper under the presser foot to prevent the needle from falling into the hole in the needle plate.
- Hold the needle with your left hand and use an oval screwdriver to turn the needle clamp screw counterclockwise to remove the needle.
- With the flat side of the needle toward the back of the machine, insert the new needle until it touches the needle stopper.
- Tighten the needle clamp using an oval screwdriver.
Remember to use the correct needle size for the fabric you’re working with, as using the wrong needle size can lead to issues such as snapping, bending, bird nesting, wrinkles, holes, drags, or snags.
Eye: the Opening for the Sewing Thread
Regarding sewing, the size of your needle’s eye is vital. It indicates the thickness of the thread you can utilize and the tension you must use. The process of choosing a needle is just as important as the thickness of the thread. If the eye size is too small, the thread might snap or the needle could deform. Conversely, if the eye size is too large, the thread may not feed suitably, resulting in inconsistent stitches.
To achieve optimal outcomes, use the right needle for your project. For instance, a zipper foot is intended for sewing zippers, while a buttonhole foot is for making buttonholes. A 4-step auto-size buttonhole feature can also be beneficial in this regard.
Furthermore, the free arm on your sewing machine enables greater flexibility when working with sleeves or cuffs.
Needle Too Thin: Snaps, Bends, Bird Nesting
Regarding sewing machines, the needle size is pivotal in establishing the quality of stitching. If a needle is excessively thin, it may result in breakages, distortions, or thread tangles, which can be arduous and time-consuming to rectify. Here are four key aspects to ponder when addressing needle compatibility:
- Needle gauge: The gauge pertains to the dimensions of the hole in the needle. A higher gauge indicates a smaller hole. For instance, 25G ½ signifies a 25-gauge, half-inch-long needle.
- Needle sizes: Needles come in diverse sizes, spanning from 18 to 31 gauge. Extended needles (half-inch or longer) are commonly utilized for intramuscular injections, while diminutive (shorter than half-inch) needles are more often used for intravenous injections.
- Needle materials: Different sewing machines might demand specific needle materials, such as ball point, universal, or sharps needles, contingent on the fabric type being worked with.
- Needle brands: Some sewing machines may be adaptable with particular needle brands, so it’s imperative to scrutinize the manufacturer’s guidelines.
To preclude the complications associated with excessively thin needles, ensure the selection of the appropriate needle size based on the specifications of the sewing machine and the fabric type. Regularly examine the needle after machine stoppages and replace it when necessary. Bear in mind, a needle that’s too thin may lead to breakages, distortions, and thread tangles, while a needle that’s too thick may cause creases, punctures, drags, and snags.
Needle Too Thick: Wrinkles, Holes, Drags, Snags
When sewing with a thick needle, you might encounter wrinkled fabric, damaged fabric, and sewing difficulties. Using a needle that’s too thick for your fabric can result in holes, drags, and snags. To prevent these issues, it’s imperative to select the correct needle size for your project.
In the table below, you’ll find a guide to help you choose the right needle size based on your fabric’s weight and thread thickness. Remember, the finer your fabric, the finer your needle should be to avoid unsightly holes. Conversely, the heavier your fabric, the sturdier your needle should be.
| Fabric Type | Needle Size |
|---|---|
| Silk, chiffon, georgette, batiste, cotton lawn, organza, crepe-de-chine, sheer fabrics, rayon | 60/8 |
| Cotton lawn, taffeta, swim, cotton lycra (knit 180 and knit 220), bamboo spandex, double brushed poly | 70/10 or 75/11 |
| Jersey, Lycra, linen, quilting cotton | 80/12 |
| Cotton, polyester, linen, cotton sateen, lightweight upholstery fabrics | 90/14 |
| Denim, tweed, curtain fabrics, soft furnishings | 100/16 |
| Leather, PVC, vinyl | 110/18 |
| Thick denim, heavy canvas, thick leather | 120/19 |
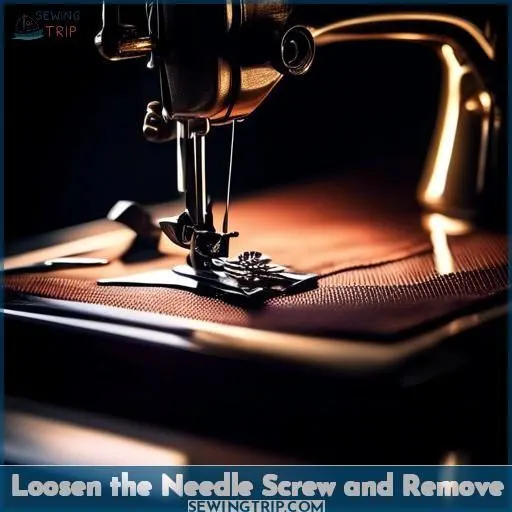
Loosen the Needle Screw and Remove
To replace a sewing machine needle, you’ll need to loosen the needle clamp screw, remove the old needle, and insert the new needle. Here’s a step-by-step guide:
- Loosen the Needle Clamp Screw: Locate the needle clamp, usually near the top of the needle bar, just above the needle. Use a screwdriver to loosen the needle clamp screw, allowing you to remove the old needle.
- Remove the Old Needle: Pull down on the old needle with your fingers or use tweezers if necessary. Make sure to dispose of the old needle safely in a designated container.
- Insert the New Needle: Hold the new needle by its shank (the upper, thicker part). Make sure that the flat side of the needle faces the back of the sewing machine. Push the needle up as far as it will go before tightening the screw.
- Tighten the Needle Clamp Screw: Use the screwdriver to securely tighten the needle clamp screw by turning it clockwise. Make sure that it’s snug but not overly tight, as overtightening can damage the needle or the needle clamp.
- Lower the Presser Foot: Lower the presser foot back down using the presser foot lever. This action re-engages the tension on the upper thread.
- Thread the Machine: Follow your sewing machine’s instructions to thread the upper thread through the new needle’s eye.
- Conduct a Test Stitch: Sew a test stitch on a scrap piece of fabric to make sure the new needle is working properly.
Frequently Asked Questions (FAQs)
How do I determine the ideal sewing machine weight?
To determine the ideal sewing machine weight, consider the following factors:
- Portability: If you plan to travel with your machine or need to move it frequently, a lighter machine will be more suitable.
- Sturdiness: A heavier machine may offer better stability and durability, which can be beneficial for larger or more complex projects.
- Power: A heavier machine may also have more power, which can be important for sewing through thicker fabrics.
- Ease of Use: A lighter machine may be easier to handle and maneuver, which can be beneficial for beginners or those with limited strength.
- Cost: Heavier machines often come with a higher price tag, so consider your budget when deciding on the ideal weight.
Can sewing machines be used on all table types?
Sewing machines can be used on various types of tables, but it’s advisable to use a table specifically designed for sewing to guarantee stability and minimize vibration during use. These tables are often collapsible and lightweight, which makes them convenient to transport, but they can also be sturdy and stable for stationary use.
Industrial sewing machines, on the other hand, require a specialized table that can withstand their weight and reduce vibration during operation.
What are the energy efficiency ratings for sewing machines?
Sewing machines are quite the energy misers, typically using 50-100 watts—less than a lightbulb! So, you’ll stitch up savings on your electric bill while crafting your latest masterpiece.
How does humidity affect sewing machine performance?
Humidity can affect sewing machine performance in several ways. It can cause the fabric and batting to become ‘full’, making it harder to feed through the machine. This can result in the feed dogs not moving properly, which can cause issues with tension and stitch quality. Additionally, humidity may make the machine bed sticky, affecting the machine’s ability to move the fabric smoothly.
To mitigate these issues, it is recommended to maintain a moderate humidity level in the sewing room. Regularly cleaning the machine to remove any lint or debris that may accumulate can also help ensure the feed dogs’ performance is not affected.
Are there sewing machines designed for left-handed users?
Yes, there are sewing machines designed for left-handed users. The sewing machine was originally designed by left-handed inventors, Elias Howe and Isaac Singer, and is inherently left-handed friendly.
The modern sewing machine has evolved to be more right-hander friendly, with features like front-loading bobbins, needles threaded from the front, and foot lifters often on the right side.
However, industrial machines still have features that favor left-handed operators, such as bobbins loading from the left, needles threaded from the left, and foot changes only unscrewing from the left.
Conclusion
Understanding the dimensions of sewing machines is essential for numerous reasons. It aids in choosing the appropriate machine for your space, guaranteeing compatibility with your sewing table, and even determining the ease of transport.
The dimensions of sewing machines vary considerably, with some being compact and portable, while others are larger and intended for industrial applications.
By considering the size of the machine, you can make an informed decision and select a sewing machine that meets your requirements optimally.

