This site is supported by our readers. We may earn a commission, at no cost to you, if you purchase through links.
With the right preparation, machine settings, and techniques, sewing leather becomes not just possible, but a journey towards mastery. This guide is your roadmap, packed with expert tips and tricks to navigate through leather’s unique challenges.
Whether you’re aiming for a sleek wallet or a bespoke bag, you’re in control, turning raw hides into crafted masterpieces. Let’s unlock the potential of your home sewing machine to work wonders with leather.
Yes, you can sew leather on a home sewing machine by using a leather needle, a Teflon or roller foot, and making adjustments like longer stitch lengths and using the right thread.
Table Of Contents
Key Takeaways
- Use a leather-specific needle and adjust your sewing machine settings, such as increasing the stitch length to around 3.5mm and adjusting tension for appropriate stitch tightness, to accommodate the unique properties of leather.
- Employ a Teflon or Walking Foot to prevent the leather from sticking and ensure even feeding of the material through the machine. Alternatively, applying Scotch tape to the bottom of a standard metal presser foot can also improve glide.
- Avoid using pins, as they leave permanent holes in leather. Instead, use binder clips, sewing clips, or double-sided tape to hold leather pieces together before sewing.
- For finishing, remember that leather does not fray, so raw edges can be left as is or glued down for a cleaner look. When cutting, do so one layer at a time to maintain accuracy and protect your tools.
Leather Sewing Preparation
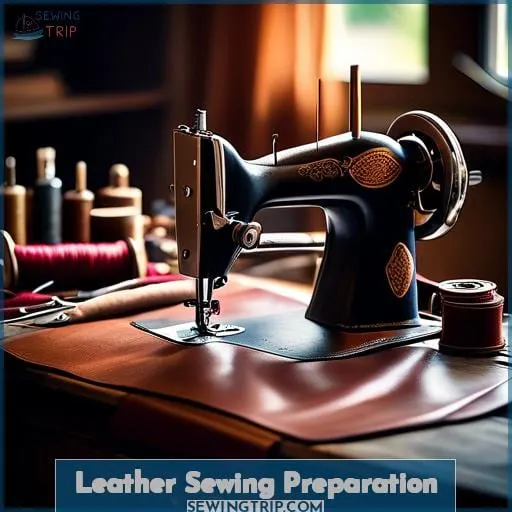
When embarking on the journey of sewing leather with a home sewing machine, it’s crucial to start with the right preparation to ensure success.
Begin by testing your stitching on scrap leather to familiarize yourself with how your machine handles this unique material.
Opt for simple projects that have minimal seams to reduce complexity and potential issues.
Additionally, be mindful of the thickness of the leather you’re working with; try to avoid sewing through more than three layers to prevent your machine from struggling and to ensure a smoother sewing experience.
Test on Scrap Leather
Before you dive into sewing leather on your home machine, it’s crucial to test your approach.
- Select a piece of scrap leather that matches your project’s material.
- Thread your machine with the needle and thread you plan to use.
- Adjust the stitch length to match your intended seam (typically longer for leather).
- Sew a few lines to check tension, stitch quality, and needle performance.
By testing, you’re not just winging it; you’re crafting with confidence. This step is like a dress rehearsal for your masterpiece, ensuring every stitch contributes to a durable and attractive finish.
Choose Simple Projects
When starting your journey into leather sewing, it’s wise to pick projects that won’t have you biting off more than you can chew. Opt for designs with fewer seams and a straightforward structure to avoid getting tangled up in complexity.
Selecting the right needle size and presser foot can be as crucial as picking the perfect dance partner—without harmony, you’re bound to step on each other’s toes. So, whether you’re stitching up a storm with a leather sewing presser foot or hand-sewing with leather sewing needles, take it slow.
After all, you’re not just making leather sewing projects; you’re crafting confidence with every seam.
Account for Seams
When diving into leather sewing, it’s crucial to consider seam allowances and top stitching.
For a sleek finish, avoid bulky seams by limiting additional layers—three’s a crowd here. Opt for a leather needle that matches your thread’s heft, ensuring your machine doesn’t throw a fit.
Keep those leather sewing techniques sharp, and you’ll be crafting like a pro in no time.
Machine Settings for Leather
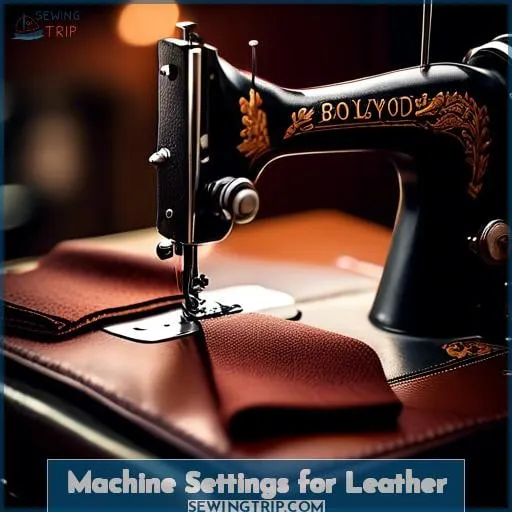
When sewing leather on a home sewing machine, it’s crucial to adjust your machine settings for optimal results.
Start by setting your stitch length to a longer setting, around 3.5, to accommodate the thickness and texture of leather.
Adjust the tension on your machine to ensure that the stitches are neither too loose nor too tight, which can be a bit of a balancing act when working with stiff leather.
Lastly, opt for heavy-duty thread, such as polyester or nylon, to ensure the durability of your stitches and to prevent the thread from being eroded by the tannins in the leather.
Longer Stitch Length
When tackling leather on your trusty home machine, think of your stitch length as the maestro of harmony between needle life and seam strength. Dial it up to around 3.5 to ensure even stitches that glide with optimal feed, reducing tension on your precious leather.
This longer stitch length not only extends the life of your needle but also crafts durable seams that can withstand the rigors of a leather tote’s life.
Adjusted Tension
When sewing leather on your home machine, you’ll need to tweak the tension settings to prevent puckering or loose stitches. Just like you’ve lengthened your stitch, you’ll want to adjust the tension to suit the thickness of the leather.
Think of it as tuning a guitar; you’re aiming for that perfect pitch. If the tension’s too tight, your thread might snap like an overwound string. Too loose, and your stitches will sag like a slack guitar string. It’s a balancing act—find that sweet spot where the presser foot and tension work in harmony, and you’ll be stitching leather like a rock star.
Keep in mind, every leather project may require a slight adjustment, so always do a test run on scraps to ensure you’ve got it dialed in just right.
Heavy-Duty Thread
Once you’ve dialed in the tension to handle leather’s stubborn nature, it’s time to talk thread—specifically, heavy-duty thread.
This isn’t your grandma’s cotton; we’re talking the Superman of threads that won’t shy away from a tussle with tough materials. When you’re picking your champion, think polyester or nylon for their resilience.
And remember, a stitch in time saves nine, but the right stitch length and tension save your sanity when you’re wrestling with a seam allowance that’s thicker than a plot in a detective novel.
Keep that needle comparison in mind too; a leather needle paired with heavy-duty thread is like peanut butter and jelly—a match made in heaven for your leather project.
Techniques for Sewing Leather
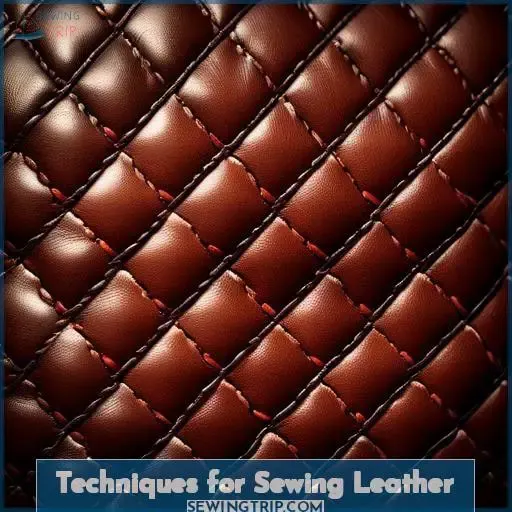
When sewing leather on a home sewing machine, it’s crucial to use the right techniques to ensure a smooth and durable finish.
Double-sided tape can be a game-changer for holding pieces together without leaving permanent holes, unlike pins.
Additionally, sticking to a maximum of three layers of leather will prevent your machine from struggling through thick sections, making your sewing experience more manageable and enjoyable.
Use Double-Sided Tape
Sewing leather can feel like navigating a labyrinth, but with the right tools and tricks up your sleeve, it’s a breeze.
Enter double-sided tape, your secret weapon for precision and ease. Think of it as the Swiss Army knife in your sewing kit—versatile, reliable, and ready for action.
Whether you’re aligning panels for a sleek wallet or preparing straps for a robust bag, this tape’s adhesive strength ensures everything stays put without the commitment ceremony of stitching.
It’s like having an extra set of hands, holding your project together while you focus on the stitching. And let’s not forget the variety it offers; from thin, delicate fabrics to the tough hide of leather, double-sided tape doesn’t discriminate.
It’s the prep step you didn’t know you needed, making your sewing journey smoother than a well-oiled machine. So, before you dive into your next project, remember: a little tape goes a long way in keeping your sanity intact and your pieces perfectly aligned.
Avoid Multiple Layers
When tackling leather, think of it as navigating a thick jungle. Too many layers, and you’re asking for trouble.
Your machine will balk, fabric stretching becomes a nightmare, and needles might just throw in the towel. Keep it sleek with minimal layers; adjust your tension like you’re fine-tuning a guitar, and choose a needle size that won’t back down.
Troubleshooting Leather Sewing
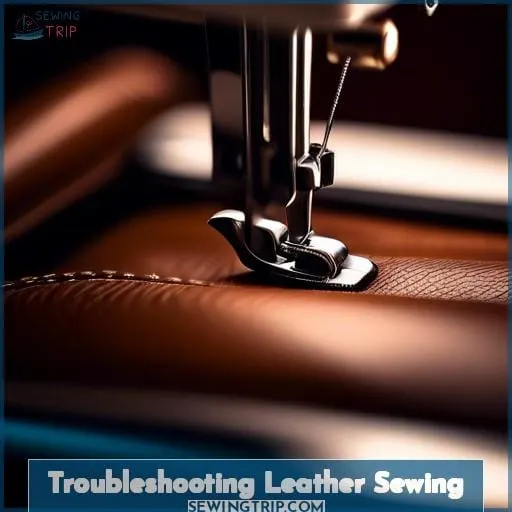
When sewing leather on a home sewing machine, encountering needle breakage and machine struggles is common but manageable. To minimize these issues, always use a leather-specific needle and adjust your machine settings.
Additionally, preparing by testing on scrap leather can help identify and rectify potential problems before they occur, ensuring a smoother sewing experience.
Needle Breakage
When you’re wrestling with leather on your trusty sewing machine and suddenly, snap! Your needle breaks, it’s like the machine is throwing a tiny tantrum.
Needle damage often comes from a high-stakes showdown with thick seams or incorrect thread tension. To avoid this, make sure your needle is the right size for the job—think of it as choosing the right sword for battle.
Skipped stitches can also be a telltale sign that your tension needs tweaking, or that your presser foot pressure is more overbearing than a stage mom at a beauty pageant. Keep an eye on that seam allowance; too much bulk is like trying to fit a camel through the eye of a needle—just not going to happen.
Machine Struggles
When tackling the beast that’s leather sewing, you might find your machine groaning under the pressure of thick areas. Don’t let thread breakage or a stubborn machine needle throw a wrench in your creative flow.
Instead, arm yourself with heavy-duty thread and take a slow and steady wins the race approach.
If your machine is chugging like an old steam train up a hill, it’s a sign to downshift and take it easy. Keep a cool head, and you’ll stitch your way to a masterpiece that would make even the most seasoned leatherworker tip their hat.
Avoiding Unnecessary Holes
When sewing leather on a home sewing machine, it’s crucial to avoid creating unnecessary holes in the material. Binder or sewing clips are your best friends here, as they hold the leather in place without puncturing it, unlike traditional pins.
Always cut one layer of leather at a time to maintain precision and control, ensuring a clean and professional finish.
Binder or Sewing Clips
When diving into the world of leather crafting, mastering the art of avoiding unnecessary holes is crucial. Leather, with its rich texture and durability, doesn’t forgive easily. Imagine it as the canvas for your masterpiece, where every mark counts.
- Binder clips over pins: Swap those traditional pins for binder or sewing clips. They’re like the secret agents of sewing, holding everything together without leaving a trace.
- Double-sided tape magic: For those tricky spots where clips won’t do, double-sided tape becomes your invisible hand. It’s like having an extra set of hands, minus the fingerprints.
- One layer at a time: Cutting leather is like sculpting marble; precision is key. Cut one layer at a time to maintain control and ensure your masterpiece unfolds as intended.
Embrace these tools and techniques with the patience of a sculptor and the precision of a master painter. Your leather projects won’t only look professional but will tell a story of craftsmanship and attention to detail.
Cut One Layer at a Time
Continuing from the importance of using binder or sewing clips, let’s delve into another crucial aspect of working with leather: cutting one layer at a time. When you’re slicing through leather, it’s not like cutting through butter; you’ve got to be as precise as a surgeon.
Mark your leather clearly, hold it steady, and cut slowly. Use a sharp blade to avoid sliding and maintain control. It’s like performing a ballet with your hands—every move counts, and there’s no room for a misstep.
Here’s a handy table to keep these tips at your fingertips:
| Do’s | Don’ts |
|---|---|
| Cut slowly to maintain control | Rush the cut |
| Use a sharp blade for clean edges | Use a dull blade that can slip |
| Hold the leather steady while cutting | Let the leather move around |
| Mark clearly where you need to cut | Make vague or faint marks |
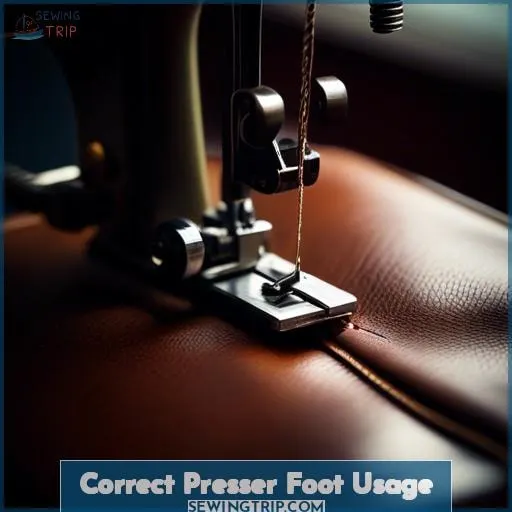
Correct Presser Foot Usage
When sewing leather on a home sewing machine, selecting the right presser foot is crucial for achieving smooth, professional results. A Walking Foot or a Teflon Presser Foot can significantly enhance your sewing experience by ensuring even feeding of thick fabrics and preventing the leather from sticking to the foot.
If these options aren’t available, applying Scotch tape to the bottom of a standard metal presser foot can serve as a practical alternative.
Walking Foot
Sewing leather on a home machine? You’ve got this. Just remember, the right tools make all the difference.
Enter the walking foot, your new best friend for tackling leather’s stubborn thickness. This nifty gadget evenly distributes presser foot pressure, ensuring your needle doesn’t play favorites with either layer of leather.
And when it comes to needle size and stitch type, think bigger and bolder. Opt for a leather needle that can handle the spotlight and adjust your stitch to a longer length to avoid any drama.
Leather’s tough, but with the walking foot, you’re tougher.
Teflon Presser Foot
After mastering the walking foot, it’s time to glide into the world of Teflon presser feet.
- Choose Teflon for Tricky Textiles: When fabrics like leather or vinyl get clingy, a Teflon foot ensures they slide under the needle without a hitch.
- Avoid the Stick: No more wrestling with materials that love to hug your foot. Teflon’s non-stick surface means fabric glides without any tugs or snags.
- Even Stitches Every Time: Say goodbye to skipped stitches and hello to even seams, as Teflon feet help maintain consistent fabric feeding.
Metal Foot Alternatives
When your metal foot sticks like gum on a hot sidewalk, it’s time for a switch.
Enter the Teflon foot, sliding over leather like butter on a hot pan.
No Teflon? No problem.
A walking foot can be your knight in shining armor, feeding thick fabrics evenly without a hiccup.
And if you’re in a pinch, slap some Scotch tape on that metal foot—voilà, instant non-stick surface!
Markings and Seam Finishes
When working with leather on a home sewing machine, it’s crucial to transfer pattern markings to the wrong side of the material to avoid any visible marks on the finished product.
For seam finishes, you have the option to leave the edges raw, as leather doesn’t fray, or for a cleaner look, you can glue the seams down using a suitable leather adhesive.
These steps are essential for achieving a professional appearance in your leather projects.
Transfer Markings to Wrong Side
When you’re ready to leave your mark on leather, remember that the wrong side is your canvas for planning.
- Leather Marking Methods: Flip that leather over and use the backside as your sketchpad. This way, you can go wild with your designs without marring the good side.
- Transfer Paper Options: If you’re not the freehand type, transfer paper is your best buddy. It’s like a cheat sheet for your leatherwork, ensuring your cuts are sharp and your stitches are straight.
- Marking Tools for Leather: Get your hands on a chalk wheel or a removable leather marking pen. They’re like the secret agents of the leather world—there when you need them, gone without a trace when the mission’s complete.
Raw or Glued Seam Finishes
After transferring your markings to the wrong side of the leather, it’s time to tackle those raw edges. You’ve got two choices: leave them au naturel or glue them down for a polished look.
If you’re going for that raw, unadulterated edge, just make sure it’s cut clean—no frayed bits to give away your DIY secrets. But if you’re in the mood to glue, finish those edges with a dab of Leathercraft Cement.
It’s like giving your leather a little black-tie makeover. Just apply it neatly, press firmly, and let it set.
Leather Sewing on Home Machines
When you’re ready to tackle leather sewing on your home machine, start by testing your stitch on scrap leather to dial in the right tension and length.
Keep your leather pieces firmly in place by clipping them together, avoiding pins that can leave permanent marks.
For a clean finish, apply glue to seam allowances to keep them flat and reduce bulkiness in your final product.
Test Stitch on Leather
When transitioning from the basics of marking and finishing seams on leather, it’s crucial to dive into the practical step of testing your stitch on leather. This step isn’t just about ensuring your machine can handle the material; it’s about mastering the art of leather sewing.
Think of it as your rite of passage. Before you embark on your main project, grab a scrap piece of leather to experiment with. Adjust your thread tension, needle selection, presser foot pressure, and machine speed according to the leather’s thickness.
This isn’t just about avoiding a stitch in time; it’s about ensuring every stitch is a testament to your craftsmanship. So, slow down, take a deep breath, and let the machine dance under your guidance.
Clipping Leather Sections
After you’ve tested your stitch on scrap leather, it’s time to clip your leather sections together. This is where the magic happens, as you align each piece with precision, ensuring your project comes together like a well-oiled machine.
- Hold Leather Firmly: Use clips with just the right amount of strength to hold the leather without leaving any battle scars.
- Clip Alignment: Like a conductor leading an orchestra, ensure each clip is placed strategically for a symphony of stitches.
- Clip Removal: Gently remove the clips as you sew, like a thief in the night, to avoid any unwanted marks or damage.
Glue Seam Allowances
After you’ve clipped your leather pieces together, it’s time to ensure your seams won’t be going anywhere.
Apply it between the layers to bond them with strength that lasts. Think of it as the secret handshake between your leather layers, ensuring a seam flattening that’s not just flat but stays flat.
It’s like a promise of solidarity among your materials, making sure your creation holds up to the rigors of use. Remember, a little glue application goes a long way towards a professional finish, so wield that adhesive with the precision of a master craftsman.
Frequently Asked Questions (FAQs)
Can I sew suede or other delicate leather types on a home sewing machine without damaging them?
Yes, you can sew suede and other delicate leathers on a home sewing machine by using a leather needle.
How do I maintain my sewing machine after sewing leather, especially to prevent residue buildup or damage?
After sewing leather, give your machine some TLC.
Brush out any leather particles and lint, and apply a drop of oil to keep things running smoothly.
Is it possible to achieve professional-looking topstitching on leather with a home sewing machine, and if so, how?
Yes, you can achieve professional-looking topstitching on leather with a home sewing machine by using a leather needle.
Adjusting stitch length is crucial for achieving the desired results.
Employing a Teflon presser foot can help ensure smooth fabric feed.
What are the best practices for sewing curved seams or intricate patterns on leather using a home sewing machine?
For sewing curved seams or intricate patterns on leather with a home machine, you’ll want to clip curves, use a Teflon foot to prevent sticking, and opt for a longer stitch length.
Slow down, be precise, and remember, practice makes perfect. Don’t rush; leather’s not forgiving like fabric.
Happy stitching!
How can I effectively sew very thin or very thick leather pieces together without causing puckering or skipped stitches?
Navigating the treacherous waters of sewing leather can be like walking a tightrope, but fear not!
For thin leather, use a finer needle and lower tension to avoid puckering.
For thick leather, opt for a leather needle, increase stitch length, and ensure even feeding with a walking foot or Teflon presser foot.
Conclusion
Just as a painter transforms a blank canvas into a masterpiece, you’ve embarked on a journey to master the art of sewing leather on your home sewing machine.
With the guidance provided, you’re well-equipped to navigate the unique challenges leather presents. Remember, the key to success lies in preparation, choosing the right machine settings, and employing specific techniques tailored for leather.
By adhering to these expert tips and tricks, you’ll avoid common pitfalls and ensure your leather projects aren’t only possible but also a testament to your skill and creativity. Embrace this opportunity to transform raw hides into bespoke treasures, proving that with the right approach, sewing leather at home isn’t just a dream but a rewarding reality.

