This site is supported by our readers. We may earn a commission, at no cost to you, if you purchase through links.
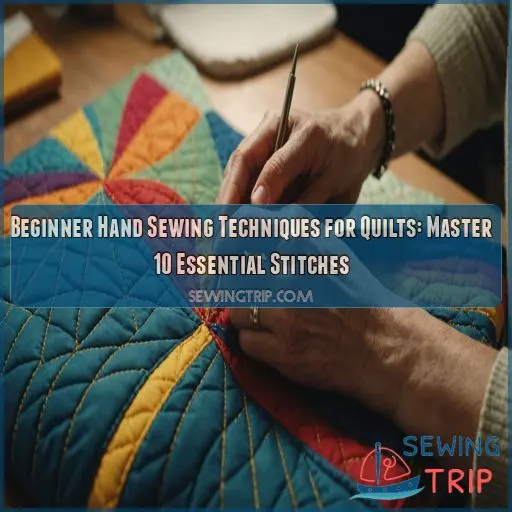
As a beginner, you’ll be excited to learn that it’s easier than you think!
With a few essential hand sewing techniques, you’ll be stitching like a pro in no time.
From choosing the right thread and needle to managing tension and perfecting your stitches, we’ll guide you through it.
Start with simple stitches like the quilting stitch and running stitch, and before you know it, you’ll be creating beautiful, one-of-a-kind quilts that showcase your unique style.
Table Of Contents
- Key Takeaways
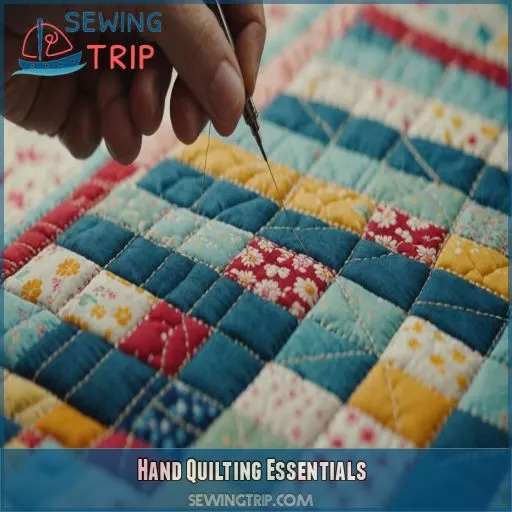
- Hand Quilting Essentials
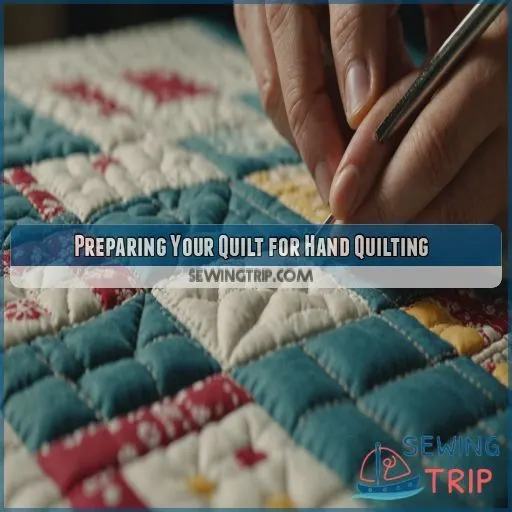
- Preparing Your Quilt for Hand Quilting
- Basic Hand Quilting Stitches
- Hand Quilting Techniques for Beginners
- Managing Thread and Tension
- Quilting Over Patchwork and Motifs
- Finishing Your Hand-Quilted Quilt
- Troubleshooting Common Hand Quilting Issues
- Hand Quilting Inspiration and Projects
- Advanced Hand Quilting Techniques
- Frequently Asked Questions (FAQs)
- Conclusion
Key Takeaways
- You’re going to love mastering the basic hand quilting stitches, such as the Quilting Stitch and running stitch, that will bring your quilt to life. With practice, you’ll be creating beautiful, handmade quilts that showcase your unique style.
- Don’t stress about choosing the right thread and needle. Just remember to pick a thread that complements your fabric, and a needle that’s suitable for hand quilting, such as a quilter’s between needle or embroidery needle.
- You’re about to become a pro at managing thread and tension. To achieve a silky stitching rhythm, keep a consistent thread length, use quilting speed control by taking slow and deliberate stitches, and manage your batting layer for effortless gliding.
- Remember, mistakes happen, but with some troubleshooting know-how, you’ll be able to overcome common issues like knots, uneven stitches, and mistakes that need fixing. Keep an eye on thread tension, choose the right needle, and aim for stitch consistency to save yourself from pesky problems down the line.
Hand Quilting Essentials
As you start your hand quilting journey, you need to get the basics right – and that means choosing the right thread, needle, and finger protection to make the process smooth and enjoyable. In this section, you’ll learn how to select the perfect tools for your hand quilting project, setting you up for success as you master the essential stitches.
Choosing the Right Thread
When diving into hand quilting, the first big decision you’ll make is choosing the right thread. As you begin, keep these things in mind to make the process smooth and enjoyable:
- Thread weight: Lighter threads for intricate designs, heavier threads for bold statements
- Thread color: Matching or contrasting with your quilt’s colors
- Thread texture: Smooth, waxed, or embroidery floss for unique effects
Selecting the Perfect Needle
Now that you’ve got the perfect thread, let’s talk about the perfect needle! Choosing the right needle can make all the difference in your hand quilting journey. Here’s a quick rundown of what you need to know:
| Needle Type | Description |
|---|---|
| Quilter’s Betweens | Thin, flexible needles for general quilting |
| Embroidery Needles | Thicker, more rigid needles for bold stitching |
| Sharp Needles | Pointy tips for easy piercing |
| Blunt Needles | Rounded tips for gentle stitching |
| Specialty Needles | Designed for specific techniques, like beading or sashiko |
Finger Protection and Thimble Options
Protect those fingers! As you start hand quilting, it’s important to shield your digits from pesky needle pricks. Consider these options:
- Leather coin thimbles for a classic feel
- Metal thimbles for durability
- Slip-stop thimbles for extra grip
- Silicone fingertip covers for flexibility
Choose the right fit, and you’ll be quilting like a pro in no time!
Essential Tools for Hand Quilting
Now that you’ve got your fingers protected, let’s talk about the other tools you’ll need to get started with hand quilting. You’ll want a few trusty sidekicks, including a quilting hoop, some sharp cutting tools, and ergonomic goodies to keep you comfortable.
| Tool | What it’s for |
|---|---|
| Quilting hoop | Keeps fabric taut |
| Quilters needles | For stitching |
| Thimble | Protects fingers |
| Rotary cutter | Cuts fabric accurately |
| Thread conditioner | Reduces tangles |
Preparing Your Quilt for Hand Quilting
As you get ready to hand quilt, you’ll want to prepare your quilt top.
You’ll need to cut and organize your fabric.
Then, sew and press the pieces together.
Finally, layer everything with batting and backing fabric.
Cutting and Organizing Fabric
Now that you’ve got your hand quilting essentials covered, it’s time to prep your fabric! Cutting and organizing fabric is the first step in bringing your quilt to life. Here are a few things to keep in mind:
- Use fabric cutting tools like rotary cutters and mats to guarantee accuracy and speed.
- Pre-washing fabric can help prevent shrinkage and color bleeding.
- Store your cut fabric pieces in airtight containers or ziplock bags to keep them organized and dust-free.
Sewing and Pressing Quilt Pieces
Now that you’ve got your fabric cut, it’s time to sew and press those quilt pieces! To guarantee a smooth piecing process, use a 1/4 inch seam allowance and press your seams to one side. When assembling blocks, align your fabric carefully and use pins to keep things in place. Happy sewing – your quilt is starting to come together!
Layering and Smoothing Out the Quilt
Now it’s time to bring your quilt layers together. Lay out your backing fabric, batting, and quilt top, smoothing out wrinkles as you go. Use quilt basting methods like safety pins or spray basting to hold everything in place. Make sure to align your fabric layers carefully to avoid hand quilting problems down the line.
Basic Hand Quilting Stitches
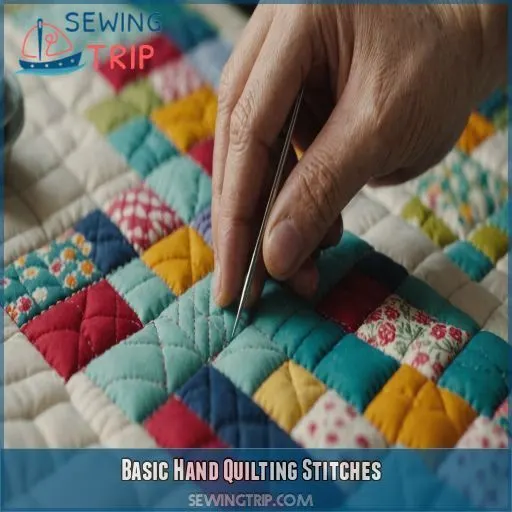
You’re ready to start stitching, and we’re excited to guide you through the basic hand quilting stitches that will bring your quilt to life. Mastering these stitches will take practice, but with a little patience and persistence, you’ll be creating beautiful, handmade quilts in no time.
The Quilting Stitch
You’re about to master the quilting stitch, the foundation of hand quilting. Here are three key things to keep in mind:
- Stitch length options: Vary your stitch length to achieve the desired texture and visual interest.
- Quilting stitch tools: Use a sharp needle and a thimble to protect your fingers.
- Thread weight choices: Choose a thread weight that complements your fabric and desired stitch visibility.
Running Stitch and Variations
You’re getting the hang of hand quilting! Now, let’s explore the running stitch and its variations. This versatile stitch is perfect for creating beautiful textures and patterns on your quilt. Check out this table for some inspiration:
| Stitch Length | Thread Color | Stitch Pattern |
|---|---|---|
| Short and sweet | Monochromatic | Simple stripes |
| Medium and steady | Contrasting | Chevrons |
| Long and flowing | Variegated | Wavy lines |
| Variable | Ombre | Geometric shapes |
Experiment with different stitch lengths, thread colors, and patterns to add visual interest to your quilt.
Backstitch and Its Uses
Now that you’ve got the running stitch down, let’s talk about its BFF, the backstitch.
This stitch is perfect for outlining designs, creating straight lines, and adding texture to your quilt.
It’s also super strong, making it ideal for hand sewing and machine quilting.
Use it to add a decorative touch or to reinforce seams – it’s a game-changer for quilting enthusiasts!
Tips for Even Stitches
Now that you’ve mastered the backstitch, let’s talk about tips for even stitches. To achieve uniformity, focus on consistent stitch length and needle tension. Hold your hand in a relaxed position, with your wrist straight and fingers curled gently around the needle. Experiment with different thread types and practice drills to find your rhythm.
Hand Quilting Techniques for Beginners
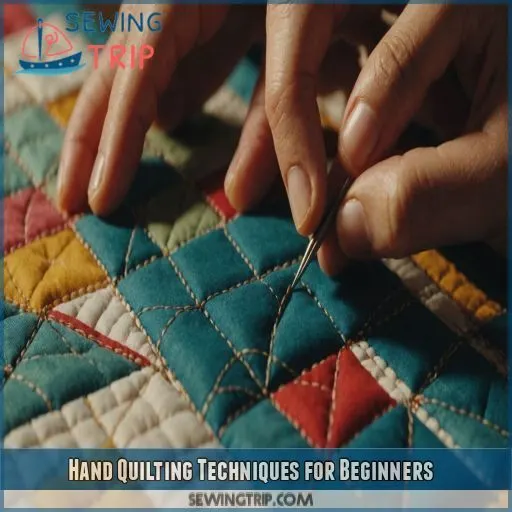
As you start your hand quilting journey, you’ll discover that it’s all about developing a rhythm and flow that works for you.
You’ll be well on your way to creating beautiful, one-of-a-kind quilts that showcase your unique style.
With a few simple techniques, such as working from the center outwards, quilting rounds and lines, traveling through batting, and mastering motifs like the honeycomb, you’ll be well on your way to creating beautiful, one-of-a-kind quilts that showcase your unique style.
Working From the Center Outwards
You’re about to learn the secret to a beautiful, professional-looking quilt: working from the center outwards. This technique helps keep tension even and prevents those pesky puckers.
- Imagine your quilt as a blooming flower, with the center as the starting point
- Visualize the threads radiating outwards like sunbeams
- Picture the quilt structure unfolding like a symphony
- See the motifs placed carefully, like puzzle pieces
- Envision the edges stitched smoothly, like a calm lake on a summer day
Quilting Rounds and Lines
You’ve mastered working from the center outwards, now it’s time to tackle rounds and lines!
For round quilting techniques, use a hoop to keep your fabric taut.
This makes it easier to maintain even thread tension.
For line quilting patterns, you can ditch the hoop and work freely.
This allows you to create beautiful, continuous stitches.
Practice makes perfect, so grab some scraps and get stitching!
Traveling Through Batting
Now that you’ve mastered quilting rounds and lines, let’s talk about traveling through batting. This technique allows you to connect motifs without cutting your thread. Simply insert your needle into the batting, gently push it through, and bring it back up to the surface. This technique requires some finesse, but with practice, you’ll be a pro in no time.
Honeycomb Motif Example
Let’s take a closer look at the Honeycomb Motif Example! This classic design is a great way to practice your hand quilting skills. Start by quilting zigzag lines, then fill in the connecting lines. Experiment with different thread types and stitch variations to make it your own. Draw inspiration from traditional quilting heritage and add your own creative twist.
Managing Thread and Tension
As you settle into the rhythm of hand quilting, managing thread and tension becomes a key skill to master. In this section, you’ll learn how to thread your needle, create a secure quilter’s knot, maintain even tension, and avoid thread breakage – all essential techniques to make sure your stitches are smooth, even, and frustration-free.
Threading Your Needle
Threading your needle – it’s a task that can be surprisingly finicky! To get started, choose a needle that’s suitable for hand quilting, like a quilter’s between needle or an embroidery needle. Select a thread that’s not too thick or too thin, and gently thread it through the needle’s eye. Leave a small tail of thread to work with.
Creating a Quilter’s Knot
The quilter’s knot – an important step in securing your thread. How do you create one?
- Thread the needle, then position the thread and needle facing each other.
- Wrap the thread around the shaft of the needle to create a coil.
- Slide the coil over the end of the needle and pull it along the thread to form a knot.
Maintaining Even Tension
Now that you’ve mastered the quilter’s knot, it’s time to focus on maintaining even tension. As you stitch, keep a gentle, consistent pull on the thread. Imagine you’re dancing with the fabric – smooth, fluid movements will help you find your quilting rhythm. Practice controlling your stitch length and thread management to achieve a beautiful, even texture.
Avoiding Thread Breakage
The thread breakage blues! You’re rocking along, stitching like a pro, when suddenly – snap! Don’t worry, it’s not you, it’s the thread (or maybe the tension). To avoid this frustration, choose high-quality threads, keep a gentle tension, and select the right needle size. Also, prevent knots by not pulling the thread too tight, and use a smooth stitch technique.
Quilting Over Patchwork and Motifs
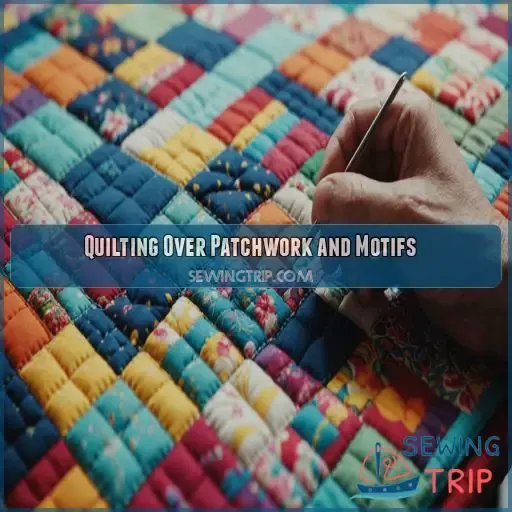
You’re ready to add some magic to your quilt with hand-stitching, but now you’re wondering how to quilt over those beautiful pieced blocks, appliques, and embroidery without messing them up. Don’t worry, with some simple tips and tricks, you’ll be smoothly quilting over patchwork and motifs in no time, adding texture and depth to your finished quilt.
Quilting Over Pieced Blocks
You’ve mastered managing thread and tension, it’s time to tackle quilting over pieced blocks.
Imagine your quilt as a canvas, with each block a unique piece of art.
To bring them together, use a consistent seam allowance and consider block filler designs to add texture.
Play with different quilting patterns to enhance your piecing patterns and make your quilt truly shine.
Quilting Over Appliqué
You’re about to tackle quilting over appliqué – the ultimate test of patience and skill. Don’t worry, with these tips, you’ll be a pro in no time:
- Use a stabilizing material like interfacing or fusible web to keep appliqué pieces in place.
- Quilt around the edges of the appliqué, using a matching thread color to blend in.
- For dense appliqué areas, try using a smaller needle and shorter stitches.
Quilting Over Embroidery
Ready to add an extra layer of love to your quilt? Quilting over embroidery is a great way to combine techniques and create stunning motifs. Simply thread your needle, tie a quilter’s knot, and gently stitch over your embroidered design. Layering stitches adds texture and visual interest, making your quilt truly one-of-a-kind.
Tips for Smooth Quilting
Now that you’ve mastered quilting over embroidery, let’s get smooth! To achieve a silky stitching rhythm, try these Thread Tension Tricks:
- Keep a consistent thread length to avoid tangles
- Use Quilting Speed Control by taking slow, deliberate stitches
- Manage your Batting Layer and align your fabric grain for effortless gliding
Finishing Your Hand-Quilted Quilt
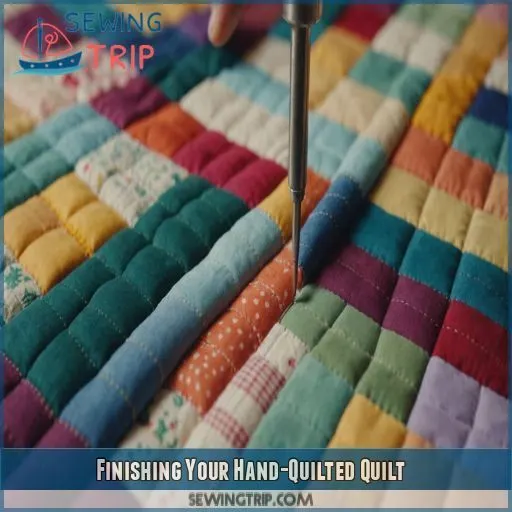
You’ve finally reached the last stretch of your hand-quilting journey – finishing your masterpiece! Now, it’s time to add the final touches, including binding and finishing the edges, adding a label and signature, washing and caring for your quilt, and displaying and storing it for years to come.
Binding and Finishing the Edges
Now that you’ve completed the quilting process, it’s time to tackle the final stretch – binding and finishing those edges! You’ve got several options for binding strips, from simple to decorative. Master the art of mitered corners and hand-stitching edges for a professional finish. Choose from various folded binding methods to add a personal touch to your quilt.
Adding a Label and Signature
Now that your quilt is bound and finished, it’s time to add a label and signature – the quilt equivalent of signing your masterpiece. Place your label on the back, including your name, date, and a personal message. Get creative with your signature style, and consider adding a brief artist statement to make it extra special.
Washing and Caring for Your Quilt
Now that you’ve added a label and signature to your quilt, it’s time to think about keeping it clean and fresh. Washing and caring for your quilt requires some TLC. Use cold water, mild detergent, and gentle agitation to prevent damage. For tough stains, try a stain remover or a solution of equal parts water and white vinegar.
Displaying and Storing Your Quilt
You’ve completed your hand-quilted masterpiece, and now it’s time to show it off. Consider a wall hanging or quilt rack to display your art. For storage, roll your quilt with acid-free tissue paper and stash it in a breathable bag. Keep it away from direct light and humidity to help its beauty last.
Troubleshooting Common Hand Quilting Issues
As you work on your hand-quilting project, you’ll inevitably encounter some bumps in the road – like knots, uneven stitches, and mistakes that need fixing. Don’t worry, with some troubleshooting know-how, you’ll be able to overcome these common issues and get back to stitching with ease.
Dealing With Knots and Tangles
Knots and tangles – the ultimate hand-quilting nemesis! Don’t worry, friend, we’ve all been there. To avoid these pesky problems, keep your thread tension in check and choose the right needle for the job. Here are some troubleshooting tips to save the day:
- Use a thimble to prevent thread tangles around your fingers.
- Gently tease out knots with a needle or your fingers.
- Avoid mixing thread types to minimize tangling.
- Use a needle threader to guide the thread through the needle’s eye.
- Keep your workspace tidy to prevent threads from getting twisted and knotted.
Fixing Uneven Stitches
The pesky uneven stitches! Don’t worry, friend, it’s an easy fix. Check your tension – are you pulling the thread too tight or loose? Adjust your needle size or thread type if needed. Practice consistent stitch length, and you’ll be golden. Take a deep breath, and gently re-stitch the wonky areas. Your quilt (and you) will thank you!
Removing Mistakes and Errors
The inevitable mistakes! Don’t worry, we’ve all been there. To remove mistakes and errors, follow these steps:
- Unpicking: Carefully remove the incorrect stitches, taking note not to pull too hard and damage the fabric.
- Thread removal: Gently pull out the thread, working from the end of the stitch.
- Fraying repair: Use a needle and thread to reinforce any frayed areas.
- Seam ripping: Use a seam ripper to carefully remove incorrect seams, then re-sew as needed.
Tips for Avoiding Common Mistakes
The pesky mistakes that can ruin our quilting flow! Now that we’ve tackled removing errors, let’s talk prevention. To avoid common mistakes, keep an eye on thread tension, choose the right needle, and aim for stitch consistency. Proper fabric prep, careful knot placement, and a relaxed stitching rhythm will also save you from pesky problems down the line.
Hand Quilting Inspiration and Projects
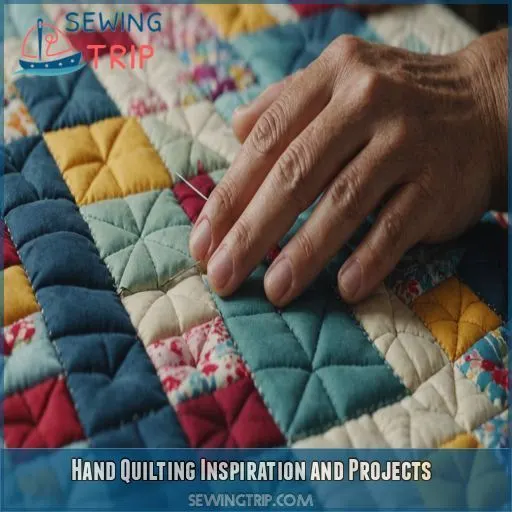
You’re ready to express your creativity and make hand quilting a personal expression of your style, but where do you find inspiration for your projects? Look to quilt history, nature, art, and even your own experiences to spark ideas and create unique, meaningful quilts that tell your story.
Exploring Quilt History and Tradition
You’ve mastered the stitches and tackled common issues, now it’s time to explore the rich history behind your craft. Quilting is more than just a hobby, it’s a connection to the past. Here are three ways to tap into quilt history and tradition:
- Research quilt block origins: Discover the stories behind traditional patterns like Log Cabin and Churn Dash.
- Explore antique quilt values: Learn about the monetary and sentimental value of vintage quilts.
- Share family quilt stories: Ask relatives about the quilts that have been passed down through your family and the stories behind them.
Finding Inspiration in Nature and Art
As you start hand quilting, let nature and art be your guides. Draw inspiration from the intricate patterns on a leaf, the vibrant colors of a sunset, or the textures of a botanical garden. Art quilts with abstract textures and botanical motifs can spark creativity, encouraging you to experiment with artistic quilting techniques.
Creating Your Own Hand-Quilting Projects
As you get started creating your own hand-quilting projects, remember to start small and have fun! Frequently, beginners get overwhelmed by too many options, so try limiting yourself to a few favorite fabrics and a simple quilt design. Plan your project, gather your quilting supplies, and find pattern inspiration in nature, art, or your favorite books. Happy quilting!
Sharing Your Work and Connecting With Others
Now that you’re creating your own hand-quilting projects, it’s time to share them with the world!
Join online quilt communities, local guilds, or Instagram groups to connect with fellow quilters.
Share your progress, ask for feedback, and get inspired by others’ work.
Consider showcasing your quilts at local shows or exhibitions – it’s a great way to meet like-minded folks and get your creative juices flowing!
Advanced Hand Quilting Techniques
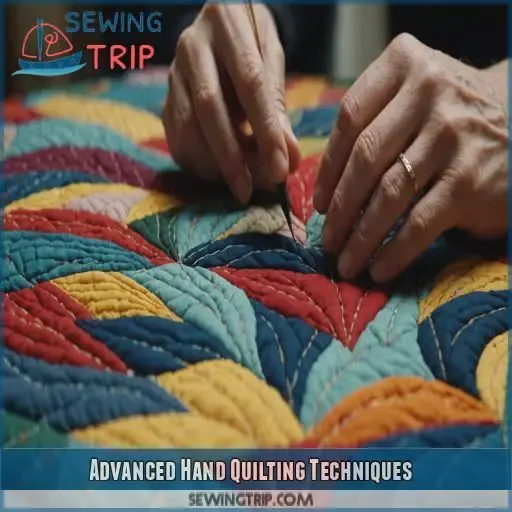
You’re ready to take your hand quilting to the next level with advanced techniques that will give your quilts a unique and professional finish. From Kantha and Sashiko stitching to big stitch quilting and experimenting with new threads and materials, you’ll discover how to push the boundaries of hand quilting and make your projects truly special.
Kantha and Sashiko Stitching
As you explore advanced hand quilting techniques, discover the beauty of Kantha and Sashiko stitching. These traditional Eastern methods use large stitches and thick threads to create intricate designs.
- Learn Kantha stitch variations for texture and visual interest
- Explore Sashiko patterns for bold, geometric designs
- Learn about the history of Kantha and its modern applications
- Familiarize yourself with Sashiko tools and materials
- Experiment with combining Kantha and Sashiko for unique quilts
Big Stitch Quilting and Modern Styles
You’re ready to shake things up with big stitch quilting and modern styles. Think bold color palettes and contemporary quilt designs that make a statement.
| Big Stitch Patterns | Modern Thread Choices | Contemporary Quilt Designs |
|---|---|---|
| Simple Running Stitch | Variegated Cotton Thread | Geometric Patterns |
| Bold Backstitch | Metallic Thread | Abstract Designs |
| Staggered Stitch | Waxed Cotton Thread | Whimsical Illustrations |
| Herringbone Stitch | Vintage Yarn | Modern Mosaic Art |
Try pairing big stitch patterns with modern thread choices for a fresh look.
Experimenting With New Threads and Materials
You’re ready to shake things up with new threads and materials. Experimenting can be intimidating, but it’s a great way to add personality to your quilts. Here are four ways to get started:
- Try a new thread weight or texture to add depth to your stitches
- Play with color and create a unique palette
- Substitute yarn for thread for a chunkier look
- Blend threads for a one-of-a-kind hue
Pushing the Boundaries of Hand Quilting
As you master traditional hand quilting techniques, it’s time to push the boundaries and explore new frontiers. Experiment with free-motion stitching, 3D quilting, and mixed media to create truly unique pieces. Don’t be afraid to try unconventional patterns and contemporary designs – it’s a great way to inject your personality into your quilts and make them truly shine.
Frequently Asked Questions (FAQs)
Can you hand sew a quilt for beginners?
You can hand sew a quilt as a beginner, using simple stitches and techniques to create a beautiful piece. With patience and practice, you’ll master the basics and enjoy the freedom to create unique, handmade quilts .
What is the easiest quilt pattern for a beginner?
You’re ready to start quilting! The easiest quilt pattern for a beginner is a simple square or strip quilt, like the Kris Kross Quilt, which requires minimal cutting and piecing, making it perfect for newbies.
What is the best stitch for hand sewing a quilt?
You’re about to start hand-sewing your quilt! The running stitch is the best stitch to begin with, as it’s easy to learn and works well for straight lines and simple shapes .
Do you double the thread when hand quilting?
When hand quilting, you can double the thread for added strength, but it’s not always necessary. Try using a single strand of high-quality thread, like perle cotton or embroidery floss, for a beautiful, subtle stitch.
What are the best fabrics for hand quilting beginners?
As a hand quilting newbie, you’re probably wondering what fabrics to cozy up with. Opt for 100% cotton fabrics, which are soft, breathable, and easy to work with – the perfect match for your quilting journey!
How do I choose the right thread for hand quilting?
Choosing the right thread for hand quilting can be overwhelming, but don’t worry, friend! Consider the color, weight, and fiber content that suits your project. Perle cotton, embroidery floss, and waxed cotton threads are popular choices.
What are the differences between hand quilting and machine quilting?
You’re weighing the options between hand quilting and machine quilting. The main difference is the personal touch and texture – hand quilting offers a unique, imperfect finish, while machine quilting provides speed and uniformity.
Can I use a sewing machine to finish hand-quilted seams?
Are you ready to blur the lines between hand quilting and machine sewing? You can use a sewing machine to finish hand-quilted seams, but you need to maintain a consistent stitch length and thread color to create a cohesive look.
How do I care for and wash a hand-quilted quilt?
To care for your hand-quilted quilt, wash it gently in cold water with a mild detergent, and avoid wringing or twisting. Gently remove excess water, then air dry or tumble dry on a low setting.
Conclusion
Did you know that a staggering 75% of quilters find hand quilting to be the most relaxing and fulfilling part of the quilting process?
As you master these beginner hand sewing techniques for quilts, you’ll discover the joy of creating something truly unique.
With practice and patience, you’ll be stitching like a pro in no time.

