This site is supported by our readers. We may earn a commission, at no cost to you, if you purchase through links.
Give user-friendly brands like Singer or Janome a test run to see if they’re a match made in sewing heaven. Once you’re set, a well-organized workspace will be your craft kingdom.
Ready to conquer sewing? Oh, we’ve just scratched the surface!
Table Of Contents
- Key Takeaways
- Choosing the Right Sewing Machine for Beginners
- Essential Sewing Machine Parts and Functions
- Setting Up Your Sewing Machine Workspace
- Threading Your Machine Like a Pro
- Mastering Basic Stitches and Techniques
- Fabric Handling Tips for Smooth Sewing
- Troubleshooting Common Beginner Sewing Machine Problems
- Selecting the Right Needles and Accessories
- Simple Projects to Practice Sewing Skills
- Maintaining and Caring for Your Sewing Machine
- Frequently Asked Questions (FAQs)
- Conclusion
Key Takeaways
- Ready to tame your sewing machine? Start simple with a budget-friendly model from user-friendly brands like Singer or Janome. Test drive before you buy—it’s like dating, but for sewing machines! Feel its features, hear its purr, and don’t forget to check out those warranty details.
- Dive into your sewing adventure by setting up a comfy workspace. Good lighting’s essential—like having daylight bulbs so you don’t end up with weird color choices. Organize your tools like a sewing wizard, and keep that fabric stash in check. Remember, a tidy space inspires creativity!
- Become the threading master! At first, threading can seem like a puzzle, but follow the right path, and you’ll be sewing smoothly. Use that automatic needle threader—say goodbye to squinting! Learn the bobbin tango, and you’ll stitch like a pro in no time.
- Stuck on sewing projects? Try easy ones like a pillowcase, tote bag, or drawstring pouch. These are beginner-friendly and let you practice your newfound skills without biting off more than you can chew. Celebrate your small wins, and soon, you’ll be sewing confidently!
Choosing the Right Sewing Machine for Beginners
Choosing your first sewing machine can feel like facing a maze of features and options, but don’t worry – we’ve got your back!
In this guide, we’ll walk you through the key things to keep in mind when picking out your perfect beginner-friendly machine, from must-have features to budget-friendly choices that won’t break the bank.
Key Features to Look For
When picking out your first sewing machine, keep an eye out for these key features that’ll make your sewing journey a breeze, especially if you’re considering mechanical models understanding mechanical sewing machines.
Look for a variety of stitch types,
automatic features,
and a built-in needle threader.
Budget-Friendly Options
Looking for budget-friendly options? You don’t need to break the bank! Check out used machines at secondhand stores or online marketplaces. Many affordable brands offer great features for beginners.
Mechanical Vs. Computerized Machines
Let’s talk about sewing machines! Mechanical models offer simplicity and durability, while computerized ones boast advanced features. Your choice depends on budget, tech-savviness, and sewing goals.
Brands Known for User-Friendly Models
Now that you’ve weighed mechanical vs. computerized options, let’s spotlight some brands that’ll make your sewing journey a breeze. Singer, Brother, and Janome are go-to names for user-friendly machines.
Testing Machines Before Purchase
Wisdom comes from hands-on experience.
Before committing, test-drive potential machines.
You’ll get a feel for the features, noise levels, and overall comfort.
Don’t forget to check user reviews and warranty details!
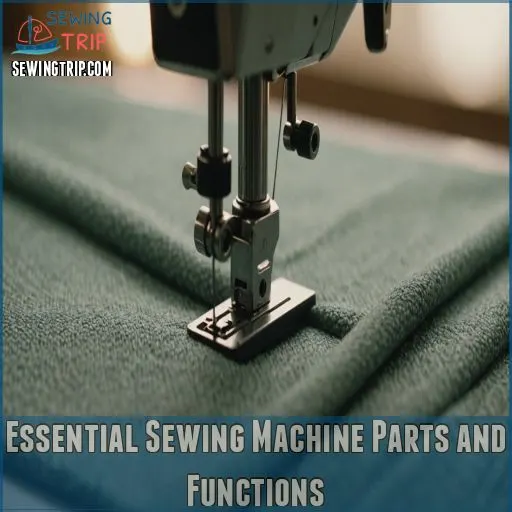
Essential Sewing Machine Parts and Functions
You’re about to start a sewing adventure, but first, let’s get to know your machine’s essential parts.
Understanding these key components will help you thread, stitch, and troubleshoot like a pro in no time.
Threading Mechanism
You’ve picked your perfect machine, now it’s time to tame the threading beast! Don’t worry, it’s not as scary as it looks. Here’s your game plan:
- Identify the thread guide
- Follow the tension discs
- Loop through the take-up lever
- Thread the needle eye
Think of it like solving a puzzle – each step brings you closer to sewing success!
Bobbin and Bobbin Case
After threading, let’s focus on the bobbin—the unsung hero of your sewing machine.
This little spool holds the lower thread, working in tandem with the upper thread to create stitches.
Presser Foot and Its Variations
Moving from bobbins to presser feet, let’s tackle another key player. Your presser foot is like a shoe for your machine, holding fabric in place as you sew.
Tension Dial and Adjustments
Now that you’re familiar with presser feet, let’s tackle the tension dial. This little knob is your secret weapon for perfect stitches on any fabric thickness.
Stitch Selection and Length Controls
You’ve got the tension down pat. Let’s explore the fun part: stitch selection and length controls. These nifty dials are your ticket to sewing magic!
- Turn the stitch selector to choose your weapon (straight, zigzag, decorative)
- Adjust stitch length for different fabrics (shorter for delicates, longer for thick materials)
- Play with settings to create unique patterns (it’s like being a fabric DJ!)
Remember, practice makes perfect. Don’t be afraid to experiment – your machine won’t bite!
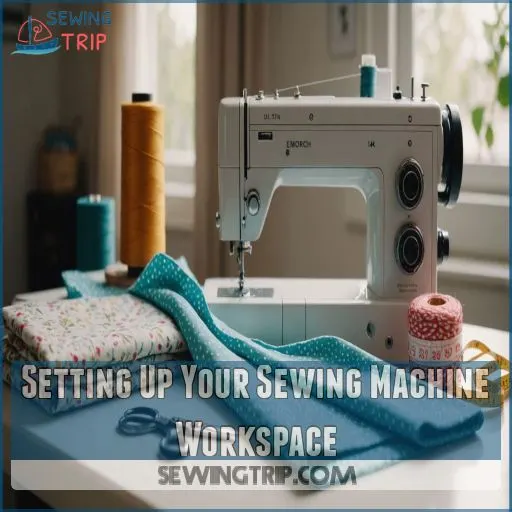
Setting Up Your Sewing Machine Workspace
Setting up your sewing machine workspace is really important for a smooth and enjoyable sewing experience.
By creating a comfortable, well-organized area with proper lighting and storage solutions, you’ll be ready to tackle any project that comes your way.
Proper Lighting and Ergonomics
After mastering your machine’s parts, let’s set up your sewing sanctuary! Good lighting and ergonomics aren’t just fancy words—they’re your secret weapons against eye strain and backaches.
| Lighting Tips | Ergonomic Hacks |
|---|---|
| Invest in a flexible desk lamp | Adjust chair height for level arms |
| Use daylight bulbs for true colors | Keep feet flat on the floor |
| Position light to avoid shadows | Take regular stretching breaks |
Remember, a comfortable sewer is a happy sewer! Your workspace should feel like a cozy nook where creativity flows freely.
Organizing Tools and Accessories
With your workspace well-lit, let’s tame that sewing chaos! A tidy space is a happy space, especially for your crafting tools.
- Use a magnetic strip for pins and needles
- Store thread spools in clear containers
- Organize bobbins in an egg carton
- Label everything – future you’ll thank you!
A place for everything, and everything in its place isn’t just a saying – it’s your new sewing mantra!
Creating a Comfortable Sewing Area
Creating your sewing sanctuary is key to mastering your machine. Set up in a well-lit spot with proper ergonomics. Your sewing nook should feel inviting, inspiring creativity and comfort.
Storage Solutions for Fabrics and Supplies
Your sewing space’s storage can make or break your creativity.
Organize fabrics by color or type in clear bins.
Corral supplies in labeled project boxes.
You’ll feel like a fabric wizard!
Maintenance and Cleaning Station
Set up a dedicated maintenance station to keep your sewing machine purring. Here’s what you’ll need:
- Lint brush for banishing fuzz
- Screwdriver for tightening loose screws
- Oil for smooth operation
Threading Your Machine Like a Pro
Threading your sewing machine might seem tricky at first, but it’s a skill you’ll master in no time with practice.
In this section, we’ll walk you through the process step-by-step, from winding your bobbin to using that tricky automatic needle threader, so you can start stitching with confidence.
Step-by-Step Upper Threading Guide
Now that your workspace is set up, let’s tackle threading your machine. It’s like solving a puzzle – once you know the path, it becomes second nature!
| Step | Action | Tips | Common Mistakes |
|---|---|---|---|
| 1 | Place spool on pin | Make sure it’s the right way around | Loose spool |
| 2 | Guide thread through hooks | Follow machine’s path | Skipping hooks |
| 3 | Loop around tension disc | Check manual for specifics | Incorrect tension |
| 4 | Thread the needle | Use threader if available | Wrong direction |
You are now ready to begin sewing!
Bobbin Winding and Insertion Techniques
Moving on from threading, let’s tackle the bobbin – the unsung hero of your sewing machine. Winding and inserting it correctly is key to smooth stitching.
- Wind bobbin evenly, not too tight or loose
- Insert bobbin case with thread unwinding counterclockwise
- Pull thread through tension spring and slot
Remember, a well-wound bobbin is like a perfectly brewed cup of coffee – it sets you up for success!
Troubleshooting Common Threading Issues
Three common threading headaches can turn your sewing dreams into a tangled mess. Let’s unravel these issues and get you back to stitching bliss in no time!
Using Automatic Needle Threaders
Threading your needle can be a real eye-strainer, but automatic needle threaders are here to save the day! These nifty gadgets make threading a breeze.
- No more squinting – perfect for tired eyes or dim lighting
- Faster setup – thread your machine in seconds
- Reduced frustration – say goodbye to missed attempts
You’ll wonder how you ever managed without one! Just remember, practice makes perfect when using these handy tools.
Importance of Quality Thread Selection
After mastering the needle threader, let’s talk thread quality. Your thread choice can make or break your project. It’s like choosing the right fuel for your car!
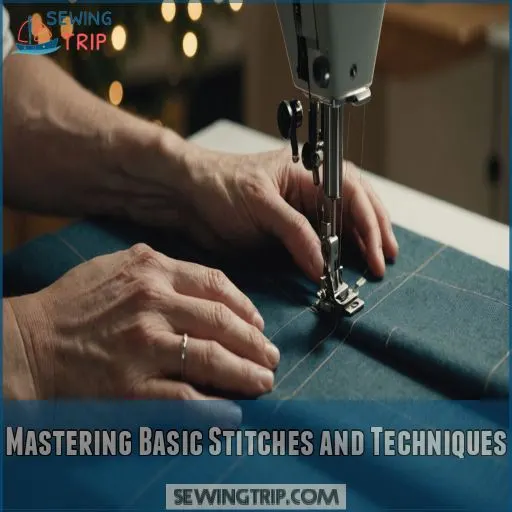
Mastering Basic Stitches and Techniques
You’re about to learn the secrets of basic stitches and techniques that’ll transform you from a newbie to a confident sewist.
Get ready to master straight stitches, zigzags, buttonholes, and more as we guide you through the essential skills every beginner needs to create beautiful, professional-looking projects.
Straight Stitch and Its Applications
Now that you’ve threaded your machine, let’s tackle the workhorse of sewing: the straight stitch. It’s your go-to for most projects and incredibly versatile.
- Joining fabric pieces for garments
- Creating sturdy seams in home decor items
- Topstitching for a professional finish
- Quilting intricate patterns
- Basting temporary seams for fitting
Straight stitches are essential for a variety of sewing projects.
Zigzag Stitch for Seam Finishing
Once you’ve mastered the straight stitch, it’s time to zigzag! This versatile stitch is your secret weapon for finishing seams and preventing fraying. Let’s get started!
Buttonhole Creation
Ready to tackle buttonholes? Don’t sweat it! With modern machines, you’ll be stitching perfect ones in no time. Start by practicing different types on scrap fabric first.
Sewing Curves and Corners
Mastering buttonholes? Great! Let’s take on curves and corners. You’ll feel like a pro in no time, smoothly guiding fabric around bends. It’s easier than parallel parking!
Backstitching for Seam Reinforcement
You’ve nailed sewing curves! Now let’s reinforce those seams. Backstitching is your secret weapon for durable stitches. Simply reverse a few stitches at the start and end of your seam.
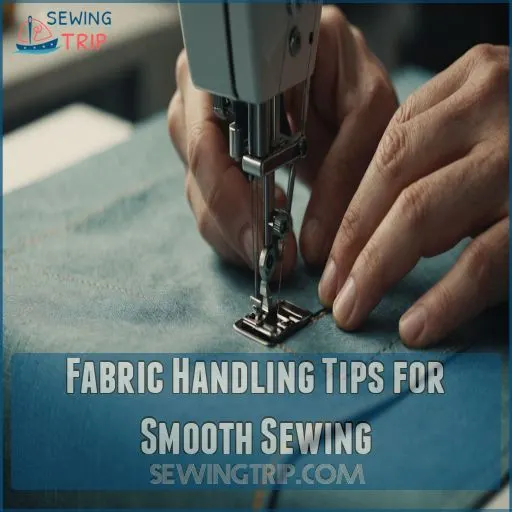
Fabric Handling Tips for Smooth Sewing
You’ve got your sewing machine set up and ready to go, but how do you handle fabric like a pro?
In this section, we’ll share some game-changing tips for managing different materials, keeping your stitches smooth, and tackling even the thickest fabrics with ease.
Proper Fabric Alignment and Feeding
Feeding fabric smoothly is like guiding a dance partner – it takes practice and finesse.
- Maintain gentle tension
- Use seam guides for straight lines
- Adjust pressure for different fabrics
Using Pins and Clips Effectively
Pin-perfect precision awaits!
Let’s explore pins and clips, your trusty sidekicks for smooth sewing.
These tiny tools make a big difference in your projects.
| Tool Type | Best For | Pro Tip |
|---|---|---|
| Glass-head Pins | Delicate Fabrics | Heat-resistant for ironing |
| Wonder Clips | Thick Materials | Great for bulky seams |
| Quilting Pins | Multiple Layers | Extra-long for stability |
Managing Different Fabric Types
Mastering different fabric types can be tricky, but with practice, you’ll breeze through them like a pro. Here’s how to handle various materials:
- Lightweight silks: Use a smaller needle and gentle touch
- Heavyweight denim: Opt for a sturdy needle and slower speed
- Stretchy knits: Apply a walking foot and ballpoint needle
- Slippery satin: Pin generously and use a straight stitch plate
Remember, each fabric has its own personality. Adjust your approach accordingly, and you’ll soon be fabric-whispering like a seasoned seamstress!
Preventing Fabric Puckering and Stretching
You’ve got this! Tame those pesky puckers and stretches by adjusting your machine’s tension.
Use the right needle size and stitch length for your fabric.
Don’t forget to press as you go!
Techniques for Sewing Thick Materials
When tackling thick fabrics, choose a heavy-duty needle and lengthen your stitches.
Adjust thread tension and switch to a walking foot for even feeding.
You’ll conquer those layers in no time!
Troubleshooting Common Beginner Sewing Machine Problems
You’ve got your sewing machine set up and you’re ready to create, but suddenly you’re faced with tangled threads or skipped stitches.
Don’t worry – even experienced sewers encounter hiccups, and with a few troubleshooting tips up your sleeve, you’ll be stitching smoothly in no time.
Dealing With Thread Breakage
Thread breakage got you down? Don’t worry! Check your tension settings first. Then, inspect your needle and thread quality. A clean machine and proper bobbin winding can also work wonders.
Fixing Uneven or Skipped Stitches
Encountering uneven or skipped stitches? Don’t fret! Check your needle type and stitch length.
Make sure your fabric thickness matches your machine settings.
Remember, proper bobbin winding is key to smooth sewing.
Resolving Tension Issues
Tension troubles got you in a tangle? No worries! Let’s unravel this mystery together. You’ll be stitching like a pro in no time with these tension-taming tricks.
Addressing Needle Breakage
A broken needle can put a wrench in your sewing plans.
- Check needle type and size
- Inspect fabric compatibility
- Adjust sewing speed
- Examine needle condition
Handling Fabric Jams
Nobody likes fabric jams, but they’re part of the sewing journey. Don’t panic! Here’s your go-to guide for smoothing out those pesky hiccups:
| Jam Type | Likely Cause | Quick Fix |
|---|---|---|
| Bunched Fabric | Incorrect tension | Adjust thread tension |
| Thread Nest | Improper threading | Rethread machine |
| Stuck Fabric | Wrong needle size | Switch to appropriate needle |
| Skipped Stitches | Bobbin issues | Check/replace bobbin |
Remember, patience is your best tool. You’ve got this!
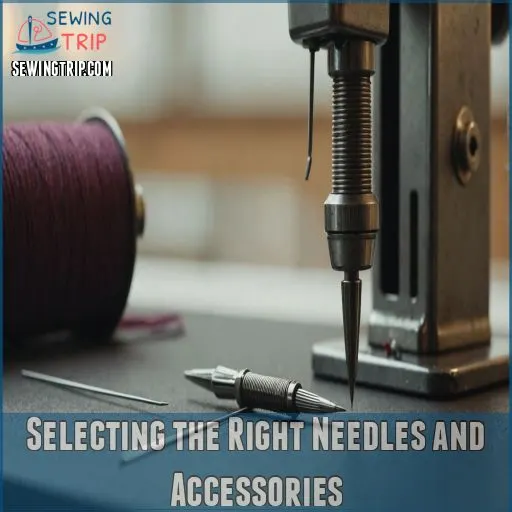
Selecting the Right Needles and Accessories
You’re ready to tackle your first sewing project, but wait – do you have the right needles and accessories?
Don’t worry, we’ll guide you through choosing the perfect tools to make your sewing journey smooth and enjoyable.
Needle Types for Different Fabrics
Choosing the right needle is like finding the perfect dance partner for your fabric. You’ll want to match needle size with fabric weight for smooth sewing. Let’s get started!
Essential Presser Feet for Beginners
Get to know presser feet! As a beginner, you’ll want to get cozy with these essential helpers:
- All-purpose foot: Your trusty sidekick
- Zipper foot: The zip whisperer
- Buttonhole foot: Button-up pro
Useful Attachments for Specific Tasks
Beyond basic feet, you’ll find attachments that make specific tasks a breeze. Let’s explore some handy tools that’ll up your sewing game and add versatility to your projects.
Organizing and Storing Accessories
You’ve got your attachments, now let’s get organized! A tidy workspace is a happy workspace. Here’s how to keep your sewing accessories in check:
- Repurpose a fishing tackle box for small notions
- Hang pegboard to display frequently used tools
- Use magnetic strips for needle storage
- Label clear jars for buttons and thread spools
With these tips, you’ll have a place for everything and everything in its place. No more hunting for that elusive seam ripper!
When to Replace Needles and Parts
Replace your needle after 8-10 hours of sewing or if it’s bent, dull, or causing skipped stitches.
Don’t wait for it to break—regular changes help you get smooth stitching and protect your fabric.
Simple Projects to Practice Sewing Skills
Ready to put your newfound sewing skills to the test?
Let’s jump into some simple, beginner-friendly projects that’ll help you practice what you’ve learned while creating useful items for your home or wardrobe.
Easy Pillowcase Tutorial
Let’s kick off your sewing journey with an easy pillowcase project!
Choose a cozy fabric, set your machine to straight stitch, and measure for your desired pillow size.
Ready to begin?
Beginner-Friendly Tote Bag
After mastering basic stitches, create a beginner-friendly tote bag to practice your skills.
This project offers:
- Straight seams for confident stitching
- Handle attachment for strength practice
- Optional lining for added challenge
Personalize with fabric choices and embellishments!
Simple Drawstring Pouch Project
Whip up a charming drawstring pouch using scrap fabric – the perfect project to showcase your blossoming sewing skills! Experiment with cord choices and fun embellishments for a personalized touch.
Basic Zipper Pouch Instructions
Picture creating a stylish zipper pouch! Choose fabric and lining that sing together. Master zipper insertion and seam finishing, refining your skills and crafting confidence.
Quilted Potholder for Skill Building
Making a quilted potholder strengthens your skills. Choose fabrics and experiment with quilting techniques. Batting options create variety. Binding methods enhance the final touch. Indulge yourself:
- Fabric Selection – Choose two contrasting patterns.
- Batting Types – Test different thicknesses for heat protection.
- Quilting Techniques – Practice straight stitching or free-motion.
- Binding Methods – Finish edges neatly. Employ bias tape.
Maintaining and Caring for Your Sewing Machine
Keeping your sewing machine in top shape can be as simple as regular cleaning and oiling—think of it as spa day for your trusty sewing sidekick, and you’ll find that following these tips can help you avoid common sewing machine problems.
Don’t forget to give it a cozy storage space free from dust, and if it starts sounding like a rock band instead of a symphony, it might be time for a professional tune-up.
Regular Cleaning and Oiling Routine
Regularly cleaning and oiling your machine is key – grab a brush, canned air, and the right oil to keep it humming along smoothly.
Make a maintenance log to stay on top of it.
Proper Storage Between Sewing Sessions
You’ve cleaned your machine, but don’t let dust settle! Use sewing machine dust covers and organize fabrics, needles, and accessories neatly for easy access.
When to Seek Professional Servicing
If unexpected machine noise, poor stitch quality, or regular needle issues persist despite maintenance, it’s time to think about warranty claims and seek a professional’s magical touch.
Keeping Your Machine Dust-Free
Just finished looking into servicing? Keep dust at bay by:
- Using sewing machine covers.
- Cleaning tools regularly.
- Developing a dust-free workspace.
- Investing in air purifiers.
Transporting Your Machine Safely
Safely transporting your sewing machine is a breeze with a sturdy case or box. Cushion it well, and you’ll keep your trusty companion in tip-top shape during moves.
Frequently Asked Questions (FAQs)
What is the first thing a beginner should sew?
Start with a simple, straightforward project like a tote bag or pillowcase.
These allow you to practice essential sewing skills like straight stitching, turning corners, and finishing edges – all while creating something useful.
How to get better at using a sewing machine?
To improve your sewing skills, practice regularly, experiment with different stitches, and tackle new projects.
Don’t worry about mistakes—consider them learning stitches.
Consult your manual, adjust settings, and watch online tutorials for extra guidance.
Sew on!
Which is the best sewing machine for beginners?
Choose a beginner-friendly sewing machine that feels like your trusty sidekick—simple, reliable, and packed with straightforward features like basic stitches, an automatic needle threader, and adjustable settings.
It turns sewing into a walk in the park!
How to use a sewing machine for the first time?
Imagine a dance: plug in your machine, thread it carefully, and gently guide fabric under the presser foot.
Watch it glide!
Test stitches on scrap fabric first to get your groove, and soon you’ll be sewing like a pro!
How can I improve sewing machine tension control?
Did you know that 78% of sewers struggle with tension issues? Don’t be one of them!
Mastering tension is the key to smooth, professional-looking stitches.
Adjust your top and bobbin tension gradually until you achieve that perfect balanced look.
What is the best way to store thread?
Store threads in a clear, stackable box or organizer.
Keep matching spools and bobbins together — they’re like peanut butter and jelly!
Label them for quick access.
Avoid direct sunlight to prevent fading.
Tidy threads, happy sewing!
How do I clean a sewing machine effectively?
Clean your sewing machine by getting rid of dust bunnies.
Remove the bobbin, use a brush to sweep away lint, and apply a few drops of oil on moving parts.
Remember, a stitch in time saves nine!
What are tips for sewing machine safety?
Don’t skip safety basics!
Unplug your machine when not sewing, avoid loose clothing or jewelry, and keep those fingers clear of the needle.
A runaway machine’s no joke—practice makes perfect, but safety keeps you stitching!
How can I handle stretchy fabrics smoothly?
Did you know stretchy fabrics can be tamed with a simple trick?
Gently hold the fabric taut with your left hand as you sew, guiding it smoothly through the machine.
This’ll keep those pesky stretches at bay and give you professional-looking results.
Conclusion
Sewing is like weaving a tapestry of creativity—one stitch at a time!
You’ve got all the best sewing machine beginner tips under your belt to master your machine, so embrace the process.
Remember, practice makes perfect, and a bit of patience goes a long way.
Celebrate your small wins, whether it’s a simple pillowcase or a quirky zipper pouch.
With each project, your confidence will grow, and soon, you’ll be stitching like a seasoned pro!
Happy sewing!

