This site is supported by our readers. We may earn a commission, at no cost to you, if you purchase through links.

Skipping seam finishes? That’s a recipe for frayed disaster.
And remember, your iron isn’t just for wrinkled shirts – pressing as you sew is key to pro-level results.
Measure twice, cut once, and for heaven’s sake, stop using your fabric scissors on paper! Whether you’re a newbie or a seasoned stitcher, these blunders can trip up anyone. But fear not, there’s a world of sewing wisdom waiting to guide you through the pitfalls.
Table Of Contents
- Key Takeaways
- Using the Wrong Type of Machine Needle
- Neglecting to Replace Sewing Machine Needles Regularly
- Failing to Finish Seams Properly
- Skipping Pressing During Sewing Process
- Selecting Inappropriate Fabric for Projects
- Misusing Sewing Scissors on Non-Fabric Materials
- Ignoring Body Measurements and Pattern Size Charts
- Skipping Fabric Pre-Washing and Preparation
- Neglecting Regular Sewing Machine Maintenance
- Before Each Project
- Attempting Overly Complex Projects Too Soon
- Frequently Asked Questions (FAQs)
- Conclusion
Key Takeaways
- You’re not a mind reader, so don’t expect your sewing machine to be one! Match your needle to your fabric like you’re setting up the perfect blind date – it’ll save you from a world of stitching heartbreak.
- Think ironing is just for wrinkled shirts? Think again! Pressing as you sew is like giving your project a spa day – it’ll look polished and professional, not like it just rolled out of bed.
- Your fabric scissors are the divas of your sewing kit – treat them like royalty and use them only for fabric. Using them on paper is like asking Beyoncé to perform at your local karaoke night – it just shouldn’t be done!
- Don’t be a rebel without a cause – pre-wash your fabric! It’s like giving your project a crystal ball, showing you exactly how it’ll behave after its first wash. No more surprises that shrink your dreams (and your garments)!
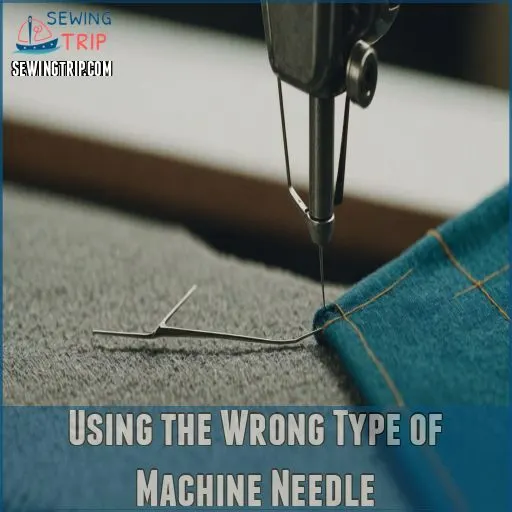
Using the Wrong Type of Machine Needle
You might think all sewing machine needles are created equal, but using the wrong type can spell disaster for your project.
Let’s unravel the mystery of machine needles and learn how to choose the right one for your fabric, saving you from frustrating snags, skipped stitches, and ruined materials.
Understanding Different Needle Types
Ever felt like you’re sewing through quicksand? It might be down to using the wrong needle type. Sewing machine needles come in various sizes and points, each designed for specific tasks. From the sharp universal needle to the ballpoint for knits, understanding these differences is key. Don’t let needle confusion prick your confidence – mastering this skill will set you up for smoother sewing sailing!
Matching Needles to Fabric Types
Now that you’re familiar with needle types, let’s tackle matching them to fabrics.
It’s like pairing wine with food – the right combo makes all the difference!
Lightweight fabrics need fine needles, while heavy-duty materials call for sturdier ones.
Remember, the needle’s point matters too.
Sharp points for wovens, ballpoint for knits.
Get this right, and you’ll be stitching like a pro in no time!
Effects of Using Incorrect Needles
When you use the wrong needle, your sewing project can quickly unravel. The effects of this common blunder can be disastrous:
- Skipped stitches that leave gaps in your seams
- Fabric tears that ruin your carefully chosen materials
- Needle breakage, potentially damaging your machine
- Thread knotting that creates unsightly lumps
Don’t let these needle nightmares haunt your sewing dreams! By matching the right needle to your fabric, you’ll keep your projects on track and your machine purring.
Signs of Needle Damage or Wear
Needles don’t last forever, so keep an eye out for trouble.
You’ll know it’s time for a change if you hear a ‘pop’ with each stitch or notice your fabric snagging.
Skipped stitches, bent needles, or frequent breakage are red flags too.
Don’t ignore these signs – a worn-out needle can turn your dream project into a nightmare faster than you can say "seam ripper"!
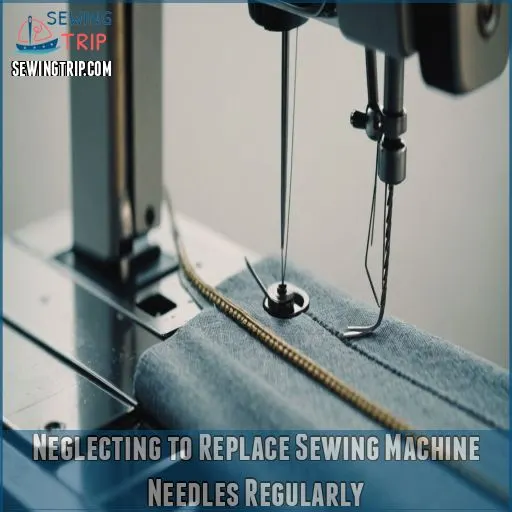
Neglecting to Replace Sewing Machine Needles Regularly
You’ve mastered choosing the right needle, but are you changing it often enough? Many sewists underestimate the importance of regular needle replacement. Think of your sewing machine needle as the unsung hero of your projects – it works tirelessly, but even heroes need a break!
Here are four telltale signs it’s time for a needle change:
- Your machine starts making a loud "thump" sound
- Fabric threads are being pulled or snagged
- Skipped or uneven stitches appear in your work
- You notice tiny holes or runs in your fabric
Don’t wait for these red flags to pop up. As a rule of thumb, replace your needle after every 8-10 hours of sewing time. It’s a small investment that pays off big time in the quality of your work. Remember, a fresh needle is like a new start for your sewing machine!
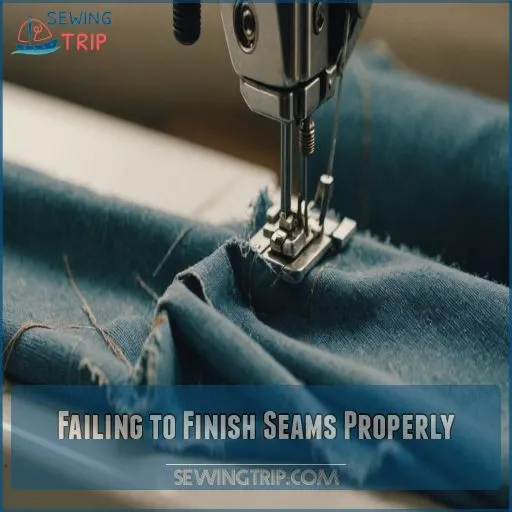
Failing to Finish Seams Properly
You might think seam finishing is just an optional extra, but neglecting this important step can turn your beautiful creations into fraying disasters.
From preventing unraveling to adding a professional touch, proper seam finishing is the secret weapon that elevates your sewing projects from homemade to handmade.
Importance of Seam Finishing
Leaving seams unfinished is like sending your garment out into the world half-dressed! It’s not just about looks – proper seam finishing prevents fraying, extends the life of your creation, and gives it that professional touch.
Let’s break down why it’s so important:
| Benefit | Without Finishing | With Finishing |
|---|---|---|
| Durability | Frays quickly | Lasts longer |
| Appearance | Messy inside | Clean, polished |
| Comfort | Scratchy seams | Smooth against skin |
Don’t let unfinished seams unravel your hard work! Proper seam finishing is crucial, and it’s also about giving it that professional touch.
Common Seam Finishing Techniques
Now that you understand why seam finishing matters, let’s explore some go-to techniques.
The overlock stitch is your trusty sidekick, while the zigzag stitch can save the day in a pinch.
Got a serger? You’re in luck – it’s a real game-changer.
For a touch of elegance, try French seams or flat felled seams.
These methods will keep your projects looking sharp and prevent fraying fiascos.
Choosing the Right Finish for Different Fabrics
The art of seam finishing lies in matching the right technique to your fabric. Don’t let your hard work unravel! Consider these factors when choosing a finish:
- Fabric weight and fraying tendency
- Garment type and wear expectations
- Desired aesthetic and drape
For delicate silks, try French seams. Sturdy denim? Flat-felled seams are your friend. Remember, a well-chosen finish helps prevent fraying but also elevates your project from homemade to handcrafted.
Tools for Seam Finishing
You’ve mastered choosing the right finish, but what about the tools? A trusty seam ripper is your best friend for those "oops" moments.
For a pro finish, consider investing in a serger. Don’t have one? No worries! Your regular machine’s zig-zag stitch works wonders.
For delicate fabrics, try a blind stitch or edge stitching. Remember, the right tools can turn a good project into a great one.
Skipping Pressing During Sewing Process
You might be tempted to skip pressing during your sewing projects, but this common mistake can seriously impact your results.
Proper pressing is a game-changer that’ll elevate your creations from homemade to professional-looking, so let’s iron out the details on why it’s so important.
Benefits of Proper Pressing
Properly finishing seams is just the beginning.
Let’s talk about the magic of pressing. It’s not just ironing; it’s sculpting your fabric into shape.
Pressing flattens seam allowances, enhances fabric drape, and refines garment shape.
You’ll achieve that professional finish you’ve been dreaming of.
Plus, it’s a real time-saver in the long run. Trust me, your future self will thank you for embracing the power of the press!
Pressing Techniques for Different Fabrics
Master the art of pressing with fabric-specific techniques.
Delicate silks demand a gentle touch and low heat, while sturdy cotton craves high temperatures and steam.
Remember, wool loves steam but hates direct iron contact.
For synthetics, keep it cool to avoid melting mishaps.
Always press along the grain and use a pressing cloth for extra protection.
Your iron’s your secret weapon – wield it wisely!
Common Pressing Mistakes
Don’t let pressing mistakes press your buttons! Even seasoned sewers can fall victim to these common pitfalls. Avoid these blunders to keep your projects looking crisp and professional:
- Cranking up the heat on delicate fabrics
- Pressing in the wrong direction, distorting your garment
- Forgetting to open those pesky seams before pressing
- Skimping on steam when it’s needed most
Essential Pressing Tools
A well-stocked arsenal of pressing tools can make or break your sewing projects. You’ll want to equip yourself with these essentials:
| Tool | Use | Why It’s Important |
|---|---|---|
| Ironing board | All-purpose pressing | Provides stable surface |
| Pressing cloth | Delicate fabrics | Prevents shine and scorching |
| Tailor’s ham | Curved seams | Helps shape garments |
| Seam roller | Flat seams | Prevents bulk and puckering |
With these trusty sidekicks, you’ll be pressing like a pro in no time!
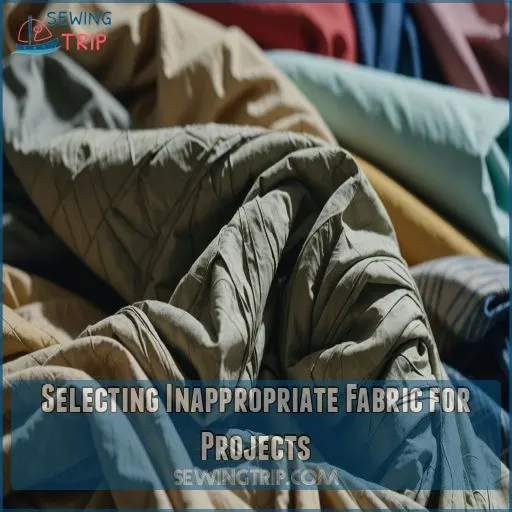
Selecting Inappropriate Fabric for Projects
Choosing the right fabric for your sewing project can make or break your creation.
You might be tempted to pick a fabric solely based on its looks, but understanding fabric properties and how they suit different garment types is essential for success.
Understanding Fabric Properties and Behavior
Now that you’ve mastered pressing, let’s talk fabric. Ever tried making a flowy dress with stiff canvas? Yikes! Understanding fabric properties is like getting to know a new friend. Each has its own personality – some drape gracefully, others stand firm. Grain direction, weight, stretch, and shrinkage all play a part. When you grasp these quirks, you’ll avoid those "what was I thinking?" moments.
Fabric Selection for Different Garment Types
You’ve mastered fabric properties, but let’s talk about picking the right fabric for your garment. It’s like matchmaking – you need the perfect pair! Consider these factors:
- Flowy dresses love lightweight fabrics with graceful drape
- Structured jackets thrive with medium-weight, stable fabrics
- Stretchy bodysuits crave fabrics with plenty of give
Testing Fabric Suitability
Before committing to a fabric, put it through its paces.
Drape test: Hang it to see how it falls.
Swatching: Cut a small piece to experiment with.
Weight check: Feel if it’s too heavy or light for your project.
Shrinkage test: Wash a swatch to avoid surprises later.
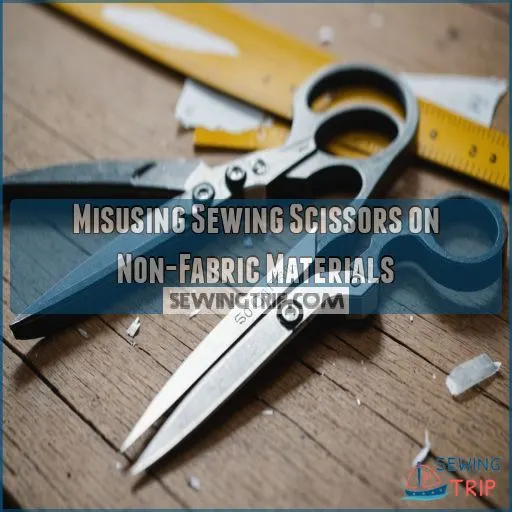
Misusing Sewing Scissors on Non-Fabric Materials
You might be tempted to use your fabric scissors for everything, but that’s a big no-no in the sewing world.
Misusing your precious fabric shears on non-fabric materials can quickly dull their blades, turning your once-sharp scissors into frustrating, fabric-mangling monsters.
Importance of Dedicated Fabric Scissors
Choosing the right fabric is just the start – now let’s talk about protecting your precious scissors!
Using your fabric scissors on paper or other materials is like using a chef’s knife to open cans. It’ll dull the blades faster than you can say "snip snip."
Keep your fabric scissors sharp and sacred by using them exclusively for fabric. Your projects will thank you!
Proper Care and Maintenance of Scissors
Your trusty fabric scissors deserve some TLC!
Keep those blades sharp by having them professionally sharpened annually.
After each use, wipe the blades clean with a soft cloth to prevent rust.
Store them in a protective case or sheath to maintain their edge.
A drop of sewing machine oil on the needle clamp screw keeps things smooth.
Alternative Cutting Tools for Non-fabric Materials
Now that you know how to care for your sewing scissors, let’s talk about what not to cut with them.
Sewing scissors are like prima donnas – they only perform well when treated right.
To keep them in top shape, reach for these alternatives when cutting non-fabric materials:
- Craft knives for precision paper cuts
- Heavy-duty shears for leather projects
- Wire cutters for metal embellishments
- Rotary cutters for plastic templates
Your sewing scissors will thank you, and your projects will shine!
Signs of Dull or Damaged Scissors
While alternative cutting tools have their place, let’s talk about your trusty sewing scissors.
Watch out for these telltale signs they’re losing their edge: bent blades that won’t close smoothly, uneven cuts leaving frayed edges, or blades that stick together.
If you’re wrestling with your scissors or noticing rough edges on your fabric, it’s time for a sharpen or replace.
Don’t let dull scissors derail your sewing dreams!
Ignoring Body Measurements and Pattern Size Charts
You might think you know your size, but ignoring body measurements and pattern size charts is a surefire way to end up with ill-fitting garments.
This common mistake can turn your sewing project from fabulous to frustrating faster than you can say "where’s my seam ripper?
Taking Accurate Body Measurements
Accurate body measurements are the foundation of a well-fitting garment.
Don’t rely on guesswork or outdated numbers – your body changes over time!
Grab a flexible measuring tape and a friend to help you capture precise measurements.
Take note of your bust, waist, hips, and other key areas.
Understanding Pattern Size Charts
After measuring yourself, you’re ready to tackle pattern size charts.
Don’t be shocked if your measurements don’t match a single size perfectly – it’s totally normal!
Pattern sizes often differ from ready-to-wear clothing, so resist the urge to grab your usual size.
Instead, compare your measurements to the chart and choose the size that aligns best with your largest measurement.
You’ve got this!
Making Pattern Adjustments for Better Fit
Even with the right size, patterns often need tweaking for your unique shape.
Don’t be afraid to make bust adjustments, lengthen sleeves, or alter hip measurements.
You’re in control of your garment’s fit!
Experiment with waist shaping and skirt fullness to flatter your figure.
With practice, you’ll master the art of pattern adjustments and create clothes that fit like a glove.
Common Sizing Mistakes to Avoid
Now that you’ve mastered pattern adjustments, let’s talk about sizing pitfalls.
Don’t fall into the trap of using your ready-to-wear size for patterns – they’re a whole different ballgame!
Ignoring your actual measurements is like trying to fit a square peg in a round hole.
You might end up with sleeves that barely reach your elbows or a waistband that’s choking you.
Trust the tape measure, not the label!
Skipping Fabric Pre-Washing and Preparation
You might be excited to start cutting and sewing your new fabric, but hold your horses!
Skipping the important step of pre-washing and preparing your fabric can lead to some seriously frustrating issues down the line,
from shrinkage that ruins your carefully fitted project to colors that bleed and ruin your whole project.
Importance of Pre-washing Fabric
Skipping fabric pre-washing is like rolling the dice with your sewing project. You might think you’re saving time, but this shortcut can lead to disastrous results.
Pre-washing is important for:
- Preventing unwanted shrinkage that ruins your carefully crafted garment
- Eliminating excess dye that could bleed onto other parts of your outfit
- Revealing any potential fabric flaws before you invest time in cutting and sewing
Don’t let your hard work unravel – pre-wash and set yourself up for success!
Pre-washing Techniques for Different Fabrics
Natural fibers like cotton and linen love a gentle machine wash, while delicate silks prefer hand-washing.
For synthetic fabrics, a quick rinse often does the trick.
Don’t forget to pre-wash trims and zippers too!
Before diving in, always check the fabric care label – it’s your secret weapon against pre-wash disasters.
Your future self will thank you!
Handling Fabric Shrinkage and Color Bleeding
You’ve mastered pre-washing techniques, but don’t let your guard down yet! Fabric shrinkage and color bleeding can still sneak up on you.
Test colorfastness by soaking a swatch in cold water.
If the dye runs, wash separately or use color catchers.
For stubborn fabrics prone to shrinkage, give them a hot water bath and a blast with a hot iron before cutting.
Proper Fabric Pressing Before Cutting
While it might be tempting to dive right into cutting your fabric, pressing it beforehand is a game-changer. This step smooths out wrinkles, but it also helps reveal any hidden flaws or shrinkage issues.
Here’s why proper pressing is important:
- Helps you cut accurately
- Prevents future fit disasters
- Reveals fabric’s true character
- Boosts your sewing confidence
Don’t let impatience sabotage your project – a well-pressed fabric is half the battle won!
Neglecting Regular Sewing Machine Maintenance
Your trusty sewing machine is the heart of your crafting adventures, but neglecting its maintenance is like forgetting to change your car’s oil. Regular cleaning, oiling, and professional tune-ups will keep your machine purring along, preventing frustrating breakdowns and ensuring your projects turn out beautifully every time.
Basic Cleaning and Oiling Procedures
Your sewing machine’s heart beats with every stitch, and when it skips a beat, it can be a real headache. troubleshoot stitch skipping. Keep it humming smoothly with regular TLC. Here’s a quick guide to basic cleaning and oiling:
| Task | Frequency | Tools Needed | Tips |
|---|---|---|---|
| Brush out lint | After each project | Soft brush | Focus on bobbin area |
| Oil moving parts | Monthly | Machine oil | Use sparingly |
| Clean feed dogs | Bi-weekly | Lint brush | Remove needle plate |
| Wipe exterior | Weekly | Damp cloth | Avoid water near electronics |
| Check tension | Before each project | Scrap fabric | Adjust if necessary |
Before Each Project
Identifying Common Machine Issues
Listen up for telltale signs of trouble with your trusty sewing companion. Unusual noises, like grinding or clunking, are red flags.
Keep an eye out for frequent needle breakage or thread jams – they’re not just annoying, but symptoms of deeper issues.
Bobbin problems and skipped stitches often point to tension troubles. By staying alert to these warning signs, you’ll catch small problems before they snowball into project-ruining disasters.
Scheduling Professional Maintenance
Just like your car needs regular check-ups, your trusty sewing machine deserves professional TLC. Don’t wait for a major breakdown to call in the experts. Schedule annual maintenance to keep your machine purring like a kitten.
A skilled technician can:
- Spot brewing issues before they become costly disasters
- Fine-tune your machine for peak performance
- Extend your sewing companion’s lifespan
Proper Storage of Sewing Machines
After tending to your machine’s inner workings, don’t forget about its outer care.
Storing your sewing buddy properly is like tucking it in for a good night’s sleep.
Use dust covers to shield it from pesky particles, and find a cool, dry spot away from direct sunlight.
Keep spare parts nearby, and give your machine a little TLC before each use to keep it purring like a kitten.
Attempting Overly Complex Projects Too Soon
You might be excited to tackle that intricate couture gown, but biting off more than you can chew can lead to frustration and wasted fabric.
Starting with simpler projects helps you build essential skills and confidence, setting you up for success when you’re ready to take on those dream designs.
Assessing Your Skill Level
Now that you’ve got your machine running smoothly, let’s talk about your sewing skills. It’s tempting to jump into complex projects right away, but hold your horses! Knowing where you stand skill-wise is key.
Think of it like learning to swim – you wouldn’t jump into the deep end on day one, right?
Take stock of what you can do comfortably, and build from there.
Choosing Appropriate Beginner Projects
Where should you start your sewing journey? Steer clear of complex projects that’ll leave you frustrated.
Instead, opt for easy-sew patterns like tote bags, pillowcases, or simple skirts. These beginner-friendly projects let you practice basic skills without overwhelming yourself.
Consider garment types and fabric weight when selecting patterns. Look for projects marked "beginner" or "easy" that match your current skill level and available time. You’ll build confidence and avoid costly mistakes.
Building Skills Progressively
Building skills progressively is key to sewing success. Don’t bite off more than you can chew! Instead, gradually increase your project complexity as your skills grow.
Here’s how to level up your sewing game:
- Master straight stitches before tackling curves
- Practice on scrap fabric before cutting into your good stuff
- Tackle one new technique per project
- Celebrate small wins to boost your confidence
Don’t rush the process. Take your time and enjoy the journey.
Learning From Mistakes in Simpler Projects
As you progress, don’t be afraid to make mistakes on simpler projects. They’re your best teachers!
Tackle a basic tote bag or pillowcase before diving into that custom jacket.
Each hiccup – whether it’s wonky seams or mismatched patterns – is a golden opportunity to hone your skills.
Remember, even seasoned sewists started somewhere. Embrace the learning curve and watch your confidence soar with each stitch!
Frequently Asked Questions (FAQs)
How to troubleshoot uneven thread tension?
Let’s say you’re sewing a gorgeous dress, but the stitches look like a roller coaster.
Don’t panic!
Check your bobbin tension first, then adjust the upper tension dial.
Test on scrap fabric until you’ve nailed that perfect balance.
What causes fabric puckering during sewing?
You’re battling puckering? It’s often due to incorrect tension, uneven feeding, or skipping presser foot lowering.
Don’t fret! Check your machine’s settings, use a walking foot, and remember to lower that presser foot before you start stitching.
How to prevent thread nests and bunching?
Check your machine’s tension and threading regularly.
Clean the bobbin area to prevent lint buildup.
Use the right needle and thread for your fabric.
Don’t rush – sew at a steady pace.
These steps’ll keep those pesky thread nests at bay!
Tips for sewing slippery or stretchy fabrics?
Get ready for a wild ride!
Tame those unruly fabrics with a walking foot, spray starch, and tissue paper backing for heavyweight fabrics.
Use a ballpoint needle for stretchy materials, and remember: slow and steady wins the slippery fabric race!
How to achieve perfectly matched patterns and prints?
To match patterns perfectly, cut pieces flat and align prints before pinning.
Use a walking foot for even feeding.
Mark key points and match them as you sew.
It’s like solving a puzzle – tricky but satisfying!
Conclusion
Did you know that 85% of sewers make at least one of these biggest sewing mistakes?
Now that you’re armed with knowledge, you’re ready to tackle your projects like a pro.
Keep your needles sharp, your seams finished, and your iron at the ready.
By avoiding these common blunders, you’ll create beautiful, long-lasting pieces you can be proud of.
Happy sewing!

