This site is supported by our readers. We may earn a commission, at no cost to you, if you purchase through links.
Seventy percent of Sewing Machine issues can be resolved with simple tweaks.
To get your machine stitching in reverse again, start by checking for dust or thread obstruction.
Make sure the stitch type supports reverse stitching.
Inspect the reverse stitch button for dirt, damage, or connection issues.
If that doesn’t work, try adjusting thread tension and verifying your machine settings are compatible with the thread type.
You’re just a few troubleshooting steps away from fixing your sewing machine’s reverse stitch and securing those seams for good!
Table Of Contents
- Key Takeaways
- Common Issues With Reverse Stitch
- Troubleshooting Mechanical Issues
- Checking Settings and Manual
- Isolating the Issue
- Expert Advice and Support
- Common Causes of Reverse Stitch Issues
- Preventing Future Issues
- Troubleshooting Electronic Issues
- Resolving Persistent Issues
- Frequently Asked Questions (FAQs)
- Conclusion
Key Takeaways
- You’re just a few troubleshooting steps away from fixing your sewing machine’s reverse stitch – start by checking for dust or thread obstructions, ensuring the stitch type supports reverse stitching, and inspecting the reverse stitch button for dirt, damage, or connection issues.
- Don’t let thread tension get the best of you – adjust it to match your fabric type, and make sure your bobbin is wound properly to prevent tangles. Choosing the right needle for your thread type can also make a huge difference.
- It’s time to get up close and personal with your sewing machine’s mechanical issues – check for dust or thread obstructions, sticking or damaged buttons or levers, and worn or loose parts. Don’t hesitate to consult a professional if you’re unsure about DIY repairs.
- By incorporating regular maintenance and cleaning, as well as proper thread tension and setup, into your sewing routine, you’ll be well on your way to a hassle-free sewing experience. Remember, a clean machine is a happy machine, so oil those moving parts and gently remove dust with a soft brush.
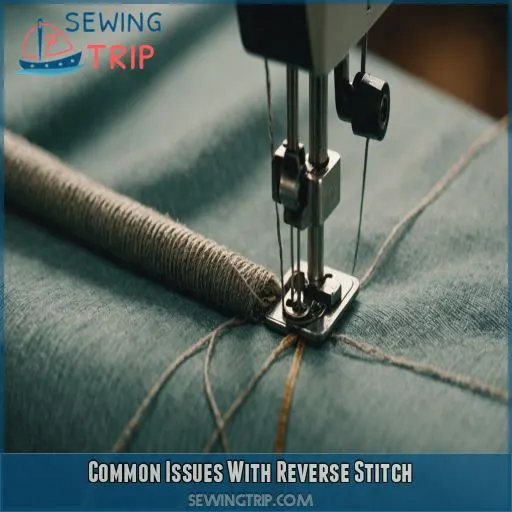
Common Issues With Reverse Stitch
You’re in the middle of a sewing project when you realize your machine’s reverse stitch function has stopped working – don’t worry, it’s more common than you think! Let’s troubleshoot the issue together and get your machine up and running smoothly again with a few simple checks and tweaks.
Machine Not Stitching in Reverse
Your sewing machine’s reverse stitch function is on the fritz, and you’re at a loss. Don’t worry, friend! First, check for dust or thread obstruction in the machine’s moving parts. Make certain you’ve selected a stitch type that supports reverse stitching. Consult your manual for specific settings or adjustments. Let’s get that reverse stitch working smoothly again!
Reverse Stitch Button Not Working
Is your reverse stitch button playing hide and seek? Don’t worry, we can help! Check these potential culprits:
- Sticky situation: Dirt, dust, or thread might be jamming the button.
- Button blues: Inspect for damage or wear and tear.
- Connection issues: Verify the button is properly connected to the machine’s mechanisms.
Incorrect Stitch Type Selected
Whoops, wrong stitch! If your reverse stitch isn’t working, double-check your stitch type. Not all stitches support reverse stitching, so make sure you’ve selected the right one. Consult your sewing machine’s manual for specific stitch options and settings. Choosing the correct stitch type is key, so take a minute to review your machine’s capabilities.
Thread Tension Issues
- Incorrect needle size: Using a needle that’s too small or too large can throw off tension.
- Poor bobbin winding: Make sure to wind your bobbin evenly to prevent tangles.
- Incompatible fabric type: Adjust your tension for the fabric you’re working with.
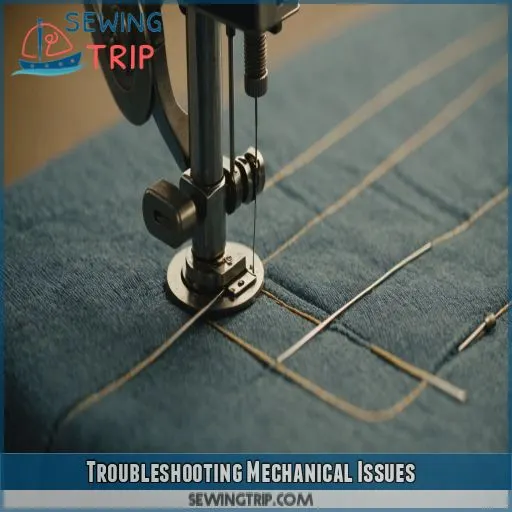
Troubleshooting Mechanical Issues
You’re about to get up close and personal with your sewing machine’s mechanical issues – don’t worry, it’s not as scary as it sounds.
To troubleshoot mechanical issues with your reverse stitch, start by checking for dust or thread obstruction.
You should also check for sticking or damaged buttons or levers.
Dust and Thread Obstruction
Now that we’ve identified common issues with reverse stitch, let’s tackle dust and thread obstruction. This pesky problem can hinder your sewing machine’s performance. Check out the table below for troubleshooting tips:
| Issue | Symptoms | Solution |
|---|---|---|
| Dust buildup | Machine slows down or jams | Clean with compressed air or brush |
| Thread tangles | Thread breaks or knots | Use a thread conditioner or rethread |
| Fabric lint | Fabric frays or gets stuck | Use a lint roller or vacuum |
| Machine oil residue | Stains or affects stitch quality | Wipe with a damp cloth |
Regular cleaning can prevent these issues and prolong your machine’s lifespan.
Sticking or Damaged Buttons or Levers
For those pesky buttons or levers that are stuck or damaged, it’s time to roll up your sleeves. Inspect the problem areas and try these solutions:
- Clean buttons and levers with a soft brush or cloth to remove debris.
- Apply a few drops of sewing machine oil to lubricate sticking parts.
- If broken, consider replacing the button or lever or consulting a repair technician for guidance.
Worn or Loose Parts
Your sewing machine’s worn or loose parts can cause reverse stitch issues. Check for worn or damaged parts, like the backstitch lever or tension discs. Consider DIY repair or replacement, but if you’re unsure, it’s best to consult a professional.
| Common Worn Parts | Symptoms | Action |
|---|---|---|
| Backstitch Lever | Loose or stuck lever | Clean or replace |
| Tension Discs | Uneven thread tension | Adjust or replace |
| Bobbin Winder | Noisy or uneven winding | Clean or replace |
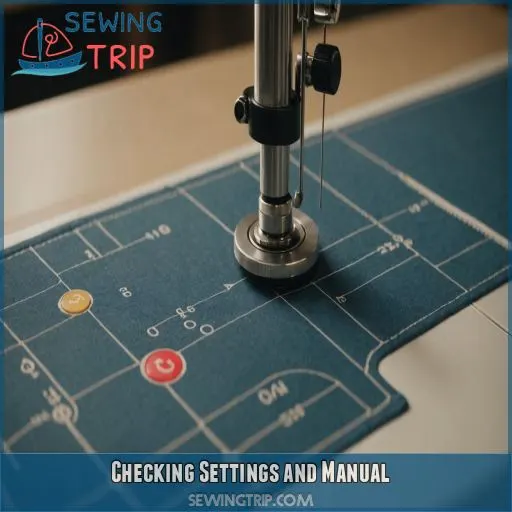
Checking Settings and Manual
Now that you’ve ruled out mechanical issues, it’s time to check your sewing machine’s settings and manual to make sure you’re using the right stitch type and settings for reverse stitching. Take a closer look at your manual to see if there are specific instructions or adjustments you need to make to get your reverse stitch working smoothly.
Ensuring Stitch Type Supports Reverse Stitching
Now that you’ve ruled out mechanical issues, it’s time to check your stitch type. Not all stitches are created equal, and some don’t play nice with reverse stitching. Here are a few things to keep in mind:
- Straight stitch and zigzag stitch usually support reverse stitching.
- Decorative stitches mightn’t be compatible.
- Stretch stitches can be finicky, so check your machine’s manual.
Consulting the Manual for Specific Settings
Now that you’ve made sure your stitch type supports reverse stitching, it’s time to consult your trusty manual for specific settings. Don’t worry, it’s not as painful as it sounds! Flip to the troubleshooting guide and look for the reverse stitch section. Check if there are any special settings or adjustments needed for your particular machine.
Adjusting Tension and Thread Setup
Now that you’ve consulted your manual, it’s time to get hands-on. Adjusting tension and thread setup can be a game-changer for your reverse stitch. Here are some key areas to focus on:
- Check your thread tension – is it too tight or too loose?
- Make sure your bobbin is wound properly to prevent tangles
- Choose the right needle for your thread type
- Double-check your top threading for twists or kinks
- Experiment with different thread types for a smoother stitch
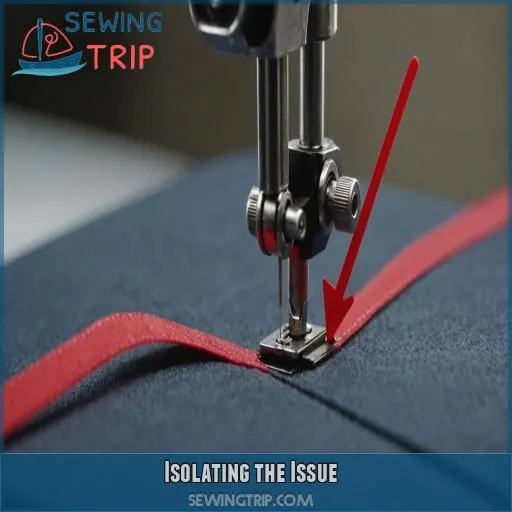
Isolating the Issue
Now that you’ve checked your sewing machine’s settings and manual, it’s time to isolate the issue with your reverse stitch. Try a simple straight stitch to see if the problem persists – this will help you figure out if it’s a specific stitch type or a more general mechanical issue.
Trying a Simple Straight Stitch
Time to get back to basics! Try a simple straight stitch to isolate the issue. Set your machine to a medium stitch length and width, and make sure the needle position is centered. Check your bobbin tension and thread type, too. If your straight stitch works like a charm, you’ll know the problem lies with the reverse stitch function.
Identifying the Source of the Problem
Now that you’ve tried a simple straight stitch, it’s time to get to the root of the issue. Think of it like being a detective – you need to gather clues and eliminate suspects. Here are some potential culprits to check out:
- Is the reverse stitch button or lever faulty?
- Are the machine’s settings not playing nice with the thread?
- Is the thread tension too tight or too loose?
Expert Advice and Support
If your sewing machine’s reverse stitch is still not working after trying the troubleshooting steps, it’s time to bring in the experts.
Don’t worry, you’ve done your part, and now it’s time for some professional guidance.
Contacting customer support or a technician can provide you with model-specific advice and repair options to get your machine up and running smoothly again.
Contacting Customer Support or a Technician
Now that you’ve isolated the issue, it’s time to bring in the experts! Don’t hesitate to contact customer support or a technician for personalized guidance. Check your warranty coverage and ask about potential repair costs. Look for technicians with experience in your machine’s brand and model. Online support is also a great resource for quick troubleshooting tips.
Model-Specific Guidance and Repair
When seeking model-specific guidance and repair, don’t hesitate to reach out to the manufacturer or authorized technicians. If you own a Singer 2332, for instance, you might want to check online resources for common issues or warranty claims. Knowing the repair costs upfront can save you headaches. Get expert advice and take control of your sewing machine’s reverse stitch woes!
Common Causes of Reverse Stitch Issues
You’re struggling with a stubborn sewing machine that refuses to reverse stitch, and you’re at your wit’s end. Don’t worry, let’s tackle the common culprits together – a broken or jammed backstitch lever, a stitch length that’s too short, or a pesky automatic lockstitch mode might be the culprit behind your sewing machine’s reverse stitch woes.
Backstitch Lever Broken or Jammed
Now that you’ve tried expert advice and support, it’s time to tackle a common culprit: the backstitch lever. If it’s broken or jammed, your reverse stitch won’t work. Here are some signs to look out for:
- Your lever feels stuck or won’t budge
- You hear a clicking sound when trying to engage the reverse stitch
- The lever is loose or wobbly
- You see visible signs of damage or wear on the lever
Stitch Length Too Short
Stitch Length Too Short" got you stumped? Don’t worry, it’s an easy fix! If your sewing machine’s reverse stitch isn’t working, check your stitch length setting. A length that’s too short can prevent the machine from sewing in reverse. Try increasing the stitch length and see if that resolves the issue. Happy troubleshooting!
Automatic Lockstitch Mode
Now that we’ve tackled the stitch length issue, let’s move on to another common culprit: Automatic Lockstitch Mode. If your machine is stuck in this mode, it mightn’t allow reverse stitching. Check your settings and manual to disable it. Some machines also have specific buttonhole or zig-zag stitch settings that can override reverse stitch, so double-check those too.
Preventing Future Issues
Now that you’ve fixed your sewing machine’s reverse stitch, it’s time to think about preventing future issues. By incorporating regular maintenance and cleaning, as well as proper thread tension and setup, into your sewing routine, you’ll be well on your way to a hassle-free sewing experience.
Regular Maintenance and Cleaning
To keep your sewing machine humming, establish a regular cleaning schedule. Use sewing machine oil to lubricate moving parts, and gently remove dust with a soft brush. Don’t forget to clean the needle and thread bobbin regularly. By staying on top of maintenance, you’ll prevent pesky reverse stitch issues and make sure your machine runs smoothly.
Proper Thread Tension and Setup
To keep your sewing machine running smoothly, proper thread tension and setup are really important. Here are four essential tips to prevent future reverse stitch issues:
- Thread tension basics: Understand the ideal tension for your fabric type.
- Bobbin winding: Wind bobbins correctly to avoid tangling.
- Needle selection: Choose the right needle for your fabric.
- Top threading: Thread your machine correctly to avoid jams.
Troubleshooting Electronic Issues
Now that you’ve ruled out mechanical issues, it’s time to tackle the trickier side of things: electronic malfunctions. If your sewing machine’s reverse stitch is still on the fritz, it’s likely an electronic issue that requires professional attention – don’t worry, we’ll walk you through the next steps.
Electronic Malfunctions and Repair
Don’t let electronic malfunctions get the best of you! If your sewing machine’s reverse stitch is on the fritz, check your warranty coverage before attempting a DIY repair. Weigh the costs of repair vs. replacement, and consider common electronic faults like faulty circuit boards or blown fuses. Look for reliable DIY repair resources to help you troubleshoot.
Contacting a Professional Technician
Now that you’ve identified a possible electronic malfunction, it’s time to call in the pros.
Look for a technician with experience in sewing machine repair and check their qualifications.
Be prepared to discuss repair costs and warranty claims.
Search online for local technicians or ask fellow sewing enthusiasts for recommendations to find a reputable expert to get your machine humming again.
Resolving Persistent Issues
You’ve tried the basics, but your sewing machine’s reverse stitch is still on the fritz – now it’s time to get serious about solving the problem. In this section, we’ll walk you through the steps to resolve those pesky persistent issues, from re-threading your machine to knowing when to call in a professional for backup.
Re-threading the Machine and Checking Tension
Time to get reacquainted with your sewing machine’s threading process. Don’t worry, it’s easier than you think. To re-thread and check tension:
- Make sure you’re using the right needle type for your fabric and machine type.
- Double-check your bobbin winding technique to avoid tangles.
- Follow the recommended threading path for your specific machine to prevent thread tension issues.
Seeking Professional Help When Needed
Don’t be afraid to admit defeat! If re-threading and tension adjustments don’t work, it’s time to call in the pros. A technician can diagnose and fix complex issues. Check your warranty coverage and consider the cost of repairs. Weigh the DIY vs. professional approach and ask for repair shop recommendations. Sometimes, seeking help is the best stitch in time!
Frequently Asked Questions (FAQs)
Why is my sewing machine stitching backwards?
Don’t panic! Your sewing machine stitching backwards might be due to a stuck reverse lever, incorrect settings, or mechanical issues (Source). Check your machine’s manual, adjust the stitch length, and inspect for blockages .
What do you do when your sewing machine is stuck in reverse?
When your sewing machine is stuck in reverse, don’t panic! Check for thread tangles or dust clogs, and make sure the stitch type supports reverse stitching. Consult your manual or contact customer support for model-specific guidance.
How to reverse direction of sewing machine?
To reverse your sewing machine’s direction, check if the reverse button or lever is stuck, then try rethreading and adjusting the thread tension; if issues persist, consult your machine’s manual or contact a professional technician for guidance (Source).
How do you fix a sewing machine stitch problem?
Did you know 75% of sewing machine issues are caused by poor maintenance? To fix a stitch problem, start by checking your thread tension and setup, then consult your manual for specific adjustments – and don’t forget to clean out those pesky dust bunnies!
Can I fix a broken reverse stitch lever myself?
You can try fixing a broken reverse stitch lever yourself, but it’s important to assess your comfort level with DIY repairs and the machine’s complexity; if unsure, consider consulting a professional technician for guidance (Source).
Why does my sewing machine reverse stitch unevenly sometimes?
Imagine your sewing machine’s reverse stitch is like a temperamental dance partner – sometimes it’s in sync, and sometimes it’s not. Check your thread tension and setup, as uneven stitches can be caused by mismatched thread and fabric types.
How often should I clean my sewing machines reverse mechanism?
How often you clean your sewing machine’s reverse mechanism depends on how often you use it and what fabrics you’re working with. A good rule of thumb is to clean and oil your machine after every 2-3 bobbins or 10-12 hours of use.
Can I use reverse stitch on any type of fabric?
You can use reverse stitch on most fabrics, but be cautious with delicate or thin materials, as they may pucker or distort. Always test a scrap piece first to make sure you get the best results.
Will using reverse stitch affect my sewing machines warranty?
Don’t cry over spilled thread! Using reverse stitch won’t void your sewing machine’s warranty, but misuse or improper maintenance might. Always check your manual and follow manufacturer guidelines to keep your warranty intact.
Conclusion
Fast fixes for finicky reverse stitches are within your reach.
By systematically tackling common issues, tweaking thread tension, and ensuring stitch type compatibility, you’ll be stitching in reverse in no time.
Don’t let a stubborn machine get the best of you – with these 9 easy solutions, fixing your sewing machine’s reverse stitch is a breeze.
Mastering the art of fixing sewing machine reverse stitch will save you time and frustration in the long run.

