This site is supported by our readers. We may earn a commission, at no cost to you, if you purchase through links.
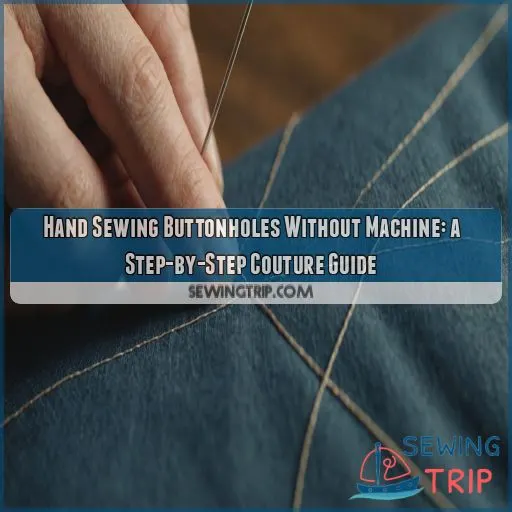 You’re about to become a master of hand-sewing buttonholes without a machine! This Couture technique may seem intimidating, but trust me, it’s easier than you think.
With a few simple steps, you’ll be creating flawless, professional-looking buttonholes in no time. First, mark the placement with accuracy, then carefully cut the opening.
Next, sew the first side with a Purl stitch and the second side with a bar tack. Secure the thread and voilà! You’ve got a beautiful, hand-sewn buttonhole.
But, that’s just the beginning. Want to add some extra flair with decorative ends or master the buttonhole stitch?
Table Of Contents
- Key Takeaways
- Benefits of Hand Sewing Buttonholes
- Types of Hand Sewn Buttonholes
- Basic Steps for Hand Sewing Buttonholes
- Creating Decorative Ends for Buttonholes
- Tips and Techniques for Hand Sewn Buttonholes
- Advanced Techniques for Hand Sewn Buttonholes
- Mastering Hand Sewn Buttonholes
- Frequently Asked Questions (FAQs)
- Conclusion
Key Takeaways
- You’re about to discover the secret to creating buttonholes that are both functional and elegant – and the best part is, you don’t need a machine! By learning how to hand-sew buttonholes, you’ll achieve a unique and durable finish that’s perfect for thick fabrics or when you want to add a couture touch to your projects.
- When working with thicker fabrics or vintage patterns, accuracy matters, so take your time and get the buttonhole placement just right – don’t worry, it’s not set in stone (yet!). To create a professional-looking buttonhole, mark the placement, carefully cut the opening, sew the first side with a purl stitch, and the second side with a bar tack.
- You’ve mastered the basics, now it’s time to get creative with decorative ends that add a professional touch to your garments! By learning how to add fan and keyhole ends to your buttonholes, you’ll elevate your sewing skills and give your projects a couture finish that’s sure to impress.
- Don’t let tension control get the best of you – practice on scrap fabric to find your sweet spot, and remember that stitch consistency is key. To achieve precision and even stitches, pay attention to thread tension control, stitch length consistency, fabric grain alignment, needle angle importance, and stitch spacing techniques – with practice and patience, you’ll be creating professional-looking buttonholes in no time!
Benefits of Hand Sewing Buttonholes
You’re about to discover the secret to creating buttonholes that are functional and also add a touch of elegance to your handmade garments. By learning how to hand-sew buttonholes, you’ll achieve a unique and durable finish that’s perfect for thick fabrics or when you want to add a couture touch to your projects.
Unique and Durable Finish
You’re about to discover the secret to buttonhole bliss! Hand-sewn buttonholes offer a unique and durable finish that’s hard to match. Here’s why:
- No fraying: Hand-sewn buttonholes have no gap between the stitching and the opening, preventing fraying.
- Long-lasting: With proper technique, hand-sewn buttonholes can outlast machine-sewn ones.
- Fabric flexibility: Hand-sewn buttonholes can be adapted to suit any fabric, from delicate to thick.
Ideal for Thick Fabrics and Couture Touch
Thick fabrics and couture finishes – a match made in heaven! When working with heavier materials, hand-sewn buttonholes are the way to go. You get a beautiful, sturdy finish that’s perfect for coats, jackets, and more.
| Fabric Type | Hand Sewing Tool | Thread Recommendation |
|---|---|---|
| Denim | Heavy-duty needle | Upholstery thread |
| Wool | Tapestry needle | Embroidery floss |
| Velvet | Sharp needle | Cotton thread |
| Leather | Leather needle | Heavy-duty thread |
No Gap Between Stitching and Opening
Now that we’ve covered how hand-sewn buttonholes are ideal for thick fabrics and a couture touch, let’s talk about another benefit: no gap between stitching and opening. Unlike machine-sewn buttonholes, hand-sewn ones create a clean, finished edge that never frays. Here are 4 key advantages:
- Buttonhole Edge Finishing: A smooth, even edge.
- Stitching Techniques: Precision control over every stitch.
- Opening Reinforcement: A strong, secure opening.
- Seam Integration: Seamless blend with the surrounding fabric.
Types of Hand Sewn Buttonholes
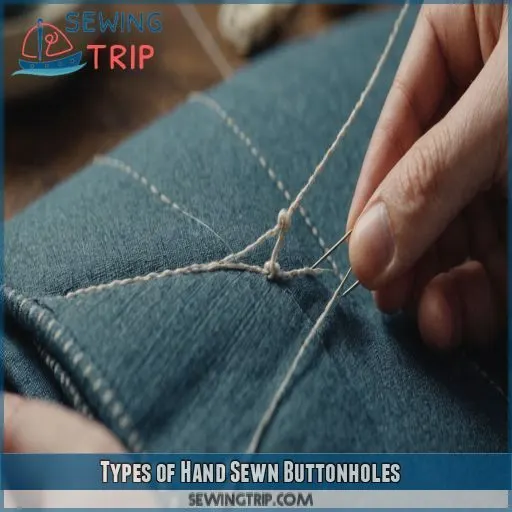
As you master the art of hand-sewing buttonholes, you’ll discover that there are various types to choose from, each with its own unique characteristics and applications.
In this section, you’ll learn about horizontal buttonholes with flat short ends and vertical buttonholes with flat short ends.
You’ll also learn how to add fan or keyhole ends to give your garments a touch of elegance and sophistication (Source).
Horizontal Buttonholes With Flat Short Ends
Now that we’re diving into horizontal buttonholes with flat short ends, imagine the satisfaction of creating a crisp, professional finish. Typically, these buttonholes have flat short ends on both sides, with the option to add a fan or keyhole end on the side closest to the inside of the garment. Precision is key to achieving a neat, even stitch.
Vertical Buttonholes With Flat Short Ends
Now that you’ve mastered horizontal buttonholes, let’s turn your attention to vertical ones with flat short ends. These are perfect for garments that require a more subtle button placement. When sewing vertical buttonholes, maintain even thread tension and stitch length to prevent fabric distortion. Choose a matching thread color to blend seamlessly with your fabric choice.
Adding Fan or Keyhole Ends
Now that you’ve mastered vertical buttonholes with flat short ends, it’s time to get fancy! Adding fan or keyhole ends can elevate your hand-sewn buttonholes from functional to fabulous. Here are three ways to do it:
- Use a guide to create a perfect fan or keyhole shape
- Experiment with different fan end variations for a unique look
- Try keyhole end styles for a vintage touch
Basic Steps for Hand Sewing Buttonholes
As you master the art of hand-sewing buttonholes, you’ll discover the joy of creating a unique and durable finish that elevates your garments to a couture level.
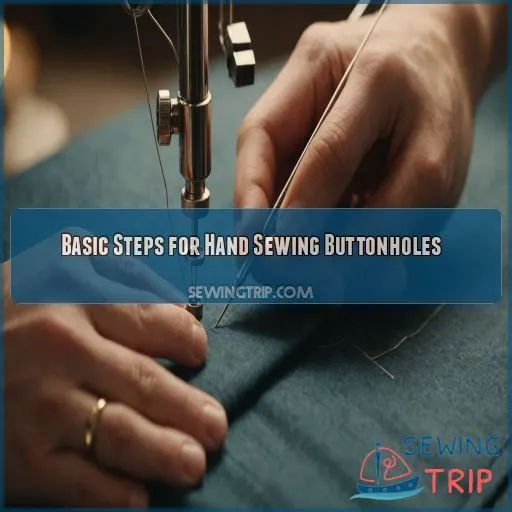
You’ll learn the basic steps for hand-sewing buttonholes without a machine, from marking the placement to securing the thread.
In this section, you’ll start creating professional-looking buttonholes that will make your friends and family green with envy (Source).
Marking the Buttonhole Placement
You’ve chosen your buttonhole style, now it’s time to mark its placement. Grab your marking tools and pattern guidelines, and carefully baste a line where your buttonhole will live. Don’t worry, it’s not set in stone – yet! Accuracy matters, especially with thicker fabrics or vintage patterns, so take your time and get it just right.
Cutting the Opening
Now that you’ve marked the buttonhole placement, it’s time to cut the opening. Grab your trusty scissors or a sharp craft knife, and carefully cut along the center of the buttonhole, from one short end to the other. Make sure to cut precisely, as clean edges will prevent fraying and give your buttonhole a professional finish.
Sewing the First Side With a Purl Stitch
Time to get stitching! You’re about to master the first side of your hand-sewn buttonhole using a trusty purl stitch. To start, bring your needle up through the fabric on one side of the buttonhole, then insert it back into the fabric about 1/8 inch away, making sure to keep your tension even. Practice on scrap fabric first!
Sewing the Second Side With a Bar Tack
Now that you’ve mastered sewing the first side with a purl stitch, it’s time to tackle the second side with a bar tack. To create a secure and professional-looking buttonhole, focus on even stitch spacing and tack stitch variations.
- Use a shorter stitch length to maintain control and precision.
- Keep your thread taut, but not too tight, to avoid puckering the fabric.
- Experiment with different bar tack techniques to add a decorative touch.
Securing the Thread
Now that you’ve sewn the second side with a bar tack, it’s time to secure that thread. To keep your buttonhole from coming undone, gently tuck the needle and thread under the stitching, making sure it’s snug but not too tight. This simple step guarantees your thread won’t come loose, giving you a professional-looking finish that’s built to last.
Creating Decorative Ends for Buttonholes
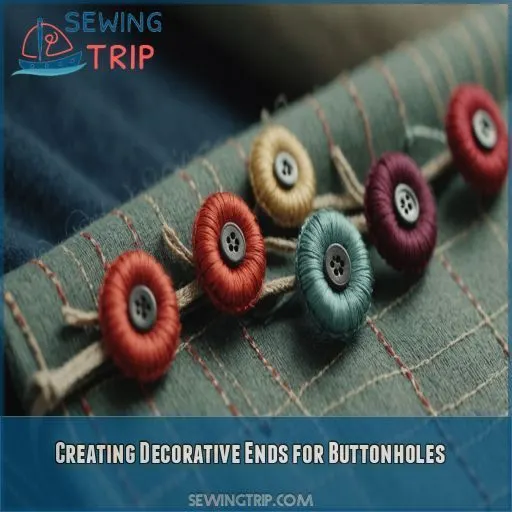
Now that you’ve mastered the basic steps of hand-sewing buttonholes, it’s time to get creative with decorative ends that add a professional touch to your garments. By learning how to add fan and keyhole ends to your buttonholes, you’ll elevate your sewing skills and give your projects a couture finish that’s sure to impress.
Adding a Fan End to a Buttonhole
Now that you’ve mastered the basic steps, let’s add some flair with a fan end! To create a fan end, draw a curved line at the end of your buttonhole and stitch along it, keeping your threads even and tight. This decorative touch adds a touch of vintage charm to your handmade buttonholes, making them truly special.
Adding a Keyhole End to a Buttonhole
Now that you’ve mastered the fan end, let’s move on to adding a keyhole end to your buttonhole. To create this sleek finish, simply stitch in a smooth, curved motion until you reach the other side.
- Imagine the satisfaction of sewing a flawless keyhole end that adds a touch of sophistication to your garment.
- Envision the envy of fellow sewing enthusiasts when you showcase your skills.
- Picture the pride you’ll feel when you perfect this tricky technique.
Using a Guide for Decorative Ends
Using a guide for decorative ends can elevate your buttonholes to couture status.
To create a flawless keyhole or fan end, draw or baste a line as a guide, then stitch in a smooth curve.
Choose a thin cord or thread as your guide material.
Get inspired by vintage designs, books, and websites for unique buttonhole shape variations and decorative stitch options.
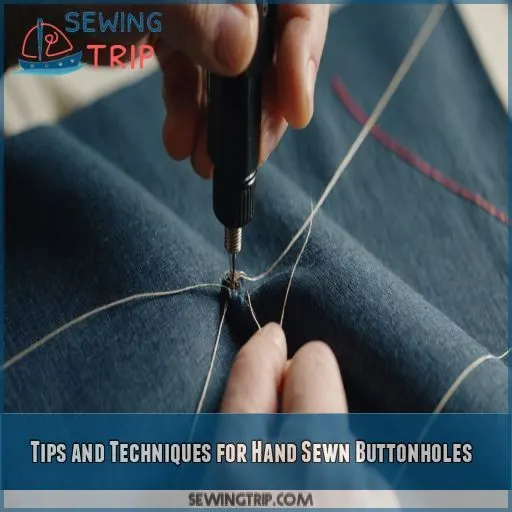
Tips and Techniques for Hand Sewn Buttonholes
As you master the art of hand-sewing buttonholes, it’s time to refine your skills with some expert tips and techniques that’ll take your buttonholes from good to great. By practicing on scrap fabric, testing your buttonhole size, and using a few clever tricks, you’ll be creating professional-looking buttonholes that’ll make your garments truly stand out.
Practicing on Scrap Fabric
You’ve got your needle, thread, and a willingness to master hand-sewn buttonholes.
Now, grab some scrap fabric and let’s get practicing.
Choose a fabric similar to your project’s material and cut a manageable size.
Stabilize it with a hoop or interfacing.
Practice your purl stitches and bar tacks.
Don’t worry, it’s okay to make mistakes – it’s all part of the process.
Testing the Buttonhole Size
Before sewing a buttonhole on your actual garment, test the size on scrap fabric to guarantee it fits your button snugly. Use a buttonhole size chart or measure the button’s diameter to get it just right. Think of it like ordering the perfect vintage cocktail – you want the proportions to be spot on!
Using a Single Layer of Thread
When sewing a buttonhole by hand, using a single layer of thread is essential for even tension and a professional finish. Don’t pull the thread too tight, as this can cause puckering. Here are some thread tips to keep in mind:
- Choose a thread color that matches your fabric to create a seamless look
- Consider using a cotton or silk thread for strength and durability
- A single strand of thread is often sufficient for most buttonholes
- To maintain even tension, keep your stitching speed steady and controlled
- Experiment with different thread types to find the one that works best for your project
Adding a Thin Cord for Stability
Now that you’re comfortable using a single layer of thread, let’s boost your buttonhole game by adding a thin cord for stability. This trick will give your buttonholes a raised, professional look.
| Cord Options | Tips and Tricks |
|---|---|
| Thin cotton rope | Place the cord along the edge, then stitch over it. |
| Silk or nylon thread | Use a matching thread color to blend with the fabric. |
| Embroidery floss | Twist multiple strands together for a thicker cord. |
| Yarn or twine | Experiment with different textures for a unique look. |
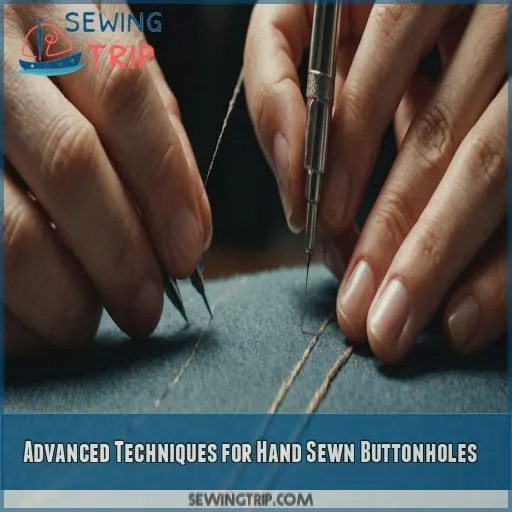
Advanced Techniques for Hand Sewn Buttonholes
You’ve mastered the basics of hand-sewing buttonholes, and now it’s time to take your skills to the next level with advanced techniques that will make your garments truly stand out. In this section, you’ll learn how to use the buttonhole stitch for decorative embroidery, create beautiful flowers, and add a professional-looking raised edge to your buttonholes.
Using a Buttonhole Stitch for Decorative Embroidery
Now that you’ve mastered the basics of hand-sewn buttonholes, it’s time to get creative! Using a buttonhole stitch for decorative embroidery is a great way to add a personal touch to your projects. Experiment with stitch variations, embroidery patterns, and thread options to create unique buttonhole designs that elevate your fabric choices and showcase your skills.
Making Flowers With a Buttonhole Stitch
Now that you’ve mastered using the buttonhole stitch for decorative embroidery, let’s get creative with making flowers! With a few tweaks to the stitch length and thread color, you can create beautiful blooms. Experiment with different buttonhole stitch variations to craft intricate petals and leaves. Your embroidery pattern ideas just got a whole lot more interesting!
Adding a Raised Edge to a Buttonhole
To add a raised edge to a buttonhole, try incorporating a thin cord or yarn under your stitches. This simple trick adds a professional touch to your hand-sewn buttonholes.
- Use a contrasting cord color to create a decorative pop
- Experiment with varying cord thicknesses for unique textures
- Apply a small amount of stabilizing glue to keep the cord in place
- Combine cord with beading or embroidery for extra embellishment
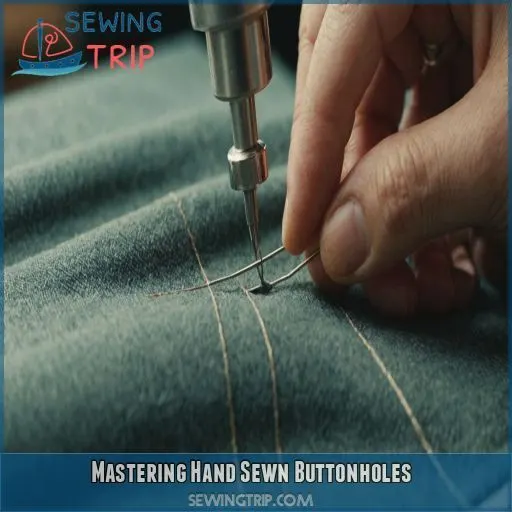
Mastering Hand Sewn Buttonholes
As you master the art of hand-sewn buttonholes, you’ll overcome common challenges like uneven stitches and loose threads, and develop the skills to create professional-looking buttonholes that elevate your garments to the next level. With practice and patience, you’ll achieve precision and even stitches, and be able to add a touch of couture to even the most everyday projects.
Overcoming Common Challenges
Now that you’ve mastered advanced techniques, it’s time to tackle common challenges! Don’t let tension control get the best of you – practice on scrap fabric to find your sweet spot. Stitch consistency is key, but thread breakage can be a major bummer. Choose your fabric wisely and double-check hole placement to avoid frustrating re-dos.
Achieving Precision and Even Stitches
Now that you’ve overcome common challenges, it’s time to focus on achieving precision and even stitches. This is where the magic happens, and your hand-sewn buttonholes start to look like a pro’s. To get there, pay attention to:
- Thread tension control: don’t pull too tight or leave too loose
- Stitch length consistency: aim for uniformity
- Fabric grain alignment: respect the fabric’s natural direction
- Needle angle importance: adjust for the best possible entry and exit
- Stitch spacing techniques: practice for even distribution
Creating Professional-Looking Buttonholes
Now that you’ve mastered the precision and even stitches, it’s time to create professional-looking buttonholes! To achieve this, focus on buttonhole placement tips, consider various buttonhole size options, and experiment with different buttonhole thread types. Don’t be afraid to try buttonhole stitch variations and finishing techniques to elevate your hand-sewn buttonholes.
| Buttonhole Tips | Size Options | Thread Types |
|---|---|---|
| Mark carefully | Test with scrap fabric | Cotton or silk threads |
| Use a ruler or guide | Consider button size | Match thread to fabric |
| Space evenly | Add a thin cord for | Use a single strand |
Frequently Asked Questions (FAQs)
How do you manually sew a buttonhole?
You’re about to discover a couture secret! To manually sew a buttonhole, start by marking the placement, then carefully cut the opening. Next, sew one side using a purl stitch, followed by the second side with a bar tack at the ends.
How do you bind a buttonhole by hand?
To bind a buttonhole by hand, you’ll wrap thread or yarn around the edges of the hole, then secure it with small stitches, creating a sturdy and neat finish that won’t fray .
How do you hand sew without a machine?
You’ve got this! To hand sew without a machine, start by threading your needle, tying a knot, and bringing it up through the fabric. Use small, even stitches, keeping tension steady, just like a pro .
How to make a buttonhole loop by hand?
To make a buttonhole loop by hand, cut a small slit, then sew a circle of stitches around it, securing the thread with a knot . Practice on scrap fabric first to get the hang of it!
What type of thread is best for hand-sewn buttonholes?
For hand-sewn buttonholes, choose a strong, smooth thread like silk buttonhole twist or a heavy topstitching thread (Source). Avoid thin or weak threads that may not withstand regular use .
How do I measure the correct size for a buttonhole?
To nail the perfect buttonhole size, thread your button onto a toothpick or pin, then wrap a strip of paper around it, marking the overlap – voilà, you’ve got a tailor-made template to measure from!
Can I use hand-sewn buttonholes on stretchy fabrics?
When working with stretchy fabrics, you can use hand-sewn buttonholes, but you need to add a stabilizer, like fusible tricot interfacing, to prevent distortion and make sure the finish is neat.
How do I prevent fraying around hand-sewn buttonholes?
Can you imagine your beautiful hand-sewn buttonholes unraveling before your eyes? To prevent fraying, simply tuck the needle and thread under the stitching to secure it, and consider adding a thin cord for extra stability.
Can I use hand-sewn buttonholes on thick or heavy fabrics?
You can use hand-sewn buttonholes on thick or heavy fabrics, and they’re actually ideal for these types of materials . The key is to use a sturdy thread and maintain even tension to prevent puckering or distortion .
Conclusion
The irony – you’ve made it through the entire guide without needing a sewing machine!
Now, go ahead and give yourself a round of applause.
Mastering hand-sewing buttonholes without a machine takes patience, but with these steps, you’ve got this!
You’ve learned the basics, added some flair with decorative ends, and even conquered the buttonhole stitch.
Hand sewing buttonholes without a machine is no longer intimidating, and your couture skills are proof.

