This site is supported by our readers. We may earn a commission, at no cost to you, if you purchase through links.
 Hemming pants sounds like a chore, but it doesn’t take forever! If you’re tackling it yourself, plan for about an hour. You’ll need time to measure twice—you know, so you only cut once—and to enjoy the zen of ironing for sharp creases. Using a sewing machine speeds things up, while hand sewing might take a bit longer (think of it as a workout for your fingers!).
If you’re outsourcing this task to a professional tailor, they might do it in 30 minutes, but don’t expect it right away, as others are in line too. Curious about tools or techniques? Stick around!
Table Of Contents
- Key Takeaways
- Why Hem Pants
- What Tools Are Needed for Hemming
- Hemming Pants Yourself
- Determining the Right Hem Length
- Hemming Pants by Hand
- Hemming Pants With a Sewing Machine
- When to Use a Tailor for Hemming
- Common Alteration Terms to Know
- Hemming Time Frames and Costs
- Frequently Asked Questions (FAQs)
- Conclusion
Key Takeaways
- Hemming is a Time Puzzle: Whether you’re wielding a needle or a sewing machine, expect it to take about 30 minutes to an hour. Dive into the process with a favorite podcast and a cup of coffee – it’s your moment to shine as a pants-altering wizard!
- DIY vs. Professional Tailor: Doing it yourself is like a mini sewing adventure that saves you money but demands some focus. Hand it over to a professional tailor, though, and it’s done in a day or two with precision and flair, like snapping your fingers and – voilà – perfect hems!
- Tools and Techniques Matter: The right tools can be your best sewing buddies. A trusty measuring tape, sharp scissors, and a sewing machine make the task faster. But hey, if you’re hand-stitching, consider it a workout for those finger muscles!
- Plan for Variability: Don’t let unexpected hurdles unravel your path! Fabric type and your tailor’s to-do list can play hide and seek with your timeline. So, keep some room for surprises, and remember, each thread brings you closer to the hemline finish line.
Why Hem Pants
Hemming pants is a common alteration that can make a big difference in how your trousers fit and look.
Whether you’re dealing with pants that are too long or simply want a more polished appearance, learning how to hem them yourself or working with a professional tailor can save you time and money in the long run.
Reasons for Hemming Pants
- Improve Fit: No more stepping on the fabric or tripping over your own trousers—get the perfect length!
- Enhance Style: An adjusted hem adds polish to any outfit.
- Boost Comfort: Experience the freedom of movement with the right length.
Benefits of Hemming Pants
Hemming pants gives you a professional look but also boosts your confidence with an improved fit.
Imagine walking taller, knowing your style is on point!
You’ll wear your pants longer with less fraying.
Whether using a blind hem stitch or a hem gauge, mastering how to hem pants is empowering.
Types of Pants That Can Be Hemmed
Whether you’re dealing with too-long jeans, dress pants, linen, corduroy, or chinos, hemming is a game-changer.
With a few simple tools and techniques, you can transform unfinished hems into a refined, polished look.
From denim alterations to dress pants, the possibilities are endless – and the cost is surprisingly affordable.
What Tools Are Needed for Hemming
When you’re ready to tackle hemming those too-long pants, having the right tools can make all the difference.
From scissors that actually cut straight to irons that won’t leak on your masterpiece, this guide will prep you for success with confidence and maybe even a little less frustration.
Essential Tools for Hemming Pants
Before you start hemming those too-long pants from the previous section, let’s gear up with the right tools.
Picture yourself equipped like a sewing superhero, ready to conquer those stubborn hems!
You need:
- Measuring tape to measure precisely.
- Sewing machine for clean stitches.
- Scissors to snip with precision.
Optional Tools for Hemming Pants
You may also want to think about some optional tools that can make hemming pants even easier.
A fusible tape can help secure the hem without sewing, while a pressing iron makes sure crisp, professional-looking results.
A seam ripper and fabric shears are handy for precise cutting and adjustments.
How to Choose the Right Tools for Hemming
While those optional extras can be tempting, the right tools are your true north in the hemming world.
A sturdy sewing machine or agile hands for hand sewing, a precise measuring tape, some sharp scissors, polyester thread, and a trusty iron are your dream team.
Choose wisely, and you’re golden!
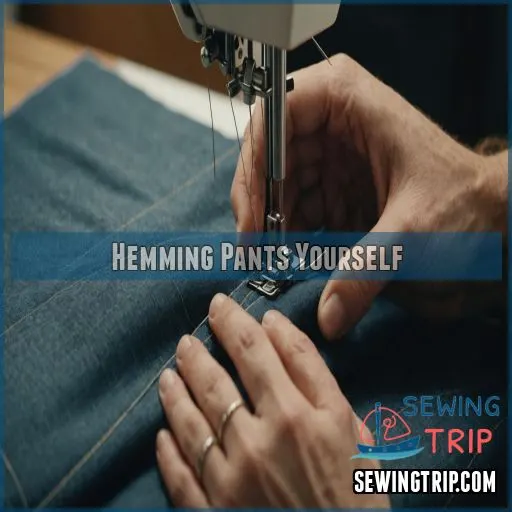
Hemming Pants Yourself
Hemming pants yourself can be a fun and satisfying project, taking anywhere from 30 minutes to an hour depending on your skill level and the tools you have at hand.
Embrace the process, as it gives you the chance to listen to your favorite podcast while turning those too-long pants into the perfect pair!
A Step-by-Step Guide to Hemming Pants
Finding the perfect hem length can feel like walking a tightrope, but don’t worry!
With basic hemming tools—a measuring tape, scissors, pins, and a trusty sewing machine—you’re ready to tackle this DIY hem.
Start with a cut, fold, then sew.
Voilà! You’ll dance with pride in your perfectly hemmed pants!
Tips for Hemming Different Types of Pants
Hemming different pants types requires specific techniques. For jeans, use a heavy-duty needle and stitch length. Dress pants need a lighter touch – a blind hem keeps the stitching invisible when you’re hemming dress slacks.
Linen, velvet, and corduroy all have unique textures, so adjust your approach accordingly.
The key? Patience and attention to detail for a flawless finish.
- Jeans: Heavy-duty needle, longer stitch
- Dress pants: Use a blind stitch for invisible stitching
- Linen: Lightweight, delicate fabric
- Velvet: Pile requires gentle handling
- Corduroy: Tricky ribbed texture
How to Achieve a Professional Finish
Ready to take your hemming skills to the next level? You’re in the right place! Achieving a professional finish is like icing that perfect cake.
Use a sewing machine for a clean hem, employ a blind stitch for invisibility, and don’t forget to iron for crispness.
Avoid seam-ripping nightmares!
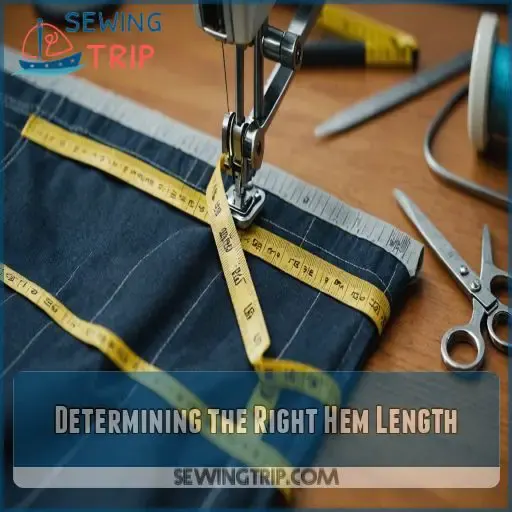
Determining the Right Hem Length
Finding the right hem length for your pants can feel like trying to match socks in the dark; it might seem tricky, but it’s easier when you know the steps to hem pants with tape.
Let’s make sure you get everything just the way you want, so you can walk with confidence and no tripping hazards!
How to Measure for the Right Hem Length
When you’re measuring for the right hem length, channel your inner tailor! Focus on these key areas to make sure you get a perfect fit:
- Shoe height: Always wear the shoes you’ll pair with the pants.
- Desired length: Decide if you want them grazing or above the ground.
- Inseam length: Measure from the crotch to your desired hemline.
- Pant style: Different styles call for different lengths.
- Body shape: Tailor the length to complement your body.
Factors to Consider When Choosing a Hem Length
When choosing the perfect hem length, consider your shoe style, pant type, and body shape.
Aim for a flattering look that complements the occasion – whether you’re dressing up or down.
The right hem can elevate your outfit and make you feel confident.
Trust your instincts and have fun experimenting!
How to Pin and Measure the New Hemline
Choosing the right hem length feels like solving a stylish puzzle.
Use measuring tools to mark your new hemline, making sure both sides match.
Check the mirror to see if the fit’s right–it’s like a dress rehearsal for your pants!
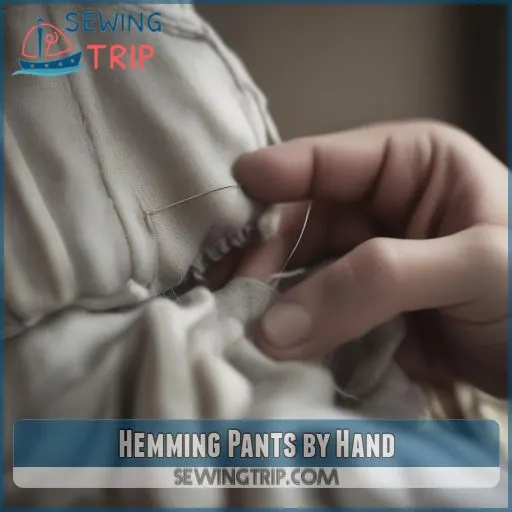
Hemming Pants by Hand
Hemming pants by hand is a simple yet rewarding task that allows you to achieve the perfect length without a sewing machine.
You’ll feel like a crafty genius as you master the art of stitching discreet hems that even your fashion-savvy friend won’t notice.
A Step-by-Step Guide to Hand Hemming
So, you’ve measured the perfect hem length, and now it’s time to get those pants just right with hand hemming. Start by threading your needle and setting a comfortable hem allowance.
Fold the fabric to your desired length and secure it with pins.
Now, grab your needle and stitch away, making sure each stitch is small but secure. Imagine you’re weaving a tiny, invisible path—you’re basically a ninja with a needle! Finish up by giving it a good press, and voilà! Pants you’ll love wearing.
Tips for Achieving a Strong and Invisible Stitch
To achieve an invisible stitch, choose a fine needle and thread that matches your fabric.
Adjust the tension so the stitches don’t pucker.
Take small, even stitches, keeping the thread taut but not too tight.
Fold the fabric neatly, pinning it in place as you go.
With a little practice, you’ll be stitching like a pro – your hemmed pants will look store-bought.
Just take your time and focus on those tiny, even stitches. You’ve got this!
Hemming Pants With a Sewing Machine
Hemming pants with a sewing machine is quick and efficient, letting you achieve a neat finish in about 30 minutes to an hour, depending on the complexity of the project and your sewing experience. Learn more about the process.
You’ll feel like a fashion pro when you impress friends by fixing your pants in about the time it takes to watch your favorite show.
A Step-by-Step Guide to Machine Hemming
You’ve tackled hand hemming, now let’s see how a machine can turbocharge your hemming game!
Machine hemming tips start with snipping the fabric at your desired hemming length.
Buzz cut the excess and fold up, securing the hem with pins.
Hemming machine types vary, but any basic sewing machine should do the trick.
Just set the right stitch and let the hemming begin!
Tips for Using a Sewing Machine for Hemming
You’ve mastered machine-hemming basics, and now it’s time for some finer tips. Selecting the right needle is like choosing a trusty steed—pick wisely based on your fabric.
Adjust sewing machine settings for ideal fabric tension, ensuring smooth sailing.
Explore different foot options to maneuver those tricky edges, and experiment with hem stitch types for that invisible finish.
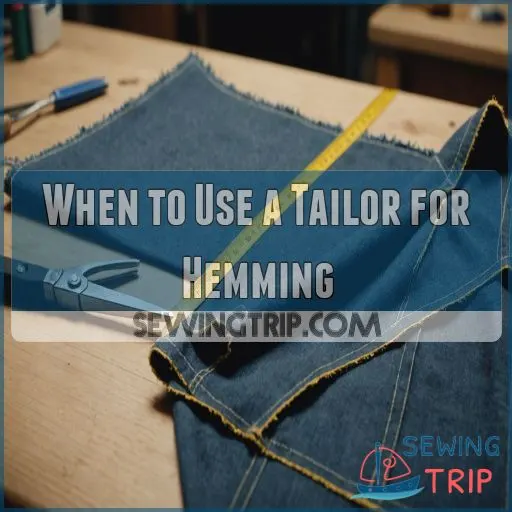
When to Use a Tailor for Hemming
While DIY hemming is possible, sometimes it’s best to leave it to the professionals.
Professional tailors and seamstresses have the expertise, equipment, and ability to provide a perfect fit that saves you time and delivers quality results.
Benefits of Using a Professional Tailor
Sometimes, letting a professional handle hemming is like having a magic wand. Their experience guarantees a quality finish and a perfectly custom fit.
You’ll save time too—imagine spending your weekend lounging instead of sewing!
Professionals have the tools and expertise, making alterations a walk in the park. No fuss, no muss!
How to Choose the Right Tailor for Hemming
Choosing the right tailor can feel like finding a needle in a haystack.
Consider these points:
- Tailor Experience: Check how long they’ve been in business.
- Reviews: Check out online reviews for insights and local recommendations.
- Price Comparison: Compare costs with other shops.
Effective communication skills make a world of difference!
What to Expect From a Tailor’s Hemming Service
You’re ready to trust a tailor for hemming when you want expertise, quick turnaround, and a quality guarantee.
Expect transparent communication—no hemming and hawing—on costs and deadlines.
Cost expectations vary, but a tailor assures your pants fit like a charm.
Common Alteration Terms to Know
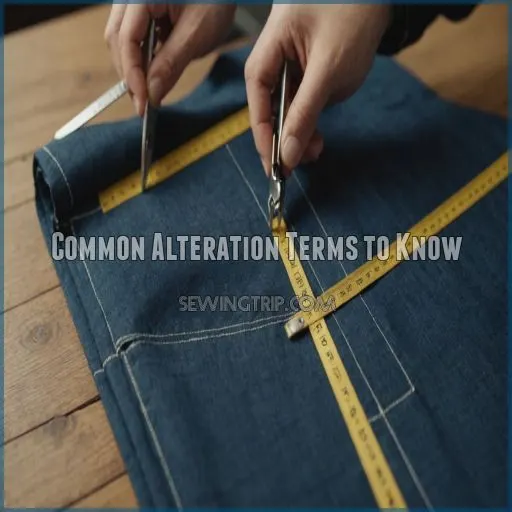
If you’re thinking about hemming your pants, knowing the right alteration terms can make communicating with your tailor a breeze.
From understanding common adjustments like shortening the inseam or adjusting the waistband, to describing the perfect fit you’re after, this handy glossary will have you sounding like a pro in no time.
Understanding Alteration Terms for Hemming
Mastering hemming starts with knowing your terminology. "Inseam" and "outseam" are your navigation points—think of them as the X and Y axis on a pants map.
"Seam allowance" is your breathing room for the fabric.
Understanding these terms arms you for adjustments like a well-tailored superhero!
Common Alterations for Pants and Jeans
Pants can be a real game-changer when it comes to alterations. Think of common tweaks:
- Waistband adjustments: Get that perfect fit.
- Inseam edits: Cater length to your liking.
- Cuffs and hemlines: Add style points.
- Tapering legs: Sharpen the silhouette.
These quick fixes offer an easy style rescue!
How to Communicate With Your Tailor
After sprucing up your wardrobe with alterations, speaking "tailor" helps.
When discussing hem preferences, use phrases like "cuffs," "inseam," and "break."
Be upfront with your fit expectations and ask about alterations cost beforehand.
Got a specific look in mind? Share photos, so there’s no room for misunderstanding.
Hemming Time Frames and Costs
Wondering how long it’ll take to get your pants hemmed?
The answer depends on a few factors, but we’ve got the scoop on typical hemming timelines and costs to help you plan ahead.
Whether you’re doing it yourself or taking them to a tailor, we’ve got this.
How Long Does It Take to Hem Pants
If you’re hemming pants yourself, DIY vs. Tailor time matters.
Rolling up your sleeves, you’ll likely spend around 30 to 60 minutes, depending on your hemming speed and effort. It’s like a mini sewing marathon! But don’t worry; it won’t break the bank. Hemming cost is minimal if you DIY.
On the other hand, a tailor can hem your pants in a day or two, though it might cost between $10 to $20. Both options offer their unique perks!
Factors That Affect the Time Frame for Hemming
You’ve got a pair of pants crying out, "Hey, I’m drowning in extra fabric!" Here’s what can speed up or slow down hemming.
- Hemming technique: Hand stitching’s slow and steady; machines zip through like a caffeinated squirrel.
- Fabric thickness: Denim’s tough like an old boot, and silk’s as slippery as a banana peel.
- Seam complexity: Fancy stitches add flair but gobble up time.
- Tailor workload: Tailors juggle jobs like circus performers, affecting your wait time.
Frequently Asked Questions (FAQs)
How long does a tailor take to hem?
When you ask a tailor to hem your pants, expect it to take about 1 to 3 days, depending on their workload.
It’s not rocket science, but you’ll certainly appreciate the swift and snug fit!
How hard is it to hem pants?
Hemming pants might seem like climbing Mount Everest without a guide, but you’ve got this by following these steps!
With patience and a dash of determination, you’ll conquer those hems in no time, armed with your measuring tape and trusty sewing machine.
How long do shortening pants take?
Shortening pants can take around 30 minutes to an hour if you’re doing it yourself.
Like threading a needle, it requires focus.
For a tailor, it’s often quicker, ensuring a sharp, professional finish.
How long should you hem your pants?
Hemming your pants is a breeze – you’ll have them looking sharp in no time!
Just a few minutes with your sewing machine, and you’ll be strutting around in perfectly-fitted trousers.
No more tripping over excess fabric!
How do I fix an uneven or loose hem after washing?
Don’t let a wobbly hem get you down!
First, iron it flat, then add some stitches to reinforce it.
If stitching’s not your thing, try fusible tape for a quick fix.
Problem solved!
Can I hem pants with a lining without affecting the fit?
Did you know that 65% of people prefer lined pants for their warmth?
You can hem lined pants by carefully shortening both the outer fabric and lining equally, ensuring a smooth fit.
Just avoid cutting corners—or stitches!
Whats the best way to hem pants with pleats or cuffs?
When dealing with pleats or cuffs, first unravel the cuff, then hem as usual.
Recreate the pleats or cuffs, ensuring alignment.
It’s like a tailor’s magic trick: precise and smooth, with practice making perfect!
How do I choose the right thread color and type for different fabrics?
Choosing the right thread for hemming depends on the fabric – cotton thread for natural fibers, polyester for synthetics.
Match the color to the pants for an invisible finish.
A quality all-purpose thread works well in most cases.
How can I ensure a consistent pattern match at the hem?
Matching patterns at the hem: the thrill of piecing a puzzle!
Align your seams like a pro by pinning fabrics together at strategic points and checking alignment before sewing.
Precision turns potential chaos into a harmonious masterpiece.
Conclusion
Don’t fret if you’re worried about time constraints! Hemming pants doesn’t have to be scary, whether you’re using a sewing machine or opting for hand-stitching.
With practice, you’ll find it takes less time.
Picking your method depends on your schedule and comfort level. So grab those pants and transform them to fit perfectly!


