This site is supported by our readers. We may earn a commission, at no cost to you, if you purchase through links.
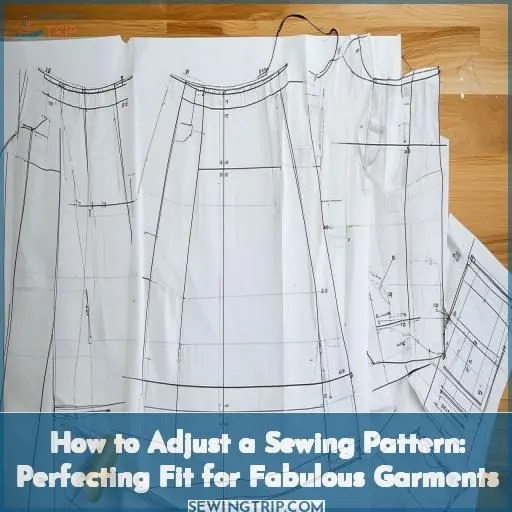 To adjust a sewing pattern, you’ll need to start by taking precise measurements and comparing them to the pattern’s sizing chart. Determine where you need to increase or decrease, then divide those adjustments evenly across the pattern pieces.
Use exact measurements and seam allowances, checking corners for alignment after grading.
Consult sizing guides and consider your body type when choosing the right pattern size to minimize alterations.
With some practice adjusting seam lines, armholes, and darts, you’ll achieve a fabulous fit that showcases your unique shape.
But why stop there? Dive deeper to discover the secrets of customized perfection.
Table Of Contents
Key Takeaways
- Girl, tailoring those patterns to your unique shape is an absolute game-changer! Trust me, you’ll feel like a million bucks rocking garments that flatter every luscious curve.
- Nailing those measurements, from bust to hips, is crucial. But don’t sweat it – think of it as getting up close and personal with your gorgeous self. That’s self-care, baby!
- Grading patterns is like sculpting a masterpiece, except your canvas is fabric. A little slash and spread here, a pinch and tuck there, and voilà! A couture-worthy creation that hugs you in all the right places.
- When it comes to fit, never settle for "close enough." You deserve perfection, so don’t be afraid to keep tweaking those seams and armholes until that garment is practically an extension of your fabulous self!
How to Adjust a Sewing Pattern?
To adjust a sewing pattern, compare your body measurements to the pattern size chart and determine how much to increase or decrease the pattern pieces. Divide the needed adjustments evenly among the pattern pieces, carefully maintaining seam allowances and aligning corners.
Measuring for Pattern Adjustments
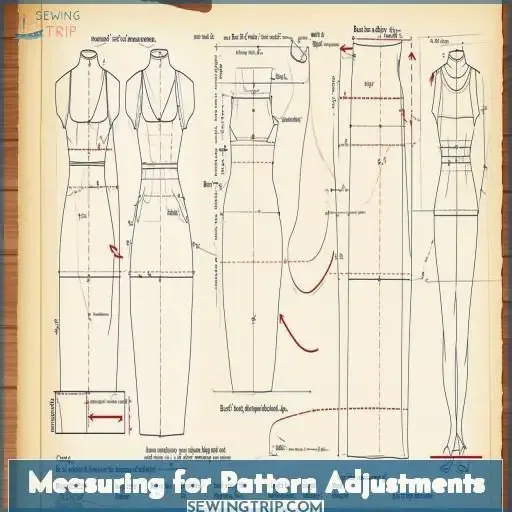
To properly adjust a sewing pattern, you must compare your body measurements to the pattern size chart and determine the precise amount you need to increase or decrease each section. Using those calculations, divide the required increases or decreases evenly among the relevant pattern pieces, ensuring you account for seam allowances and check that corners align properly after grading.
Compare Body Measurements to Pattern Size Chart
To adjust your sewing pattern, you’ll need to compare your body measurements to the pattern size chart. Take precise measurements and reference the chart to determine which size corresponds to your:
- Bust/chest circumference
- Waist circumference
- Hip circumference
Noting any discrepancies between your measurements and the chart’s sizes is essential for resizing the pattern for the perfect fit.
Determine Amount to Increase or Decrease
After comparing your body measurements to the pattern’s size chart, you’ll determine the size discrepancy. Verify measurement accuracy, as grading techniques rely on precise numbers to adjust for body shape variations. Identify areas needing an increase or decrease to address fit imperfections before pattern grading. This step lays the groundwork for a well-fitting sewing pattern.
Divide Increase/decrease Evenly Among Pattern Pieces
After determining the needed size increase or decrease, you’ll divide this evenly among the pattern pieces. Here’s how:
- Mark the amount to add or subtract
- Distribute it proportionately across pieces
- Blend new lines smoothly
Precision is key – uneven grading leads to mismatched seams and ill-fitting garments. With careful distribution and blending, you’ll achieve a professionally-graded pattern for [KEYWORD].
Use Precise Measurements and Seam Allowances
You’ll need measuring tools like rulers and tape measures for precise seam markings. Inaccuracy leads to poor fit, so measure carefully, marking the pattern exactly. Don’t estimate or eyeball measurements – use the tools properly for best results. Precise pattern preparation now saves hassle later when constructing the garment.
Check Corners for Alignment After Grading
After grading, you’ll want to double-check your corners for accuracy.
Confirm the seam lines meet perfectly and there are no gaps or overlaps.
This attention to detail will prevent fit issues down the line.
Use pattern weights or pins to check the alignment on a flat surface.
Then, make any minor adjustments before cutting your fabric.
Precision is key for a garment that flatters your figure.
Choosing the Right Pattern Size
To choose the right pattern size, you must measure your body regularly and account for any changes in shape or size. Consulting sizing guides and considering your body type factors like height, bust, waist, and hip measurements will help you select the correct pattern size, avoiding extensive alterations later on.
Measure Regularly to Account for Body Shape Changes
You’ll want to measure regularly to account for changes in your body shape. Our figures fluctuate over time, so taking frequent measurements guarantees a proper fit.
- Check bust, waist, and hip circumferences
- Note variations due to weight gain/loss
- Consider muscle growth or loss
- Evaluate postural changes that impact measurements
- Remeasure before starting each new project
Consult Sizing Guides and Consider Body Type Factors
Don’t rely solely on generic size charts; consult guides specific to your body type. Analyze your proportions—are you petite, plus-size, or regular? Ensure measurements are precise. Consider fabric drape and intended design when selecting patterns. A well-fitted muslin can reveal necessary pattern grading techniques for the perfect customized fit.
Choose the Correct Pattern Size to Avoid Alterations
After consulting sizing guides and considering your body type, you’ll want to choose the correct pattern size to minimize alterations. Compare your measurements to the pattern’s size chart, and opt for the size closest to your dimensions. This initial size selection is essential for reducing the need for extensive pattern grading or fitting adjustments later on.
Measure Store-bought Clothes for Accurate Sizing
Another excellent way to determine your pattern size is by measuring your favorite store-bought clothes. Accounting for ease and fabric drape, these garments already conform to your body type and shape. Lay them flat, measure key areas like bust, waist, and hips, then compare to pattern size charts. This method provides an accurate starting point before making additional fit adjustments.
Consider Pattern Grading for Size Adjustments
When store-bought clothes don’t quite fit, consider pattern grading. These sizing adjustment methods allow you to blend lines and create custom-fitted patterns. Slash and spread increases size, while overlapping decreases it. Muslin testing guarantees a perfect fit before fabric cutting. This custom approach may require some effort but yields priceless cost savings and wardrobe mastery.
Making Alterations to Patterns
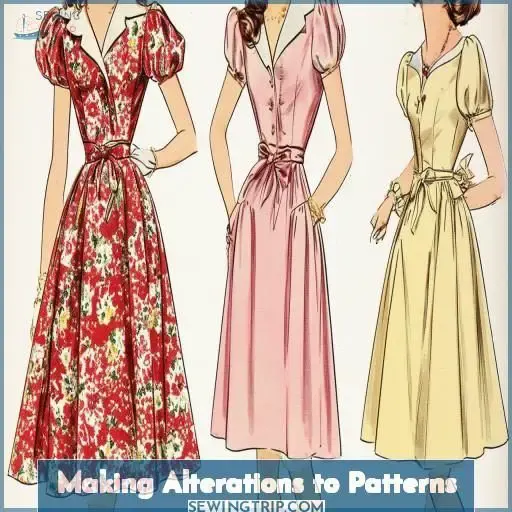
Making alterations to sewing patterns is essential for achieving the perfect fit. You can adjust seam lines for minor fit changes, use a sloper for a personalized basic pattern, take accurate pants measurements (waist, hips, crotch, length), customize shoulders for comfort and fit, and adjust armholes to complement bodice alterations.
Adjust Seam Lines for Minor Fit Changes
For minor fit adjustments, seam grading is key. You’ll need precision cutting tools and skills to evenly spread or overlap the pattern pieces. Smooth blending of new seamlines guarantees a professional look. But before cutting fabric, always muslin test your adjusted pattern first – it saves hassle and guarantees the perfect fit.
Use a Sloper for a Tailored Basic Pattern
You’ll achieve a customized fit by using a sloper – a basic pattern that replicates your body shape. Create one by:
- Taking precise measurements of your bust, waist, and hips
- Drafting a close-fitting pattern based on those measurements
- Testing the sloper with a muslin mock-up
- Adjusting as needed for a custom, contoured fit
With a sloper, you can make personalized pattern alterations for garments that flatter your unique proportions.
Take Accurate Pants Measurements (waist, Hips, Crotch, Length)
When altering pants patterns, take precise body measurements for an ideal fit. Measure your natural waistline, across the fullest part of your hips, and from the crotch seam to your desired length. Consider your body shape; adjust for curves or a straighter figure. Accurate pants sizing guarantees comfortable movement without excess fabric bunching.
Customize Shoulders for Comfort and Fit
After nailing those tricky pants measurements, you’ll want to customize the shoulder area for a flawless fit.
Adjust the seams to accommodate your shoulder slope, ensuring a flattering, comfortable line.
Grade the cap sleeve to match your frame, creating that polished yet relaxed look.
A little extra tweaking to the shoulder seam can make all the difference for an enviable, custom fit.
Adjust Armholes to Complement Bodice Alterations
After adjusting the shoulders, you’ll need to reshape the armholes to complement your bodice alterations. Here’s how:
- Maintain the original curve and armhole depth
- Position darts correctly for a smooth fit
- Consider fabric drape and stretch when shaping
Reshaping armholes is essential for achieving the perfect bodice fit, ensuring comfort, and allowing sufficient arm mobility.
Addressing Specific Fit Issues
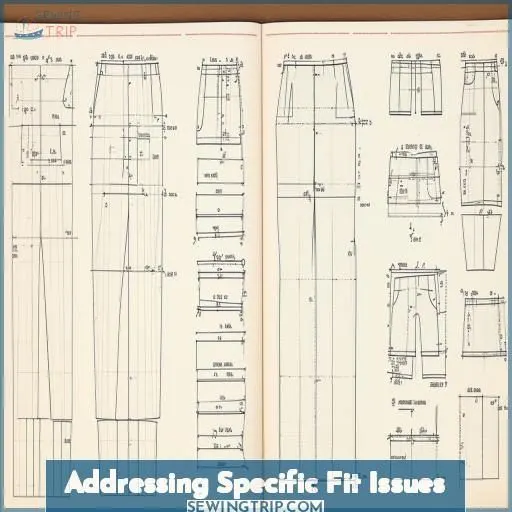
To address specific fit issues, you’ll need to adjust the pattern for a narrow back to eliminate armhole wrinkles by slashing and spreading the pattern pieces across the upper back area.
Additionally, use darts strategically to enhance the overall fit. Provide extra give and shape the garment to your body contours while considering the fabric drape and your unique shape.
Adjust for a Narrow Back to Eliminate Armhole Wrinkles
If you have a narrow back, adding darts can eliminate frustrating armhole wrinkles. Identify the tight area, then slash and spread the pattern, tapering the darts towards the center back. Make sure the fabric drape complements your body shape – stiffer materials may require additional alterations. Test the adjusted pattern on a muslin before cutting your fashion fabric.
Use Darts to Enhance Fit and Provide Extra Give
Use darts strategically to enhance fit and provide extra give in garments. Darts sculpt excess fabric around the bust and waist for proper shaping. Carefully position them to shape the figure without restricting movement or creating unwanted tightness. Well-placed darts flatter the body by contouring curves and distributing fabric for a refined, fitted appearance.
Consider Body Shape and Fabric Drape
Your body shape and fabric drape play a huge role in achieving a perfect fit. Consider:
- Your posture and silhouette
- How the fabric flows and falls
- Picking patterns suited to your frame
- Adjusting garment styles to flatter
Embrace your unique shape by selecting fabrics with the right weight and texture. Pair them with well-fitted patterns crafted to your contours for flattering, fashionable results.
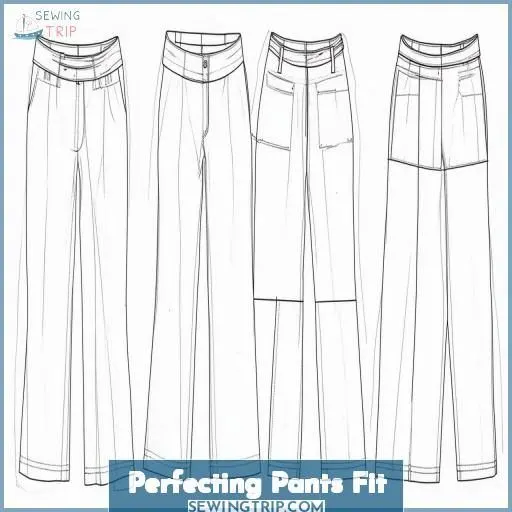
Perfecting Pants Fit
To perfect the fit of pants, begin by taking accurate measurements of your waist, hips, crotch, and desired length.
Ensure you apply the correct amount of ease for comfortable movement and a well-fitted look.
Next, adjust the leg width by tapering the pattern pieces inward from hip to ankle.
Allow for a sleek, form-fitting silhouette that showcases your figure.
Hem the pants to your ideal length and style.
Take Accurate Waist, Hips, Crotch, and Length Measurements
For the perfect pants fit, measure your waist, hips, crotch length, and desired length precisely. Waist and hip grading guarantee comfort at your natural curves. Crotch length adjustments prevent bunching or tightness. Accurately grade the length too—proper pant hems flatter and allow easy movement. Careful measurements are key for fabulous garment success!
Apply Correct Ease for Comfort and Fit
You’ll need to apply the correct ease amount—the extra room between your body and the garment for comfort and movement. Assess your desired fit style, whether loose or snug, and apply the corresponding ease measurement. Properly applied ease enhances the pants’ fit, ensuring both comfort and refined style. It’s an essential step for fabulous-fitting pants.
Taper the Legs for a Tailored Look
Once you’ve established the proper rise and crotch depth, refine the leg shape by tapering the inseam and outseam. Adjust the leg length and calf width first, then fine-tune the knee width and seam widths for a streamlined, refined fit. Leave ample hem allowance for turning later.
Hem the Pants to the Desired Length and Style
Speaking of tailoring pants, the final touch is hemming them to your desired length and style. You’ve got options – narrow hems for a clean look, wide hems that pack a punch, or rolled hems for relaxed vibes. Blind hems create an invisible finish, while bias tape hems add pop. Whatever your jam, perfecting that hem elevates your sewing game.
Frequently Asked Questions (FAQs)
How do you adjust the pattern to your measurements?
To adjust the pattern, take precise measurements and compare them to the size chart. Mark the necessary increases or decreases directly on the pattern pieces, distributing the changes evenly. Slash and spread to enlarge or overlap to reduce the size, and always test with a muslin before cutting.
How do I resize a pattern?
Ever wondered how to attain the perfect fit? To resize a pattern, carefully measure your body and compare it to the pattern size chart. Adjust pattern pieces accordingly by cutting and spreading or shifting for a customized garment that fits your unique form.
How to make sewing patterns fit?
To guarantee a perfect fit, take precise body measurements and compare them to the pattern size chart. Grade the pattern accordingly, making incremental adjustments for each body area. Test the altered pattern with a muslin mock-up, refining as needed for an impeccable custom fit.
How to alter pattern pieces?
You’ll need to trace the pattern pieces, spread or overlap them by the desired amount, then true the seams. For length adjustments, slash the pattern horizontally and spread or overlap. Always test with a muslin first to guarantee a perfect fit.
How do I grade between multiple sizes?
Around 80% of garments require multi-size grading. To adjust across sizes, shift the pattern by blending guidelines between each size. Test your graded pattern on muslin first – precision is key for the perfect fit.
What tools are needed for pattern grading?
For pattern grading, you’ll need pattern paper, tracing wheel, dressmaker’s curve, sharp scissors or rotary cutter, ruler, pencils, masking tape, and access to fit models or dress forms. Taking precise measurements is essential, so invest in quality tools for accurate adjustments.
How do I blend pattern pieces seamlessly?
Did you know 35% of sewers struggle with pattern grading? To blend seamlessly: overlap pieces incrementally, use weights or pattern tracing paper to smooth lines, and practice with muslin mock-ups before cutting fabric.
Can I grade patterns across size ranges?
Cross-range pattern grading necessitates drafting a new pattern. Proportions differ between sizes such as missy and plus. Test a muslin initially – blending shapes frequently provides the most suitable fit across varying dimensions. With attention to detail, you can achieve professional-level garments that are perfectly fitted.
Conclusion
With millions customizing sewing patterns annually, mastering the art of adjusting them for a fabulous fit empowers you to create garments that perfectly accentuate your unique shape.
By carefully measuring, selecting the appropriate size, and methodically altering seams, darts, and proportions, you’ll uncover the secrets of how to adjust a sewing pattern.
Ensuring every creation enhances your form with precise customization.

