This site is supported by our readers. We may earn a commission, at no cost to you, if you purchase through links.
Cutting the neck of a t-shirt is like creating a masterpiece. With precision and care, you can transform any old shirt into something new and stylish. Want to make your wardrobe more interesting or save money? Modifying the neckline on your t-shirts is easy once you know how! Here are step by step instructions for cutting various types of necks, so even novice DIYers can feel confident.
Let’s get started!
Table Of Contents
Ii Tools Required

You’ll need a few tools: scissors, chalk or pins, and a ruler. Tailoring scissors are the best for cutting through thick fabric like knitwear, but if you don’t have them, a pair of sharp fabric scissors will do. Pins with finer points won’t leave holes in your shirt when removed; otherwise, use fabrics markers or pens to mark measurements on the material. Use measuring tape to be sure all sides are even and aligned. It can also help transfer markings from paper patterns onto fabric pieces. A seam ripper comes in handy when making alterations. It helps remove stitches without damaging other parts of the garment. An ironing board is necessary for pressing seams flat before stitching them back together after any modifications.
Iii Steps to Cut the Neck Out of a T-shirt
Are you looking to update your wardrobe with a cool DIY project? Cutting the neck out of a t-shirt is an easy way to transform your look.
Choose a shirt that fits well and has enough fabric around the neckline. Mark where you want to cut using chalk or pins.
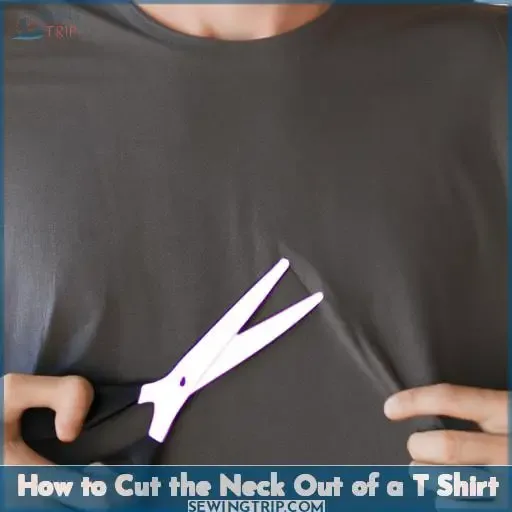
Carefully cut along this line – either creating a scoop neck or v-neck depending on what design you’re going for. Snip off any excess collar material.
Finish off any rough edges by rolling them up gently with your hands.
With these steps in mind, cutting out the perfect t-shirt neckline is easier than ever!
Step 1: Choose the T-shirt
Choose the t-shirt you want to customize and make it a statement piece! Evaluate the fabric, like cotton or polyester. Align the shoulder seams and measure one inch below the collar to size up the shape. Determine if you want a scoop neck or v-neck. Trim the fabric in a curve for a scoop neck or a straight line for a v-neck from the bottom point at the collar to the shoulder seam. Use these trendy layering techniques confidently. Soon your customized T will be making waves on every street corner!
Step 2: Mark the Neckline
Transform your t-shirt into something extraordinary by marking the neckline with ease. Before making any cuts, locate the center of the front side where you want to create an opening for your new design. Use ruler marks if needed so that long cuts can be made accurately without causing any unwanted damages along the edges. Cut the fabric triangle or flat surface at home using a sharp pair of scissors or pins as necessary to secure it onto its spot firmly. Keep current fashion trends in mind while considering what looks best on your body type. Cut either straight up or down depending upon desired shape and size.
Step 3: Cut the Neckline
Grab your sharp scissors and carefully snip away at the fabric, shaping it into whatever design you desire. To cut the neck out of a t-shirt, start by layering techniques to make sure shoulder seams are aligned and measure 1 inch below the collar. Mark the desired neckline location to create customizing styles or upcycling trends for creating shapes or designing logos on your shirt.
Use the front of the collar as a reference point for making longer cuts across both shoulders with a diagonal line from the marked spot, 4 inches away towards the shoulder seam. Pull the fabric gently to roll the edges of the triangle before washing and drying. This will make the shape wider and the material softer.
Utilize these helpful tips when cutting a t-shirt neckline so you can achieve any type of style!
Step 4: Cut the Collar
Now, snip the collar off your shirt to complete your custom cut neckline. Consider color and pattern variations that will make the most impact. Depending on the look you’re going for, choose between different neck shapes and band widths.
With fabric shears (or a tailor’s marking pencil), create an even line from one shoulder seam to the other, making sure not to let any extra material hang over. For further reinforcement, use quick stitches along outlined edges before moving onto the next step. This is especially important with heavier fabrics such as denim or canvas that can be difficult to maneuver without tearing apart at seams.
Step 5: Finish the Edges
Now that you’ve snipped and stitched your way to a new neckline, it’s time to give the edges of your t-shirt an extra polish. Just like shining up a pair of shoes, finishing off the edges will make sure all eyes are on you!
To do this properly, there are some steps involved: creating curves with hemming fabric, trimming raw edges with seam allowances and using tailors pencils or aluminum foil for cold shoulder designs. A ribbed neck band can also be used for curved lines around necks, as well as sticky rusty scissors when needing precision cuts.
With these tools in hand, you’ll definitely have perfect results every single time!
Iv Tips and Tricks
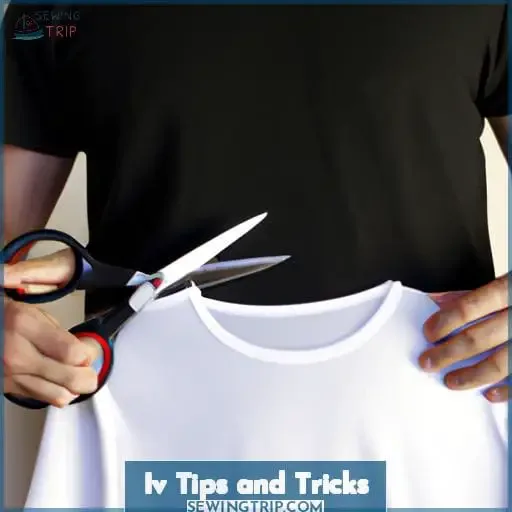
To give your t-shirt a whole new look, here are some helpful tips and tricks you can use! Neaten the seams before cutting into it. Decide how large or small you want to resize the neckline. Mark where you want to cut and reinforce the seams so they don’t fray. Use straight cuts when possible for sharp edges. Try a sew-do approach; combine hand sewing with machine work, and add elements like lace trimmings and ruffles. Or use a combination approach; hand stitch parts together, then trim out excess fabrics with scissors. It’s more time-consuming but offers great flexibility with design options. Ultimately, it adds character and uniqueness into every item made out of recycled tee shirts!
Frequently Asked Questions (FAQs)
How do I measure for a v-neck or scoop neck?
Measuring for a v-neck or scoop neck is an essential step when cutting the neck out of an old t-shirt. To get the perfect fit, start by stretching the fabric to gauge how much depth and shape you want your new neckline to have. Trace around this pattern with tailor’s pencil or pins, and use sewing scissors to cut along it.
Straight lines are best for V-necks, while curved lines work best for scoops. With some patience and practice, anyone can master these subtle yet effective modifications.
What types of t-shirts are best for cutting necklines?
You want to modify your t-shirt neckline. What type of fabric is best suited for the job? Thicker fabrics with stretch are ideal. T-shirts made from jersey knit or spandex blend work best. Thread color should match the shirt so there’s no contrast after cutting. For crew necks and v-necks you can use curved scissors or an exacto knife for precise cuts. For straight lines, use pins and chalk to keep fabric stretched tight. A team of editors at wikiHow has provided detailed instructions on how to craft specific looks such as Bardot off shoulder tops. This gives readers an easy guide on how to customize their own wardrobe without breaking the bank!
How do I sew a neckline?
If you’re looking to spruce up your wardrobe, consider sewing a neckline for a t-shirt. Choosing the right fabric and matching threads are key considerations. You can find options that require no or minimal stitching, such as rotary cutters and scissors. But if you opt for more complex designs like boat or shoulder necks, using a sewing machine is recommended.
To achieve any variety of necklines – from v-neck to scooped – you’ll need specific techniques such as cutting in curves and straight lines, with precision. Make sure your measurements are accurate!
Is there an easy way to make an off-the-shoulder t-shirt?
Upcycling your wardrobe is a great way to get creative. To make an off-the-shoulder t-shirt, open the shrink wrap and cut along the shoulder seams. Mark 4 inches away from the collar towards each sleeve and draw a diagonal line connecting these spots to the neckline’s original cuts. Cut along this line for both sleeves, creating two triangle-shaped holes in each side. Don’t forget to give it a couple of tugs as you go! Place cardboard boxes inside the top so its shape won’t be altered when it’s finished drying. Any no sew DIY modifications won’t affect it.
What other types of t-shirt modifications can I do?
Do you want to give your old t-shirts new life? With a few easy DIY modifications, you can take your wardrobe from dull and boring to unique and stylish.
Try adding patches, using tie dye or stenciling designs for an instant upgrade. You can also try sewing on some patches or mixing fabrics to make something completely new!
For more triangular v-neck looks, cut the neck out of a t-shirt in different places. Get creative with it – the possibilities are endless when it comes to DIY t-shirt modifications!
Conclusion
You have now learned how to cut the neck out of a t-shirt. Have you ever tried any other modifications to your t-shirts, such as cutting the sleeves, hemming, or adding fringe? The possibilities are endless. With the right tools and some practice, you can easily transform your t-shirts into stylish pieces of clothing.
So what are you waiting for? Get creative and start customizing your t-shirts today!


