This site is supported by our readers. We may earn a commission, at no cost to you, if you purchase through links.
 To hem jeans pants on a flatbed sewing machine, you’ll need the right tools – a jeans needle, jeans foot, straight stitch plate, and matching thread.
Measure each leg separately, mark the desired length, and remove the original hem.
Fold and press the new hem, then set up your machine with the proper settings.
Slowly sew around the hem, backstitching at the start and end for durability.
Repeat for the other leg, adjust the length if needed, and optionally topstitch for extra reinforcement.
With a bit of care and precision, you’ll master the art of hemming jeans on a flatbed machine.
But that’s just the start – keep reading to uncover even more tips for achieving the perfect professional finish.
Table Of Contents
- Key Takeaways
- How to Hem Jeans Pants on Flat Bed Sewing Machine?
- Gather Necessary Materials
- Measure and Mark the Desired Hem Length
- Remove Original Hem (if Present)
- Fold and Press the New Hem
- Set Up Sewing Machine
- Sew the Hem
- Finish and Press
- Adjust Hem Length (if Needed)
- Topstitch for Extra Durability (optional)
- Enjoy Your Perfectly Hemmed Jeans!
- Frequently Asked Questions (FAQs)
- Conclusion
Key Takeaways
- Use the proper tools – a jeans needle, jeans foot, straight stitch plate, and matching thread – for best results
- Measure each leg separately, mark the desired length, remove the original hem, and fold and press the new hem
- Set up the machine with the right settings, sew around the hem slowly while backstitching at the start and end
- Repeat for the other leg, adjust the length if needed, and optionally topstitch for extra reinforcement
How to Hem Jeans Pants on Flat Bed Sewing Machine?
To hem jeans pants on a flatbed sewing machine, first, gather materials like a sewing machine, pins, and measuring tape. Then, measure, mark, fold, sew, finish, press, and enjoy perfectly hemmed jeans.
Gather Necessary Materials
To hem jeans on a flatbed sewing machine, you’ll need a few essential materials: a sewing machine, jeans needle, jeans foot, straight stitch plate, sewing thread, scissors, pins or clips, measuring tape, and chalk or fabric marker. Gather these items before starting to guarantee a smooth hemming process.
Sewing Machine
To hem jeans, use a sewing machine with a straight stitch plate. Choose a jeans needle and thread. Set stitch length to 2.5-3mm. Lower feed dogs if needed. Position presser foot near top fold line. Sew around hem, removing pins as you approach. Backstitch at beginning and end. Maintain even pressure on fabric for a professional finish.
Jeans Needle
To hem jeans using a flatbed sewing machine, gather the necessary materials:
- Sewing machine
- Jeans Needle – for the jeans weight and fabric type
- Thread matching the fabric weight
- Height compensation tool for thick fabric
Ensure the machine is fitted with a jeans needle to accommodate the fabric weight. Use a thread weight suitable for denim, and consider the height compensation tool for seamless stitching (Source).
Jeans Foot
The jeans foot is essential for hemming jeans. Its wide groove accommodates thick seams and cross-seams. Use it with a jeans needle and adjust stitch length as needed. Lower the feed dogs for better control. Topstitch close to the folded edge for extra durability. The jeans foot makes hemming jeans a breeze on your flatbed sewing machine.
Straight Stitch Plate
The straight stitch plate is essential for hemming jeans on a flatbed sewing machine. It features a narrow slot that supports the needle and prevents skipped stitches when sewing thick denim fabric. Use a 90/14 jeans needle and adjust your stitch length to 2.5-3mm for best results. The sliding hem gauge helps measure and mark your desired hem length.
Sewing Thread
Select a high-quality sewing thread designed for jeans, like a heavy-duty polyester or cotton thread. Match the thread color to your jeans or choose a contrasting color for a decorative topstitch. Adjust the thread tension on your machine as needed for a smooth, even stitch. Avoid using low-quality thread, as it may break or cause skipped stitches.
Scissors
When selecting scissors for hemming jeans, prioritize scissor quality, sharpness, comfort, and grip.
Make certain your scissors are well-maintained for precise cuts.
Refer to expert sewing maintenance tips for caring for your shears to keep your scissors in top condition .
High-quality scissors can make the hemming process smoother and more efficient.
Choose a pair that fits comfortably in your hand and is sharp for accurate cutting.
Pins or Clips
Pins or clips are essential for holding the fabric in place while marking and sewing the hem. Use sharp, rust-resistant pins or clips designed for sewing. Pinning technique:
- Place pins perpendicular to the hem, about 1-2 inches apart
- Clip fabric at corners and curves for a smooth finish
- Make certain pins are secure but easy to remove as you sew
Measuring Tape
To guarantee the accuracy and precision of your jeans hem, collect the necessary materials including a measuring tape to measure the length.
Measure each leg separately to capture any discrepancies in length, then mark the desired hem length with precision using the measuring tape.
This step is essential for ensuring the accuracy of the hemming process, allowing for a neat and custom finish.
Chalk or Fabric Marker
Chalk or a fabric marker are handy tools for marking the desired hem length on your jeans. Choose a chalk or marker that contrasts with your fabric for clear markings. Use it to create folds and creases, indicating where to sew. Experiment with different marking methods to find what works best for your fabric and sewing style.
- Chalk or marker provides clear markings
- Contrasting color makes it easy to see
- Helps create precise folds and creases
- Experiment to find your preferred marking method
Measure and Mark the Desired Hem Length
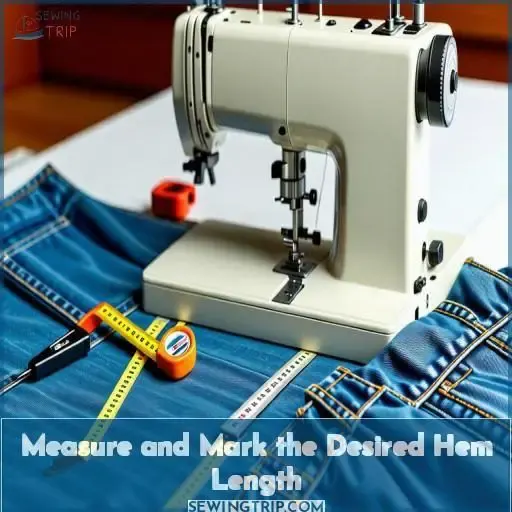
For the most suitable fit, measure each leg separately and mark the desired length with pins or a fabric chalk. Double-check your measurements before proceeding to guarantee an accurate hem.
Measure Each Leg Separately
Measure each leg separately to guarantee a perfect fit. Wrap the measuring tape around your leg at the desired hemline and note the length. Measure carefully, keeping the tape level and snug against your leg. Repeat on the other leg to double-check your measurements. Precise measuring is key to a professional-looking hem that folds accurately, stitches evenly, and presses carefully.
Mark Length With Pins or Chalk
Mark the desired hem length on each pant leg using pins or chalk. Place pins at the marked length, evenly spaced around the leg. Alternatively, use a chalk tool to draw a line around the leg at the desired length. Make certain the marks are level and consistent on both legs for an even finish.
- Pins allow for easy adjustments
- Chalk provides a clear visual guide
- Mark each leg separately for accuracy
- Measure from the floor for consistent length
Double-check Measurements
Double-check your measurements to guarantee precision. Verify the length by measuring each leg carefully. Confirm the desired hem length by comparing it to the original pant length. Take your time and double-check the accuracy of your measurements to avert any costly mistakes. Measure carefully to achieve the perfect fit.
Remove Original Hem (if Present)
If your jeans already have an existing hem, you’ll need to remove it first. Carefully use a seam ripper to pick out the stitches, ensuring you don’t damage the fabric, and then discard the original hem.
Use Seam Ripper to Carefully Remove Stitches
To remove the original hem from your jeans, use a seam ripper to carefully cut and remove the unwanted stitches (Source). Glide the seam ripper’s sharp tip underneath the stitches, then gently lift and cut the thread with precision. Exercise caution when cutting to avoid damaging the fabric, preparing the jeans for the new hemming process.
Discard Original Hem
To discard the original hem, use a seam ripper to carefully remove the stitches, making sure not to damage the fabric .
After removing the original hem, measure the desired new length accurately, and mark it with pins or chalk .
When folding the new hem, be sure to fold the raw edge in the direction of the wrong side for the first fold and iron it to create a crease, then fold and press again .
Fold and Press the New Hem
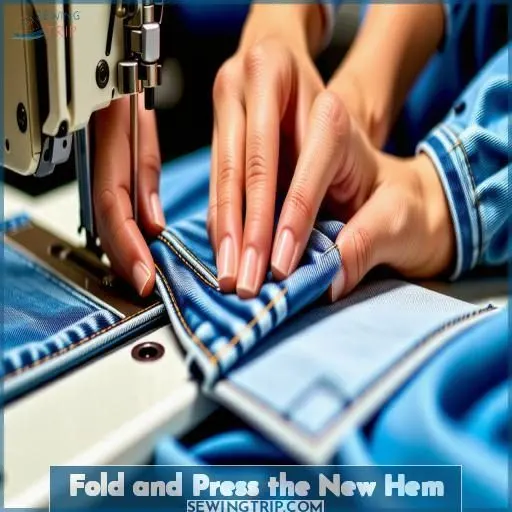
For the first fold, bring the raw edge of the jean’s fabric inward and press it flat with an iron. Repeat this process by folding the pressed edge inward again, creating a neat double-fold, and press once more to set the crease before pinning or clipping the folded hem in place.
Fold Raw Edge Towards Wrong Side for First Fold
Fold the raw edge of the jeans toward the wrong side, creating a double fold. This will be your first fold. Make certain the folded edge is even and straight. Avoid folding too much fabric at once to maintain a clean line. Carefully align the raw edge with your desired hem length.
Press First Fold With Iron
Now that the raw edge is folded to the wrong side, it’s time to press that first fold with your iron.
Set your ironing board or sleeve pressing board nearby for easy access.
Press the folded edge firmly with your iron, using steam if desired, to create a crisp, defined crease.
This will help the hem hold its shape as you sew.
Fold Second Time and Press Again
To achieve a crisp hem on your jeans, fold the fabric a second time and press again.
Confirm the fold width corresponds exactly with your desired hem length.
Adjust the iron temperature according to the fabric type for best results.
Press firmly but cautiously to set the fold in place.
Use the appropriate seam allowance to preserve the hem’s stability and durability.
Pin or Clip Folded Hem in Place
After pressing the second fold, it’s time to secure the hem in place. Use pins or clips to hold the folded edge evenly along the leg. Space them about 4-6 inches apart, ensuring the hem allowance remains consistent. For delicate fabrics, opt for clips to avoid marking the material. Press the pinned hem once more for a crisp finish.
Set Up Sewing Machine
Thread your sewing machine with jeans thread that matches the color of your jeans. Set the machine to a straight stitch, adjusting the stitch length as needed for your fabric – a length between 2.5-3 mm usually works well for denim.
Thread Machine With Matching Thread
Thread your machine with a matching color of thread, ensuring the tension is appropriate for your fabric type. Use a needle size suitable for jeans, such as a size 90/14. Adjust the stitch length as needed, keeping it slightly longer for reinforcement. Double-check that the thread is properly seated in the tension discs and the needle.
Select Straight Stitch
Select the straight stitch on your sewing machine. Use a jeans needle size appropriate for your fabric weight. Position the presser foot to start stitching near the top fold line. Maintain even thread tension as you sew around the hem, removing pins as you approach. Backstitch at the beginning and end to secure the stitches.
Adjust Stitch Length as Needed
Adjust your stitch length to suit the fabric thickness. A longer stitch works best for heavy denim, while a shorter stitch is ideal for lightweight fabrics. Experiment on a scrap piece to find the perfect length. Remember:
- Needle size: Use a heavier needle for thick denim
- Stitch tension: Adjust for even stitches on both sides
- Fabric type: Adapt settings for different weights
- Presser foot pressure: Increase for smooth feeding
- Feed dog position: Keep in normal position
Lower Feed Dogs if Necessary
If your machine has a drop feed option, lower the feed dogs to prevent them from feeding the fabric. This allows you to manually control the fabric as you sew. Use the height compensation tool to keep the presser foot level if sewing over thick seams. Adjust stitch length as needed for a neat, even hem.
Sew the Hem
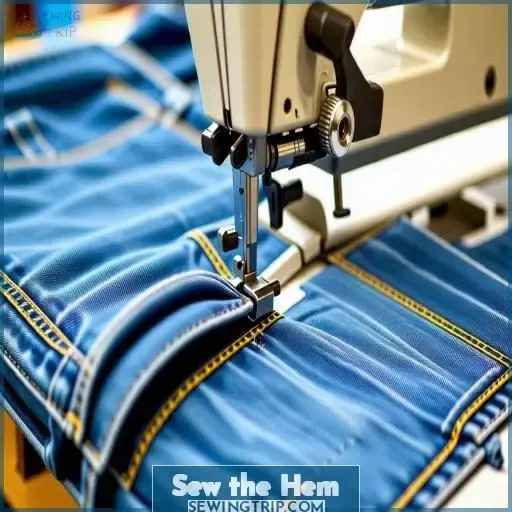
Position the presser foot near the top folded edge of the hemmed area. Sew around the hem at an even pace, removing pins as you approach them, and be sure to backstitch at the starting and ending points to secure the stitches.
Position Presser Foot Near Top Fold Line
To position the presser foot near the top fold line, adjust the presser foot pressure according to your fabric thickness.
Make sure to use a proper needle size for the fabric and hem type.
Set the thread tension for smooth stitching and adjust the stitch length as needed for the hem.
Position the fabric under the presser foot, ensuring even pressure, to start sewing the hem.
Sew Around Hem, Removing Pins as You Approach
Sew around the hem, removing pins as you approach. Keep the fabric taut but not stretched, guiding it gently with your hands. Maintain a steady, moderate pace for best results. Use a zipper foot if needed for a close stitch line near the folded edge. Sew the hem with confidence, focusing on a smooth, even finish.
| Step | Action |
|---|---|
| 1 | Remove pins as you approach them while sewing |
| 2 | Keep fabric taut but not stretched |
| 3 | Guide fabric gently with your hands |
| 4 | Maintain a steady, moderate sewing pace |
| 5 | Use a zipper foot for a close stitch line |
Backstitch at Starting and Ending Points
When sewing the hem, it’s crucial to backstitch at both the starting and ending points to secure the stitches.
Set the backstitch length to about 2-3mm and use the same thread as for the rest of the hem.
Create a few backstitch patterns at the beginning and end to reinforce the seam.
This will prevent unraveling and ensure durability.
Troubleshooting birdnesting or loose stitches may indicate improper backstitch placement .
Maintain Even Pressure on Fabric
As you sew, maintain even pressure on the fabric by guiding it gently with your hands. Use a sharp needle size appropriate for your fabric and thread type. Adjust the presser foot pressure if needed to prevent puckering. Maintain a consistent stitch length by sewing at a steady pace. Proper fabric tension is key for a smooth, professional finish.
Finish and Press
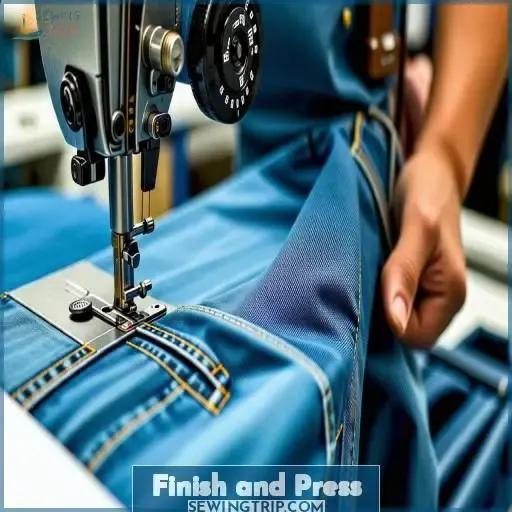
Repeat the hemming process for the other pant leg, ensuring both legs are precisely measured and folded. Once both hems are sewn, turn the jeans right side out and give them a final, thorough pressing to achieve a crisp, professional finish.
Repeat Steps for Other Leg
Repeat the hemming process for the other pant leg, ensuring symmetry. Use the same techniques – measure, mark, fold, pin, and sew. Maintain consistent thread tension and stitch length. Adjust as needed for fabric weight and thickness. Carefully remove pins as you approach them while sewing. Backstitch at the beginning and end to secure the stitches.
Iron Both Hems for a Crisp Finish
Now that both legs are hemmed, it’s time to press them for a crisp, professional finish.
Set your iron to the appropriate heat setting for the fabric.
Carefully press each hem, ensuring the width is even and the fold is sharp.
Adjust the hem width as needed.
Use a pressing cloth if desired to protect the fabric.
Pressing the hems will give your jeans a well-crafted look and help the stitches lie flat.
Turn Pants Right Side Out
To turn pants right side out after hemming on a flatbed sewing machine, gently pull the fabric through the opening, being cautious not to damage the newly sewn hem.
Verify the hem depth and needle size are suitable for the fabric, and the thread color matches the garment.
Then, carefully guide the pants to the correct direction while using the presser foot to maintain even pressure on the fabric for a smooth finish.
Adjust Hem Length (if Needed)
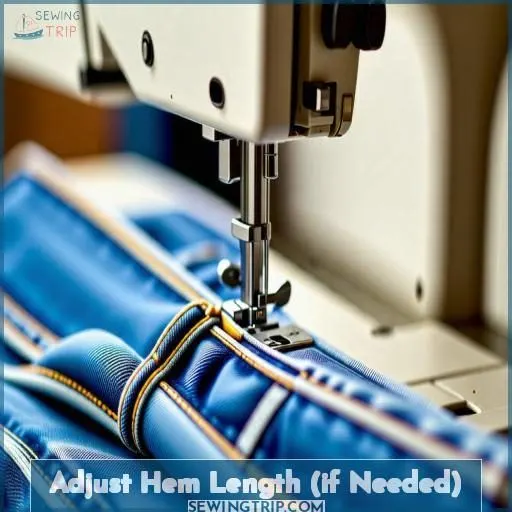
Try on your jeans after hemming and make any needed adjustments to the length by marking the new desired length with chalk or a fabric pen. If the hem needs further adjustment, simply repeat the folding and sewing process at the newly marked length.
Try on Pants and Mark New Desired Length
Try on the pants and mark your desired new length with pins or chalk.
Make sure the hem is even all the way around. Mark the length on both legs separately for a perfect fit.
Remove the pins or chalk marks and take off the pants.
You’re now ready to repeat the folding and sewing process for your new, perfectly hemmed jeans!
Repeat Folding and Sewing Process
To adjust the hem length, utilize tools like height compensation and the sliding hem gauge for precision. Consider using embroidery thread and a sleeve board for matching heavy material. If available, leverage the dual feed feature for seamless stitching. Repeat the folding and sewing process carefully, ensuring the hem length matches your desired fit flawlessly (Source).
Topstitch for Extra Durability (optional)
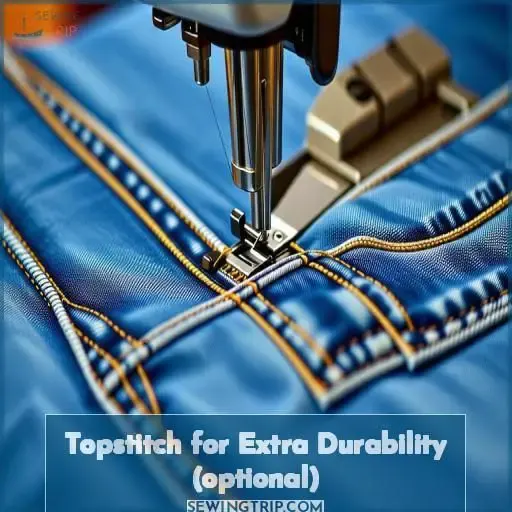
For extra durability on your jeans hem, use a heavy-duty jeans needle and jeans thread. Stitch close to the folded edge of the hem, backstitching at the beginning and end for reinforcement.
Use Jeans Needle and Thread
To add extra durability to your hemmed jeans, use a jeans needle and heavy jeans thread or an embroidery thread like Isacord. The thicker thread will create a topstitch that reinforces the hem. Insert the jeans needle, thread your machine, and stitch close to the folded edge for a professional finish that will last.
Stitch Close to Folded Edge
To topstitch for extra durability, use a jeans needle and matching thread. Stitch close to the folded edge, about 1/8 inch from the fold. Adjust your stitch length to 3-4 mm for a sturdy seam. Press the hem with a hot iron, using a pressing cloth if needed, to set the stitches and create a crisp finish.
Backstitch at Beginning and End
To add extra durability, use a jeans needle and thread to topstitch close to the folded edge. Backstitch at the beginning and end to secure the stitches. Adjust your needle choice, presser foot type, stitch length, and thread tension as needed for your specific fabric. This final step creates a professional, reinforced hem.
Enjoy Your Perfectly Hemmed Jeans!
With your perfectly hemmed jeans, the possibilities are endless!
Experiment with different hem styles to suit your personal flair – from a classic single fold to a trendy raw edge. The fabric you choose can also make a statement, whether it’s a sturdy denim or a lightweight chambray.
Don’t forget to coordinate your thread color for a seamless look, or get creative with contrasting shades for a pop of personality. For an extra touch of style, try adding decorative stitching along the hem.
The beauty of hemming your own jeans is the freedom to make them uniquely yours. Get inspired and start sewing – your dream pair of jeans is just a hem away!
Frequently Asked Questions (FAQs)
Can you hem jeans with a sewing machine?
Yes, you can easily hem jeans on a sewing machine. Just fold the hem allowance, press it in place, then use a denim or jeans needle and topstitch along the folded edge. A straight stitch works well for durable, professional-looking jean hems.
What hemming stitch is used for jeans?
For hemming jeans, you’ll use a straight stitch. This durable stitch helps prevent unraveling on the thick denim fabric.
What is the best stitch for hemming pants?
For hemming pants, use a straight stitch, triple stitch, or twin needle. The straight stitch is versatile, while triple stitching adds durability for heavy fabrics like denim. A twin needle creates a professional parallel stitching look.
How to do an invisible hem on a sewing machine?
To sew an invisible hem, first press the folded fabric’s raw edge under. Topstitch close to the fold’s edge, catching just threads on the garment’s underside. Voilà – an invisible hem graces your final look!
How do I hem jeans with a flared leg?
Open the leg seam from the knee. Press a wide double-folded hem upward, grading the depth from knee to hem. Baste. Sew the hem with a jeans foot, compensating for the flare’s thickness.
Can I hem jeans with a sewing machine?
Yes, you can easily hem jeans on a sewing machine. Use a jeans needle, adjust tension, and consider using a free arm for cylindrical areas. Take it slow, securing each folded edge neatly. A blind hem or topstitching gives a professional look.
What needle size is best for hemming jeans?
Durable denim demands a strong, sharp needle. Specifically, seek a size 90 or 100 jeans needle to sew sturdy seams seamlessly.
How do I get a professional looking hem on jeans?
For a pro hem, use a jeans needle and jeans thread. Trim seam allowance evenly. Iron crisp folds. Pin in place. Switch to a jeans foot and straight stitch plate. Sew slowly, securing thread tails. Press the final hem.
Can I hem jeans without cutting off excess fabric?
Yes, you can hem jeans without cutting fabric. Turn them inside out, pin the new length, then sew a new hem allowance, folding the excess inside.
Conclusion
With patience and the right techniques, you’ll soon be hemming jeans like a pro on your flatbed sewing machine.
Although mastering this skill takes practice, the results are worth it – custom-fit jeans that hug your shape perfectly.
Follow the steps carefully, from gathering materials to topstitching the final hem, and you’ll achieve a professional finish every time.
Don’t be discouraged if your first attempt isn’t flawless; persevere, and soon hemming jeans on a flatbed machine will become second nature.


