This site is supported by our readers. We may earn a commission, at no cost to you, if you purchase through links.
Next, iron out creases for a smooth surface; we want crisp, not crinkly. Measure precisely for that Goldilocks fit—not too long, not too short.
Use pins to mark the hemline, ensuring it’s straight as an arrow. Once folded, sew with a straight stitch for a polished finish. Consistent tension is key—nobody likes a bumpy ride! When you’re done, admire your handiwork—it’s hemming magic at your fingertips. Curious about advanced techniques? Let’s explore further!
Table Of Contents
- Key Takeaways
- Preparing Pants for Hemming
- Measuring and Marking the Hem
- Creating the Hem Fold
- Tools and Materials Needed
- Sewing the Hem With a Machine
- Tips for a Professional Finish
- Choosing the Right Stitch for Hemming
- Common Mistakes to Avoid
- Troubleshooting Common Issues
- Finishing Touches and Maintenance
- Frequently Asked Questions (FAQs)
- Conclusion
Key Takeaways
- When hemming trousers with a sewing machine, start by removing old stitches and ironing out creases for a smooth surface—think of it as clearing the stage before a big performance.
- Precise measuring is your best friend; make sure the hemline is straight and add a seam allowance. It’s like ensuring your GPS is set right, so you don’t end up in a completely different town, style-wise.
- Choose the right stitch for your fabric: a straight stitch works for most trousers, while stretchy fabrics might need a friendly zigzag. It’s like finding the right dance partner who doesn’t step on your toes.
- Troubleshoot common issues like puckering or uneven seams by checking thread tension and stitch type. Remember, even expert pilots sometimes need a course correction, so don’t shy away from making necessary tweaks.
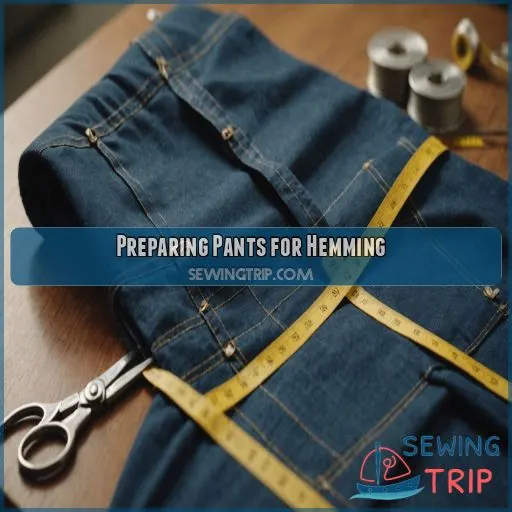
Preparing Pants for Hemming
Hemming your trousers can transform them from frumpy to fabulous, and the first step is getting them ready.
Start by choosing the right fabric, bid farewell to old stitches with a seam ripper, and iron out any creases or folds—think of it as giving your trousers a fresh start, much like ironing out life’s little wrinkles.
Choosing the Right Fabric for Hemming
Choosing the right fabric for hemming is like picking the perfect dance partner.
Steer clear of slippery, stretchy materials; instead, opt for a medium to thicker fabric.
Match your thread choice to fabric texture, and prepare your sewing machine with the right tools.
Removing Old Hem Stitches
Let’s tackle those pesky old hem stitches with a seam ripper!
Use precise seam ripper techniques to avoid fabric damage.
Gently slide under stitches and cut—it’s as satisfying as popping bubble wrap!
Old hem removal tools save time, making hemming a breeze.
Ironing Out Creases and Folds
After removing any old stitches, you’ll want to iron out any creases or folds in the fabric. Use your iron’s steam setting and a pressing cloth to smooth the fabric, making sure you have a crisp, even surface for hemming. This will help the new stitches lay flat and look professional.
- Adjust your iron’s temperature for the fabric type.
- Press firmly, using short, overlapping strokes.
- Avoid over-pressing, which can distort the fabric.
- Make sure the fabric is completely flat and crease-free.
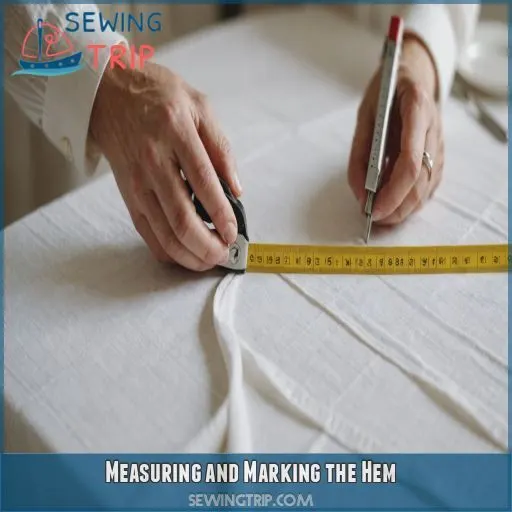
Measuring and Marking the Hem
When hemming trousers, determining the right length makes sure you won’t end up with pants that make your stylish shoes look like they’ve gone camping under a tent.
Use pins and a measuring gauge to mark the precise spot where the magic happens, then add a seam allowance for a flawless, custom fit.
Measuring the Desired Length
Getting the right leg length is like getting the perfect haircut; makes all the difference.
Slip into your pants and shoes, then grab your trusty measuring tool.
Measure the hem allowance carefully, considering the pants break to achieve the ideal fit.
Marking the Hem With Pins and Measuring Gauge
Pin placement is your secret sauce for achieving an even hem.
Use marking tools and a measuring gauge to make sure gauge accuracy—especially with fabric stretch in mind.
Secure with pins to keep everything aligned.
It’s like choreographing a dance with your sewing projects!
Determining the Seam Allowance and Cutting Line
Determine the seam allowance by adding a bit extra to the crease – this gives you wiggle room when sewing.
Use a fabric marker to draw the cutting line just below the fold for a clean, professional finish.
Measure carefully to avoid uneven hems.
Creating the Hem Fold
Creating the hem fold might seem tricky, but with a little patience, you’ll have it mastered in no time.
It’s like making a metal band T-shirt look business casual – just a pinch of creativity and some ironing to smooth things out!
Ironing the Folded Hem
Ironing can feel like a chore, but creating a crisp hem crease transforms your pants from "meh" to marvelous!
Try these pressing techniques:
- Use the right ironing board type.
- Consider fabric type for steam use.
- Lower heat for delicate fabrics.
- Use a cloth barrier.
- Press, don’t drag!
Determining the Double-Folded Hem
Sorting out the double-folded hem can seem like threading a needle in a storm.
Keep it simple: balance hem allowance with fold size.
Consider fabric thickness for an even hem width.
Make sure your crease depth suits your style without being overly bulky or stiff.
Drawing the Cutting Line
With your folded hem in place, grab a fabric marker and draw the cutting line just below the crease. This makes for a clean, even hem that won’t fray or pucker. It’s all about that precision, my friend!
- Measure twice, cut once
- Use a disappearing ink marker for best results
- Take your time – no need to rush this step
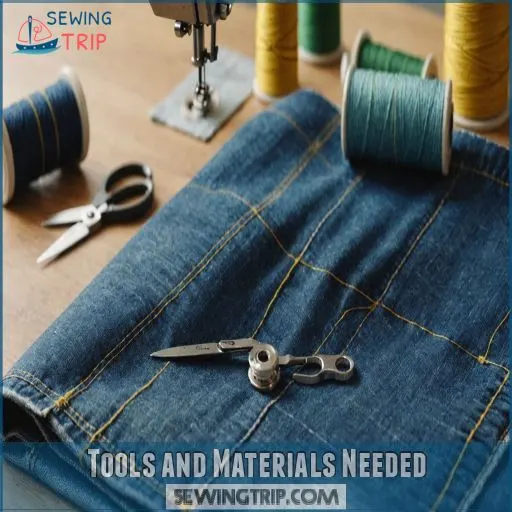
Tools and Materials Needed
Hemming trousers like a pro starts with gathering the right tools: your trusty sewing machine, matching thread, and just a few household items.
With a measuring gauge, scissors, a seam ripper, and an iron on hand, you’ll be ready to tackle any hemming project—just don’t run with those scissors!
Sewing Machine and Thread
Beyond any doubt, a decent sewing machine and proper thread types are essential.
Winding your bobbin correctly and adjusting tension saves your sanity.
Choose the right needle for the fabric, and keep your machine well-oiled—because a squeaky machine ain’t stylish!
Measuring Gauge and Sewing Notions
To nail that perfect hem, grab your measuring tape, fabric marker, and pins!
These tools are your trusty sidekicks for precision measuring and marking.
Just like a superhero needs a cape, you need these tools to save your sewing day.
Scissors, Seam Ripper, and Iron
Don’t forget the essential tools – sharp scissors for clean cuts, a trusty seam ripper to remove old stitches, and a hot iron to press those perfect creases.
Handle with care, and your hemming project will be a breeze!
Sewing the Hem With a Machine
Now that you’ve prepared your pants, it’s time to tackle the sewing machine part, where the magic happens and potential chaos awaits!
Don’t worry; with a few precise steps, you’ll skillfully sew that perfect hem while avoiding the infamous needle-to-finger mishap.
Setting Up the Sewing Machine
When setting up your sewing machine, make sure the thread tension isn’t tighter than a snare drum—no one wants puckered hems!
Choose a sturdy needle for the fabric type, wind the bobbin smoothly, and adjust foot pressure.
Machine maintenance keeps things running smoothly.
Positioning the Presser Foot and Needle
When positioning the presser foot, let fabric thickness guide foot placement.
Adjust presser foot pressure so it dances lightly but firmly over the hem.
Needle depth should match stitch length, ensuring control—a symphony of settings ready for an expert touch!
Sewing the Hem With a Straight Stitch
Now it’s time to sew the hem using a straight stitch. Position your presser foot and needle just shy of the fold line, then stitch all the way around, removing pins as you go.
Keep your speed steady and your tension tight for a professional finish.
- Maintain even stitching tension
- Adjust presser foot pressure as needed
- Sew at a moderate, consistent pace
Tips for a Professional Finish
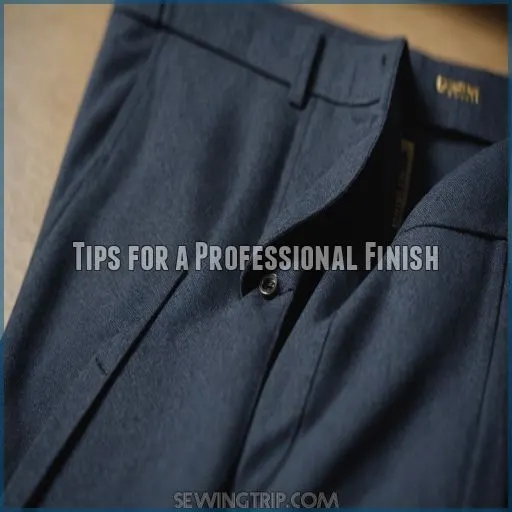
To give your newly hemmed trousers a professional finish, focus on the little details like backstitching carefully and removing those pesky pins before snipping the thread.
If the iron was a superhero gadget, it’s the one you’ll want to keep handy for that final suave look, ensuring the hem sits just right.
Backstitching and Securing Stitches
Backstitching at the start and end of your hem is key to ensuring seam strength.
It’s like tying a knot in your shoelaces!
Set your machine’s stitch tension properly and reverse stitch for about an inch.
This prevents unraveling while keeping everything tidy.
Removing Pins and Cutting Thread Ends
After sewing, it’s time to pull out those pins without poking yourself—pin removal techniques require finesse!
Carefully unpin each one, then grab your favorite thread snipping tools.
Trim the thread ends close for professional results.
Safety precautions make sure your finishing touches shine bright!
Ironing the Newly Sewn Hem
Once you’ve sewn the hem, it’s time to iron it up right.
Grab your trusty steam iron and press those creases into place.
Smooth out any wrinkles or puckers for a polished, professional look.
Your pants will thank you!
Choosing the Right Stitch for Hemming
Selecting the right stitch can make or break your hemming project—choose wisely!
Aligning your stitch with the fabric’s nature keeps wardrobe mishaps at bay.
Whether you’re working with sturdy denim, delicate silks, or anything stretchy, the right stitch is crucial.
Straight Stitch for Medium-Weight Fabrics
You’ve nailed the basics, now let’s talk straight stitches for medium-weight fabrics like denim or cotton.
Choose a stitch length of 2.5 to 3.
Adjust your thread tension for smooth top stitching.
Maintain a moderate sewing speed—steady wins the race!
Blind Hem Stitch for Delicate Fabrics
For delicate fabrics, a blind hem stitch works like a charm.
It keeps the seam nearly invisible, whispering elegance.
Best paired with matching thread, make sure you have the right stitch tension.
Remember, the right thread choice and stitch tension make all the difference!
Zigzag Stitch for Stretchy Fabrics
For stretchy fabrics, the zigzag stitch is your go-to. Adjust the width and length to accommodate the fabric’s stretch, and be mindful of tension – too tight, and you risk puckering. With a little practice, you’ll achieve a professional, flexible hem every time.
- Customize zigzag stitch settings
- Manage fabric stretching during sewing
- Monitor thread tension for smooth stitches
Common Mistakes to Avoid
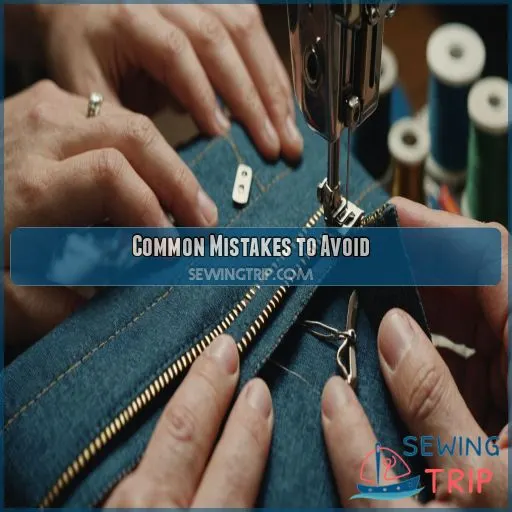
When you’re hemming trousers, avoiding common mistakes can save you time and frustration.
Don’t let your enthusiasm lead to wonky seams; a little care prevents fabric puckering and keeps your hems looking sharp.
Inconsistent Seam Allowances
When aiming for perfect hems, while choosing the right stitch matters, seam allowance consistency is key to preventing wonky results.
Uneven hems can sneak up like mischievous gnomes.
Measure twice and mark well to keep those fabric wobbles and sewing machine calibration in check.
Bunching or Puckering the Fabric
Why does fabric sometimes bunch up, creating a puckered mess? Don’t sweat it!
Check these snake-oil fixes:
- Select the right fabric tension.
- Use an appropriate needle size.
- Avoid the wrong stitch.
- Press with an iron to remove creases.
- Consistent, even folds.
Incorrect Thread Tension
Incorrect thread tension can cause all sorts of problems – uneven stitches, fabric puckering, and even broken threads.
Keep a close eye on your bobbin and top thread tension to make sure you get a smooth, professional-looking hem every time.
Troubleshooting Common Issues
You’ve taken on the challenge of hemming trousers, but sometimes things can go a bit askew.
Don’t worry—everyone ends up with uneven hems or mischievous threads at some point; let’s tackle these common culprits together with a bit of humor and a lot of know-how.
Uneven Hems or Folds
So, your hem’s gone rogue like a rebellious teen? Fear not! Uneven hems often arise from fabric tension issues and miscalculated seam allowance.
Check your pin placement and careful ironing technique.
With mindful adjustments, you’ll have seamless hem alignment in no time!
Broken or Loose Threads
If your threads break or come loose, don’t throw in the towel just yet! Check these essentials:
- Thread tension: Too tight or loose?
- Bobbin problems: Correctly wound and inserted?
- Needle type: Suitable for fabric?
- Sewing speed: Easy does it!
Misaligned or Skewed Stitches
Misaligned or skewed stitches can be a real pain, but don’t worry – we’ve got your back! Check your needle alignment, bobbin tension, and sewing speed. Adjust the stitch length to match your fabric type. With a little tweaking, those stitches will be shipshape in no time.
| Issue | Possible Cause | Solution |
|---|---|---|
| Skewed Stitches | Needle misalignment | Make sure the needle is properly centered |
| Uneven Tension | Incorrect bobbin tension | Adjust bobbin tension |
| Puckered Fabric | Sewing too fast | Slow down sewing speed |
| Loose Stitches | Incorrect stitch length | Adjust stitch length for fabric |
Finishing Touches and Maintenance
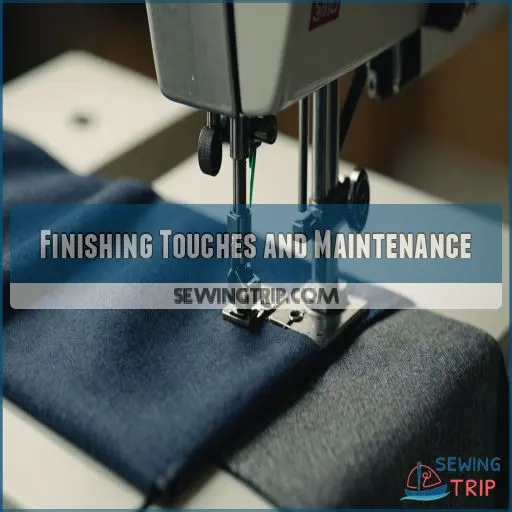
You’ve hemmed your trousers like a pro, but don’t toss them aside just yet; jot down measurements and seam allowances for next time.
With a little care for your pants and sewing machine, you’ll be ready for any hemming adventure without a hitch!
Recording Measurements and Seam Allowance
Recording accurate measurements and seam allowance is the secret sauce for perfect hemming.
Jot these down for future projects:
- Hem length
- Seam allowance
- Fabric type
- Desired break
- Occasions for wearing (like weddings or work!)
Ready to conquer your next masterpiece?
Caring for the Hemmed Pants
You’ve recorded those measurements; now keep your pants looking great.
Wash gently, avoiding harsh cycles.
Dry flat or on hangers to dodge wonky cuffs.
Iron them carefully—remember, nobody likes a crispy crease!
Store properly to prevent wrinkles.
Spot repairs mean trousers last longer.
Maintaining the Sewing Machine
Keeping your sewing machine in tip-top shape is key.
Regularly clean out lint and debris, oil moving parts, and make sure you’re threading it correctly.
Proper storage when not in use will extend its lifespan.
A well-maintained machine sews like a dream!
Frequently Asked Questions (FAQs)
What sewing machine stitch to hem trousers?
For a professional-looking trouser hem, use a straight stitch on your sewing machine.
Set the stitch length between 5 and 3,
and you’ll be sewing around those legs in no time, looking sharp as a tack!
What is the best stitch for hemming on a sewing machine?
The best stitch for hemming on a sewing machine is the straight stitch.
It’s your trusty sidekick, strong yet subtle, and works wonders on most fabrics.
This stitch helps create a neat, even finish on your pants.
Can pants be hemmed on a sewing machine?
Imagine conquering Mount Sewing, one stitch at a time: Yes, you can hem pants on a sewing machine, and it’s easier than you think with the right tips for hemming!
With some practice, your inner tailor will shine, making those hems look store-bought.
Ready to impress?
Can you hem with a normal sewing machine?
Absolutely, you can hem with a regular sewing machine!
It’s like giving your pants a little facelift.
Just grab some thread, measure twice, cut once, and sew a straight line.
Voilà—you’re a hemming maestro!
Can I hem pants without cutting fabric?
You can easily hem pants without cutting a single thread by using a sewing machine.
Just fold the excess fabric up, pin it in place, and sew a neat, invisible line – no snipping required!
It’s a total game-changer.
What alternative stitching options are available?
You’ve got other stitching tricks up your sleeve!
Try zigzag stitching for stretchier fabrics.
Blind hems for that sneaky finish on dress pants.
Or even decorative stitches if you’re feeling a bit artsy.
How to hem pants with hand-stitching techniques?
Just like threading a needle, hand-hemming pants involves precision and patience.
Use a whip stitch or slip stitch for a neat finish.
Fold the fabric, pin in place, and let your fingers work their magic!
Can decorative stitches be used for hemming?
You can totally use decorative stitches for hemming, adding a unique flair to your pants.
Just make sure they’re durable enough for everyday wear, or you might find yourself singing, "Oops! I did it again," with fallen hems.
How do I adjust for fabric shrinkage after hemming?
Did you know that 1 in 4 people experience fabric shrinkage after hemming?
To avoid this, simply allow for 1/2 inch extra when measuring and cutting the hem.
That way, your freshly hemmed pants will fit perfectly even after a wash and prevent any fraying.
Conclusion
You might think hemming trousers with a sewing machine sounds scary, but you’ve got this!
By following these expert tips and tricks, you’ll achieve that tidy, professional finish you desire.
Remember, patience is your friend, and practice makes perfect.
Whether you’re using a straight, blind hem, or zigzag stitch, you’ll find a technique that suits your fabric and style.
Embrace the journey, enjoy the process, and soon you’ll be hemming trousers like a pro!

