This site is supported by our readers. We may earn a commission, at no cost to you, if you purchase through links.
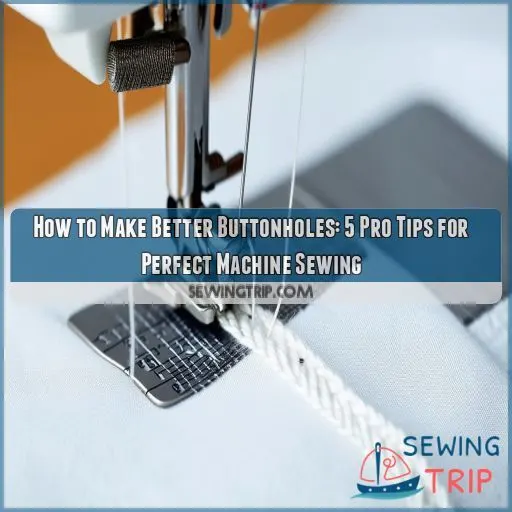 Imperfect buttonholes can simply be a pain in the neck. Never fear, though—you’re not alone.
Mastering how to make better buttonholes on the sewing machine has the power to take the handmade from homemade to professional-looking.
We’ll cover five expert tips you need to know in this guide for making perfect and accurate buttonholes every time. You will learn, from choosing the right foot to troubleshooting common problems, so that you pick up the knowledge and skills required to master this basic but very important sewing technique.
Get ready to revolutionize your approach to buttonhole working and take it to new heights.
Table Of Contents
Key Takeaways
- Choose your weapon wisely! The right buttonhole foot can make or break your sewing game. It’s like picking the perfect dance partner – compatibility is key, and size does matter.
- Thread isn’t just thread. Think of it as the secret sauce in your buttonhole recipe. Get the weight, color, and fiber type just right, and you’ll be cooking up professional-looking buttonholes in no time.
- Tune up your sewing machine like a well-oiled machine (pun intended). Adjusting those settings might feel like rocket science at first, but once you nail it, you’ll be buttonholing circles around the competition.
- Dodge those pesky pitfalls like a pro. From tension troubles to fabric fiascos, knowing what to watch out for is half the battle. Remember, even sewing superheroes have their kryptonite – but with these tips, you’ll be invincible!
How to Make Better Buttonholes on Your Sewing Machine?
To make better buttonholes on your sewing machine, start by selecting the right buttonhole foot for your machine and adjusting it properly. Choose appropriate thread that matches your fabric and desired look.
Adjust your machine settings, including needle size, presser foot pressure, and stitch pattern. Avoid common pitfalls like incorrect thread tension or poor fabric preparation.
If you encounter issues, troubleshoot by adjusting tension, using stabilizers, or double-checking your markings. Remember, practice makes perfect! Test on scrap fabric before tackling your project.
Choosing the Right Buttonhole Foot
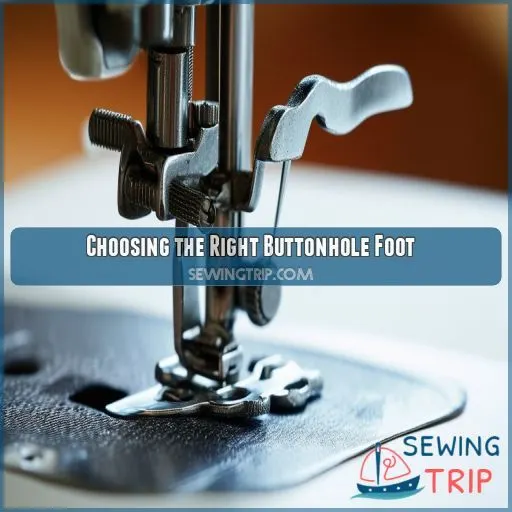
First consider the types available, compatibility of your machine, and size adjustment features when choosing a buttonhole foot. You can have normal, sliding, or automatic buttonhole feet, so always refer to your machine manual to ensure you have a compatible foot with appropriate size adjustments for your projects.
Types Of Buttonhole Feet
You will come across various types in a buttonhole foot designed for different applications in sewing. Each type comes with features that can help you make perfect buttonholes.
• AUTOMETRIC: Measures and sews buttonholes in one step
-
Four-step manual: Gives you control over every phase
• Sliding: This provides easy adjustment of the length of buttonholes.
- Transparent: Allows for clear vision to achieve proper alignment.
Be sure to consider the width and length possibility of buttonhole stitches on your machine when selecting a foot. Proper tension and support are necessary for professional results.
Compatibility With Machine
Now that you’ve seen the types of buttonhole feet, consider the compatibility of your machine. Check your sewing machine instructions for suggested models of feet.
Also important is the correct alignment of the foot in its holder to avoid any snagging or hesitation. Adjust the pressure of the foot according to the thickness of your fabric.
And remember to grease those moving parts.
A compatible foot will make perfect stitches and professional-looking buttonholes every time.
Size Adjustment Features
When selecting a buttonhole foot, look for size adjustment features that’ll give you more control. Different foot types offer varying levels of customization.
Some have built-in sliders or dials to tweak the buttonhole length, while others use interchangeable templates.
Check your machine’s compatibility and shank size before investing in new presser feet or foot attachments.
The right features can make all the difference in achieving perfect buttonholes.
Selecting the Appropriate Thread
As with buttonholes, the thread choice regarding weight, color, and fiber type is important. Pay attention to thread weight for proper coverage; match carefully to colors to avoid poor taste; and compare benefits of polyester versus cotton threads for the job at hand.
Thread Weight Matters
Buttonhole sewing requires a great deal of attention to thread weight. You want to balance thread tension, strength, and thickness—the best medium-weight thread that will suit your fabric composition.
Too thick a thread results in bulky buttonholes, while too thin may not be long-lasting. Consider the sheen of thread as well, since this sometimes affects the overall look of your buttonhole.
If you choose the right weight, you have a refined, professional finish.
Color Matching Techniques
Now that you’ve chosen the right thread weight, let’s tackle color matching. Your buttonhole thread should blend seamlessly with your fabric.
For a subtle look, pick a shade slightly darker than your material. If you’re feeling bold, try contrasting colors for a pop.
Proper color matching elevates your project from good to great!
Polyester Vs. Cotton
When choosing between polyester and cotton thread for your buttonholes, consider these key factors:
- Polyester’s durability and strength
- Cotton’s natural look and feel
- Polyester’s resistance to fraying
- Cotton’s tendency to absorb dye better
- Polyester’s slight sheen vs. cotton’s matte finish
Polyester is often preferred for its durability and resistance to fraying, making it ideal for high-stress areas like buttonholes. However, if you’re after a more natural look, cotton might be your go-to choice.
Adjusting Machine Settings
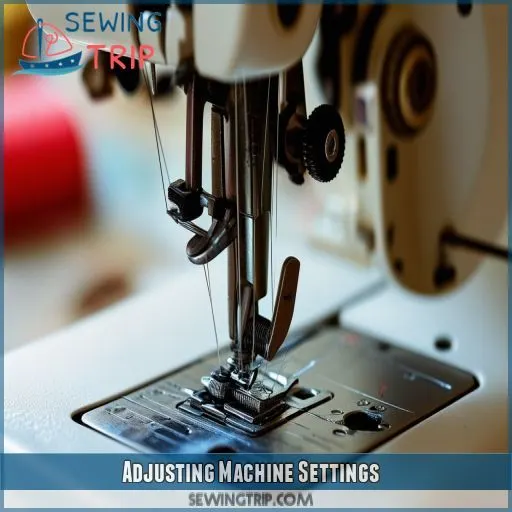
Now that you have chosen the appropriate thread, you need to tune settings on your machine. You did know your sewing machine is an instrument that requires fineness in setting, and getting these settings right makes all the difference in your buttonhole game. Let’s explore key adjustments you’ll want to make:
| Setting | Purpose | Adjustment Tips |
|---|---|---|
| Needle Size | Fabric compatibility | Match to fabric weight |
| Presser Foot Pressure | Fabric feed control | Lighter for lighter fabrics |
| Balance of Tension | Even stitches | Test on scrap first |
First, select the stitch pattern for making one style or another buttonhole. Then, adjust the needle size according to the thickness of the fabric; thick fabrics go with big needles. Not forgetting to change the pressure exerted by a presser foot—lighter materials require less pressure. Least but not last is getting the ideal tension balance on scrap fabric. You’ll be far ahead in excellence in making buttonholes with these adjustments!
Common Buttonhole Pitfalls to Avoid
When making buttonholes, you’ll need to watch out for common pitfalls that can affect your results. These include thread tension issues, proper fabric preparation, and selecting the right stitch length and width for your project.
Thread Tension Issues
Thread tension can make or break your buttonholes. You’ll need to balance the bobbin tension with the stress on your needle thread for stitches that are even. Here’s what to watch out for:
- Slack tension: Loops on the under side
- Tight tension: Puckered fabric
- Uneven tension: Variation in the appearance of stitches
- Skipped stitches: Generally, it’s a tension problem.
Gradually adjust the setting of your machine and practice scrap fabric until you get perfect, even tension. Keep probing in mind that some fabrics are a little weary and may require slight adjustments to work perfectly.
Fabric Preparation
Perfect buttonholes are predicated on proper fabric preparation. First, carefully mark your buttonhole placement making sure that the grain of your fabric is aligned properly. Then choose the right interfacing and stabilizer to back up your fabric. Here’s a really quick tutorial:
| Fabric Type | Interfacing | Stabilizer |
|---|---|---|
| Lightweight | Fusible | Tear-away |
| Medium | Non-woven | Cut-away |
| Heavy | Woven | Water-soluble |
Remember to choose appropriate needles by fabric weight. Then you can be off and running on your way to buttonhole mastery!
Stitch Length and Width
Now that you’ve prepared your fabric, let’s tackle stitch length and width. These settings can make or break your buttonholes. To achieve pro-level results, consider:
- Matching needle size to fabric weight
- Adjusting stitch length based on interfacing type
- Tweaking stitch width for button thickness
- Fine-tuning placement for different garment styles
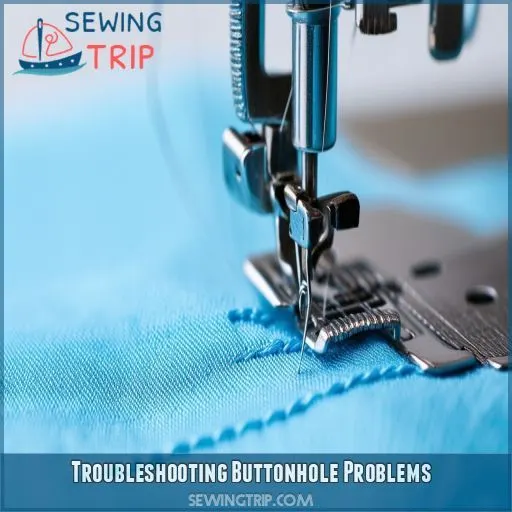
Troubleshooting Buttonhole Problems
When you’re facing buttonhole troubles, don’t throw in the towel just yet. Here’s a handy troubleshooting guide to help you conquer common issues:
| Problem | Cause | Solution |
|---|---|---|
| Uneven stitches | Incorrect thread tension | Adjust upper and lower tension |
| Gaps in buttonhole | Fabric thickness mismatch | Use appropriate needle size |
| Buttonhole too small | Incorrect foot placement | Double-check markings and alignment |
If your buttonholes are coming out wonky, check your interfacing. It’s the unsung hero of crisp, clean buttonholes. For thick fabrics, consider a tear-away stabilizer to prevent puckering.
Thread tension can make or break your buttonhole game. If you’re seeing loose threads or tight puckers, it’s time to fiddle with those dials. Remember, practice makes perfect. Don’t be afraid to test on scrap fabric until you’ve nailed the perfect buttonhole placement and settings for your project.
Frequently Asked Questions (FAQs)
How do I determine the correct buttonhole size?
First, measure the diameter and thickness of your button. Add 1/8 inch to this measurement for ease. Mark on your fabric with that length. Then set on your machine the setting on buttonhole for that length. As always, sew a test buttonhole in scrap fabric to make sure it’s the correct size for your project.
Can I make buttonholes on thick or stretchy fabrics?
You might think thick or stretchy fabrics are a buttonhole nightmare, but don’t worry! Use stabilizer to prevent stretching, and a sharp needle for thick materials. Adjust stitch length and width for best results. Practice on scraps first.
Whats the best way to mark buttonhole placement?
You’ll want to use tailor’s chalk or a fabric pen for precise marking. Measure carefully, then draw a line where the buttonhole will be. Don’t forget to mark the start and end points for accuracy.
Are there alternatives to machine-made buttonholes?
Handcrafted handiwork offers alternatives to machine-made buttonholes. You’ll find bound, blanket-stitched, and hand-sewn options. They’re perfect for adding personal flair to your projects. Try these techniques to elevate your garments and showcase your skills. You’ll love the unique touch they provide.
How do I maintain and clean my buttonhole foot?
Clean your buttonhole foot regularly with a soft brush to remove lint. Lubricate moving parts with sewing machine oil. Check for wear and replace if needed. Store it in a clean, dry place to prevent dust accumulation.
Conclusion
Imagine Sarah, who once struggled with uneven buttonholes, now confidently sews perfect ones after mastering these tips. You too can achieve professional-looking results by learning how to make better buttonholes on your sewing machine.
By choosing the right foot, selecting appropriate thread, adjusting settings, avoiding common pitfalls, and troubleshooting issues, you’ll elevate your sewing skills.
Start applying these tips today and watch your buttonhole game improve dramatically.


