This site is supported by our readers. We may earn a commission, at no cost to you, if you purchase through links.
Waterproof your machine using airtight bags or moisture-repellent materials, and add silica gel packets for extra protection.
Use the original packaging if available, or wrap the machine in bubble wrap and clothing for padding.
Check airline regulations to decide between carry-on or checked baggage. For carry-on, you can bring scissors under 4 inches, needles, and small sewing kits.
Consider a specialized sewing machine travel bag with convenient loading options and storage pockets.
With these steps, you’ll be well-prepared to transport your sewing companion safely. Let’s stitch together more details for a smooth journey.
Table Of Contents
Key Takeaways
- Don’t let your sewing machine travel naked! Strip it down to the basics by removing all attachments and accessories. Tuck those little bits and bobs into a separate bag – think of it as your machine’s vacation care package.
- Wrap it up like a burrito! Waterproof your trusty stitching sidekick using airtight bags or moisture-repellent materials. Toss in some silica gel packets for good measure – they’re like tiny bodyguards against dampness.
- To check or not to check, that is the question. If you can swing it, keeping your sewing machine as carry-on lets you keep an eye on your precious cargo. But if it’s too bulky, don’t sweat it – just make sure it’s packed tighter than an overstuffed pincushion.
- Invest in a sewing machine travel bag – it’s like a cozy little mobile home for your machine. Look for one with more pockets than a kangaroo colony and a design that lets you load it up easier than threading a needle with your eyes closed.
How to Pack a Sewing Machine for a Flight?
To pack a sewing machine for a flight, remove all attachments and accessories, then wrap the machine in waterproof material before placing it in a padded case or its original packaging.
Whether you choose to carry it on or check it, make sure the sewing machine is well-protected and consider using a specialized travel bag with convenient features for easy transport.
Remove Attachments and Accessories
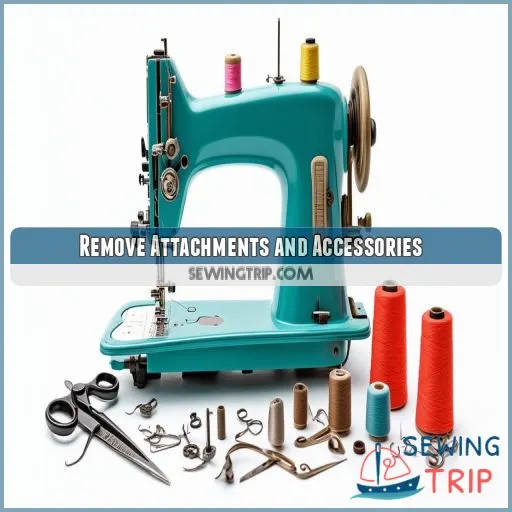
Before packing your sewing machine for a flight, you’ll need to remove all attachments and accessories. Take off the presser feet, bobbins, and any other removable parts, then store them separately in a small bag or container to prevent loss or damage during transit.
Take Off Presser Feet, Bobbins, and Other Removable Parts
Before packing your sewing machine for a flight, you’ll need to remove all attachments and accessories.
Start by taking off the presser foot, which can easily get damaged during transit. Next, remove any bobbins from the machine, as they might come loose and cause issues. Don’t forget to take out the needle as well – it’s a safety precaution and prevents potential damage. Detach any other removable parts like extension tables or specialized attachments.
This part separation ensures each component is protected and your sewing machine travels safely.
Store Them Separately in a Small Bag or Container
Once you’ve removed the attachments, it’s essential to store them safely. Grab a small bag or container specifically for these parts. A plastic storage bag works well for most items, but consider a separate, secure container for sharp objects like needles and scissors.
Keep everything organized by grouping similar items together. This way, you’ll easily find what you need when reassembling your machine.
Plus, storing parts separately prevents them from rattling around and potentially damaging your sewing machine during transit. You’ll thank yourself later for this extra step in parts storage.
Waterproof Your Machine
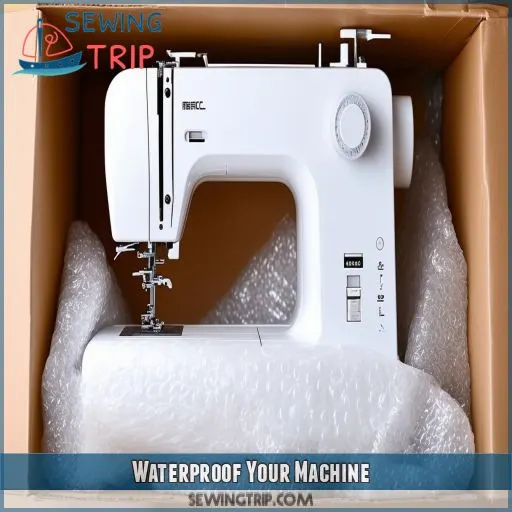
After removing attachments, it’s imperative to protect your sewing machine from water damage. Use airtight bags or moisture-repellent materials to wrap your machine securely. Consider adding silica gel packets to absorb any potential moisture. Vacuum sealing can provide an extra layer of protection.
When packing, use ample packing material and seal with packing tape. Remember, TSA officers and airport security may need to inspect your machine, so make it easy to rewrap.
These travel tips will help guarantee your prized possession arrives dry and ready to use at your destination.
Original Packaging or Padding
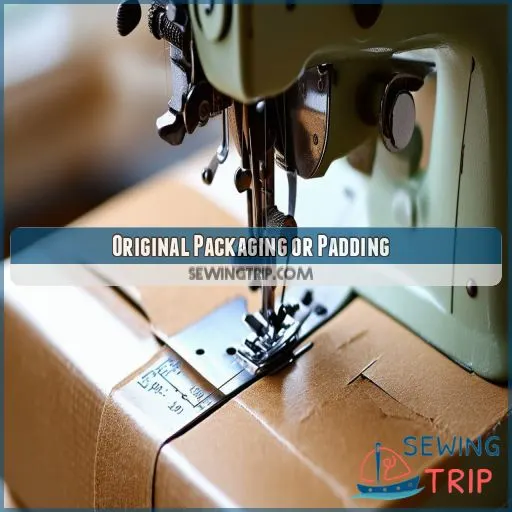
After waterproofing your machine, it’s time to mull over packaging. If you’ve kept your sewing machine’s original box and foam inserts, you’re in luck. These custom-fit elements provide the best protection for your portable sewing machine during travel.
No original packaging? No problem. Create a DIY solution using high-quality padding materials. Wrap your machine in bubble wrap or foam sheets, ensuring all sides are well-cushioned. For space efficiency, use clothing or fabric as additional padding.
Carry-on or Checked Baggage?
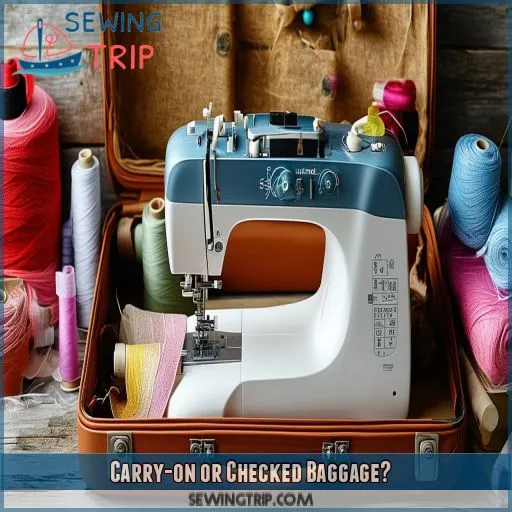
Now that you’ve packed your machine securely, it’s time to decide: carry-on or checked baggage? Check your airline’s carry-on regulations first. If possible, opt for carry-on to keep your precious machine in sight. But be prepared to check it if needed.
TSA guidelines allow sewing machines in both carry-on and checked luggage, so you’re covered either way. Remember, carry-on saves you baggage fees and potential rough handling. However, if your machine’s too bulky, checking might be your only option.
Weigh the pros and cons, considering airport security procedures and your comfort level. The choice is yours!
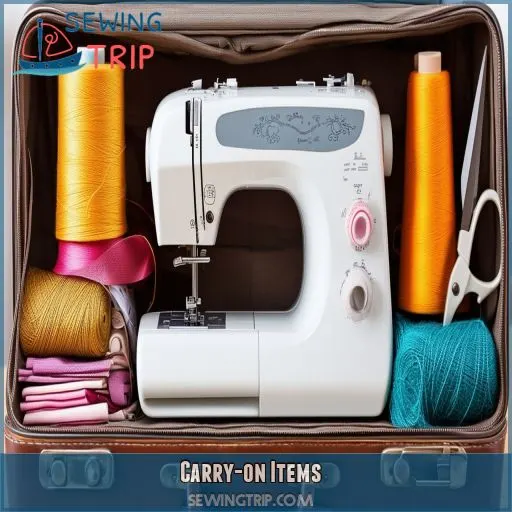
Carry-on Items
When packing your carry-on for a sewing retreat, you’ll want to include essential tools that won’t raise eyebrows at security. Here’s what you can bring:
- Scissors under 4 inches from the pivot point
- Needles, pins, and safety pins
- Tweezers for precision work
Sewing Machine Travel Bag Features
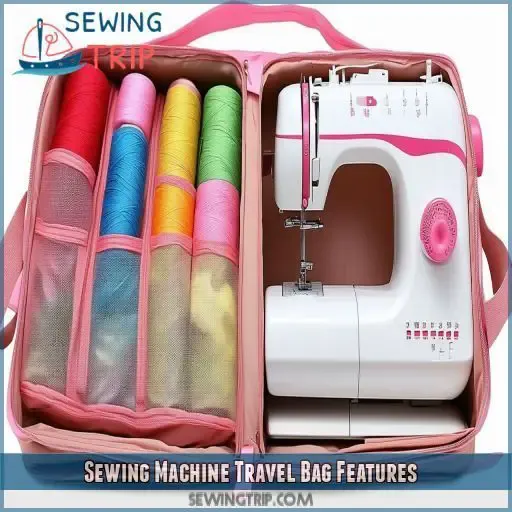
When choosing a sewing machine travel bag, consider one with a front or top loading design for easy access to your machine. Look for collapsible options to save space when not in use, and bags with pockets for storing tools and projects, which can help keep your sewing essentials organized during travel.
Consider a Front or Top Loading Design for Convenience
When choosing a sewing machine travel bag, consider a front or top loading design for easy access. Look for a sturdy frame that’ll protect your machine during shipping or as checked baggage. A rolling cart or trolley case can make transport a breeze. Prioritize durability and portability, ensuring ample storage space for your supplies.
Collapsible Options Can Save Space When Not in Use
When considering a sewing machine travel bag, collapsible options offer a smart solution. These bags provide the portability you need while traveling and save space when not in use. Look for durable materials that can withstand the rigors of travel. While they may cost more, their features and weight-saving benefits often justify the investment for frequent travelers.
Pockets for Storing Tools and Projects Are a Bonus
While collapsible bags save space, pockets are your secret weapon for organization. Look for bags with:
- Interior straps to secure your machine
- Exterior straps for easy carrying
- Multiple compartments for tools and projects
Whether you choose a front-loading bag with a steel frame or a fiberglass option, ample storage will keep you in control and ready to sew anywhere.
Frequently Asked Questions (FAQs)
Can you bring a sewing machine on an airplane?
You can bring a sewing machine on an airplane. It’s allowed in carry-on or checked baggage. For carry-on, remove sharp items and pack securely. Check airline regulations, as size limits may apply. Consider a travel-friendly portable machine for easier transport.
What is the best way to transport a sewing machine?
Did you know 90% of travelers prefer carry-on luggage? For your sewing machine, use a padded case or original box. Remove sharp items, wrap in plastic for protection, and secure it tightly. Consider a portable model for easier transport.
How do you package a sewing machine?
To package your sewing machine, remove attachments, wrap it in plastic for protection, and secure it in its original box or a padded case. Use clothes or foam to fill gaps, ensuring it’s snug and won’t shift during transport.
Does TSA allow sewing needles?
Yes, TSA allows sewing needles in your carry-on and checked bags. You can pack them in your sewing kit along with small scissors (under 4 inches). Remember to store them safely to prevent injury during security checks.
Can I bring a portable iron in my carry-on?
You can bring a portable iron in your carry-on, but it must be cordless. TSA allows travel-sized irons without water reservoirs. Double-check the specific airline’s rules, as some may have additional restrictions on electronic devices.
How do I protect my machine from extreme temperatures?
Protect your precious possession from perilous temperatures. Wrap it in insulating materials like bubble wrap or thermal blankets. You’ll want to keep it cozy in a climate-controlled carry-on. Don’t leave it languishing in luggage holds or car trunks.
Are battery-operated sewing machines allowed on planes?
Yes, you can bring battery-operated sewing machines on planes. They’re allowed in carry-on and checked bags. Just remove batteries from your carry-on and pack them separately. Double-check with your airline for any specific restrictions they might have.
Whats the best way to pack sewing patterns?
Roll your patterns tightly and secure them with rubber bands. Place them in a sturdy mailing tube or plastic sleeve to protect from creases. You’ll save space and keep your designs pristine for your sewing adventures.
How early should I arrive for TSA inspection?
Did you know 50% of travelers arrive late for TSA checks? Don’t be one of them. You should arrive at least 2 hours early for domestic flights, 3 for international. It’ll give you peace of mind and control.
Conclusion
Now that you’ve got the nuts and bolts of how to pack a sewing machine for a flight, you’re ready to hit the friendly skies with your trusty companion.
Remember to remove attachments, waterproof your machine, and choose appropriate packaging.
Whether you opt for carry-on or checked baggage, make sure you’re following airline regulations.
By using a specialized travel bag, you’ll have easy access and extra storage.
With these tips, you’ll be stitching up a storm at your destination in no time.

