This site is supported by our readers. We may earn a commission, at no cost to you, if you purchase through links.
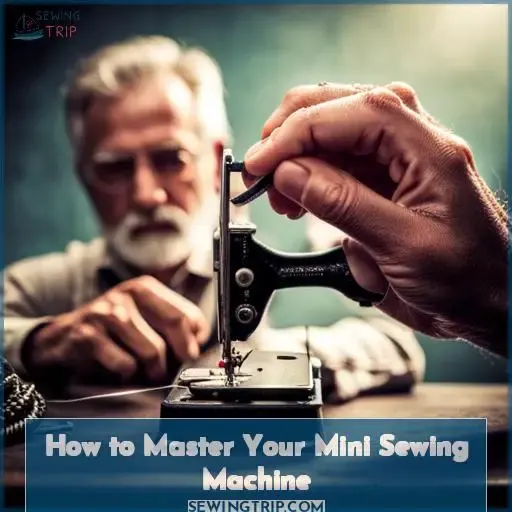 Picture yourself effortlessly gliding fabric through your mini sewing machine,
the rhythmic whir of the motor a soothing symphony to your ears.
You’re no longer a novice stitcher, fumbling with thread and bobbins.
You’re a master of your craft, transforming mere cloth into exquisite creations.
With a few simple steps, you’ll discover how to thread your mini sewing machine,
unlocking the gateway to a world of creativity and precision.
Table Of Contents
Key Takeaways
- Insert the bobbin horizontally into the bobbin chamber, slip the thread behind the metal/plastic strip, and turn the hand wheel to catch the bobbin thread with the top thread.
- Engage the power switch, start stitching by pressing on the foot pedal, and guide the fabric steadily along the fabric guides.
- If the needle breaks, stop sewing and replace it. Adjust tension settings if stitches are uneven.
- Store the mini sewing machine in a safe, dry place when not in use. Clean and maintain the machine regularly.
Inserting the Bobbin
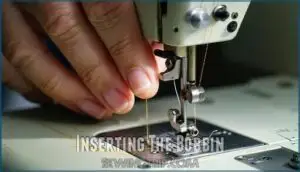
When inserting the bobbin, slide off the cover, revealing the bobbin compartment.
Press the bobbin horizontally into the bobbin-shaped chamber.
Slip the bobbin thread behind the metal or plastic strip to keep it aligned.
Hold the loose ends of the bobbin thread and the spool of thread together.
Turn the hand wheel towards you to catch the bobbin thread with the top thread.
Master this step and elevate your mini sewing machine skills.
Preparing to Sew
To prepare for sewing, start by turning the hand wheel to raise the needle.
Push the presser foot lever upwards to raise the presser foot and slip the edge of the fabric underneath, centering it under the needle.
Lower the presser foot by pushing the lever downwards.
Before beginning, load the bobbin into the machine’s bobbin compartment and ensure it’s inserted horizontally.
Select the desired stitch type and length, taking into account the fabric’s thickness and the project’s requirements.
To ensure straight seams and even stitches, position the fabric carefully under the presser foot.
Maintain a consistent seam allowance throughout the sewing process for a professional finish.
For beginners, practice on scrap fabric to get a feel for the machine and different stitch settings.
Operating the Machine
Starting your mini sewing machine:
- Engage the power switch.
- Commence stitching by pressing on the foot pedal.
- Guide the fabric steadily, ensuring it stays aligned with the fabric guides.
- Control the speed of the needle using the speed setting with your right hand.
- To create backstitches at the start or end of a seam, press the backstitch button or lever.
Finishing up:
- Turn off the machine when you’re done sewing.
- Raise the presser foot.
- Remove the fabric.
Mastering the art of sewing with your mini sewing machine:
- Begin with simple projects.
- Gradually progress to more intricate ones as your skills improve.
- Remember, patience and persistence are key to becoming a proficient mini sewing machine operator.
Troubleshooting and Adjustments
Now that you’ve mastered the basics of operating your mini sewing machine, let’s tackle some common issues you might encounter and how to adjust your machine for optimal performance.
Broken needles are a common woe. If you hear a snap, stop sewing immediately and replace the needle. Bent needles can also cause uneven stitches, so inspect your needle before each use.
Speaking of uneven stitches, check your tension settings. If stitches are too loose, tighten the tension dial. If they’re too tight, loosen it. Experiment with different thread types and bobbin winding techniques to find what works best for your project.
If you’re having trouble getting your mini sewing machine to sew effectively, try this hack: hold the fabric taut with one hand while guiding it through the machine with the other.
And remember, practice makes perfect. The more you use your mini sewing machine, the more comfortable you’ll become with its quirks and the better you’ll be at troubleshooting any issues that arise.
Happy sewing!
Frequently Asked Questions (FAQs)
What is the best way to store a mini sewing machine when it is not in use?
To ensure your mini sewing machine’s longevity, store it in a safe place, away from moisture and dust.
Consider investing in a 専用のケース designed for the machine to keep it protected and organized.
How often should I clean and maintain my mini sewing machine?
Regular cleaning and maintenance ensure your mini sewing machine’s optimal performance, extending its lifespan and preventing glitches.
Consult the manual for specific guidelines.
What type of fabric is best suited for use with a mini sewing machine?
For optimal results and to prevent damage, opt for lightweight fabrics like cotton, silk, or thin denim when working with your mini sewing machine.
Lightweight fabrics are best for mini sewing machines because they are:
- Easy to sew through
- Less likely to jam the machine
- Less likely to cause damage to the machine
Can I use a mini sewing machine to sew through multiple layers of fabric?
Multiple fabric layers can be a challenge for mini sewing machines due to their limited power.
Consider using a regular sewing machine.
Or, take your project to a tailor for professional assistance.
Where can I find additional resources or tutorials on how to use a mini sewing machine?
YouTube offers a wealth of mini sewing machine tutorials,
from threading guides to project-specific instructions.
Dive in and unlock your sewing potential!
Conclusion
As you embark on your sewing journey, remember that mastery lies not in perfection, but in the joy of creation.
With patience and practice, you’ll transform your mini sewing machine into an extension of your creativity.
Each stitch, each seam, will tell a story, a testament to your growing skill and boundless imagination.
So, keep threading, keep sewing, and keep creating—the world of fabric and thread awaits your artistry.

