This site is supported by our readers. We may earn a commission, at no cost to you, if you purchase through links.
Do you feel like your wardrobe is incomplete ’cause all your dresses are too long? You’re not alone. A recent survey found one-third of adults struggle with the same issue.
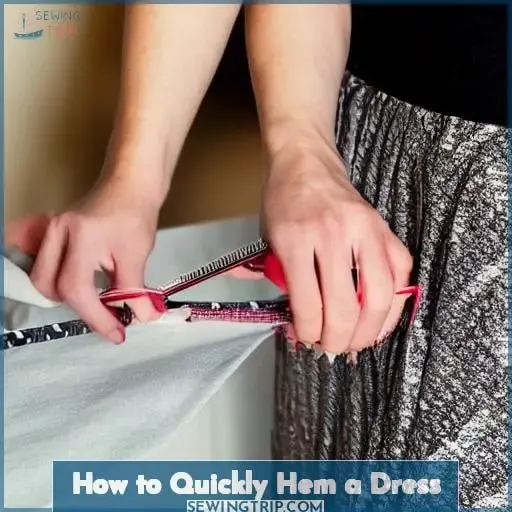
Take heart – hemming a dress doesn’t have to be hard or take ages. This article will show you how to quickly and easily hem any dress without a sewing machine.
We’ve got some great tips and tricks for no-sew solutions that’ll give you the perfect length in no time! Have fun exploring them.
Table Of Contents
Why Hemming a Dress is Important
Hemming a dress gives it a polished, finished look and allows you to customize the length for an ideal fit. Picking the right fabric is important as certain materials may require special techniques or thread types. Choosing the right length is essential; too long and it’ll drag, too short and it won’t be flattering. If unsure, get professional help to make sure everything looks its best. Ironing techniques tailored to each fabric type used in the garment should be used.
For those who don’t want to use a sewing machine, there are no-sew methods such as hem tape, safety pins, or fabric glue. Follow the manufacturer’s instructions first. Hem tape bonds two layers together with heat while safety pins can damage some fabrics if not done properly and show through. Fabric glue creates a semi-permanent bond but needs careful application around hems. It offers an easy solution when time is limited compared to hand stitching sewings pins into place, especially when dealing with stretchy, slippery material like delicate silk chiffon where more experienced hands are needed.
Measuring and Cutting
Measure twice, cut once for a perfect dress hem – like trimming the branches of a tree. Fabric choice is key when it comes to other hemming methods. If you’re using an iron-on hem tape or fabric glue, make sure your garment material can handle the heat or adhesive without damage.
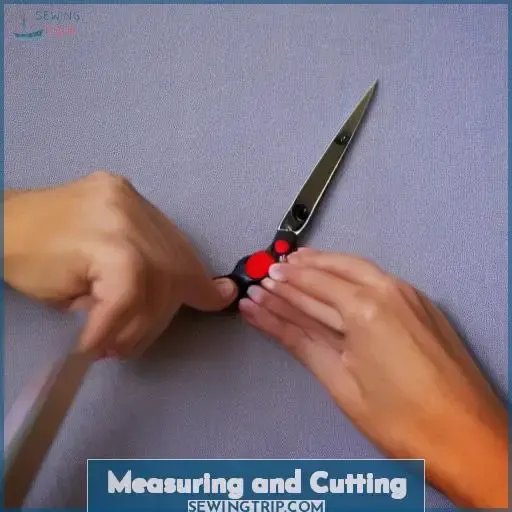
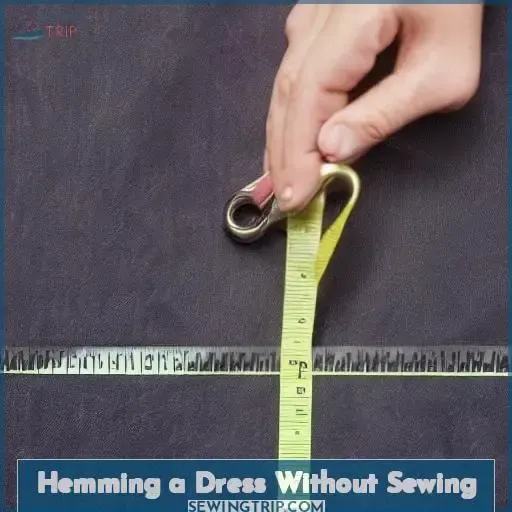
To achieve length adjustments when making a square hem on your garment piece, use measuring tape and tailor’s chalk to mark how much needs trimming off from the bottom edge of your new hem line before cutting out excess fabric along this marked line with scissors.
Fold over the bottom part of each side, and accurately check if they are even at equal lengths. Press down folded edges with a hot iron for added crispness before attaching either type of adhesive product onto them later on. Make sure everything matches up – color-wise as well as length-wise.
Hemming a Dress Without Sewing
Hemming a dress without sewing doesn’t have to be daunting. There are several no-sew methods you can use, depending on the fabric and hem type. Hem tape, sticky tape, safety pins, and fabric glue are all easy ways to quickly get your dress hems where they need to be without needing any sewing skills or a machine.
So, grab your supplies and let’s get started!
Hem Tape
You can easily secure your hems with hem tape, creating a semi-permanent or temporary bond that will last. Hem tape is an ideal no sew solution for those looking to quickly and efficiently alter their garments without the need for sewing skills or tools.
Iron-in hem tapes are available as a permanent solution and fusible hem tapes provide a more temporary option. It’s important to check if the product is suitable for the fabric of your garment before starting any alteration process; this applies especially when opting for iron-on patches instead of regular seam rippers and other traditional hemmers’ tools!
Before making any changes, ensure you measure accurately so that it reflects perfectly against shoes you’ll be wearing with it – this ensures maximum comfortability in addition to professional looking results!
The raw edge should then be folded under 0.5 inches twice prior to using adhesive sticky tape around entire circumference; finally, flip dress back over right side up before pressing firmly all along its length one final time – success awaits in mastering maxi dresses too long otherwise by following these simple steps today!
Sticky Tape
You can easily secure hems with sticky tape, creating a semi-permanent or temporary bond in minutes! Layering fabric and hemming techniques like iron on hems, double sided tape or adhesive strips make it easy.
Take Kpoene Kofi-Bruce’s advice – put the dress on with shoes you’ll be wearing for best results. Mark out where you’d like the hem to fall using stick pins before taking off the garment. Measure 1.5 inches less than this distance from original bottom of dress and cut off excess amount along raw edge.
Fold under 0.5 inch all around, then fold over another 0.5 inch, pressing firmly each time so fabric sticks together well when applying heat n’ bond along side of sticky tape facing up towards right side of garment. Check video tutorial for further instructions if needed!
Safety Pins
You can also use safety pins to secure hems, but how well do they hold up? They’re great for creating gathers and using elastic while hemming a garment and pressing creases into fabric. They’re also ideal for adjusting length or fusing two layers of fabric together without a sewing needle or pin.
Start by making sure you have the straightest cut possible on your unfinished edge before folding it over twice. Insert several evenly spaced safety pins along the fold line to keep it in place. Then try it on again, just in case any more adjustments must be made.
Fabric Glue
For a permanent or semi-permanent bond, fabric glue is an easy alternative to sewing! It works on most fabrics and can be used for adjustable length hems in circular or square shapes. Make sure the hemline shape matches the desired result, then select a fabric glue color that closely matches the garment’s hue.
Ironing Board will help press out any wrinkles, then apply fabric glue along the hemline with precision. Consider using heat n’ bond iron on patches for extra reinforcement if needed – follow manufacturer instructions and practice caution when using an iron around delicate fabrics.
With some patience this no-sew method will deliver professional results similar to those achieved with hand stitching or Blind Hem Stitch machines. Don’t let difficult Sewing Projects hold you back from creating beautiful garments!
Which No-sew Method is Best for Hemming a Dress?
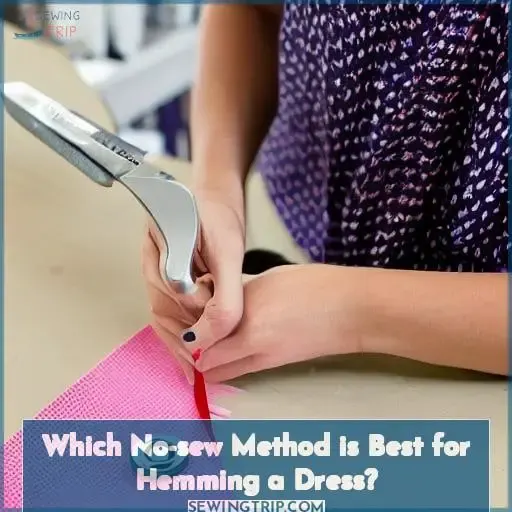
Deciding which no-sew method to use for hemming your dress can seem daunting. But with the right advice, it’s easier than you think – just pick the tool that sews two pieces of fabric like a metaphorical stitch in time.
Many methods exist, such as iron on interfacing, starch stiffening, fabric fusing and fray checking. Hem binding is often used for squared hems, double fold for circular hems. Heat n’ Bond works best when creating an even fold line.
It’s important to consider what type of hem you’re working with before selecting one of these methods. Some fabrics may not be suitable or long-lasting using certain techniques. So make sure to test them first on an inconspicuous part of your garment!
Hemming a Maxi Dress
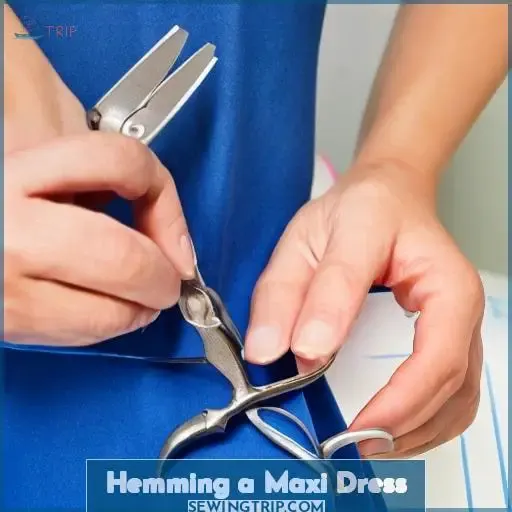
If you’re short, maxi dresses might not fit you. But, you can customize it with a no-sew method. Start by putting the dress on with your shoes to decide where to hem it. Mark the spot with stick pins. Measure from the original hem to where you marked, minus 1.5 inches. Cut carefully – light fabrics like chiffon or silk can move easily. Fold under 0.5 inches of raw edges, and press down firmly with a hot iron. This’ll ensure there’s no wrinkles and a cleaner look. Don’t forget to add thread if needed – but we’re focusing on no-sew methods, so this step is skipped.
Hemming a Dress With a Sewing Machine
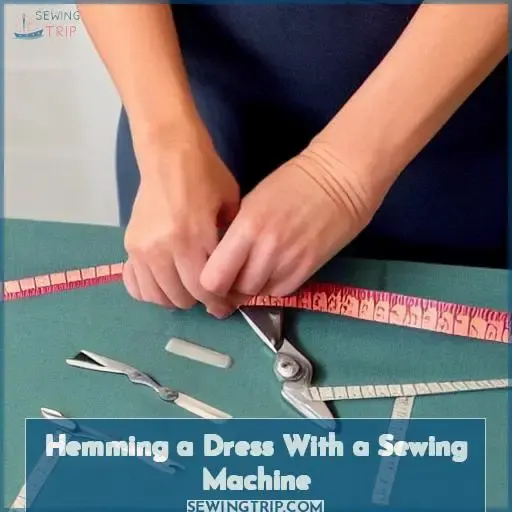
If you have access to a sewing machine, hemming your dress can be done in no time! Layering fabric for the desired hem length is essential. Take the seam allowance into account and adjust accordingly. Use the correct needle size and tension for the material you’re working on. For thin material like chiffon or silk, use smaller needles and shorter stitches. For thicker materials like denim, use larger needles and longer stitches.
Cut off excess fabric from the bottom of the garment according to markings you made while wearing it. Iron-in Heat N’ Bond and other types of fusible tape around the entire edge. This will create an even-looking dress hem when used in conjunction with a sewing machine. It’ll save time and provide more structure than other no-sew methods alone could. It’ll minimize puckers later in life due to wear and tear.
Frequently Asked Questions (FAQs)
What types of fabrics are best suited for no-sew hemming methods?
No-sew hemming methods are a great option for those who don’t have a sewing machine or lack the skills to sew. Depending on the fabric and type of hem, there are various no-sew solutions available. These include:
- Double fold hem with interfacing tape
- Iron on patches
- Fabric fusing using stitch witchery
- Creative writing and Heat n’ Bond for a more permanent solution, like an eye of a sewing needle.
To get started, mark your desired folded hemline, and fold over 5 inches. Press down firmly with an iron until the adhesive melts into place. Flip back right side up to complete!
The best fabrics for no-sew hemming methods are those with a tight weave and are relatively thin and easy to work with. Fabrics such as cotton, linen, polyester and silk are all suitable choices.
How do I know which no-sew method is best for my fabric and garment?
When hemming a garment, it’s important to know which no-sew method is best for the fabric and type of hem you’re dealing with. Iron on interfacing is great for semi-permanent hems that won’t be washed often. Heavier fabrics can benefit from safety pins or fabric glue.
If using heat n’ bond or any adhesive glue, use a pressing cloth and steam ironing to ensure the product stays in place.
For delicate fabrics like silk or chiffon, try double sided tape instead. It’ll keep your project looking as professional as one done by Jess Faraday herself – an expert vintage sewing enthusiast at Middlebury College!
How can I make sure that my hem is the correct length?
To make sure your hem is the correct length, put on the garment with the shoes you plan to wear it with. Mark where you want it to end using pins or tailor’s chalk. Measure from this point down to determine how much fabric needs to be removed and subtract 5 inches for a new lower cutting line. Iron a crease in this line and fold over 5 inches of the entire raw edge. Apply any no-sew method like heat tape or glue, following manufacturer’s directions and using thread that matches your fabric choice for stitching if needed.
What is the best way to hem a curved hem?
If you’re looking to hem a curved hem, the best method is double-stitching. First, use starch spray on the garment and press it with an iron using a pressing cloth for protection.
Pin up the fabric along your desired curve and top stitch around it so that each side of stitching catches both layers of fabric together.
Flip your garment to its right side and press again for good measure!
This method is precise, detailed, and knowledgeable – just like you’d expect from a grad of Goldman Sachs who’s had decades of experience creating couture wedding gowns and being a small business owner!
Can I use a sewing machine to hem a dress?
Hemming a dress with a sewing machine is easy and effective. Make sure you have the right fabric type. Follow any tape manufacturer’s directions when using iron-on hem tapes. Needle thread your machine with a fine thread that matches your garment color for topstitching. Adjust stitch quality and seam allowance according to your manufacturer’s instructions before starting – a too tight or wide seam can ruin even perfectly pressed edges!
Conclusion
You’ve come to the end of this tutorial and you’re now ready to hem your dress with confidence. You’ve learned the basics of hemming a dress without sewing, so you can now make a quick alteration to any dress. Whether you choose to use hem tape, safety pins, fabric glue, or sticky tape, you can be sure that you’ll have a finished product that looks as good as it did when you first bought it.
Your dress will look great and you’ll have the satisfaction of knowing you did it all yourself. So go ahead and try it out. You’ll be amazed at how quickly and easily you can make a beautiful alteration.
That’s it! You now know how to quickly hem a dress.

