This site is supported by our readers. We may earn a commission, at no cost to you, if you purchase through links.
If you’re ready to tackle the task of replacing your Brother needle threader, you’re in the right place.
This guide will walk you through identifying the issue, finding the right parts, and executing the swap with precision.
Armed with clear, concise instructions, you’ll fix your machine and get back to sewing with ease.
Let’s dive into how to replace your Brother needle threader and master your machine’s maintenance.
Table Of Contents
Key Takeaways
- Troubleshooting sewing machine problems such as worn thread hooks, broken thread, tension problems, jamming, and skipped stitches is crucial for maintaining optimal sewing machine performance.
- Locating the correct replacement parts involves checking compatibility, searching online retailers, visiting local sewing shops, consulting the manufacturer’s website, and ensuring the correct part number is used.
- Disassembling the needle threader requires careful removal of the circlip with tweezers or pliers, detachment of the threaded unit from the metal casing, removal of the black unit in the middle, and the use of circlip pliers, a screwdriver, or needle-nose pliers to gently nudge the circlip.
- Installing the new threader involves aligning components precisely, positioning the threader with the hook facing the needle eye, gently pressing the threader onto the arm, aligning the circlip and ensuring compatibility, and pushing the threader straight down onto the arm.
Identifying the Problem
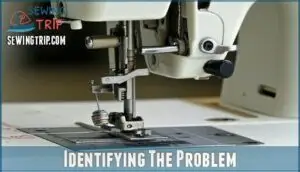
If your Brother sewing machine‘s automatic needle threader isn’t working, the thread hook may be worn.
You’ll need to locate a replacement part and follow precise instructions for a successful fix.
Worn Thread Hook
When your needle threader starts acting up, it’s often a sign that the thread hook is on its last leg. Think of it as the needle threader’s handshake with your thread – if it’s weak, nothing gets done.
Dive into needle maintenance, checking the thread tension, and adjusting your sewing speed.
Swap out that weary thread hook on the needle threader arm and shaft, and you’ll be back to smooth sewing in no time.
Automatic Needle Threader Issues
If you’re dealing with a broken thread, tension problems, or the dreaded jamming and skipped stitches, it’s time to check your needle threader lever.
Don’t fret; I’ll guide you through how to replace the needle threader on your Brother CE5500PRW or similar models with an automatic needle threader.
Locating Replacement Parts
After identifying the issue with your Brother sewing machine’s needle threader, it’s time to hunt down the replacement parts.
- Check Compatibility: Ensure the replacement threader is a match for your machine model. Brother machines vary, so match the needle size and thread type to avoid a square peg, round hole situation.
- Online Retailers: Websites like Amazon and SewingPartsOnline are treasure troves for needle threader replacement parts. Remember, the devil’s in the details, so double-check the part numbers.
- Local Sewing Shops: Sometimes, the old-school approach works best. Pop into a local sewing shop. They might just have the part in stock, plus you’ll get to chat with fellow sewing enthusiasts.
- Manufacturer’s Website: For peace of mind, visit Brother’s official website. It’s the go-to for genuine parts, ensuring your machine maintenance and troubleshooting efforts pay off.
Disassembling the Needle Threader
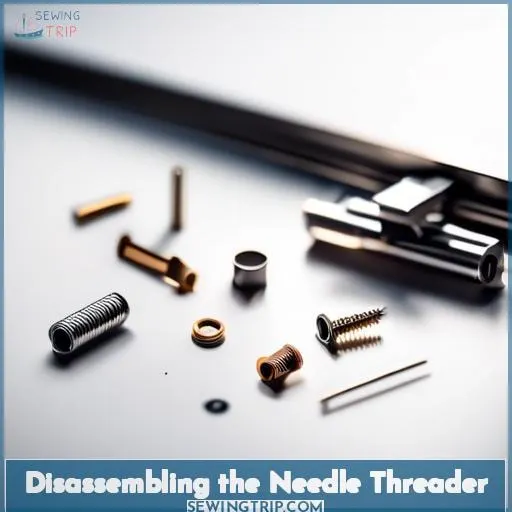
To disassemble the needle threader, start by removing the circlip carefully with tweezers or long-nose pliers.
Next, take out the threaded unit by detaching it from the metal casing and the black unit in the middle.
Removing the Circlip
Once you’ve sourced your replacement needle threader, it’s time to tackle the circlip. This tiny but crucial component can be a bit of a puzzle. Don’t have circlip pliers? No sweat! A flathead screwdriver or needle nose pliers can pinch-hit in a pinch.
| Circlip Tools | Purpose |
|---|---|
| Circlip Pliers | Ideal for removal |
| Screwdriver | Handy alternative |
| Needle Nose Pliers | Makeshift solution |
| Calipers | Creative substitute |
Taking Out the Threaded Unit
Once you’ve mastered the art of circlip removal, accessing the threaded unit becomes a breeze.
- Circlip Removal: A gentle nudge is all it takes.
- Unit Accessibility: Like finding the eye of the needle, precision is key.
- Tool Selection: Choose wisely, as the right tool ensures your threader’s longevity and prevents a bent or damaged needle.
Installing the New Threader
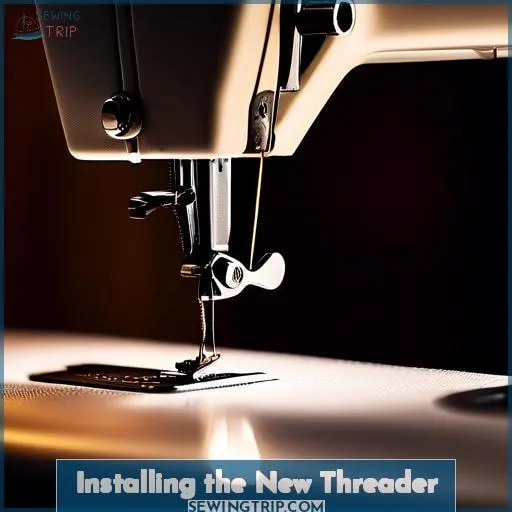
Once you’ve removed the old needle threader, it’s time to install the new one. Carefully align the components as per the instructions, ensuring each part is in its proper place before securing the threader.
Aligning Components
When replacing your Brother needle threader, it’s crucial to align the new part precisely.
Start by positioning the threader so the hook faces the needle eye. Gently press it onto the arm until it clicks into place.
This isn’t rocket science, but it’s close—accuracy is key! A misaligned threader is like a dancer with two left feet—utterly out of sync.
Securing the Threader
Once you’ve got the new needle threader, it’s showtime.
Carefully align the circlip and ensure component compatibility.
With installation precision, push the threader straight down onto the arm. It should click—a satisfying sound that says, You nailed it!
Now, fold it back into its home and give it a quick test run.
Frequently Asked Questions (FAQs)
Can I use generic parts for replacement?
You can use generic parts for your Brother needle threader replacement. Ensure compatibility for a smooth fix.
How often should the needle threader be replaced?
Like socks lost in the laundry, needle threaders can vanish in action too! Replace yours when it shows wear or fails to function—no set timeline, just keep an eye on its performance.
What maintenance prevents needle threader damage?
To prevent needle threader damage, ensure the needle is fully raised and correctly installed.
Use suitable thread and needle sizes.
Avoid forcing the threader—gentle handling is key.
Are there any model-specific installation tips?
Worried it’s too tricky? Fear not! Each Brother model has its quirks, but with the right guide and a steady hand, you’ll master the swap.
Just ensure the needle’s fully raised and the machine’s unplugged.
Can threader issues affect sewing quality?
Yes, threader issues can throw a wrench in your sewing quality.
If it’s not threading right, you’re in for a world of skipped stitches and frayed nerves.
Keep that threader in tip-top shape!
Conclusion
Ready to conquer the challenge of how to replace your Brother needle threader? With the right parts in hand and a careful approach to disassembly and installation, you’ve got this.
Isn’t it satisfying to master your machine’s maintenance and get back to sewing with ease?

