This site is supported by our readers. We may earn a commission, at no cost to you, if you purchase through links.
Adjust tension and stitch length for your fabric weight. For thin materials, consider using interfacing or starch for stability. Choose the right needle, thread weight, and stitch type for a neat finish. If you want to take your narrow hemming skills to the next level, keep exploring our comprehensive guide.
Table Of Contents
Key Takeaways
- Adjust stitch length and tension settings to match fabric type
- Press hem allowance using stitch guide for accuracy and neatness
- Sew close to the stitch guide and use a thinner thread for thin fabrics
- Press hem again to ensure a crisp and smooth finish
How to Sew a Narrow Hem?
To sew a narrow hem, you can use a few different methods. One way is to use a serger, which allows you to stitch around the hem with a minimum amount of fabric cut off from the edge. If your hem is curved, you can adjust the differential feed to gather slightly, easing in the curve.
Another method is to use the overcast stitch function on your regular sewing machine, which gives a similar result without cutting the edge before sewing. You can also use a rolled hem foot, which folds the hem and sews at the same time, eliminating the need for pressing or extra rows of stitching.
Sew a Basting Stitch Guide
Kicking off your journey to a sleek, narrow hem, let’s dive into the art of sewing a basting stitch guide.
Think of your sewing machine as a trusty sidekick, ready to tackle any fabric thrown its way.
First up, adjust your stitch length and tension settings to match your fabric type.
Choosing the right needle and thread is like picking the perfect dance partner—it’s all about harmony.
Now, gently guide your fabric under the needle, sewing a basting stitch as your roadmap.
This initial step is crucial; it sets the stage for a flawless finish, ensuring your hem is nothing short of spectacular.
Press Hem Allowance Using the Stitch Guide
Pressing the hem allowance using the stitch guide is a crucial step in sewing a narrow hem. This process ensures that your hem is accurate and neat, which is essential for creating a professional-looking finish.
- Pressing Tools: Choose the right tool for pressing. A small, flat iron with a pointed tip is ideal for pressing hems. If you’re concerned about finger protection, consider using a finger guard or a small, flat tool like a chopstick to keep your fingers away from the needle.
- Hem Allowance Width: Determine the width of your hem allowance. This will depend on the fabric and the desired look. For a narrow hem, a 1/4 to 1/8 hem allowance is typical.
- Stitch Guide Accuracy: Run a line of basting stitches 1/4 from the raw edge of your hem. This will serve as your guide for folding and pressing the hem. Be sure to make the basting stitches as accurate as possible, as they’ll dictate the folding line.
- Finger Protection: If you’re using a needle, keep your hands a safe distance from the needle. If you’re concerned about finger protection, consider using a finger guard or a small, flat tool like a chopstick to keep your fingers away from the needle.
- Pressing: Press the hem allowance directly onto the stitch guide. Start by pressing half of the hem allowance, then turn the fabric over and press the other half. Use a press cloth if necessary to protect the fabric.
- Twisted Seams: Avoid twisted seams by pressing the hem allowance in the direction of the stitch guide. This will help ensure that the fabric is pressed evenly and without twisting.
- Thin Fabrics: For thin fabrics, consider using a thinner thread or sewing over water-soluble stabilizing paper to create more thickness. This will make it easier to press the hem allowance without damaging the fabric.
- Neat Hemming: Omitting overcast stitches can make the hem less bulky and neater. Overcasting the edges is generally not necessary for a narrow hem.
Sew the Hem Down
Sewing a narrow hem requires precision and attention to detail. Once you’ve pressed the hem allowance using the stitch guide, it’s time to sew the hem down.
- Sew Close to the Stitch Guide: Use a basting stitch to sew close to the stitch guide, about 1/16 from the folded edge. This will help keep your stitches straight and even.
- Use a Sewing Machine: Sew the hem down using your sewing machine. If you’re working with thin fabrics, you may need to adjust your needle or use a thinner thread to prevent skipped stitches.
- Back and Forth: Sew back and forth between the sewing machine and the ironing board, adjusting the tension as needed. This will help you maintain a consistent stitch length and ensure a neat, flat hem.
Press the Hem Again
Pressing the hem again is a crucial step in creating a neat and professional-looking hem. After sewing the hem down, it’s time to press it to ensure a crisp and smooth finish.
- Turn up the hem: Carefully turn the hem up to the desired height, ensuring that the stitching is on the inside.
- Press the hem: Use a pressing tool, such as an iron, to press the hem. Start by pressing the hem along the stitching line, then press the rest of the hem upwards. Be sure to press the hem gently to avoid damaging the fabric or the stitching.
- Press the remaining hem allowance: If the hem allowance hasn’t been pressed yet, fold it up and press it as well. This will give the hem a neat and polished appearance.
- Repeat if necessary: If the hem isn’t as crisp as desired, you can repeat the pressing process. Be careful not to overheat the fabric or press too hard, as this can damage the fabric or the stitching.
Sew Narrow Hem in Place
After pressing your hem once more, you’re ready to dive into sewing that narrow hem in place.
This step is where your fabric transforms from just another piece to a garment with a sleek, professional edge.
For those pesky curved hems, don’t shy away from a bit of hand stitching—it can offer you the control you crave.
And if you’re working with particularly thin fabric, consider a thinner thread to keep things smooth and avoid any unwanted bulkiness.
This is your moment to shine, so let those narrow hem finishes be the star of the show!
Handling Thin Fabrics
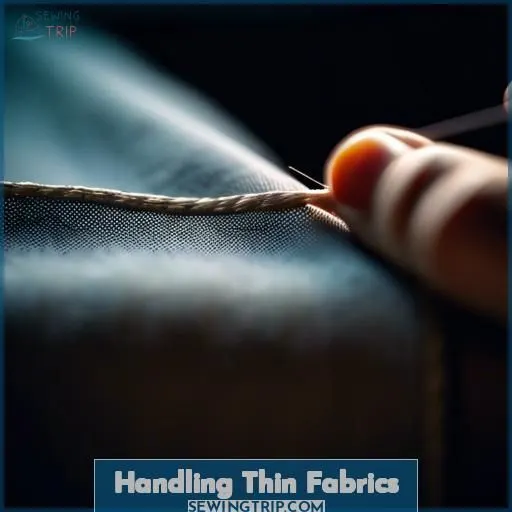
Handling thin fabrics can be a daunting task, especially when it comes to sewing a narrow hem. In the realm of sewing, the thickness of the fabric plays a crucial role in the overall look and feel of your project. Thinner fabrics can be tricky to work with, as they may require specific needle sizes, tension adjustments, and even interfacing or starching to ensure a neat and professional finish.
To navigate the complexities of handling thin fabrics, there are a few key strategies you can employ. First, consider the needle size. For lightweight fabrics like cotton voile, a thinner needle such as size 70/10 is recommended. For medium weight fabrics like cotton shirting and poplin, size 80/12 is suitable. And for thicker fabrics like denim and calico, size 90/14 is the best choice.
Second, adjust the tension according to the fabric thickness. For lightweight fabrics, a shorter stitch length between 1.8 – 2.5mm (1/16” – 3/32”) is recommended. For medium weight fabrics, a stitch length of 2.5mm (1/16”) is appropriate. And for thicker fabrics, a longer stitch length between 2.5 – 4mm (1/16” – 3/32”) is advisable.
Third, consider using interfacing or starching to add stability to the fabric. This can help prevent the fabric from shifting during the sewing process, ensuring a more accurate and neat hem.
Lastly, when sewing a narrow hem on thin fabrics, it’s essential to use a thinner thread or sew over water-soluble stabilizing paper to create more thickness. This will help keep the stitches straight and prevent any issues with the straight stitch.
Neat Hemming
When it comes to sewing a narrow hem, neatness is key. Overcasting the edges is generally not necessary, and omitting overcast stitches makes the hem less bulky and neater.
- Choose the Right Thread Size: Use a thread size that’s appropriate for your fabric weight and stitch length. A thinner thread can help reduce bulk, while a thicker thread may be more suitable for heavier fabrics.
- Consider the Needle Type: The type of needle you use can also affect the neatness of your hem. A sharp needle will help you sew through the fabric more smoothly, reducing the risk of skipped stitches or uneven hems.
- Adjust Your Stitch Length: A shorter stitch length can help create a more even hem, as it allows for better control over the fabric. Experiment with different stitch lengths to find what works best for your fabric and sewing machine.
Industrial Sewing Machines
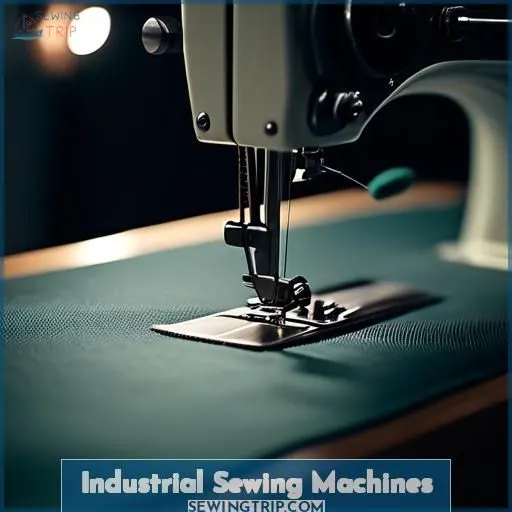
Welcome back to our tutorial! We’ve been discussing how to create a neat hem, and now it’s time to dive into the realm of industrial sewing machines. These powerhouses are designed to enhance your sewing experience, offering efficiency, speed, and automation that can make your life easier.
Industrial sewing machines are built to handle heavy fabrics and demanding sewing tasks. They can effortlessly sew through layers of fabric, leather, or denim, maintaining high efficiency throughout. Their powerful motors and specialized features ensure smooth and consistent stitching, eliminating frustrations and bottlenecks.
When it comes to industrial sewing machines, it’s not merely about the machine itself. It’s about the suite of features that underpins their performance. For instance, many industrial machines come with automatic thread trimming, foot lift, and back-tacking, which can significantly enhance your sewing experience.
These machines are designed to work 24/7, ensuring continuous operation without frequent maintenance. They’re built to last, with high-quality metal components that can withstand wear and tear.
In the heart of the industrial sewing world, there are various options to choose from. Companies like Miller Weldmaster offer automated sewing machines for specific applications, such as SEG, Cured In Place, and Filter lines.
When it comes to choosing the right industrial sewing machine, it’s important to consider factors like speed, stitch quality, motor power, ease of use, and maintenance requirements.
In conclusion, industrial sewing machines are a worthy investment for anyone looking to take their sewing game to the next level. They offer unmatched benefits, including speed, efficiency, and durability, making them a must-have tool for professionals and enthusiasts alike.
Stay tuned for our next tutorial, where we’ll dive deeper into the world of industrial sewing machines and explore how they can help you master the art of perfect, sleek finishes.
Measuring and Preparing the Hem
stitch length, fabric thickness, stabilizing paper, water-soluble stabilizer, awl vs sharp object.
Frequently Asked Questions (FAQs)
Can I use a serger to sew a narrow hem?
Sure, you can definitely use a serger for narrow hems. The differential feed ensures your fabric feeds evenly, preventing ripples or puckering.
How do I avoid twisted seams when sewing a narrow hem on thin fabrics?
Like a seasoned sailor taming unruly waves, you’ll finesse thin fabrics by using a slight zig-zag stitch to allow stretching, preventing twisted seams.
What is the best thread tension for sewing a narrow hem?
You’ll need to adjust your thread tension for a narrow hem. Too loose, and the stitches will be sloppy; too tight risks puckering. Test samples first to find that sweet spot where the stitches lay flat and even.
Can I use a narrow hem foot for sewing a narrow hem on stretchy fabrics?
You can definitely use a narrow hem foot for stretchy fabrics. It helps feed the fabric evenly and prevents tunneling or stretching. Just go slowly and gently stretch the fabric as you sew for professional-looking narrow hems.
How do I handle the hem allowance when sewing a narrow hem on a curved edge?
Treating curved hems requires finesse, my friend. For smooth sailing, snip tiny nips along the seam allowance – just tiny breaths to allow the fabric to hug those luscious curves effortlessly.
Conclusion
Mastering the art of sewing a narrow hem takes practice, but the results are worth it – sleek, professional-looking finishes that elevate any garment. Follow these steps diligently, and you’ll soon find yourself confidently creating impeccable narrow hems, a valuable skill in the world of sewing and fashion design.

