This site is supported by our readers. We may earn a commission, at no cost to you, if you purchase through links.
You will find some valuable tips on how to deal with seam guides, mark and sew a corner, and turn through corners of different types using turning tools.
With our step-by-step tutorial, you will soon master these techniques, which will equip you with enhanced skills and control over your sewing project.
Now, let’s see how to perfect those corners!
Table Of Contents
- Key Takeaways
- How to Sew Corners With a Sewing Machine – Beginner Tutorial?
- Understanding Seam Guides
- Marking and Sewing Corners
- Sewing Different Corner Types
- Essential Turning Tools for Corners
- Sewing Mitered Corners
- Handling Corners and Curves
- Perfecting Corner Sewing Techniques
- Frequently Asked Questions (FAQs)
- Conclusion
Key Takeaways
- Master the art of sharp corners by using seam guides, marking accurately, and sewing with precision.
- Don’t be afraid to trim and clip your corners; it’s the key to a clean finish.
- Practice makes perfect! The more you sew corners, the more confident you’ll become.
- Remember, every corner is an opportunity to showcase your sewing skills. So go ahead, conquer those corners!
How to Sew Corners With a Sewing Machine – Beginner Tutorial?
To sew corners with the sewing machine like a pro, first get familiar with seam guides so that you can align your fabric to have the desired seam width.
Mark your seam allowance, then use the edge of the presser foot or the seam guide to help you get an accurate alignment.
As you come toward a corner, slow down and then turn your fabric carefully. Trim very close to the stitching and clip corners to reduce the bulk.
For different corners, like 90-degree or mitered corners, techniques such as trimming excess seams or diagonal sewing are pretty important. Turning tools will help in pushing out corners for a crisp edge.
Master these steps, and you have what it takes to get professional-looking sharp corners you’ve been aiming at. Keep going to master these techniques in detail!
Understanding Seam Guides
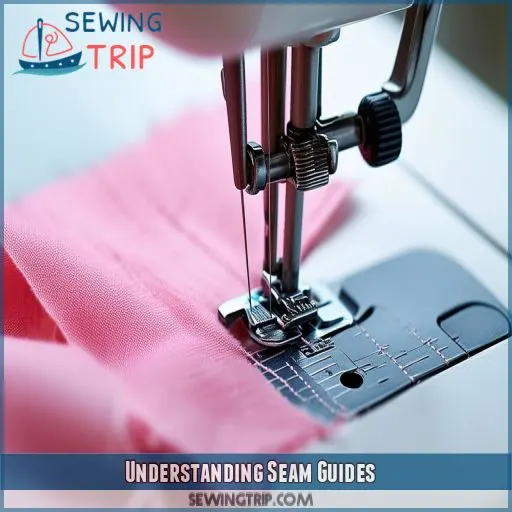
Understanding seam guides can lead to very square, correctly sewn corners. As you start to sew, look at the location of Seam guides on your sewing machine. Their purpose is to help align fabric edges for desired finished seam widths. Any time you’re turning your fabric around, always turn at the etched guides so that things will line up as they should.
Additional help can be gained by applying tape to create personalized guides. Tape a strip on both the vertical and horizontal for guides in lining up the work and making measurements for the seam allowance. This makes sewing corners a lot easier because you have actual reference points. Every time you sew, lining up your fabric accurately with these guides and making consistent measurements will turn out sharp corners that are truly professional in their appearance.
Marking and Sewing Corners
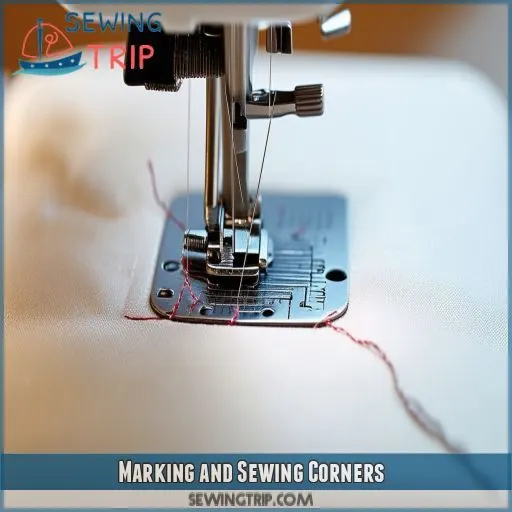
Marking and sewing corners are essential steps toward clean, professionally finished work. You’ll be expected to mark your seam allowances correctly and use the proper techniques for sewing and trimming corners so that they come out sharp and exact.
Marking Seams
Mark the seams using a fabric marking utensil for tracing the seam allowances. Take note that precisions, with due tools, are required to hold even stitching at corners when sewing. Allow appropriate seam allowances for cleaner sewing.
Sewing Techniques
Align fabric edges using the seam guides. As you approach the corner, slow down, and stop at the marked point. Raise the presser foot, pivot the fabric 90 degrees, and lower the foot to continue stitching.
Trimming Corners
- Trim sides at an angle
- Wide seam corners • Trimming angles
- Precisely cut inside corners
Sewing Different Corner Types
Mastery of the different corners is essential in professional finishing your sewing work. You’ll be introduced to many techniques: 90-degree angle, sharp corner, extra-narrow corner, inside corner, and mitered corner, all aimed at getting your seams right and nice.
90. degree Angles
To sew 90-degree angles, hem before sewing. Stitch to the corner, pivot fabric, continue sewing along the seam allowance, and trim.
Sharp Corners
To sew sharp corners, trim excess seams carefully. This enhances accuracy.
- Mark seam allowance.
- Sew.
- Trim corners neatly.
Extra Narrow Corners
For extra narrow corners, sew straight across the point. This technique ensures crisp narrow hem corners, even with mitered corners.
Inside Corners
Master inside corners with these steps:
- Snip into the corner for flexibility.
- Sew carefully along the edge.
- Press well for crisp results.
Mitered Corners
For mitered corners, fold and press the hem edges, then sew diagonally. Use a pointy object to turn out the corner.
Essential Turning Tools for Corners
These will help one get crisp, clean corners. Turning tools, especially pointy objects like knitting needles, bamboo skewers, or point turners, work well to push out the corners without actually piercing through the fabric.
While working right side out, you can use these tiny tools to make your corners friendly and flexibly. It gives crisp, professional edges. Don’t forget to press afterward. The pressing process sets the fabric into its final shape with heat and steam.
It makes your seams lay flat and corners sharp. A good turn and press of the corner makes such a difference in the quality of your overall sewing.
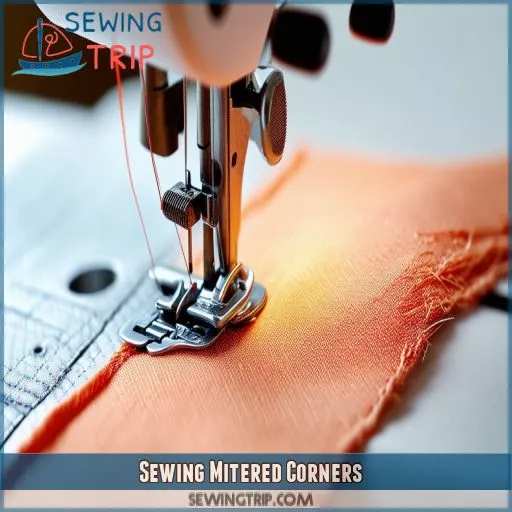
Sewing Mitered Corners
This will give your work a professional finish, especially with mitered corners. But first, you must decide whether you want a wide or narrow hem finish.
To get a narrow hem, fold the edges twice, ironing crisp folds. Multiply your border width by two and mark it on the fabric; then cut along that line to form angled openings.
With wide hems, sew the diagonal shut after applying miter techniques. Carefully lining up the edges, sew straight across the marked line. Clip excess fabric; turn the corner to the right side and press with an iron. Bias effects support a good-looking mitered corner.
Practice makes perfect in getting precision and mastering this joining technique.
Handling Corners and Curves
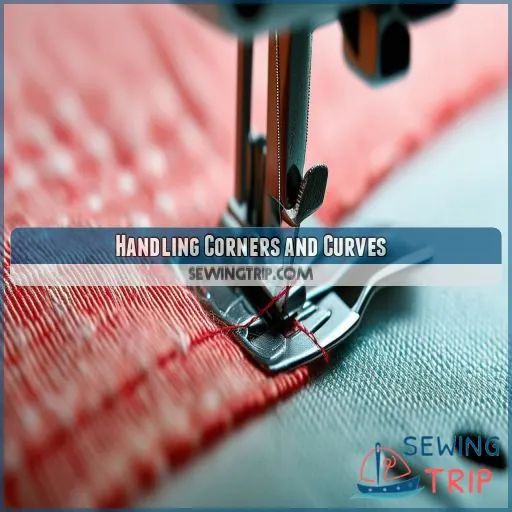
When handling corners and curves, it’s essential to use clipping techniques to prevent fabric bunching and maintain a smooth edge. Don’t forget to add seam allowance and consider using square corners with bias for precise, sharp results.
Clipping Techniques
To achieve crisp corners, employ clipping techniques. Use different clipping types like clipping angles for sharp points and clipping corners for smooth edges. Clipping curves neatly will prevent fabric bunching and create cleaner, professional finishes.
Adding Seam Allowance
While adding the seam allowance, precision is required to guard the integrity of your corner seams. It also helps in quick notching of fabric and smooth sewing of corners.
- Measure twice for accuracy.
• Clearly mark your fabric.
- Follow hemming techniques closely.
Square Corners With Bias
To create sharp, square corners with bias tape, cut bias strips and sew at a 45-degree angle. Align edges, sew carefully, and use mitered corners for crisp, clean results. Perfect for curved corners and rounded edges.
Perfecting Corner Sewing Techniques
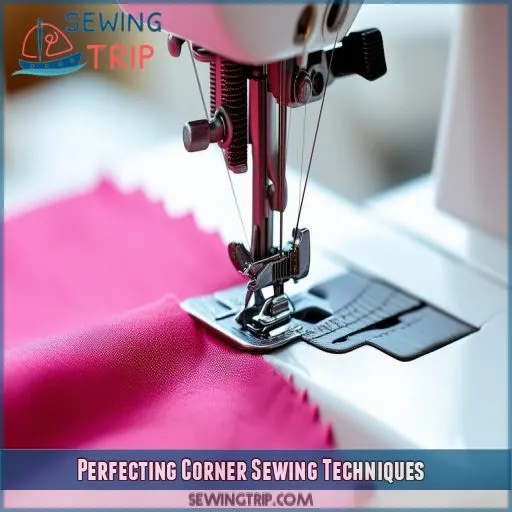
To master corner sewing techniques, you need precision and the right methods. Always start with accurate marking.
Use seam guides to maintain consistency. When sewing narrow corners, pivot at the exact point, ensuring a crisp angle.
For perfecting mitered corners, iron your folds sharply before stitching. Employ proper clipping techniques to reduce bulk, especially at sharp corners.
For bias binding corners, pin carefully and stitch slowly to avoid shifting. Use turning tools like knitting needles to achieve sharp finishes.
Consistent practice with these techniques will make your corner finishes precise and professional. Remember, each corner is an opportunity to showcase your sewing expertise.
Frequently Asked Questions (FAQs)
How do you cut a corner in a sewing machine?
To cut a corner while sewing, first snip diagonally across the corner close to your stitching line. Then, trim the sides of the corner at an angle if dealing with wide seams or multiple layers (Source).
How do you sew a corner?
To sew a corner, first mark the seam, sew up to the corner, then pause. Raise the presser foot, pivot the fabric, lower the foot, and continue. After sewing, trim the corner, then turn it right side out.
How do you make a sharp corner on a sewing machine?
To create a sharp corner on a sewing machine, sew to the corner, stop, pivot the fabric 90 degrees, continue sewing, then trim the corner and sides. Carefully turn the fabric right side out for a crisp finish.
How do I know when to sew a corner?
You know it’s time to sew a corner when your seam alignment meets the marked corner point. Pause, pivot the fabric, and continue stitching, ensuring precise, professional corners every time.
Is it hard to get a perfect corner when you’re sewing?
Achieving a perfect corner when sewing can be challenging. However, with practice, careful alignment, and using seam guides or tape, you can get crisp, precise corners. Patience and following a consistent method are key.
What do I do with my foot when I’m rotating?
When you rotate, keep the presser foot down but lift the needle. This holds your fabric in place. Remember, ‘Rome wasn’t built in a day,’ so practice will help you master this technique.
Does a corner have to be L-shaped?
No, a corner doesn’t have to be L-shaped. You can sew various corner shapes, such as mitered, rounded, or angled, depending on your project’s design and requirements. Each type has specific techniques.
How do I choose the right thread?
Ever struggled to pick the right thread? Choose thread based on your fabric type: polyester for synthetic fabrics, cotton for natural fibers, or a blend for general use. Remember, matching thread color to your fabric enhances your project.
What type of fabric is best for beginners?
Cotton fabric is ideal for beginners. It’s easy to handle, doesn’t stretch much, and is great for learning basic techniques. Try medium-weight cotton, like quilting cotton, for managing well and achieving consistent results.
How should I adjust tension for different fabrics?
Imagine your fabric flowing effortlessly. For light fabrics, lower the tension slightly. Heavier fabrics need more tension. Experiment on scraps to get that smooth stitch. Balance is key to prevent puckering or loose stitches.
What troubleshooting steps are common for sewing machines?
Check tension, thread, and needle. Clean lint off, oil moving parts, and ensure proper needle installation. Ensure the correct bobbin placement and presser foot adjustment, and examine the stitch settings. Test on scrap fabric for problems to emerge and be corrected.
How can I safely clean and maintain my sewing machine?
Dust your sewing machine gently, and oil the moving parts as instructed in the manual; clean off lint with a brush. Keep it covered while not in use, and frequently replace your sewing needles for a smooth running.
Conclusion
Congratulations, you’ve just learned how to sew corners with a sewing machine! By mastering seam guides, marking, and sewing various corner types, and turning tools, you’re now equipped with the skills to tackle any sewing project with precision.
Remember to clip and trim as needed, and practice different techniques for perfect results. With these steps, you’ll create polished, professional corners every time. Keep practicing, and soon, sewing corners will become second nature. Happy sewing!

