This site is supported by our readers. We may earn a commission, at no cost to you, if you purchase through links.
 Roll up your sleeves and get ready for an adventure! The joy of sewing will take you on a journey of discovery. Unravel the mysteries of piping, and you’ll gain confidence to tackle any project.
Together we’ll cruise the winding roads, following each stitch like signposts guiding us along. Pockets of wisdom wait around every curve, ready to inspire your creativity. This path rewards the persistent – each skill mastered unlocks deeper meaning.
Let intuition be your compass; imagination, the fuel propelling you forward. With needle and thread, set your spirit free! Use piping to add flair to any garment, accentuating style.
Wherever the road leads, enjoy the ride! The art of sewing nourishes the soul.
Table Of Contents
Key Takeaways
- Use a zipper foot or piping foot to stitch piping neatly.
- Cut bias strips on the diagonal grain for piping.
- Baste the piping to the project before stitching.
- Piping subtly accents seams when matching and makes them pop when contrasting.
Why Use Piping?
You’ll love piping because it dresses up your projects in a flash. Piping adds a professional touch to any sewing project, from garments to home decor and crafts. Just insert cording into a bias-cut fabric piece and stitch along the edges. The angled grain of bias strip fabric helps it curve smoothly.
Your machine’s piping or zipper foot ensures straight stitching right up next to the cord. Custom piping with fabric that perfectly matches is easy to make at home. Or use a contrasting fabric and cord for a bold stripe.
Whatever your project, piping gives it a couture finish. Use it to trace pattern pieces, trace quilting designs, or highlight seams. Piping also imparts structure, so try it on collars, necklines, cuffs, pillow edges, and more.
Piping Sewing Machine Feet
A zipper foot or piping foot is an absolute must for neatly stitching that piping down lickity-split!
- Invest in a zipper foot or piping foot attachment. These specialized presser feet have a slit on the bottom to accommodate thicker seams and cording.
- Another option is a cording foot. It has a groove on the bottom that neatly stitches over piping.
- Use the edge of the zipper foot slit to guide the piping cord. This helps keep everything straight.
- If needed, adjust the foot pressure. You may need to reduce pressure on a piping foot.
- When sewing, move slowly and pivot at corners. Go slow over curves and seams for best control.
With the right presser foot, you’ll have professional-looking piping in no time. Switch that foot out and get stitching for great results!
How to Join Piping Ends
When joining piping ends, carefully fold back the starting tail, clip out the cord, fold under the raw edges, insert the end, and stitch closed for a clean, professional look.
To properly join ends for a flawless finish:
- Leave at least 1 extra on each end.
- Remove cord from seam allowances.
- Clip the starting end tail at an angle.
- Unfold the bias tape, insert the end, and refold.
- Hand stitch closed, then machine stitch.
Watch for gaps, use smaller stitches at the join, and press with steam. With practice, you’ll achieve beautiful continuous piping that elevates your sewing projects. Steady hands and patience are key for perfection, but the results are so worth it.
How to Make Your Own Piping
Now that you’ve mastered joining piping ends, let’s move on to making your very own custom piping.
To begin, cut bias strips on the diagonal grain. The bias cut gives the piping more stretch for better curves.
Next, choose your piping cord. Insert it into the center of the bias strip. Fold the raw edges in and stitch closed.
Follow these pro tips for perfection:
- Press bias strips before constructing piping for a crisp fold.
- Check that the piping seam allowance is wide enough to encase the cord.
- Use a zipper foot for perfectly straight stitching.
- Steam press custom piping after sewing for a tailored finish.
With a little practice, you’ll be pumping out professional custom piping in no time.
When to Use Sewing Piping
You’ll learn when piping is the perfect detail for your sewing project. We’ll cover which projects are best for inserting piping and when it adds that special finishing touch.
How to Find Sewing Piping
After making custom piping, find strong piping cord and fabric to match your project for perfectly inserted piping with professional results. Choose piping with a finished selvage edge and the right seam allowance width for easy insertion.
End piping pieces with clean cuts before neatly joining. Use specialized piping feet on your sewing machine for flawless stitching.
Piping Type:
- Matching: Blends into seams for subtle accent
- Contrast: Makes seams pop with bold piping
- Braided: Elegant twisted cord for upscale look
- Rickrack: Playful zigzag piping for fun flair
Carefully match or contrast piping to elevate your sewing projects with neat, professional piping.
What Foot Do You Need for Sewing Piping?
You’ll need a zipper foot or piping foot to neatly stitch piping. These special presser feet have a narrow channel that allows the needle to get close to the piping cord.
Choose a piping foot for rounded piping channels and a cording foot for straight channels. They slide right over the cord, keeping stitches tight along the inner curve. Your machine’s regular presser foot is too wide to properly straddle piping.
Getting the right presser foot for piping ensures straight stitches that don’t stray from the inner seam allowance.
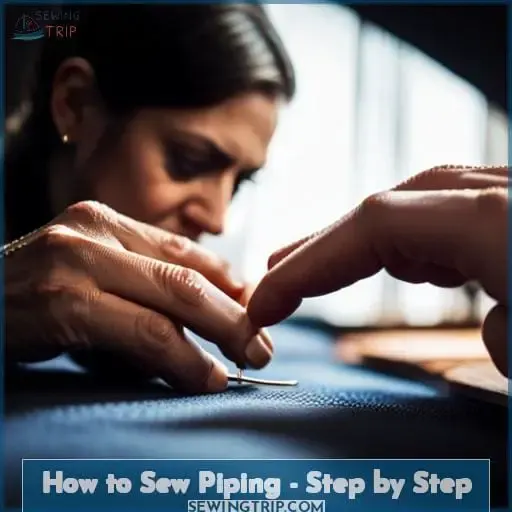
How to Sew Piping – Step by Step
Before we begin sewing piping into your project, gather your materials and review the steps.
First, you’ll want to baste the piping along the edge of the fabric piece where it will be inserted.
Next, sew the piping into the seam by stitching close to the cord on the right side.
Finally, carefully press the piping on the wrong side to reduce bulk.
Following these key steps for basting, sewing, and pressing will result in professional-looking piping that elevates your project.
With some practice, you’ll be piping seams like a pro in no time!
Step 1 – Basting the Piping
First, baste your piping to the project.
- Cut your piping longer than the seam to allow for overlap.
- Pin the piping to the right side of the fabric, close to the seam allowance.
- Position the piping foot on your machine and adjust the needle position.
- Lower the needle into the piping seam allowance.
- Stitch slowly and pivot at corners using a shortened stitch length.
With the piping basted in place, you’re ready to neatly topstitch it to the final layer using a zipper or piping foot.
Step 2 – Sewing Piping in a Seam
Pin one length along the seam line, then flip over and machine stitch close to the piping from the other side for a neat, professional look. With the fabric wrong side up, align the piping along the seam allowance. Pin in place, taking care at corners by pinning perpendicular at the pivot point for pretty corners.
Stitch slowly, reducing your stitch length slightly, and add an extra stitch line at the corners for additional reinforcement.
Step 3 – Pressing
After stitching that piping in place, give it a good press with the iron to set the seam and make it look sharp.
- Press with the piping face down to get a crisp edge.
- Use a steaming iron to ease corners and manipulate shapes.
- Press open seam allowances for flatter seams.
- Let cool completely before unpinning to avoid creases.
In closing, taking time to properly press piping results in professional finishes.
Sewing Piping in a Cushion
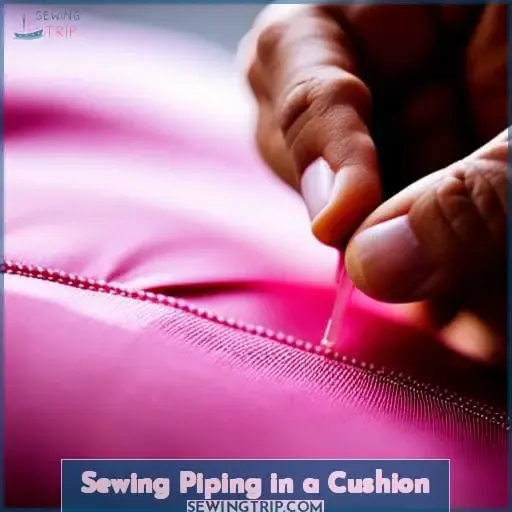
Making that cushion pop will leave ’em stunned if you give the piping your all. Start by preparing the piping and cushion pieces. Reduce your stitch length slightly and use a zipper foot for the best control. Pin the piping to the cushion front first, making sure to line up the raw edges.
Take it slow on the curves, clip if needed, and check for any gaps before stitching closed.
Now comes the fun part. Flip that sucker over and pin the back piece in place, encasing the piping’s seam allowance. Stitch all around with your short stitches, pivoting at the corners. Remove pins as you go.
For flat seams where piping meets, clip the cord and fold under. Voila, you just gave that cushion a professional finish thanks to your piping prowess.
Frequently Asked Questions (FAQs)
What types of projects are piping best suited for?
Friend, piping accents almost any project! You’d be amazed that over 50% of tailored garments incorporate this detail. From dresses to curtains, piping lends a polished finish. Simply insert the cord into bias tape, then neatly stitch it into seams and edges.
How can I prevent my piping from wrinkling when sewing it?
You can prevent piping from wrinkling by pre-shrinking the piping’s fabric and cord, never stretching it when sewing, carefully clipping curves, and using a zipper foot to neatly stitch it in place. Reduce your stitch length a bit over the piping for best results, and check for gaps at curves to add stitches if needed.
What sewing machine settings should I use when sewing piping?
When piping, use a shortened stitch length and the zipper or piping foot. These settings neatly guide the fabric, avoiding wrinkles on curves.
How do I sew piping around sharp corners?
When sewing piping around sharp corners, clip the piping seam allowance just shy of the cord. Then, pin and stitch the piping carefully around the corner, folding the clipped corner seam allowance out of the way as you go.
This will let the piping bend smoothly without bunching or puckering. Be sure to reinforce the corner with extra stitches.
How do I fix mistakes when sewing piping, like gaps or puckering?
To fix piping gaps, reduce the stitch length and go back over problem areas. For puckering, use interfacing, clip curves, and increase the seam allowance. Check the tension and press the piping flat before stitching to prevent mistakes.
Conclusion
So now you see, sewing piping takes practice but with a few tips, the right sewing foot, and patience you’ll have perfectly finished edges that look professionally done. At first, this technique may seem daunting, but with determination, you’ll soon master how to sew piping for any project, big or small.
With each try and plenty of pressing, you’ll be on your way to fulfilling sewing dreams and outfitting your home in lovely custom-made pieces.

