This site is supported by our readers. We may earn a commission, at no cost to you, if you purchase through links.
 The joys of owning a vintage sewing machine! You’re probably here because you want to keep yours running smoothly forever.
Our oiling vintage sewing machine guide is here to help you do just that. To keep your trusty machine purring like a kitten, you’ll need to oil it regularly.
Start by gathering the right supplies, like sewing machine oil and a cleaning brush. Remove the needle and presser foot, and familiarize yourself with the machine’s internal workings. Don’t worry, it’s not as scary as it sounds!
With the right techniques and materials, you’ll be sewing like a pro in no time. Ready to get started and learn the secrets to a well-oiled machine?
Table Of Contents
- Key Takeaways
- Preparing Your Vintage Sewing Machine
- Disassembling and Cleaning the Machine
- Identifying Parts That Need Oiling
- Applying Oil and Grease
- Greasing Gears and Motors
- Oiling Frequency and Maintenance
- Troubleshooting Common Issues
- Additional Tips and Tricks
- Maintaining Your Vintage Sewing Machine
- Frequently Asked Questions (FAQs)
- Conclusion
Key Takeaways
- You’ll want to oil your vintage sewing machine every 1-3 months, depending on usage, to keep it running smoothly. Create a maintenance calendar to stay on track, and remember that regular oiling prevents wear and tear.
- When it comes to choosing the right oil, stick with sewing machine-specific oil or Tri-Flow Grease. Avoid using WD-40, cooking oil, or baby oil, as they can damage your machine’s internal mechanisms.
- To apply oil correctly, use a small paintbrush or Q-tip to reach those hard-to-reach areas. Add one drop of oil to each small hole and moving part, and use a pea-sized amount of Tri-Flow Grease on gears.
- Don’t forget to clean up excess oil and inspect your machine for signs of wear and tear. Use a rag or microfiber cloth to wipe away spills, and check the needle plate for scratches, the feed dogs for proper alignment, and the tension discs for signs of wear.
Preparing Your Vintage Sewing Machine
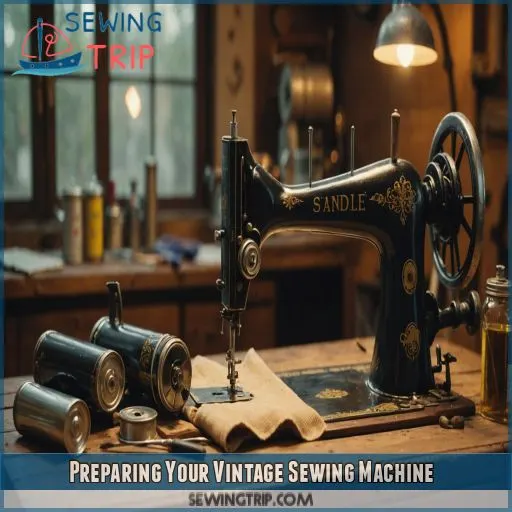
You’re about to give your vintage sewing machine the TLC it needs to run smoothly for years to come, and it all starts with preparation. Before you begin oiling, take a few minutes to gather the right supplies, remove the needle and presser foot, and get familiar with the machine’s internal mechanisms – trust us, it’s worth the extra effort!
Choosing the Right Oil
- Sewing Machine Oil is the best option, but you can also use Tri-Flow Grease.
- Avoid using WD-40, cooking oil, or baby oil.
- Look for high-quality, machine-specific oils.
- Check the ingredients: mineral oil and petroleum-based oils are good options.
- Singer sewing machine oil is a popular choice among sewing enthusiasts.
Safety Precautions
Now that you’ve chosen the right oil, let’s get safe!
Wear protective gloves and work in a well-ventilated area to avoid inhaling oil fumes.
Use a rag or paper towels to clean up spills.
Avoid using WD-40 lubricant, which can damage your machine.
Removing the Needle and Presser Foot
To remove the needle and presser foot, start by raising the presser bar and taking out the bobbin case . Gently pull out the needle, and for the presser foot, you may need to use a screwdriver or a specialized tool, depending on the type of foot your machine has (Source). Always handle these parts with care.
- Use a pair of needle-nose pliers to grip the needle if it’s stuck.
- Identify the type of presser foot your machine has – some may have a clip or screw holding it in place.
- Be gentle when handling the needle to avoid bending or breaking it.
- Keep the presser foot and needle in a safe place to avoid misplacing them.
Disassembling and Cleaning the Machine
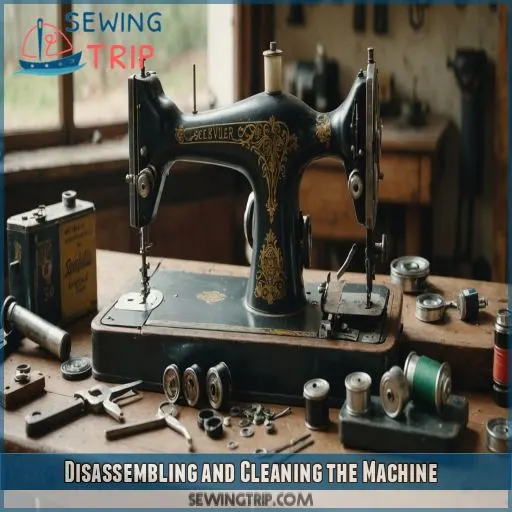
You’re about to get up close and personal with your vintage sewing machine‘s internal workings – don’t worry, it’s not as scary as it sounds!
To start disassembling and cleaning the machine, you’ll need to remove the top lid.
The top lid is usually held in place by two screws.
Gently brush away any dust or debris that’s accumulated over the years.
Removing the Top Lid
Time to get up close and personal with your vintage sewing machine! To remove the top lid, locate the two screws holding it in place. Grab a screwdriver and carefully unscrew them. Gently lift the lid, and voilà! You’re in. Make sure to consult your machine’s manual for specific instructions, and take necessary safety precautions to avoid any accidents.
Brushing Away Dust and Debris
Now that the top lid is off, it’s time to get rid of the unwanted guests – dust and debris! Grab a small cleaning brush or an old toothbrush and gently sweep away the dirt. A lint brush can also be your best friend here. Be thorough, but gentle, as you clean the machine’s parts.
Inspecting the Machine for Wear
Now that you’ve brushed away the dust and debris, inspect your machine for wear. Check the needle plate for scratches, the feed dogs for proper alignment, and the tension discs for signs of wear. Don’t forget the bobbin case and motor brushes! Make a note of any worn parts to prioritize lubrication and future repairs.
Identifying Parts That Need Oiling
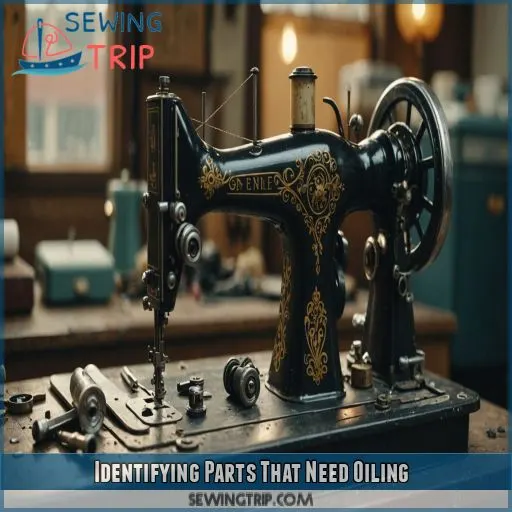
Now that you’ve disassembled and cleaned your vintage sewing machine, it’s time to identify the parts that need oiling to keep it running smoothly. You’ll want to focus on metal-to-metal joints, moving parts, small holes, and gear and motor components, as these are the areas that require lubrication to prevent wear and tear .
Metal-to-Metal Joints
Now that you’ve disassembled and cleaned your vintage sewing machine, it’s time to identify the metal-to-metal joints that need oiling. Here are the key areas to focus on:
- Hook and latch joints: Where the hook and latch meet, a small drop of oil will reduce friction and prevent wear.
- Gear teeth: Apply oil to the gear teeth to prevent corrosion and keep them running smoothly.
- Pivot points: Oil the pivot points where moving parts rotate to reduce friction and prevent wear.
Moving Parts and Small Holes
In the case of moving parts and small holes, you’ll want to inspect the needle bar, tension mechanism, and hook race. Use a small brush or Q-tip to clean out any debris. Then, apply one drop of oil to each moving part. Here’s a handy guide to help you:
| Part | Cleaning Method | Oil Application |
|---|---|---|
| Needle Bar | Small brush | 1 drop of oil |
| Tension Mechanism | Q-tip | 1 drop of oil |
| Hook Race | Small brush | 1 drop of oil |
| Bobbin Case | Soft cloth | None |
| Presser Foot | Soft cloth | None |
Gear and Motor Components
Now it’s time to tackle the gear and motor components. You’ll want to identify the parts that need oiling to keep your machine running smoothly. Here are some key areas to focus on:
- Gear materials: Look for metal-to-metal joints and moving parts.
- Motor speed: Consider the motor’s RPM when choosing a lubricant.
- Gearbox design: Some machines have a self-contained gearbox that needs special attention.
- Motor bearings: These need regular oiling to prevent wear and tear.
- Gear lubricants: Choose a lubricant specifically designed for sewing machines.
Applying Oil and Grease
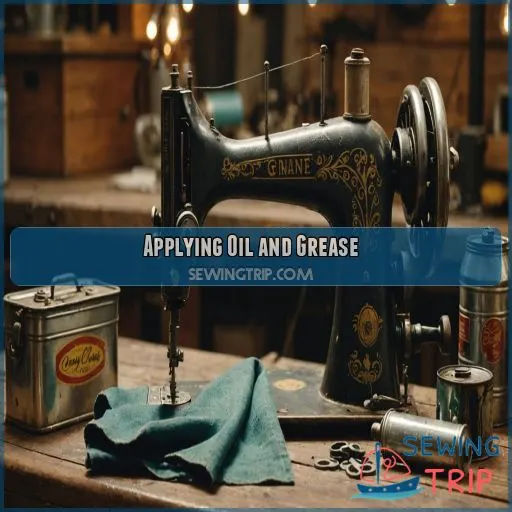
Now that you’ve identified the parts that need oiling, it’s time to get your hands dirty and apply the oil and grease to keep your vintage sewing machine running smoothly. With the right techniques and materials, you’ll be able to breathe new life into your trusty machine and get it humming like it’s brand new again.
Using the Correct Amount
Using the correct amount of oil is vital for your vintage sewing machine. Too little, and it won’t effectively lubricate the parts. Too much, and it’ll attract dust and dirt. Here’s a handy guide to help you get it just right:
| Part | Oil Quantity |
|---|---|
| Small holes | 1 drop |
| Metal-to-metal joints | 1-2 drops |
| Gears | pea-sized amount of Tri-Flow Grease |
Applying Oil to Hard-to-Reach Areas
Time to get a little creative with oil application techniques! Use a small paint brush or Q-tip to apply oil to those pesky hard-to-reach areas. Precision oiling tools can also come in handy. Compressed air can help dislodge debris, making it easier to lubricate hidden parts. Control the oil flow to avoid over-oiling and making a mess.
Using Tri-Flow Grease on Gears
Now that you’ve mastered applying oil to hard-to-reach areas, it’s time to bring in the big guns – Tri-Flow Grease! This wonder worker is specifically designed for gears, and we’ll show you how to use it. Here are three key takeaways:
- Use a pea-sized amount of Tri-Flow Grease on the gear.
- Apply it with a Q-tip or small paint brush.
- Reapply every 6-12 months for best performance.
Greasing Gears and Motors
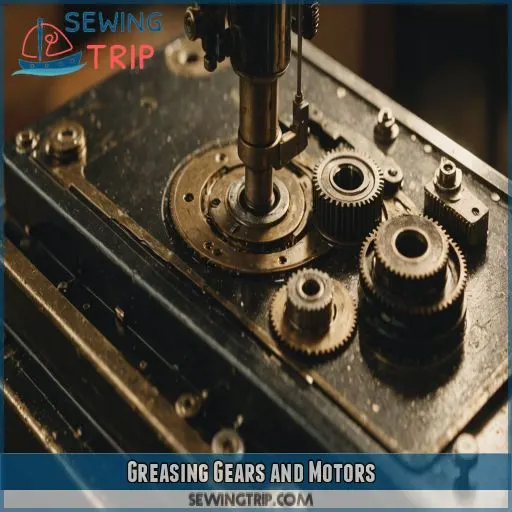
You’ve got the hang of oiling your vintage sewing machine.
It’s time to think about greasing its gears and motors – an essential step in keeping it running smoothly for years to come.
Choosing the right grease can be a bit tricky, but don’t worry, we’ll walk you through the options and help you make the best decision for your trusty machine.
Choosing the Right Grease
Choosing the right grease for your vintage sewing machine is really important.
You want to use Tri-Flow Grease or Singer brand motor grease, which are made specifically for sewing machines.
Think about the viscosity level and formula that’s best for your machine’s gears and motor.
Synthetic grease has some great benefits, like being able to handle heat and lasting a long time.
Avoiding Automotive Grease
Now that you’ve chosen the right grease, let’s talk about what to avoid – automotive grease. It’s too thick and can damage your vintage sewing machine’s gears and motor. Think of it like trying to put diesel fuel in a gasoline-powered car – it just won’t end well. Stick with Tri-Flow or sewing machine-specific grease for the best performance.
Using Singer Brand Motor Grease
For your vintage sewing machine’s motor, use Singer brand motor grease – it’s specifically designed to melt at the right temperature. Don’t opt for alternatives, as they can damage the motor. Apply a small amount to the motor gears, following the manual’s instructions. This will help your machine run smoothly and prolong its lifespan.
Oiling Frequency and Maintenance
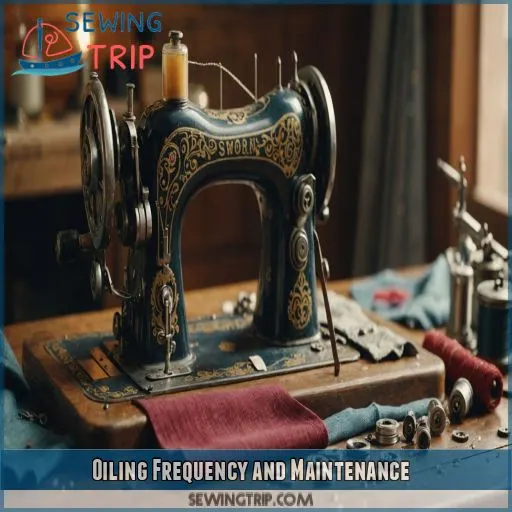
As you get to know your vintage sewing machine, you’ll want to establish a regular oiling schedule to keep it running smoothly – think of it like getting your car serviced, but instead of oil changes, you’re keeping your sewing machine’s parts well-lubricated. By checking the label to make sure you’re using the right oil and cleaning up any excess, you’ll be able to enjoy your machine’s best performance for years to come (Source).
Regular Oiling Schedule
Now that you’ve got the right grease, let’s talk oiling frequency! To keep your vintage sewing machine purring, oil it every 1-3 months, depending on usage. Create a maintenance calendar to stay on track. For occasional users, oil every 6-12 months. Regular oiling prevents wear and tear, so mark those calendars and get ready to sew smoothly!
Checking the Label for Sewing Machine Oil
- Sewing oil types (e.g., synthetic, mineral)
- Machine oil standards (e.g., ISO, SAE)
- Authentic oil labels (e.g., manufacturer’s logo)
- Label information importance (e.g., ingredients, warnings)
- Oil Label Accuracy certifications (e.g., API, ILSAC)
Cleaning Up Excess Oil
Time to clean up that excess oil! Grab a rag or microfiber cloth and gently wipe away any spills or drips. For tougher messes, mix a cleaning solution of equal parts water and white vinegar. Contain the spill with absorbent materials like paper towels or a small tray. Your vintage sewing machine will thank you!
Troubleshooting Common Issues
You’ve carefully oiled and maintained your vintage sewing machine, but it’s still acting up.
Now it’s time to troubleshoot those pesky issues that can ruin your sewing experience.
Whether you’re dealing with a sticky film from using the wrong oil, damage from excess oil, or signs of wear and tear, we’ll walk you through the most common problems and their solutions to get your machine running smoothly again.
Sticky Film From Wrong Oil
Uh-oh, sticky film alert! If you’ve used the wrong oil, you might be dealing with a gooey mess. Don’t worry, it’s an easy fix. Here’s what to do:
- Check your sewing machine manual for guidance.
- Use a soft cloth to wipe away the sticky film.
- Apply a small amount of correct oil to affected areas.
- Clean and re-oil the machine to prevent future problems.
Damage From Excess Oil
Excess oil can be just as problematic as using the wrong oil. Don’t overdo it, or you’ll risk oil leakage, corrosion, and residue buildup.
| Issue | Solution |
|---|---|
| Oil leakage risks | Regularly inspect for signs of oil leakage |
| Corrosion prevention tips | Clean machine regularly to prevent corrosion |
| Excess oil removal | Use a rag or paper towels to wipe away excess oil |
| Oil residue buildup | Use a cleaning brush to remove oil residue |
Signs of Wear and Tear
When using your vintage sewing machine, keep an eye out for signs of wear and tear. Thread breakage, frayed cords, and bobbin issues can be a real pain. Rust formation and motor strain are also red flags. Regular oiling can help prevent these problems. Refer to your sewing machine manual for specific guidance on maintenance and troubleshooting.
Additional Tips and Tricks
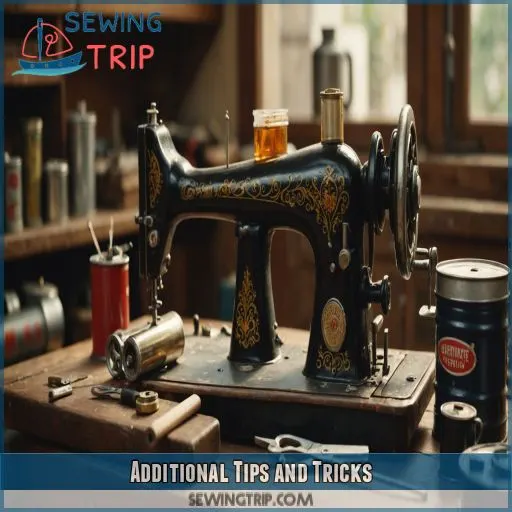
You’re almost done with the oiling process, but don’t forget these additional tips and tricks to keep your vintage sewing machine running smoothly. By following these simple tips, you’ll be able to maintain your machine’s performance and extend its lifespan.
Using a Rag or Paper Towels for Cleanup
When cleaning up spills, keep a stash of lint-free rags or paper towels handy. Here are three essentials for your cleanup arsenal:
- Lint-free rags: Gentle on your machine’s surfaces and effective at soaking up oil spills.
- Paper towels with oil absorption: Specifically designed to contain spills without leaving residue.
- Disposable paper towels: For quick, sanitary cleanup and easy disposal.
Working in a Well-Ventilated Area
As you work on your vintage sewing machine, remember to give yourself some breathing room – literally! Make certain you have good ventilation in your workspace to avoid inhaling oil fumes. Open a window, use a fan, or work in a well-ventilated area to keep the air clean and fresh. Your lungs (and your Singer 15k) will thank you!
Consulting the Sewing Machine Manual
Your sewing machine manual is a treasure trove of info! Don’t be afraid to crack it open for specific oiling instructions, machine diagrams, and troubleshooting tips. Check the manual for maintenance schedules, repair instructions, and guidance on replacing parts like the face plate or bobbin case. The ISMACS database is also a valuable resource for Singer 15K owners and beyond!
Maintaining Your Vintage Sewing Machine
You’ve made it to the final stretch.
Maintaining your vintage sewing machine is where the magic happens, and with regular servicing, you’ll be creating beautiful stitches for years to come.
By staying on top of maintenance, you’ll both extend your machine’s lifespan and guarantee it continues to run smoothly.
This will give you more time to focus on the fun part – sewing!
Regular Servicing and Maintenance
To keep your vintage sewing machine purring, commit to regular servicing and maintenance. Set a schedule every 6-12 months, depending on usage. Check the ISMACS database for specific guidance on your model, like the Singer 15K. Proper maintenance will save you from costly repairs and keep your machine humming for years to come.
Checking the Machine’s Stitches
Now that you’ve serviced your machine, let’s check those stitches! Thread it with different colors and fabrics to test tension, length, and compatibility. Adjust as needed for perfect stitches. If you’re using a Singer 15K or other front-load bobbin machines, try a drop-in bobbin or zigzagger attachment for added versatility. Happy stitching!
Extending the Machine’s Lifespan
You’ve mastered oiling and cleaning your vintage sewing machine! Now, let’s talk about extending its lifespan. To keep your machine running smoothly, follow these simple tips:
- Store it properly: Keep your machine in a dry, cool place, away from direct sunlight.
- Clean it regularly: Schedule regular cleaning sessions to prevent dust and debris buildup.
- Prevent rust: Apply a small amount of oil to metal parts to prevent rust and corrosion.
- Handle it with care: Always lift and move your machine carefully to avoid damaging its internal mechanisms.
Frequently Asked Questions (FAQs)
How to oil a vintage sewing machine?
Ready to give your vintage sewing machine a new lease on life? First, consult the manual, then gently remove the top lid and clean the interior with a small brush and soft cloth, before oiling the metal-to-metal joints." (Source)
How often do you oil a vintage Singer sewing machine?
You’ll want to oil your vintage Singer sewing machine every 8-10 hours of use or when you notice it getting stiff. Regular oiling keeps it purring like a kitten and prevents costly repairs down the line!
What are the guidelines for oiling the sewing machine?
Measure twice, oil once!" To keep your sewing machine running smoothly, add one drop of oil to each small hole and moving part, using a small paint brush or Q-tip for hard-to-reach areas.
What part of the sewing machine should be oiled most often?
You’ll want to oil the metal-to-metal joints and moving parts, like the flywheel and gear, most often. These areas tend to dry out quickly, so regular oiling will keep your machine running smoothly and prevent wear and tear.
What happens if I use the wrong type of oil?
Uh-oh, using the wrong type of oil can be a recipe for disaster! You might end up with a sticky film or damage to your machine’s internal mechanisms. Always choose a sewing machine-specific oil to avoid headaches later.
Can I use household cleaners to clean my machine?
Don’t even think about using household cleaners on your machine! They can leave harsh chemical residues that’ll wreak havoc on your machine’s delicate parts. Stick to gentle, specifically designed cleaning products instead.
How do I remove old grease and grime buildup?
Did you know 75% of vintage sewing machines are still functional with proper care? To remove old grease and grime, use a nylon stiff bristle brush and a small amount of sewing machine oil to gently scrub away buildup.
Can I oil my machine without the original manual?
Don’t worry if you’ve lost the manual! You can still oil your machine safely. Consult online resources or sewing communities for specific guidance on your machine’s model, and use sewing machine oil or Tri-Flow Grease for the best results.
What are the signs of a well-maintained sewing machine?
Your well-maintained sewing machine hums like a contented bee, stitching smoothly, with no creaks or groans. Its exterior shines, free of grime and oil residue. Regular TLC has paid off, ensuring your machine runs like clockwork.
Conclusion
A well-maintained vintage sewing machine can last up to 50 years or more.
By following our oiling vintage sewing machine guide, you’ve taken the first step in extending your machine’s lifespan. You’ve learned the importance of choosing the right oil, identifying parts that need oiling, and applying the correct amount.
With regular oiling and maintenance, your trusty machine will continue to purr like a kitten, and our oiling vintage sewing machine guide will remain your go-to resource for helping you achieve this longevity.

