This site is supported by our readers. We may earn a commission, at no cost to you, if you purchase through links.

This technical guide provides descriptions of 10 common motor problems, from electrical and mechanical ones to failures and maintenance tips, to troubleshoot, inspect, and quickly solve issues with master techniques.
Learn to master and control the performance of your sewing machine for smooth, uninterrupted operation with precise and actionable advice tailor-made for your needs
Table Of Contents
Key Takeaways
- If your sewing machine is acting up, don’t throw it just yet! You may be able to fix it yourself with a little troubleshooting.
- Don’t be afraid to open up your sewing machine and take a look inside. You may be surprised at how easy it is to fix some problems.
- Regular maintenance is key to keeping your sewing machine running smoothly. A little TLC can go a long way.
- If you’re not comfortable working on your sewing machine yourself, don’t hesitate to take it to a qualified repair technician
Electrical Issues
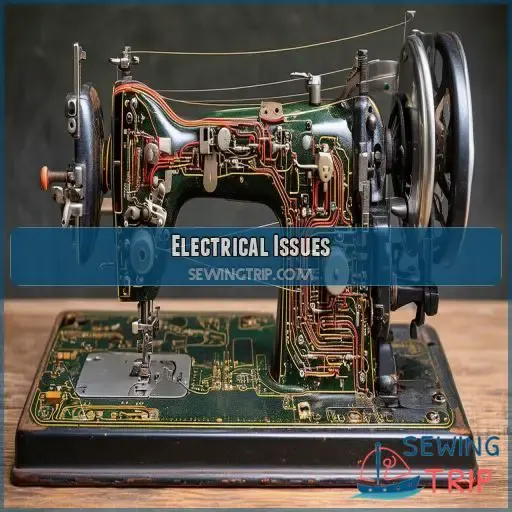
Electrical issues in sewing machine motors often stem from wiring problems in the foot pedal or faulty internal connections. You’ll need to check for loose or broken wires, blown fuses, and test the continuity of electrical components using a multimeter to identify and resolve these issues
Wiring Problems in Foot Pedal
- Inspect visible connections for signs of wear or damage
- Use a multimeter to test continuity in the foot pedal circuit
- Clean corroded terminals with contact cleaner
- Replace the entire foot pedal if internal wiring is beyond repair
Master these steps, and you’ll be back in control of your sewing machine’s motor in no time
Loose or Broken Wires
If the motor on your sewing machine is acting up, it may have loose or even broken wires.
Now, you’ll have to scrutinize these connections pretty closely: check for wires that have become disconnected or are damaged—these can cause problems in the motor.
You’ll then need to replace some wires. This sewing machine repair can quickly be done if you’re patient and equipped with the right tools.
The motor won’t function properly with loose or broken wires
Blown Fuses
If you’ve checked for loose or broken wires and your sewing machine still won’t run, blown fuses might be the culprit. These tiny electrical safeguards can fail due to power surges or internal shorts.
To diagnose this issue, use a multimeter to test the fuse’s continuity. If it’s blown, replace it with one of the same amperage
Faulty Internal Wiring in Motor
Faulty internal wiring in your motor can be tricky. Start by testing continuity with a multimeter:
- Disconnect the motor and carefully disassemble it.
- Look for faulty internal connections.
- Check for any visible damage to the wires.
- If testing shows no continuity, consider rewiring the motor or calculating the motor replacement cost.
A methodical approach avoids unnecessary complications
Mechanical Problems
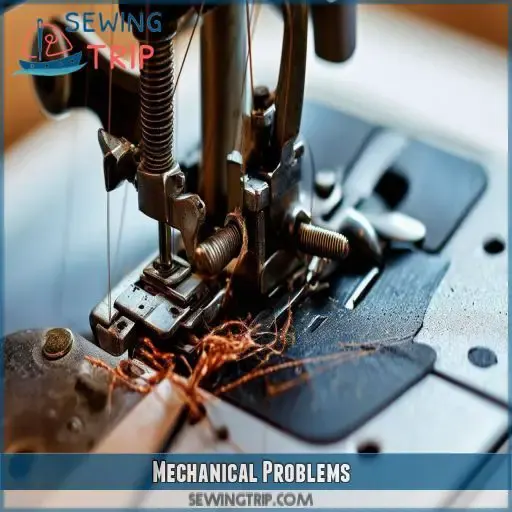
Mechanical problems in sewing machine motors can manifest as binding or locked bearings, worn parts, lint accumulation, or a seized motor. These issues can cause overheating, reduced performance, or complete motor failure, requiring careful inspection and potential replacement of affected components
Binding or Locked Motor Bearings
If your sewing machine’s motor isn’t turning smoothly, you might be dealing with binding or locked bearings. This can lead to motor overheating and screeching noises.
To troubleshoot, gently spin the handwheel and listen for any unusual resistance. If you notice binding, it’s time to check the motor bearings.
Regular sewing machine maintenance can prevent these issues, but if they persist, you’ll need to dive deeper into motor troubleshooting
Worn or Damaged Motor Parts
Check your motor for worn or damaged parts after checking that there are no binding or locked bearings.
The commutator and brushes wear out quickly. If windings inside the motor have been damaged, the motor won’t work. Rust, scraping, and loose wiring indicate a poor winding job.
If you took your motor apart to clean or to examine, reassemble and mount it securely.
As these conditions can cause significant problems with your sewing machine performance, get them fixed as soon as you can
Lint Accumulation Causing Overheating
Most serious sewing machine motor issues can be attributed to overheating caused by lint buildup in the motor. Regular cleaning will help to avoid this.
Clean the vents in your motor and the surrounding areas to remove lint accumulation using compressed air or a small brush. Schedule routine maintenance where you vacuum the machine after every use
Seized or Jammed Motor
While lint accumulation can cause overheating, another mechanical issue you might face is a seized or jammed motor. This problem often stems from lack of motor lubrication or worn-out bearings.
You’ll notice your sewing machine motor not running smoothly or at all. To tackle this, try rotating the handwheel. If it’s stuck, don’t force it.
Instead, consider brush replacement or bearing replacement to get your machine humming again
Motor Failure
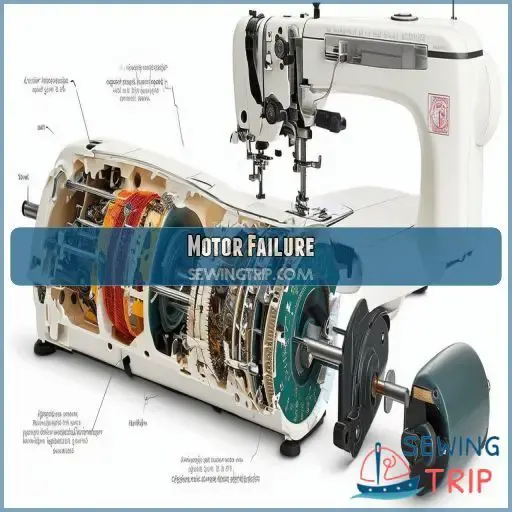
If your sewing machine motor won’t run when activated, it could indicate a serious problem requiring replacement. A motor that buzzes but doesn’t run or makes no noise at all when activated are also signs of potential failure, often necessitating a new motor or professional repair
Motor Won’t Run When Activated
When your sewing machine motor won’t run when activated, it’s often a sign of motor failure. This issue can stem from mechanical problems like binding or locked bearings. To diagnose, you’ll need to:
- Listen for any humming or clicking sounds
- Check for a burnt smell from the motor
- Inspect the motor belt for wear or damage
- Test the winding resistance with a multimeter
- Examine the field coil for signs of overheating
These steps will help you pinpoint the cause and decide if motor testing or replacement is necessary
Motor Buzzes but Doesn’t Run
If your sewing machine motor buzzes but doesn’t run, you’re facing a common issue. This problem often stems from worn brushes, damaged field coil insulation, or incorrect winding resistance. Let’s break down the possible causes and solutions:
| Cause | Symptom | Solution |
|---|---|---|
| Worn brushes | Motor hums | Replace brushes |
| Damaged insulation | Overheating | Rewind field coil |
| Incorrect resistance | Inconsistent power | Check core resistance |
Don’t let this buzz kill your sewing mojo! With the right diagnosis, you’ll be back in stitches in no time
Motor Makes No Noise When Activated
If your sewing machine motor simply doesn’t make a sound when it’s turned on, then you have a big problem. Most of the time, this silent failure means the motor has completely broken down.
First, check the power supply and the connections. If they’re okay, then you’ll have to check the motor itself.
Check for continuity in the windings using a multimeter. If there’s no continuity, it’s probably time to repair the motor or have it replaced
Motor Replacement Required
When your sewing machine motor makes no noise after it’s turned on, this usually indicates that the motor needs to be replaced. Consider the following for a seamless fix:
- Pick a good brand of motor for durability.
- Compare the cost of motors for an affordable one.
- Check motor life and warranty for long-term solutions.
Ignoring this can lead to thread bunching and machine seizing
Cleaning and Maintenance
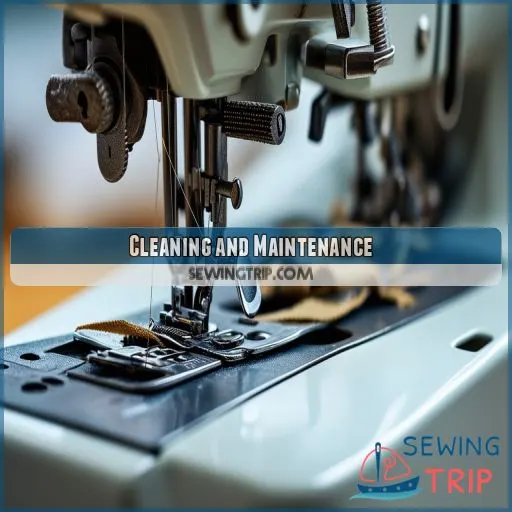
Clean regularly shuttles, race, and feed dogs to remove the fuzz and dust, thus preventing overheating and mechanical problems; further, lubricate the sewing machine following its direction. Then, inspect it for any visible damage so that the sewing work goes smoothly.
Regular Cleaning of Shuttle Race and Feed Dogs
It is important to run cleaning through the shuttle race and feed dogs. Cleaning is recommended every three months or if you’re experiencing skipped stitches, fraying of thread, or other tension problems. Here is a quick guide:
| Task of Maintenance | Frequency | Best Solution |
|---|---|---|
| Shuttle Race Clean | Every 3 Months | Soft Brush, Isopropyl |
| Feed Dog Lubrication | Every 3 Months | Sewing Machine Oil |
| Skipped Stitches | Immediate | Clean Immediately |
| Thread Fraying | Immediate | Check Tension, Clean |
| Tension Adjustment | As Required | After Cleaning |
Removal of Lint and Debris
One must remove lint and other debris accumulated in a sewing machine. The shuttle race and feed dogs should be kept clean to avoid broken needles or hassle-free sewing.
Do this by brushing the dirt out or blowing it out with compressed air. This regular cleaning will help you avoid common problems such as tension in the bobbins, tangled threads, bunched seams, or presser foot pressure that can lower performance
Lubrication of Sewing Machine
Run your sewing machine often to maintain its performance.
Lubricate the drive gears and fabric feeding mechanisms. Apply the correct type of lubricants with proper techniques in lubricating them. Apply lubricating tools for precision measures.
Keep the frequency of lubrication so that you don’t hear noises from your machines. Proper lubrication will ensure smoothness in working and longer life.
Don’t forget about the threading technique to avoid further wear
Inspection for Damage
Inspect your machine for visible damage.
Check on your worn-out brushes and compromised core resistance.
A degraded field coil or incorrect capacitor value could be the culprit.
Winding resistance should be relatively consistent throughout.
Note the walking foot moving smoothly, decorative stitches, and stretch fabric seams, as inconsistencies will pop up with these.
Also, check if the fabric feed is inconsistent or seam puckering has occurred
Troubleshooting Steps
Troubleshoot your sewing machine motor by checking electrical connections and testing for continuity with a multimeter. After that, turn the handwheel to check for any binding. Clean and lubricate your sewing machine regularly to keep it running as best as possible.
Check Electrical Connections
Start by checking the electrical connections for any foot pedal malfunction. Look for loose connections and examine the wiring. If you find any broken wires, replace them without delay. A quick continuity test using a multimeter can often reveal hidden issues. Ensuring solid, reliable connections helps maintain sewing machine motor efficiency and prevents unexpected disruptions
Test Continuity With Multimeter
Exercise continuity in the motor connections using a multimeter. Set the multimeter to continuity mode and touch the probes on the motor terminals. A continuous beep means it’s of good continuity; no beeps simply tell that it’s a break. This electrified check-up ensures that your motor’s wiring is still intact, streamlining electrical troubleshooting into your scheduled maintenance
Spin Hand Wheel for Binding
The hand wheel should be free-spinning to identify binding, which causes motor overheating.
- The hand-wheel is turned and resistance noted.
- The presence of tight spots or sticking may indicate mechanical problems.
- Check for and remove any blockages, like lint, that would hinder movement or heat up the motor.
Anticipate cleaning and lubrication needs next
Clean and Lubricate Sewing Machine
Start by disassembling the motor and ensure you get to clean the hidden parts.
Inspect these several parts well, using cleaning materials to clear off the lint and debris attached.
Apply apt lubrication techniques on the moving parts and reassemble them.
Ensuring overall cleaning and proper lubrication regularly not only creates a more satisfactory sewing experience but also provides the life of the sewing machine
Motor Inspection
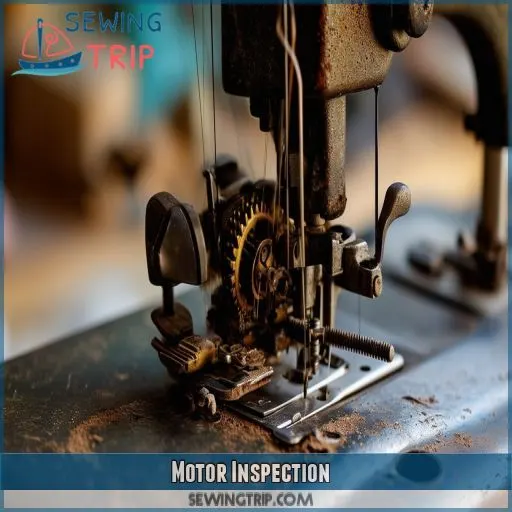
To start your motor inspection, check for any burned or overheated components, and clean the motor thoroughly, paying special attention to the commutator. Disassemble the motor for a detailed inspection and use a multimeter to test its functionality
Check for Burned or Overheated Components
When examining your sewing machine motor, look out for components that have become overheated or burned. After that, check for visible damage on the motor field coils. This will indicate what the causes of overheating are. Learn from these tips:
- Ensure capacitors aren’t damaged by interference.
- The winding resistance should be checked; the reading shall be low and equal for both sides.
- Test core resistance to prevent shorted turns to the core
Clean Motor, Especially Commutator
Keep the motor clean, especially the commutator, for its continued smooth operation. Install proper cleaning equipment that includes a soft-bristled brush and vacuum. Proper cleaning methods include the occasional use of contact cleaner solvents on electrical components. How often it should be cleaned is also important. Clean monthly. Not to mention cleaning accessories like compressed air for tight spots.
Disassemble Motor for Inspection
Continuing from ensuring your motor’s commutator is clean, it’s time to disassemble the motor for inspection. You’ll need to:
- Identify your motor model.
- Consider the motor’s age.
- Evaluate the motor’s design for tamper resistance.
- Note motor replacement cost considerations.
- Carefully open the motor casing and inspect internal components, such as windings and bearings, for damage
Test Motor With Multimeter
First, test the motor with a multimeter. Windings and core resistance will indicate whether there are any shorts or open circuits in the field coil. Low resistance, like 0.1 to some ohms, is average. Check the capacitor to see if overheating exists. Always compare the readings to manufacturer specifications for accuracy.
Possible Solutions
For rhythmically varying motor speeds, use contact cleaner and compressed air to address potential lint and debris. If issues persist, check the foot pedal for continuity, and replace it or the motor if either fails to operate correctly
Use Contact Cleaner and Compressed Air
If lint accumulation is causing overheating issues, a quick fix is to use contact cleaner and compressed air. This can help clear out any debris that may be impacting the motor’s performance. Be sure to focus on the windings and commutator area when applying the cleaning solutions. This simple maintenance step could resolve rhythmic speed variations
Replace Foot Pedal if No Continuity
Suppose there’s no continuity when testing, replace the foot pedal. Be sure the foot pedal is compatible with your sewing machine.
Quite often, it’s the fault of the pedals that doesn’t allow motor continuity. The cost to replace a pedal is minimal in most cases.
Remember that generic Chinese quality motors should be checked, for it affects performance. You might want to check if a Singer motor is available for more reliable service
Replace Motor if It Fails to Operate
Still not running? It’s time to replace the motor. Overheating, bearing failure, winding failure, and connection failure are too many reasons that end a motor’s life. Consider getting a new unit—especially if it’s one of the generic Chinese ones. Clean the machine regularly once every week to prevent such failures in the future.
Follow Manufacturer’s Instructions for Maintenance
You can keep the sewing machine running smoothly if you adhere to the maintenance instructions given by the maker. This includes:
- Following the recommended cleaning schedule
- Using the proper lubricants in the specified locations
- Check for wear and damage regularly
- Replacing worn or broken parts as needed
Diligent maintenance is key to prolonging the life of your sewing machine motor and ensuring optimal performance
Rhythmic Speed Variation
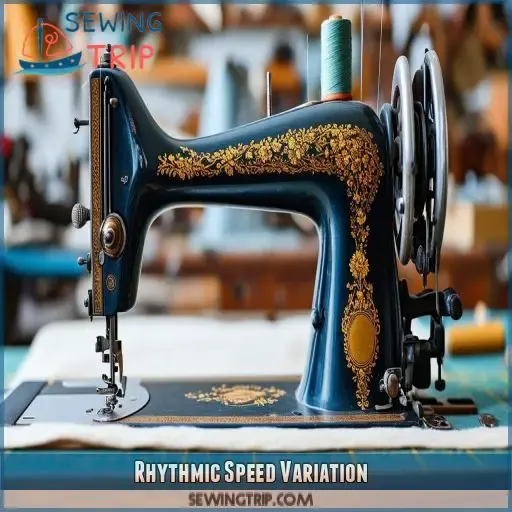
Rhythmic speed variation in your sewing machine motor can occur both under load and without load, often persisting even after other issues have been addressed. This problem might be caused by damaged windings or lint accumulation affecting the motor’s performance
Occurs Under Load and Not Under Load
When your sewing machine motor experiences rhythmic speed variation under load and not under load, check the stator winding resistance and rotor winding resistance. Motor overheating might be caused by damaged field coil insulation or shorted stator turns. These issues often result in uneven motor performance. Using contact cleaner and compressed air can help clean any accumulated lint
Persists Despite Resolving Other Faults
Even if you correct all the other defects, varying rhythmic speed persists.
Still, overheating, bearing wear, or unwound windings can be a problem.
Check for resistance with a multimeter. Look carefully for any burnt component.
Check that the motor hasn’t been shorted by measuring the core resistance.
If it still doesn’t work, then basically more profound or more hidden problems like internal winding degradation break
Possible Causes: Damaged Windings, Lint Accumulation
Rhythmic speed variation can stem from damaged windings or lint accumulation. Damaged windings disrupt electrical flow, leading to inconsistencies. Lint buildup causes overheating and mechanical hindrances. Address these by inspecting and cleaning the motor, using contact cleaner, and compressed air. If issues persist, motor replacement might be necessary. Regular maintenance can prevent these electrical and mechanical problems
Motor Replacement
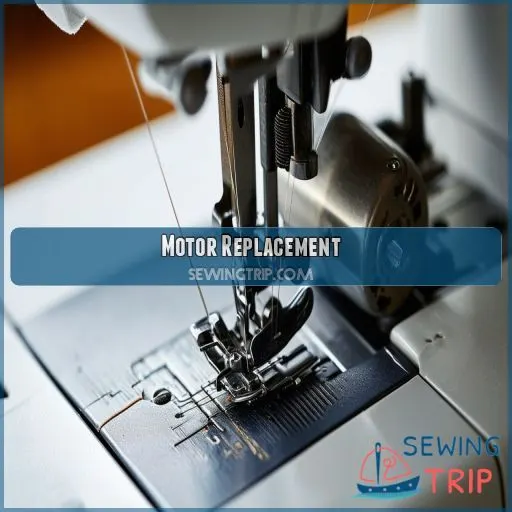
To address a problematic motor, start by removing the pedal and applying power directly to the motor to check its functionality. If issues persist, find a new motor or consider having the current one rebuilt, but always exercise caution with AC mains-powered equipment
Remove Pedal and Apply Power Directly to Motor
First, remove the pedal and feed power straight forward to the motor. This will spell clearly whether it’s a problem with the pedal or in the innards of the engine.
Check for overheating, insulation failure, or a change in winding resistance that’s abnormal in the motor.
Core resistance will let you know if there are any shorts in the system.
Don’t forget to test for capacitor function because it’s there to minimize electrical interference
Find a New Motor or Have Current One Rebuilt
If the motor still doesn’t work, consider finding a new one. Check motor availability and compatibility for your specific sewing machine model. A high-quality motor can vary in cost, but it’s often worth the investment for better performance. If you’re handy, motor installation can be a DIY project; otherwise, seek professional help for a secure fit
Exercise Caution When Dealing With AC Mains Powered Stuff
Be careful with AC mains power while replacing your sewing machine motor. The insulation shouldn’t be damaged, as this will lead to shorts. Take resistance readings using a multimeter. Small readings will indicate possible overheating issues. Regular cleaning and lubrication will stop the buildup of debris. Don’t guess; follow the guidelines provided by the manufacturer to ensure safety and performance.
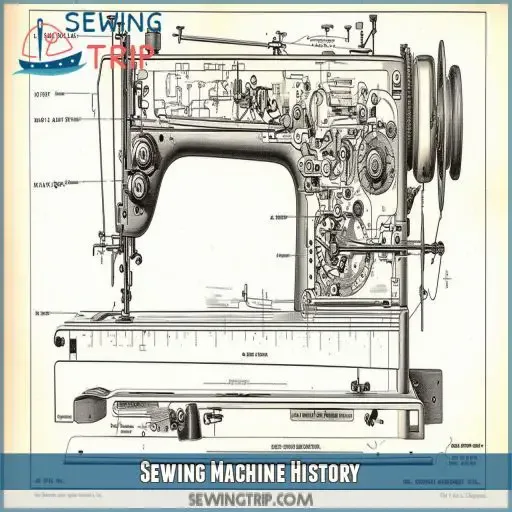
Sewing Machine History
This Singer sewing machine, originally from the 60s or 70s, was bought for just $4 and its motor appears to be a replacement. You may find that the current motor is a generic Chinese model which can affect performance and reliability
Machine From the 60s or 70s
Having a vintage sewing machine from the 60s or 70s brings historical charm but also technical challenges. Motor problems in these models often require careful handling. Unfortunately, original parts are scarce, so finding motor replacement options, like generic Chinese motors, becomes essential. Budget sewing machine repairs can extend the life of these historical sewing machines, maintaining their legacy
Purchased for $4
That gem of a Singer sewing machine from the 60s or 70s, for only $4—what a steal. But with it, that old, motor performance might become a little dicey.
Check the compatibility of the motor and what it would be worth. As parts are challenging to come by, replacement of the motor can help in assuring you of reliable performance.
There’s much information about the condition that an inspection will reveal
Motor Appears to Have Been Replaced
You can tell that the motor has been replaced, possibly with some modern generic motor, which could conflict with it because of design differences in your old Singer sewing machine.
- Check for mismatch on motor housing.
- Check if replacement motor fits securely.
Test motor’s performance for any irregularities.
Careful inspection is necessary with replacement motors.
Replacement Motor May Be a Generic Chinese Model
The motor in that classic sewing machine may be one of those very generic Chinese motors which affects the performance. You’ll want to identify 100% concerning the replacement motor for its compatibility and quality. You might take a look at the original-motor restoration first.
| Aspect | Original Motor | Generic Replacement |
|---|---|---|
| Compatibility | High | Variable |
| Quality | Durable | Often lower |
| Model Identification | Clear | Uncertain |
| Replacement Parts | More available | Limited |
| Overall Performance | Optimal | Compromised |
Frequently Asked Questions (FAQs)
What are some common problems with a sewing machine motor?
Such issues as rhythmic speed variation, motor overheating caused by short stator turns, worn-out windings, or lint accumulation can occur with sewing machine motors. These can contribute to inconsistent performance or complete motor failure.
How to troubleshoot a sewing machine?
One can troubleshoot a sewing machine by checking for lint buildup, proper threading, damage to the needle and bobbin case, that all is well with the power and wiring connections, and cleaning and lubricating moving parts regularly.
How do I know if my sewing machine has a motor problem?
Like a heart struggling to beat, if your sewing machine’s speed varies rhythmically or it overheats, check for damaged windings, worn brushes, or faulty bearings. Unusual noises or motor non-response also signal motor issues
Why is my sewing machine not running?
Your sewing machine mightn’t run because of the following probable problems: loose or broken electrical connections, mechanical parts that bind, a damaged motor, or failure to get enough power.
How often should I oil my sewing machine?
Take time to oil your sewing machine every 8-10 hours or at least once a week if you sew so often. This will keep the machine running smoothly, avoiding excessive wear and tear on all moving parts.
Can I use my sewing machine outdoors?
You can use your sewing machine outdoors, but with caution. Protect it from dust, dirt, and moisture like a delicate clockwork. Make sure that it’s on its stable power source and keep it away from extreme temperatures so that it runs smoothly.
Are there eco-friendly sewing machine options?
Yes, eco-friendly sewing machine options exist. Look for machines with energy-efficient motors, durable construction, and recyclable materials. Brands like Janome and Brother offer models with sustainable features, reducing environmental impact while maintaining high performance
How to improve sewing machine stitch quality?
Get the best possible sewing machine stitches by keeping your needle sharp, your thread tension balanced, and your fabric clean. Clean your machine regularly; lubricate moving parts; use the proper needle and thread for each type of fabric.
What accessories extend motor lifespan?
Run good brushes and springs. Keep your motor’s case clean, grease bearings regularly, or lubricate it. Provide proper ventilation and avoid overload; frequent inspection also can help discover problems at early steps, which will allow extending your motor life span to a great extent.
Conclusion
You are wondering how to take care of sewing machine motor problems? With this guide, you learned how to diagnose and fix or overcome common issues—from electrical faults down to mechanical failures.
By doing this, develop ways how to maintain and troubleshoot your machine with authority. Don’t forget to allow a little intimacy with your machine occasionally through regular inspections, cleaning the parts that would need cleaning, and replacement if necessary. Develop the techniques to ensure a smooth and continuous operation while adding life to your sewing machine.
Don’t let any sewing machine motor problem stand in your way of creativity

