This site is supported by our readers. We may earn a commission, at no cost to you, if you purchase through links.
 You’re wise to master sewing machine stitch length – it’s the key to flawless stitching!
The numbers indicate stitch spacing in millimeters: higher for longer stitches, lower for tighter ones. Adjust based on fabric weight, technique, or creative vision.
Lightweight fabrics need shorter stitches; heavy fabrics need longer. Topstitching uses longer stitches, gathering shorter. Get creative with exaggerated lengths!
Most machines let you easily adjust via touchscreen or dial. But tread carefully – incorrect settings can cause skipped stitches, uneven tension, damage.
With some know-how, you’ll achieve perfectly spaced stitches every time – a true game-changer!
Table Of Contents
Key Takeaways
- Stitch length is the thread whisperer – master it and every seam will sing with professional perfection! From delicate chiffon to burly denim, the right stitch spacing is the secret sauce.
- Don’t settle for one-size-fits-all! Dial in your machine’s stitch length settings like a pro DJ spinning tunes. Play with extremes for decorative flair or keep it tight and tidy – your creative vision comes alive.
- It’s all about balance, baby! Too loose and your stitches turn into a hot mess. Too tight and you’re begging for skipped stitches and tension drama. But get that Goldilocks length just right? Swoon-worthy.
- Whether you’re cruising along on your trusty old iron horse or dancing with a digital diva, know thy stitch length controls. A couple of tweaks can take you from "meh" to "marvelous" with evenly spaced stitches galore!
What is Stitch Length?
You’re about to unveil the secret to perfectly spaced stitches!
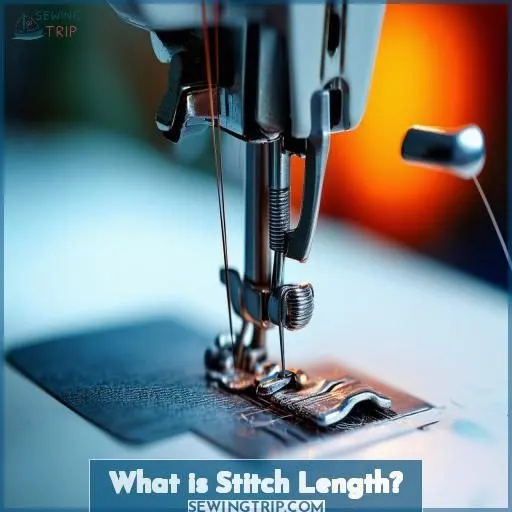
Stitch length is a setting that controls how far your fabric moves with each stitch. By adjusting the stitch length, you determine the distance between stitches, affecting seam strength and appearance.
A longer stitch length (higher numbers) creates loose, elongated stitches, while shorter lengths (lower numbers) yield tighter, denser stitches.
The stitch length range varies by machine but is typically measured in millimeters. Lightweight fabrics like chiffon require shorter stitches for delicate seams, while bulkier materials like denim benefit from longer stitches to avoid thread breaking.
Mastering stitch length allows you to achieve professional results whether topstitching, basting, or constructing intricate garments.
Prepare to reveal the full potential of your machine’s stitch length controls!
What Do the Numbers on Stitch Length Control Indicate?
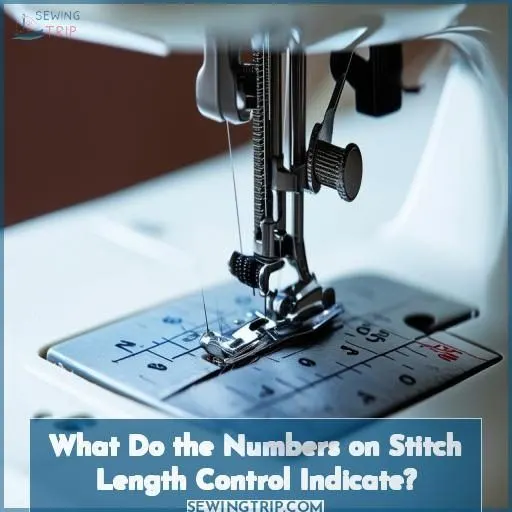
The numbers on your sewing machine’s stitch length control indicate the distance between each stitch in millimeters.
A higher number means longer stitches, while a lower number creates shorter, tighter stitches.
For example, a length of 4mm yields long basting stitches, perfect for gathering fabric or temporary seams.
Most general sewing calls for the "Goldilocks" length of 2.5mm—not too tight, not too loose.
Heavier fabrics and decorative stitches often require lengthening to 3-3.5mm for better feed and appearance.
On the flip side, shorten to 1.5-2mm when sewing lightweight fabrics or doing precise curved stitching.
Pay attention to your fabric weight, stitch type, and desired outcome when adjusting this critical setting for evenly spaced, professional stitches.
Why Change the Length of Your Stitches?
You’ll want to adjust your stitch length for three key reasons:
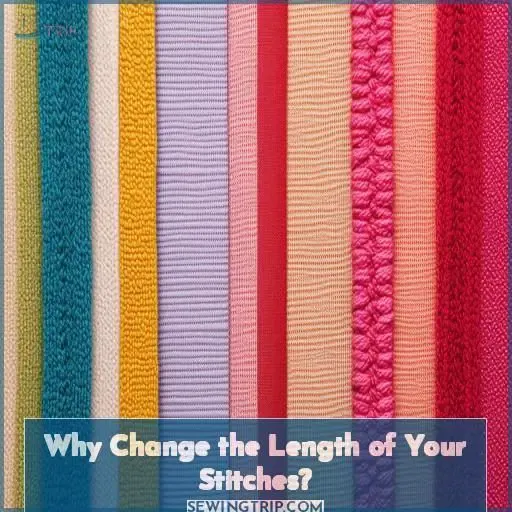
- Fabric type – Lightweight fabrics like chiffon need shorter stitches, while heavy materials like denim call for longer lengths.
- Technique – Topstitching shines with lengthier stitches, while gathering and curved seams require shorter stitch spans.
- Creative expression – Play with exaggerated stitch lengths for decorative effects or bold statements.
The right stitch length impacts everything from seam strength to stitching appearance. It’s an essential factor in achieving professional-quality results and sharpening your sewing skills. Mastering stitch length opens up a world of possibilities – from intricate heirloom work to custom athletic wear. Don’t settle for the default; tap into your machine’s full potential with this simple tweak.
How to Adjust Stitch Length
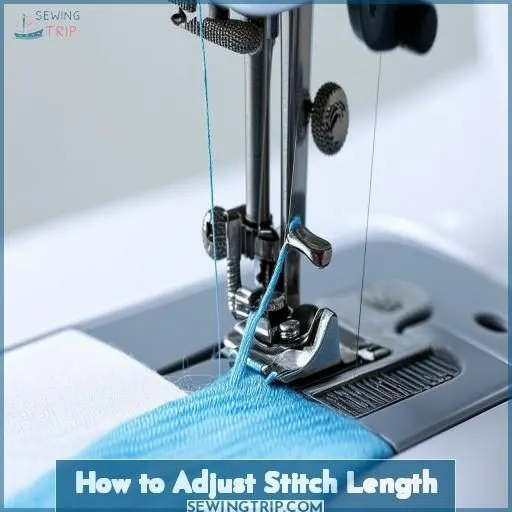
How do you adjust stitch length? Let’s explore! On computerized machines, you’ll locate stitch length settings on the touchscreen. Easy-peasy! Mechanical models have a stitch length dial or knob to turn. Here are the key steps:
- Refer to your machine’s manual for guidance
- Test the stitch length on a scrap fabric first
- Make small adjustments, noting the direction for longer/shorter
- Computerized: Use +/- buttons or slide the setting
- Mechanical: Turn the dial to your desired number
Maintain your machine for ideal performance. Clean it regularly, check the needle condition, and adjust the thread tension. With practice, finding the perfect stitch length for different fabrics and techniques will become second nature! Master this skill for professional-looking stitches every time.
What Stitch Length Should I Use?
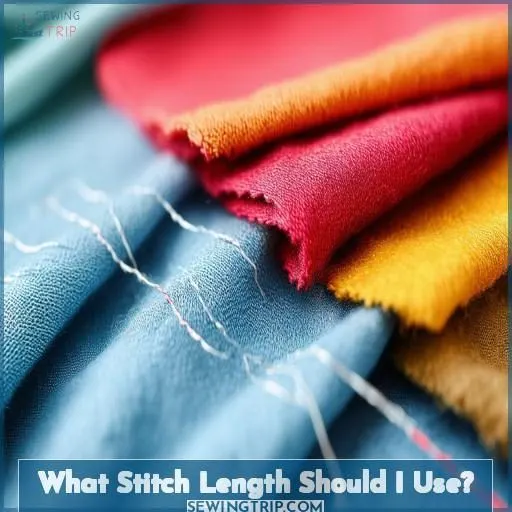
The ideal stitch length depends on your fabric and project.
As a rule of thumb, use shorter stitches (around 2 mm) for lightweight fabrics like silk or chiffon. Too long, and the threads could tear through the delicate weave.
Heavier fabrics like denim or canvas call for longer stitches (3-3.5 mm) to pierce the dense material. Longer stitches also boost seam strength for high-stress areas like pant crotches or outerwear.
For topstitching or embellishments, go even longer (3.5-4 mm) for a pronounced look.
And for basting or gathering, crank it up to 4-5 mm for easy removal later.
The key is balancing stitch length with fabric weight—get it right for sturdy, professional stitches every time.
What Causes Uneven Stitches?
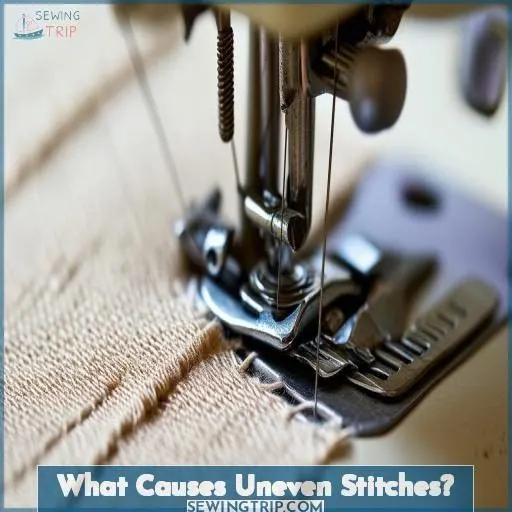
You may encounter uneven stitches due to low presser foot pressure, loose upper thread tension, incorrect bobbin threading, or a worn or damaged needle. Addressing these potential culprits can help you achieve evenly spaced stitches for professional-looking results.
Low Presser Foot Pressure
Low presser foot pressure causes uneven stitches as:
- Fabric doesn’t feed smoothly under foot
- Stitches get skipped or bunched up
- Thread tension isn’t properly managed
Adjust your presser foot pressure and make sure it’s sufficient for the fabric type and sewing technique you’re using.
Loose Upper Thread Tension
You could also experience uneven stitches if your upper thread tension is too loose. To fix this, refer to your manual for precise tension settings and adjustments to verify an even, balanced tension between the threads.
Incorrect Bobbin Threading
Incorrect bobbin threading can cause uneven stitches too. You may have:
- Wound the bobbin incorrectly
- Used the wrong bobbin size/type
- Failed to seat the bobbin case properly
Check the bobbin tension, wind the bobbin again, and make sure it’s installed correctly. A well-threaded bobbin is key for even stitching.
Worn or Damaged Needle
Another reason for uneven stitches is a worn or damaged needle. The needle point, size, style, type, and sharpness all impact stitch quality. Let’s explore how a faulty needle affects stitches:
| Needle Issue | Stitch Problem |
|---|---|
| Dull Point | Skipped Stitches |
| Bent Shaft | Uneven Tension |
| Wrong Size | Fabric Damage |
| Burred Eye | Thread Breaks |
| Damaged Groove | Looping Stitches |
Additional Adjustments
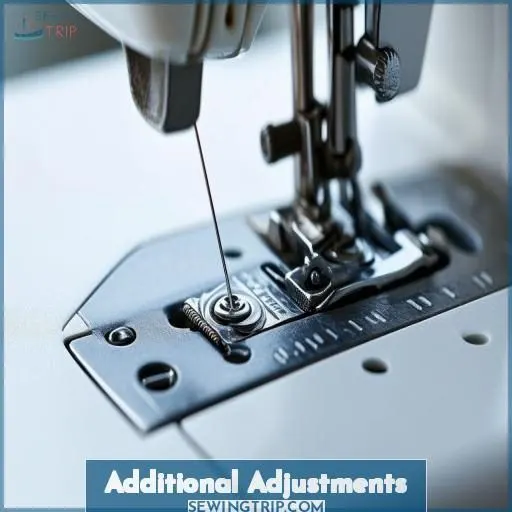
In high-end machines, you’ll find advanced methods to fine-tune stitch length.
Some models offer stitch length control for individual utility stitches, letting you dial in the perfect setting for delicate tasks like stitching on fine fabrics.
Other machines automatically optimize stitch length when selecting certain sewing techniques like topstitching on thick fabrics.
Don’t settle for one-size-fits-all stitch lengths. Realize your machine’s full potential by exploring these additional adjustments, customizing each stitch for masterful results that showcase your sewing prowess.
A little experimentation goes a long way – try different length settings on fabric scraps until you nail that sweet spot of evenly spaced, professional-looking stitches.
Frequently Asked Questions (FAQs)
What is the normal stitch length on a sewing machine?
Behold the golden ratio for seamless stitching: a 5 mm length is the standard sweet spot on most machines. But like a virtuoso tailoring a melody, you can tweak it to harmonize with different fabrics and techniques, exploring the nuances of your craft.
What is the best stitch length for sewing a straight stitch?
For a sturdy, professional straight stitch, use a standard length of 5-3 mm. This provides balanced tension and a neat appearance on most fabrics. Adjust as needed—shorten for delicates, lengthen for thicker materials. Test stitches first to perfect the look you want.
How do you control the stitch length on a sewing machine?
Picture your masterpiece in the making! By turning a dial or selecting settings, you grant yourself complete authority over stitch length – essential to perfecting every seam and detail with precision. Master this fundamental sewing technique for exceptional artistry.
What is the best stitch length for stay stitching?
For stay stitching, use a shorter stitch length around 5 – 2 mm. This tighter stitch prevents stretching and distortion on curves or bias edges as you sew. Stay stitching reinforces those areas, so keeping those stitches nice and snug is key.
What is the maximum stitch length allowed?
Buckle up for a wild ride – the max stitch length can be over 7mm! This gigantic gap between stitches is ideal for basting or gathering flowy fabrics before the real sewing begins. But for most tasks, you’ll want to stay in the 2-4mm sweet spot.
How does stitch length affect seam strength?
Longer stitches create loose seams that are weaker and more prone to fraying or unraveling. Shorter stitches yield tighter, stronger seams able to withstand greater stress before failing – critical for high-quality, durable construction.
Can adjusting stitch length aid fabric gathering?
Lengthening lively stitches liberates luxurious gathering. Yes, adjusting stitch lengths longer lifts lush layers, primarily aiding fabric’s fluffy folds.
Are special needles required for certain lengths?
You generally don’t need special needles for different stitch lengths. However, for very thick fabrics or dense stitching, a denim or topstitching needle helps prevent skipped stitches and damage to the regular needle.
Is stitch length affected by sewing speed?
Sewing at faster speeds can stretch the fabric, resulting in uneven, longer stitches. For consistent stitch length, maintain a steady, moderate pace while sewing.
Conclusion
Mastering sewing machine stitch length is like possessing the power to create perfect stitches.
As you’ve discovered, modifying this essential setting enables you to attain impeccable results with diverse fabrics and techniques.
Armed with the understanding to prevent missed stitches and tension issues, you’re now empowered to maximize your sewing machine’s abilities.
Therefore, embrace the art of controlling stitch length, and allow your creativity to unfold effortlessly with each precisely spaced stitch.

