This site is supported by our readers. We may earn a commission, at no cost to you, if you purchase through links.
 A sewing machine stitches fabric together quickly and neatly, making it a must-have for beginners exploring sewing.
It’s perfect for making clothes, repairing torn seams, or even whipping up home décor.
You’ll use basic parts like the needle, presser foot, and bobbin to guide and secure fabric while stitching, and with patience and practice, you’ll soon master this tool.
Think of it as your crafting sidekick, creating straight lines, zigzags, and more complex patterns with just a few adjustments, and start by learning how to thread the machine, adjust tension, and practice simple stitches.
Table Of Contents
Key Takeaways
- You’ll use a sewing machine to create precise and durable stitches, quickly transforming fabric into functional or decorative items.
- Learn the basics like threading the needle, winding the bobbin, and adjusting thread tension for smooth stitching.
- Practice straight stitches, backstitching, and turning corners to build confidence while creating simple projects like tote bags or pillowcases.
- Regular maintenance, like cleaning lint and checking needle and tension settings, ensures smooth operation and extends the machine’s life.
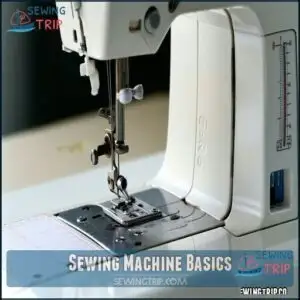
Sewing Machine Basics
A sewing machine is a tool designed to create precise stitches by interlocking threads from a needle and bobbin.
A sewing machine weaves two threads into seamless precision, transforming fabric into functional beauty with every stitch.
Understanding its key parts, like the hand wheel, presser foot, and tension dial, is essential for smooth operation.
Essential Parts and Functions
Every sewing machine has essential parts that make it tick.
The needle pierces fabric; feed dogs move it along.
Presser feet hold material steady, while bobbin mechanics handle the lower thread.
Adjust thread tension for smooth stitches.
These sewing machine parts work together like clockwork, ensuring seamless operation.
Mastering these basics boosts confidence for any sewing machine tutorial.
Types of Sewing Machines for Beginners
If you’re picking a sewing machine for beginners, the options can feel overwhelming.
Start simple:
- Mechanical Machines: Reliable and affordable, perfect for mastering sewing machine basics.
- Computerized Options: Great for precision, with helpful stitch presets.
- Portable Machines: Ideal for small spaces or travel.
Many users find mechanical models reliable for basic tasks.
A beginner sewing machine should fit your budget, needs, and excitement to learn to sew.
Safety Precautions and Maintenance
When using a sewing machine, safety and maintenance go hand in hand.
Keep workspace tidy and cords managed to prevent tangles. Regularly oil the machine and clean lint build-up for smooth operation. Always focus on needle safety! Routine servicing saves headaches later.
Here’s a quick view:
| Focus | Tips | Why It Matters |
|---|---|---|
| Needle Safety | Use sharp, proper-sized needles | Prevents fabric damage |
| Machine Cleaning | Remove lint after each project | Guarantees smooth stitching |
| Cord Management | Keep cords untangled, away from feet | Avoids accidents |
| Routine Servicing | Follow the manual’s schedule | Extends machine lifespan |
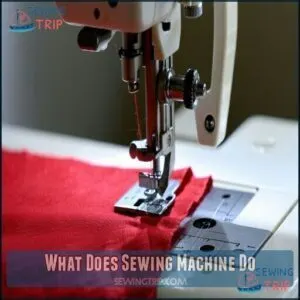
What Does Sewing Machine Do
A sewing machine can feel like magic when you first understand what it does.
It’s all about creating precise, durable stitches quickly. Using two threads—one from the spool and another from the bobbin—it locks them together through a clever stitch formation process.
The machine feeds fabric smoothly under the needle, thanks to fabric feeding mechanisms called feed dogs. This maintains consistent seam creation without uneven results.
Whether you’re sewing straight lines or complex patterns, automation levels in modern machines simplify the work, making them invaluable tools. From hand-crank devices to computerized models, machine evolution has brought us tools that do more than just stitch—they transform fabric into something functional or beautiful.
A vital aspect is that needle timing must sync with the bobbin. Mastering its use starts with a proper sewing machine setup.
Setting Up Sewing Machine
Setting up a sewing machine might seem tricky at first, but it’s all about following a few clear steps.
From threading the needle to loading the bobbin, each part plays a key role in getting your machine ready to sew.
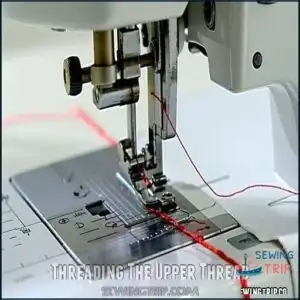
Threading The Upper Thread
Threading a sewing machine starts with proper spool placement. Place the thread spool on the pin, then follow the sewing machine thread path.
Guide the thread through each thread guide, down to the tension adjustment, and up to the take-up lever. Finally, pull it toward the needle.
Practice makes threading easier, so don’t hesitate to try it a few times! Remember to check your manual for specific threading instructions for your machine, which will help with complete concepts and ensure separate lines for clarity.
Threading The Bobbin
Threading the bobbin is key for smooth sewing.
Start with proper bobbins winding tips: place your thread on the spool pin, wrap it around the tension disc, and wind it evenly on the bobbin.
Insert the bobbin into the case, ensuring the bobbin thread direction matches your machine’s diagram.
Adjust bobbins tension control for perfect stitches.
Clean the bobbins case regularly.
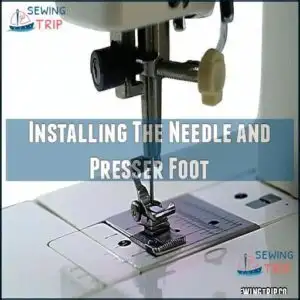
Installing The Needle and Presser Foot
To install the needle, make sure the flat side faces the back, then tighten the needle clamp screw securely.
Check the needle type for your fabric.
Attach the presser foot, ensuring proper foot compatibility with your project. Adjust presser foot tension for even stitches.
Replacement parts are readily available online. Regularly inspect for wear—smooth needle installation and presser foot maintenance keep your sewing machine running efficiently, which is crucial for even stitches.
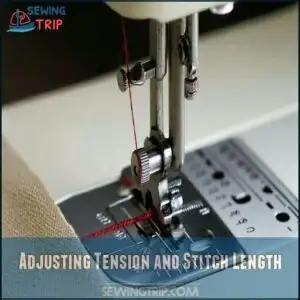
Adjusting Tension and Stitch Length
Proper tension and stitch length are the heartbeat of great sewing.
Adjust the tension dial carefully for smooth stitches, and set stitch length based on fabric type. Test on scrap fabric first—avoid surprises!
- Loosen tight top thread tension if loops form below.
- Shorten stitches for delicate fabrics.
- Use longer stitches for basting.
- Match tension for fabric weight.
- Check for balanced stitching.
Basic Sewing Techniques
Learning basic sewing techniques is the key to creating smooth, even stitches and polished projects.
You’ll practice straight stitching, backstitching, and handling fabric, building confidence with every pass of the needle, using basic sewing techniques.
Straight Stitching and Backstitching
Mastering the sewing machine starts with a straight stitch and backstitching.
Keep a steady hand for stitch consistency and fabric control.
Straight stitches create clean seams with accurate seam allowance, while backstitching locks threads for added security.
Practice troubleshooting straightness on scrap fabric—it’s worth it!
| Function | Action | Purpose |
|---|---|---|
| Straight Stitch | Sew forward | Create basic seams |
| Backstitching | Sew reverse briefly | Secure thread ends |
| Seam Allowance | Align fabric edges correctly | Guarantee accurate stitching |
| Fabric Control | Guide fabric under needle | Steady and even stitching |
Turning Corners and Curves
Turning corners and sewing machine curves takes patience and practice. Think of it like driving: slow down and pivot gently.
- Pause at pivot points to lift the presser foot and turn fabric.
- Reduce speed for smooth curves.
- Use seam allowance guides for accuracy.
- Clip curves after sewing for clean results.
Mastering fabric manipulation makes sewing a joy!
Managing Fabric and Thread Tension
Handling fabric and thread tension is key to balanced stitches and avoiding seam puckering.
Check your sewing machine tension adjustment dial if stitches look uneven. Keep fabric feeding smoothly by guiding it lightly—don’t push or pull.
Different thread types need slight tweaks, so test first on scraps.
Understanding sewing machine tension is essential for quality stitches.
Tension troubleshooting gets easier with practice. Patience pays off!
Common Mistakes to Avoid
Don’t rush—common sewing mistakes like uneven seams, thread breaks, or fabric puckering often happen when you skip steps.
Avoid thread bunching by properly threading the machine, and prevent fabric jamming with smooth guiding. Skipped stitches or needle snapping? Check tension and needle type.
Good sewing habits, like measuring twice, ironing fabric, and regular maintenance, prevent headaches.
To prevent issues, remember the importance of choosing the right needles, and develop good sewing habits to ensure smooth guiding.
Operating Sewing Machine
Operating a sewing machine means managing power, speed, and stitch settings to create precise seams.
You’ll need to control the foot pedal, guide the fabric smoothly, and adjust stitch length or width for clean, professional results.
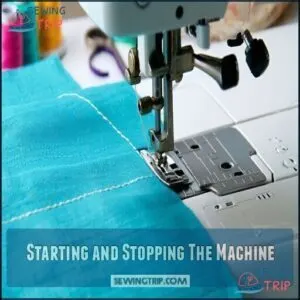
Starting and Stopping The Machine
Starting the sewing machine is straightforward. Place your fabric under the presser foot, lower it, then use the pedal control for a smooth start.
Keep thread tails out of the way. Maintain speed consistency by gently pressing the pedal and stitching steadily.
For secure stops, lift your foot off the pedal, make certain the needle is up, and raise the presser foot. Proper tension guarantees smooth sewing results for better outcomes.
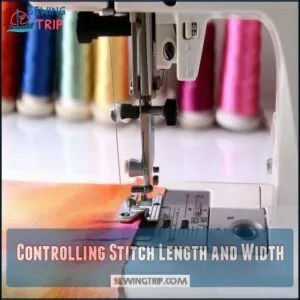
Controlling Stitch Length and Width
Adjusting stitch length and width on your sewing machine controls more than you think.
Shorter stitch length adds strength, perfect for seams, while longer stitches suit basting.
Stitch width brings zigzag and decorative stitching to life.
Consider fabric type—delicates need narrower stitches. If stitches bunch, tweak settings.
Troubleshooting stitches often reveals how stitch length impact creates smoother, balanced results.
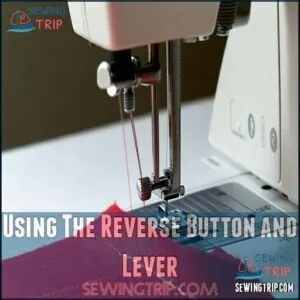
Using The Reverse Button and Lever
Using the reverse stitch lever or button helps secure seams with backstitching.
Start sewing forward, press the sewing machine reverse button, and guide the fabric backward.
This creates reinforcement stitching, preventing seams from unraveling.
Use this technique at pivot points or seam ends for seam securing.
Mastering the sewing machine backstitching technique guarantees stronger, neater finishes on your projects.
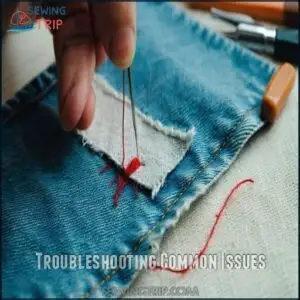
Troubleshooting Common Issues
If you’ve mastered reverse stitching but things suddenly go haywire, it’s time for sewing machine troubleshooting. Common issues include skipped stitches or fabric feeding unevenly.
First, check for tension problems. Is the needle bent? Replace it to avoid needle snapping. For thread breaks or bunching, re-thread carefully and clean lint.
- Inspect the needle for damage.
- Test tension on scrap fabric.
- Re-thread upper/bobbin threads.
- Clear dust near feed dogs.
Frequently Asked Questions (FAQs)
How to use a sewing machine step by step for beginners?
Think of a sewing machine as a magical helper.
Plug it in, thread the top and bobbin, then guide fabric under the presser foot.
Press the pedal gently, creating stitches that hold your project together!
What can you make with a sewing machine for beginners?
You can make simple projects like tote bags, pillowcases, napkins, or aprons.
Start with straight seams and basic fabrics.
These projects let you practice stitching while creating useful, fun items for yourself or loved ones, using basic fabrics.
Can I teach myself to use a sewing machine?
Yes, you can teach yourself to use a sewing machine.
Practice threading, experiment on scrap fabric, and follow your manual step-by-step.
Start slow, explore straight stitches, and let patience guide your learning process.
What should a beginner sewing machine have?
A beginner sewing machine should have adjustable stitch length, a simple straight stitch, a reverse sewing option, and a built-in light.
These features are essential for supporting your learning journey, and should include easy threading, a front-loading bobbin, and sturdy construction.
Clear instructions are also crucial to support your learning journey.
What is a beginner’s tutorial on a sewing machine?
Did you know sewing machines have been around since the 1800s?
For beginners, focus on threading, setting up, and practicing basic stitches.
Start slow, use scrap fabric, and follow your machine’s manual carefully.
How do I learn to sew on a machine?
Start by threading your sewing machine carefully, following the manual.
Practice straight stitches on scrap fabric to get comfortable. Adjust stitch length and tension as needed.
Always guide fabric gently—don’t pull or force it, and remember to thread your machine with care, using gentle movements to ensure smooth operation.
How do I start a sewing machine?
Plug in your machine, switch it on, and make sure the foot pedal is connected.
Place fabric under the presser foot, lower it, then press the pedal gently to start stitching.
Don’t rush—steady wins!
How to use a sewing machine?
Place your fabric under the presser foot, lower it, and position the needle using the hand wheel.
Press the foot pedal to control speed, guide the fabric steadily, and practice straight stitches for consistency.
Can a beginner learn a sewing machine?
Learning a sewing machine as a beginner is like opening a door to creativity.
With patience, practice, and following the manual, you’ll be stitching straight lines and simple projects in no time.
What do you need to know about a sewing machine?
You’ll need to understand parts like the needle, bobbin, presser foot, and thread tension.
Learn threading, stitch selection, and fabric handling.
Practice straight stitches first, keeping patience and focus. It’s simpler than it seems!
Conclusion
Mastering a sewing machine is like accessing a toolbox for creativity—it takes time, but each stitch builds your confidence.
You’ve explored its essential parts, learned how to thread, adjust, and tackle basic techniques.
With patience, your straight lines will transform into precise patterns, turning fabric into custom outfits or home décor.
Remember, it’s your crafting sidekick, so practice often, troubleshoot calmly, and enjoy the process.
Now, you know exactly what a sewing machine does for beginners!

