This site is supported by our readers. We may earn a commission, at no cost to you, if you purchase through links.
But don’t worry, you’re not alone!
It’s time to tame the tension beast.
Start by checking your Thread Quality and type – are they compatible with your fabric?
Next, identify the tension troublemakers: uneven stitches, puckering, or thread breakage.
Adjust those tension dials, but don’t be afraid to consult your machine manual.
And remember, a balanced bobbin tension is key to smooth sewing.
With these sewing machine tension troubleshooting tips, you’ll be stitching like a pro in no time.
Table Of Contents
Key Takeaways
- You’re not alone in the struggle with sewing machine tension – but with a few tweaks, you can tame the tangles and get your machine humming along smoothly. Start by checking your thread quality and type, and make sure they’re compatible with your fabric. Don’t be afraid to consult your machine manual for guidance on adjusting those finicky tension dials.
- To achieve perfect harmony between your thread and fabric, focus on finding the sweet spot for your upper and lower tension dials. Think of it like a game of tug-of-war: you want to balance the tension so your stitches are smooth and even. Remember, small adjustments can make a big difference, so don’t be afraid to experiment.
- Don’t let uneven stitches drive you crazy! Check your fabric type and needle size – a mismatch can cause tension imbalance. Adjust your foot pressure and thread type accordingly, and slow down your sewing speed to allow the machine to regulate tension. With these tweaks, you’ll be on your way to smooth, even stitches in no time.
- Regular maintenance is key to preventing wear and tear on your machine. Make sure to oil your machine every 8-10 hours of use or at least once a month, and check your manual for specific guidance. A well-oiled machine is a happy machine – and a happy machine means fewer tension headaches for you!
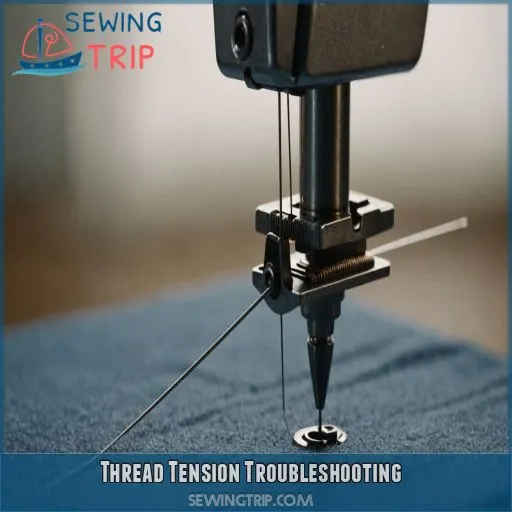
Thread Tension Troubleshooting
You’re probably all too familiar with the frustration of thread tension troubles – but don’t worry, with a few simple tweaks, you can tame the tangles and get your sewing machine humming along smoothly . In this section, we’ll walk you through the basics of thread tension troubleshooting, from checking thread quality and type to adjusting those finicky tension dials .
Checking Thread Quality and Type
Hey there, sewer extraordinaire! Let’s get real – thread quality matters. Checking your thread quality and type is the first step to troubleshooting tension issues. Here’s what to look for:
- Thread weight: Is your thread too thick or too thin for your fabric?
- Thread fiber: Are you using cotton, polyester, or a blend?
- Thread quality: Is your thread prone to tangling or breaking?
Identifying Thread Tension Issues
Now that you’ve checked your thread quality and type, it’s time to identify thread tension issues. You know, those pesky problems that make you want to pull your hair out! Take a look at this handy table to diagnose common thread tension issues:
| Issue | Symptoms | Possible Causes |
|---|---|---|
| Uneven Stitches | Stitches are inconsistent in length or width | Incorrect thread tension or mismatched thread and fabric |
| Fabric Puckering | Fabric gathers or puckers around stitches | Too tight top thread or uneven bobbin tension |
| Top Thread Issues | Thread breaks or frays easily | Incorrect thread type or low-quality thread |
| Bobbin Tension | Stitches are loose or uneven on the underside | Incorrect Bobbin Tension or mismatched bobbin and top thread |
| Tension Imbalance | Stitches are consistently uneven or skewed | Imbalanced thread tension between top and bobbin threads |
Stay calm, we’ve got this!
Adjusting Thread Tension Dials
Now that you’ve identified thread tension issues, it’s time to adjust those dials! You’re in control here. Familiarize yourself with your machine’s dial types and calibration. Here are 4 key things to keep in mind:
- Check dial markings: Understand what each marking means and how it affects tension.
- Refer to tension guidelines: Your machine’s manual is a great resource.
- Start with small adjustments: Don’t overdo it – small tweaks can make a big difference.
- Test as you go: Keep an eye on your stitches and adjust accordingly.
Common Thread Tension Problems
Now that you’ve mastered adjusting thread tension dials, let’s tackle common thread tension problems. You might encounter issues like puckering, thread breakage, or uneven stitches. Don’t worry, these are easy to fix! Check your thread quality, make sure you’ve threaded your machine correctly, and adjust your tension dials accordingly. Refer to your thread tension guide for specific troubleshooting tips.
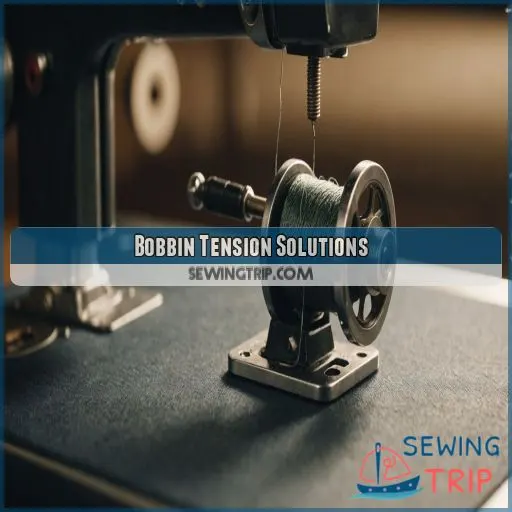
Bobbin Tension Solutions
You’re probably familiar with the frustration of uneven stitches, puckering fabric, or breaking threads, but did you know that adjusting your bobbin tension can be a game-changer? In this section, we’ll walk you through proper bobbin winding techniques, bobbin tension adjustment methods, and troubleshooting tips to help you conquer common bobbin tension issues .
Proper Bobbin Winding Techniques
- Mind your speed: Wind bobbins at a moderate pace to prevent tangles.
- Choose the right thread: Select a bobbin thread type that matches your fabric.
- Wind in the right direction: Follow your machine’s guidelines for winding direction.
- Size matters: Use the correct bobbin size for your machine.
Bobbin Tension Adjustment Methods
Now that you’ve mastered proper bobbin winding, it’s time to fine-tune your bobbin tension. Locate the tension spring in your bobbin case and gently adjust it clockwise for more tension or counterclockwise for less. Consider your needle type and thread size, too. A balanced bobbin tension will give you smooth, even stitches. Easy peasy, right?
Common Bobbin Tension Issues
- Bobbin wobbling due to improper seating
- Loose bobbin thread causing uneven stitches
- Bobbin thread tangling around the spindle
- Bobbin case issues from dirt or debris buildup
- Bobbin thread breakage from excessive tension
Troubleshooting Bobbin Tension Problems
Time to tame that temperamental bobbin! If you’re experiencing issues, check your winding technique – a tight bobbin can cause just as much chaos as a loose one. Inspect your bobbin case for any blockages and make sure you’re using the right needle type. By troubleshooting these simple fixes, you’ll be sewing smoothly in no time.
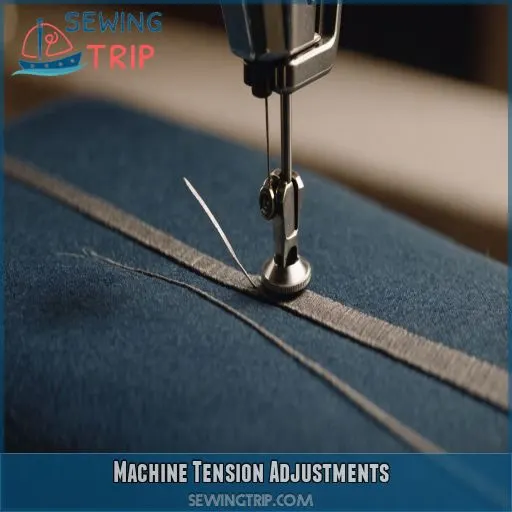
Machine Tension Adjustments
Now that you’ve got your bobbin tension under control, it’s time to tackle the machine tension adjustments that’ll make your sewing experience even smoother. In this section, you’ll learn how to fine-tune your machine’s upper and lower tension dials to achieve perfect harmony with your thread and fabric.
Understanding Machine Tension Dials
Let’s get a grip on those machine tension dials. Understanding them is key to achieving perfect stitches. Here are the essentials to keep in mind:
- Dial markings are your guide to tension levels
- Familiarize yourself with tension dial types (numeric, graphic, or color-coded)
- Check dial calibration for accuracy
- Learn the dial functions: thread take-up, tension discs, and spring-loaded mechanisms
- Note dial placement: usually on the machine’s front or top
Adjusting Upper and Lower Tension
Now that you understand machine tension dials, it’s time to adjust the upper and lower tension. Think of it as finding the perfect harmony between the two. Here’s a quick reference guide to get you started:
| Tension Dial | Effect on Stitch | When to Adjust |
|---|---|---|
| Upper Tension | Controls thread tightness | Thread breaks or puckers |
| Lower Tension | Regulates bobbin thread | Bobbin thread is too loose |
| Balance | Makes sure stitches are even | Uneven stitches or tension |
Setting Machine Tension for Different Fabrics
Time to tame the tension beast for different fabrics. You’ve got this. Here are three key tips to get you started:
- Lighten up for laces: Reduce upper tension for delicate fabrics like lace or silk.
- Beef up for canvas: Increase tension for heavier fabrics like canvas or denim.
- Find the sweet spot for cotton: Adjust tension based on thread size and stitch length for everyday cotton fabrics.
Troubleshooting Machine Tension Issues
Now that you’ve mastered setting machine tension for different fabrics, it’s time to tackle those pesky tension problems. If your machine’s still being finicky, check for bobbin issues or worn-out parts. Adjust the upper and lower tension dials in small increments, testing on scrap fabric. Remember, patience is key – and so is regular machine maintenance!
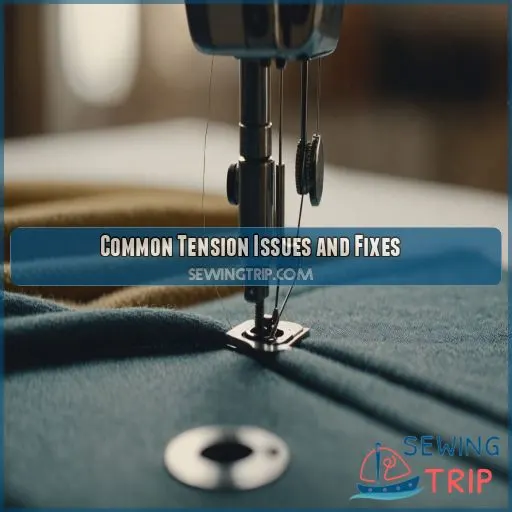
Common Tension Issues and Fixes
You’re not alone if you’ve ever wrestled with a sewing machine that’s puckering fabric, breaking threads, or skipping stitches – it’s time to tame the tension beast! In this section, we’ll explore common tension issues and provide you with practical fixes to get your machine humming along smoothly, so you can focus on creating something amazing .
Puckering and Bunching Fabric
The frustration of puckering and bunching fabric! Don’t worry, friend, it’s usually a tension issue. Check your fabric type and adjust your needle size accordingly. Ease up on the foot pressure and try a shorter stitch length. Slow down your sewing speed, too – it’s not a race! With these tweaks, you’ll be sewing smoothly in no time.
Breaking Threads and Machine Jams
Frustrated with broken threads and machine jams?
It could be your needle size.
A needle that’s too small can cause threads to snap.
A needle that’s too large can cause threads to jam.
Make sure the needle is in the right spot.
Choose the right thread type.
Don’t forget to oil your machine regularly!
Also, inspect your bobbin winder for issues.
Uneven Stitches and Tension Imbalance
Don’t let uneven stitches drive you crazy! Check your fabric type and needle size – a mismatch can cause tension imbalance. Adjust your foot pressure and thread type accordingly. Slow down your sewing speed to allow the machine to regulate tension. Make these tweaks and you’ll be on your way to smooth, even stitches in no time!
Skipped Stitches and Machine Timing
- Needle size: Is it too small for your fabric type?
- Bobbin tension: Is it too loose or too tight?
- Foot pressure: Is it even and consistent?
Adjust these, and you’ll be sewing like a pro in no time!
Advanced Tension Troubleshooting
Now that you’ve mastered the basics of sewing machine tension, it’s time to take your troubleshooting skills to the next level with advanced techniques that’ll help you tackle even the most frustrating issues.
With these expert tips, you’ll learn how to fine-tune your machine’s tension for specialized stitches.
You’ll also learn how to use a tension gauge for ultimate accuracy.
And you’ll even learn how to troubleshoot Serger Machine tension issues like a pro.
Using a Tension Gauge for Accuracy
You’re on a roll, mastering sewing machine tension like a pro! Now, let’s get precise with a tension gauge. This handy tool helps make sure your stitches are consistent and even. Check out the table below for gauge types and their uses.
| Gauge Type | Description | Use Case |
|---|---|---|
| Mechanical | Measures tension in pounds or grams | General sewing, embroidery |
| Digital | Provides precise readings with decimal points | Quilting, precision sewing |
| Spring-loaded | Calibrated for specific thread types | Sergers, overlock machines |
| Dial-type | Easy to read and adjust | Home sewing machines |
| Laser | High-accuracy, precise readings | Industrial sewing machines |
With a gauge, you’ll be able to fine-tune your tension and achieve professional-grade stitches.
Adjusting Tension for Specialized Stitches
Now that you’re comfortable using a tension gauge, let’s tackle specialized stitches.
For zipper foot tension, decrease the upper tension to prevent puckering.
For buttonhole tension, increase the lower tension for stability.
Embroidery stitch tension requires a delicate balance.
Elastic stitch tension needs a slight upper tension boost.
Leather stitch tension? Think "tough love" – tighten up both upper and lower tension dials.
Troubleshooting Tension Issues With Serger Machines
Time to tame that temperamental serger! If you’re experiencing tension issues, first check your serger needle for damage or misalignment. Then, re-thread the machine, ensuring the thread path is clear. Regular serger maintenance is key. Consult your user manual for specific troubleshooting tips. By mastering serger threading and maintenance, you’ll be sewing like a pro in no time!
Advanced Tension Techniques for Smooth Sewing
Now that you’ve conquered serger machine tension, it’s time to fine-tune your skills with advanced techniques for smooth sewing. To achieve perfection, consider these tweaks:
- Use a walking foot for thick fabrics or slippery materials.
- Adjust your needle position for the best thread flow.
- Experiment with different thread combinations for unique textures.
- Slow down your sewing speed for intricate designs or delicate fabrics.
Frequently Asked Questions (FAQs)
What causes irregular stitches on different fabric types?
When you notice irregular stitches on different fabric types, it’s often due to incorrect tension settings, blunt or damaged needles, or using the wrong needle type for the fabric . Check your machine’s manual for guidance.
How often should I oil my sewing machine?
You should oil your sewing machine every 8-10 hours of use or at least once a month.
Regular oiling prevents wear and tear, reduces noise, and keeps your machine running smoothly.
Here’s why regular oiling is a must:
- Keeps your machine running smoothly: Think of it like keeping your car engine purring.
- Prevents rust: Especially important if you live in a humid climate.
- Reduces noise: No more annoying squeaks and groans while you sew.
How often should you oil your sewing machine?
- Every 8-10 hours of use: If you’re a sewing machine workhorse, this is a good rule of thumb.
- At least once a month: Even if you don’t sew that often, a monthly oiling keeps things in tip-top shape.
Check your manual for specific guidance. Every machine is a little different, so it’s always best to follow the manufacturer’s recommendations.
Can I use different thread weights for sewing?
When working with different thread weights, you’ll want to adjust your sewing machine’s tension accordingly to prevent breakage or puckering . Thicker threads require looser tension, while finer threads need tighter tension .
What are the effects of incorrect needle size?
Warning: a mismatched needle size can wreak havoc on your stitches! If you’re using a needle that’s too small, threads may break or skip stitches, while a too-large needle can cause loose, sloppy stitches – yikes!
How do I prevent thread breakage while sewing?
To prevent thread breakage while sewing, make sure to thread your machine correctly, use the right needle size, and adjust your tension settings. Also, try to sew at a consistent speed and avoid pulling the fabric too tight.
Conclusion
Don’t worry, mastering sewing machine tension isn’t as scary as it seems.
With these sewing machine tension troubleshooting tips, you’re now equipped to tackle even the most frustrating issues.

