This site is supported by our readers. We may earn a commission, at no cost to you, if you purchase through links.

Remove the lining (yes, like peeling an onion, but without the tears).
Cut one inch below your mark for the hem, ensuring those buttons keep their place in the new fashion parade.
Stitch discreetly for a finish that’s seamless, if not seen! Align your lining, make your hem a double-turn delight, and press like a pro without the shiny victory badge. Stick around for more tips on flawlessly finishing this sartorial symphony!
Table Of Contents
Key Takeaways
- Marking your sleeve length is crucial: When shortening blazer sleeves, start by putting on your blazer and marking just above your wrist. Picture it as a friendly handshake with style; this sets the stage for a custom fit.
- Master the art of lining removal: It’s like peeling layers off an onion, but without tears. Once the lining’s out of the way, you’re free to cut the fabric one inch below your marked length—ensuring your buttons stay in line.
- Pressing and stitching make the magic: After cutting, fold twice for a double-turned hem and press carefully. Use a pressing cloth like you’d use a buffer while driving—it prevents that unwanted shine. hand-sew for a discreet finish, and soon you’ll be the maestro of your sartorial symphony.
- Tackle button and lining nuances: Keep your buttons in perfect alignment when adjusting the hem and recreate smooth linings. It’s akin to putting socks on without wrinkles—finesse is key! Engage these steps, and your blazer will wear its adjustment like a badge of honor.
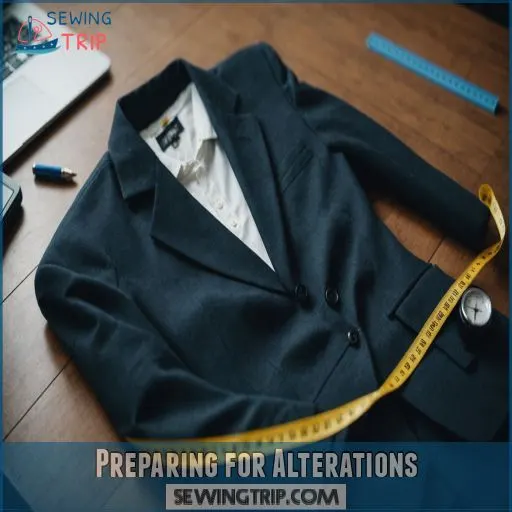
Preparing for Alterations
Start by trying on your blazer and marking the desired sleeve length with a pin to make sure it reaches just above the wrist.
Pick the seam that’ll be easiest to alter, and carefully remove the lining so you can press the crease for a professional finish—in the end, your sleeves will shine like new!
How to Mark the Desired Sleeve Length
Measuring sleeve length isn’t rocket science—just a pinch of precision and a trusty tailor’s tape.
Slip on the blazer, let those sleeves kiss just above the wrist, like a polite handshake.
Secure with a pin marking.
Done! It’s your canvas; you’re the artist.
Give yourself freedom to master blazer alterations, transforming it into craftsmanship made by you.
Choosing the Right Seam to Alter
After marking your desired sleeve length, pick the seam to alter. Your options?
- Sleeve seam types: Standard seam, suit jacket sleeves, or blazer vent.
- Goal: Avoid the buttoned vent or sleeve vent by ensuring you cut evenly along the seam allowance.
- Tools: Sharp scissors and a matching fabric thread will prevent damage during this step.
Cut wisely, and you’re sewing bliss.
Removing the Lining to Work on the Sleeve
To remove the lining, first undo the stitching that attaches it to the sleeve opening.
This will give you full access to the sleeve fabric, allowing you to work your magic.
Gather your trusty seam ripper and get ready to see the sleeve’s true potential.
With the lining out of the way, you’re one step closer to a perfectly fitted blazer.
Pressing the Crease for a Professional Finish
You’ve removed the lining—now it’s time to master the art of pressing. Channel your inner tailoring guru: set your iron to steam and gently press the sleeve where the new crease will go. Make sure not to let the iron linger too long!
- Steam setting: medium
- Use a pressing cloth
- Focus on crease placement
- Avoid shiny marks
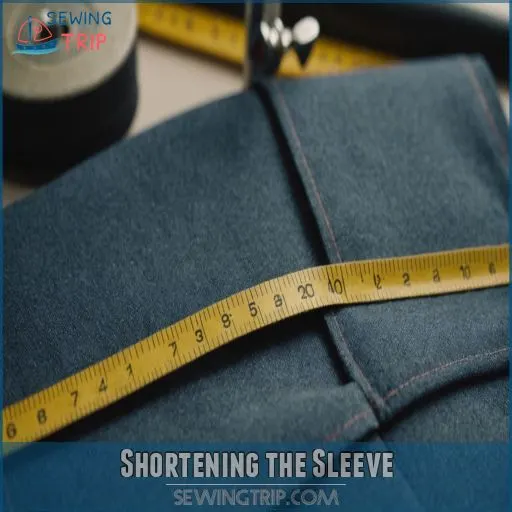
Shortening the Sleeve
Let’s tackle the task of shortening your blazer sleeves to the perfect length.
You’ll master cutting the sleeves and preserving the button placement while adding a touch of finesse to your hand-sewn hems.
Cutting the Sleeve to the Desired Length
Breathe easy as you grab your cutting tools, ready to shorten blazer sleeves like a pro.
With the sleeve length measurements set, snip the fabric one inch below your mark, giving it that promised hem allowance.
Whether it’s vintage clothing or modern designs, cutting precise lines makes sure you’re one stitch closer to mastering your tailoring tutorial.
Let’s cut to the chase!
Preserving the Original Button Placement
Preserving the original button placement is key when shortening blazer sleeves.
Carefully mark the new hem line, making sure the buttons remain perfectly aligned.
If the sleeve fabric is narrow at the cut line, open the seam allowance to give it extra room to lay flat when you’re making pattern adjustments.
A steady hand and patience will make sure a professional, seamless result.
Creating a New Hemline for the Sleeve
Once you’ve sorted out the button placement, it’s time to create your new hemline.
Start by measuring precisely at the sleeve width, allowing enough room for flexibility.
Cutting should be neat and crisp—I promise your sleeves won’t scream for help! Consider the fabric type and use sharp scissors.
Remember, accurate hem lines are your friends, and a good ironing tip helps guarantee success.
Hand-Sewing the Sleeve Hem for a Discreet Finish
To achieve a discreet finish after creating your new hemline, focus on sleeve hem stitches.
Try these hand-sewing techniques:
- Use hidden stitch tips—cross stitches work well, but don’t pull too tight.
- Be mindful of your fabric choice’s impact on puckering.
- Opt for hem finish options that blend seamlessly for a polished look. So, embrace your inner tailor!
Working With Buttons and Linings
When shortening blazer sleeves at home, handling buttons and linings can seem tricky but it doesn’t have to be.
By carefully shifting the button placement and crafting a new lining, you’ll keep your blazer looking sharp and freshly fitted.
Transferring the Button Placement to the New Hem
Don’t fret over those pesky buttons – transferring their placement to the new hem is a breeze!
Simply mark the original button positions on the sleeve, then carefully align them as you pin up the new hem.
This keeps everything looking smooth and preserves the neat look you love.
Easy as pie!
Creating a New Lining for the Sleeve
Creating a new lining for the sleeve isn’t rocket science! Choosing lining fabric wisely sets the stage—go colorful if you’re feeling adventurous.
When considering lining placement, align it smoothly with the sleeve’s contours. Add pizzazz with careful lining stitching and a neat lining hem.
Carefully lining removal preserves structure. It’s time to thread that needle—get ready to sew confidently!
Attaching the Lining to the Sleeve Hem
Now that your lining’s cut to size, let’s attach it like a pro.
Align the lining with the sleeve, ensuring nothing’s twisted – nobody wants a surprise loop inside!
Use small, neat stitches for hem stitching.
Tack it snugly to the sleeve, leaving a polished lining finish.
Remember, it’s all in the details, like putting socks on without wrinkling them!
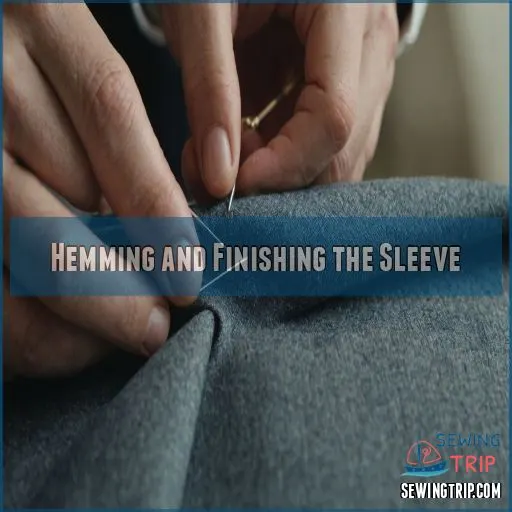
Hemming and Finishing the Sleeve
You’ll be amazed at how polished your blazer looks once you create a double-turned hem and press it with care.
Tacking the lining for that added touch of elegance, ensuring your sleeve alteration is both secure and flawless, is a skill even the most attentive fashionistas can tackle.
Creating a Double-Turned Hem for a Professional Finish
To create a professional-looking hem, fold the sleeve fabric over 1/4 inch, then fold it over again.
This double-turned hem will give your blazer sleeve a crisp, polished appearance.
Secure the hem with a few discreet hand stitches, taking care not to pull the thread too tight and pucker the fabric, using proper locking stitch techniques.
Pressing the Hem to Prevent Shiny Marks
Once you’re done with that stylish double-turned hem, it’s time to bring out the big guns: the iron. Prevent pesky shiny marks by adjusting your ironing temperature and techniques based on fabric types when selecting fabric and thread.
- Go for steam instead of dry heat for gentle pressing.
- Use a cloth as a buffer between iron and sleeve.
- Move the iron smoothly, avoiding constant pressure.
Tacking the Lining to the Sleeve for Added Security
Pressing’s done! Let’s tackle tacking that lining securely. Slipstitch or backstitch, hand or machine—the choice is yours! Just like jazz, it’s all about rhythm and flow. Think of your stitches as anchors, holding your masterpiece together.
Use this table for insights:
| Tacking Methods | Lining Materials |
|---|---|
| Hand | Silk |
| Machine | Polyester |
| Slipstitch | Cotton |
| Backstitch | Satin |
Final Check for a Flawless Finish
Before you call it a day, make sure everything looks spot on. Picture your blazer as a masterpiece needing final touches. Here’s a handy checklist:
- Check sleeve length: It should be just right.
- Examine seam alignment: No wandering stitches.
- Verify button placement: Everything in line.
- Assess lining fit and the overall drape: Perfectly smooth and chic.
Troubleshooting Common Issues
No matter how carefully you follow the steps, sometimes unexpected issues can pop up when shortening blazer sleeves at home.
But don’t worry – we’ve got your back with expert tips to tackle common problems like puckering fabric, misaligned buttons, and lining mishaps.
With a little troubleshooting, you’ll have that blazer looking perfect in no time.
Dealing With Puckering or Bunching of the Fabric
Let’s tackle puckering with ease.
Adjust fabric tension by using the right needle size—your stitching’s backbone. You can learn more about adjusting tension in a sewing machine here.
Seam allowance can be like walking a tightrope; a gentle nudge to press it flatly works wonders.
Mind your pressing techniques to iron out stubborn creases.
Keep stitch length steady, as a wobbly stitch is no one’s friend.
Fixing a Misaligned Buttonhole or Button
Puckering’s behind us; now, let’s tackle that pesky misaligned buttonhole or button. Correcting button placement isn’t witchcraft—just patience and sewing techniques, and maybe a little help from understanding darts.
- Snip off the offending button.
- Sew a new one in the right spot.
- Use chalk to remark buttonhole placement.
- If needed, consult tailor recommendations.
Mastering button replacement empowers your inner tailor. It’s all about patience and sewing techniques.
Resolving Issues With the Lining or Seam Allowance
A misaligned buttonhole’s annoying, but lining puckering or seam allowance issues might make you tear your hair out.
Seam allowance uneven? Re-stitch steadily.
Lining length too short? Extend it cautiously.
Got sleeve lining hems bunching up? Relax, a few careful adjustments should smooth things over. Just think of it as a lining therapy session—a soothing makeover for sleeves.
Tips for Preventing Future Alteration Mistakes
Preventing future alteration mishaps is a breeze with a few smart moves.
First, nail those precise measurements – no guesswork allowed.
Next, vet your tailor like a pro; ask around for recommendations and check their expertise.
Clear communication is key too – spill the beans on your vision, and don’t be shy about voicing concerns.
Finally, test fabric suitability beforehand to avoid any unpleasant surprises.
Piece of cake!
Frequently Asked Questions (FAQs)
Can you shorten sleeves on a blazer?
With a bit of elbow grease and a keen eye, you can easily shorten those sleeves and give your blazer a custom, fitted look.
Just be sure to take your time and trust the process – the results will be well worth it.
How do you shorten suit sleeves without a sewing machine?
Shorten suit sleeves using safety pins, hemming tape, rubber bands, or fabric glue for a quick fix.
These methods let you nail that perfect look without sewing skills.
Remember, style is about creativity, not stitches (Source).
How to shorten long sleeves without sewing?
When your sleeves hang like curtains, fold them up neatly and secure them with fabric glue or double-sided tape.
It’s like giving your blazer a new haircut—stylish, clean, and no needle required!
Can jacket sleeves with buttons be shortened?
You can shorten jacket sleeves with buttons, but it’s a tricky dance.
Consider shifting buttons or sewing new buttonholes—a skilled tailor is your best partner here to avoid a sleeve fiasco when learning basic tailoring techniques.
Watch button placement closely!
How to choose the right needle and thread?
Choosing the right needle and thread is really important for a smooth sleeve-shortening process.
Opt for a sharp, slender needle and a thread that matches your fabric’s weight and color – it’ll make all the difference in the world.
Can sleeves be lengthened after shortening?
Ah, the age-old sleeve saga!
Lengthening sleeves after shortening is tricky but not impossible.
It depends on how much fabric was left inside.
Usually, only minor adjustments are feasible, so a dash of creativity might help!
How to maintain the jackets original style?
Craving the perfect jacket style? Aim for a sleeve length that grazes functionality but flaunts flair.
When shortening, align the hem with existing design lines and match any distinctive stitching to maintain that pristine, refined look.
What tools are essential for sleeve alterations?
For sleeve alterations, you’ll need a seam ripper, pins, a steam iron, tailor’s chalk, sturdy hand-sewing thread, and a sewing needle.
These tools are your best friends on this journey of mastering adjustments with precision and flair.
Are there specific fabrics that are harder to alter?
Conclusion
Who knew shortening blazer sleeves at home could transform you into a fashion magician?
Armed with scissors, needles, and buttons, you’ve not only cut, hemmed, and aligned—you’ve orchestrated a sleeve symphony.
Remember, mistakes are simply part of the fabric of life, so if your buttons aren’t perfect, consider them charmingly unique!
With these precise steps, your blazer isn’t just fitted; it’s a tuxedo-like triumph.
Go on, savor the applause your custom attire will likely inspire!


