This site is supported by our readers. We may earn a commission, at no cost to you, if you purchase through links.
Use ballpoint or stretch needles, adjusting your stitch length to 8-10 stitches per inch with a stretch or zigzag stitch.
Grade seam allowances, opt for faux flat-felled seams, and finish raw edges neatly.
Stay stitching and stabilizers help reduce bulk and stretching.
Turn and topstitch hems, or use binding or ribbing finishes.
Keep embellishments lightweight and consider decorative stitching.
Press with low heat and a cloth.
Regularly clean lint from your machine.
Mastering these techniques guarantees your fleece projects drape beautifully and maintain their shape over time – the next section explores more specifics.
Table Of Contents
Key Takeaways
- Smooth sailing with fleece: Use ballpoint needles and adjust stitch settings to prevent skipped stitches and puckering.
- Taming the beast: Grade seam allowances, use faux flat-felled seams, and employ stay stitching to reduce bulk and maintain shape.
- Finishing touches: Turn and topstitch hems, or use binding or ribbing finishes for a professional look.
- TLC for your machine: Clean lint regularly to keep your sewing machine running smoothly.
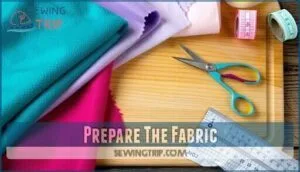
Prepare the Fabric
Before cutting into your fleece fabric, take a moment to identify the direction of the nap—the way the fibers lay—and make certain all pattern pieces are cut with the nap running in the same direction for a consistent look.
It’s also wise to pre-wash and pre-shrink your fleece fabric according to the manufacturer’s instructions to prevent future shrinkage and guarantee accurate sizing.
Identify the Nap Direction
You’ll need to identify the fabric nap direction before cutting your fleece pieces. Here’s how:
- Gently brush the fleece surface to reveal the nap’s texture direction
- Use a piece of tape to mark the nap direction on each pattern piece
- Confirm all cut pieces have the nap running the same way
- Avoid inadvertently flipping pieces when cutting out multiples
- Clean cutting tools with rubbing alcohol to prevent lint buildup
Following the nap direction guarantees your fleece pieces match beautifully in texture and appearance.
Prewash and Preshrink
After identifying the nap direction, prewash and preshrink your fleece fabric.
This essential step guarantees the material won’t shrink later, distorting your finished project.
Simply toss it in the washer with mild detergent and dry on a low heat setting.
Preshrinking controls stretch, maintains the nap’s consistent appearance, and prevents future mishaps.
With proper preparation, you’ll be ready to expertly handle fleece’s unique qualities.
Choose the Right Needle
For sewing fleece fabrics, you’ll want to use either a ballpoint or stretch needle designed specifically for knit materials. Choose a needle size around 80/12 or 90/14 – the slightly larger eye and rounded tip will help prevent fabric distortion and skipped stitches when working with the thick, fuzzy texture of fleece.
Ballpoint or Stretch Needles
For fleece fabric, use ballpoint needles or stretch needles.
Ballpoint needles have a rounded tip, preventing damage by pushing between fibers rather than piercing them.
Stretch needles have a special scarf that helps avoid skipped stitches on knits.
Both options are gentle on the stretch of the fleece fabric, ensuring smooth seams without pulled threads or holes.
Follow needle recommendations for high-quality stitch quality.
Needle Size Recommendations
Choose the right needle size for sewing fleece.
A size 11/75 or 14/90 ballpoint needle works well.
Heavier weights like 12oz fleece may require a 16/100 needle.
Match the thread weight to the fabric and needle.
Use all-purpose polyester thread in the bobbin and top.
With proper stitch settings and a slightly longer stitch length, your stitches will flex without popping.
Invest in long, sharp pins to ease fabric layers while sewing those bulky seams.
Adjust Stitch Settings
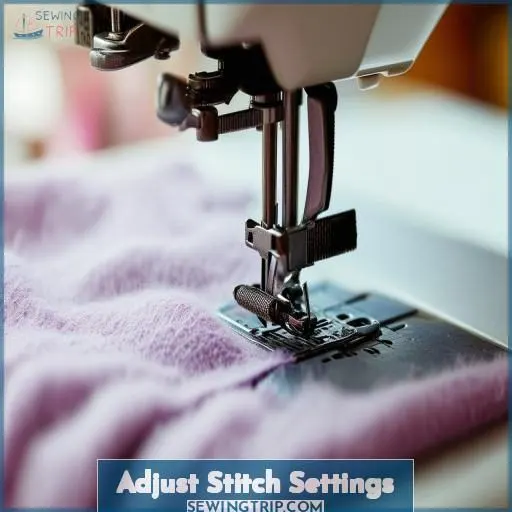
To reduce stretching and distortion when sewing fleece, you’ll want to increase your stitch length to around 8-10 stitches per inch. For extra flexibility on stretch projects, switch to a narrow zigzag or lightning bolt stretch stitch with a short length of about 1.5mm.
Longer Stitch Length
To avoid stretching or sagging, adjust your stitch length to be slightly longer than usual, around 8-10 stitches per inch. This technique offers:
- Improved stretch prevention
- Reduced fabric distortion
- Neater stitching lines
- Better durability for your fleece projects
With proper stitch length adjustment, you’ll create professional-looking, well-fitted fleece garments that maintain their shape beautifully.
Stretch or Zigzag Stitch
For stretchy fleece pieces, consider a zigzag or lightning stitch with a narrow width (around 1.5) and short length (1.5 or less). This allows the seam to stretch without breaking.
Adjust your machine’s thread tension and presser foot pressure – slightly loosening them can help prevent stretching or puckering.
A serger’s overlock stitch is also ideal for fleece’s stretch and pile.
Stay stitch cross-grain cuts to avoid distortion.
Decorative stitches add visual interest while binding seams for durability.
Manage Seam Allowances
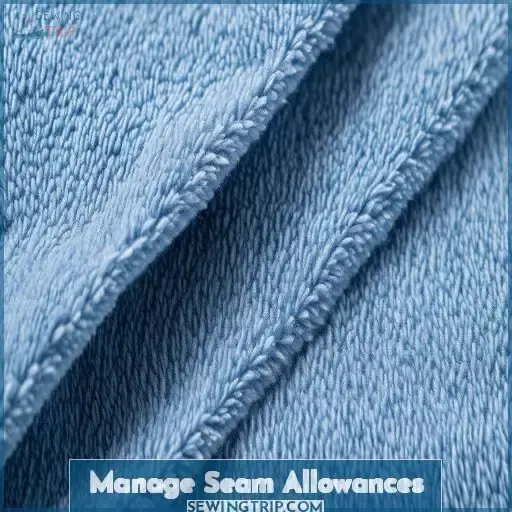
To manage seam allowances when sewing fleece, grade or trim them to reduce bulk and prevent unsightly ridges from forming. For added neatness, consider using faux flat-felled seams; this technique encloses the allowances for a professional finish on the garment’s interior.
Grade or Trim Seam Allowances
To minimize bulk, grade or trim seam allowances on your fleece projects. Grading involves trimming one seam allowance shorter than the other. For bulky areas, trim both allowances shorter. Topstitch using a complementary thread color and stitch length to contain seam allowances and add stability. Consider binding or serging edges for a clean, professional finish.
Faux Flat-Felled Seams
Give your fleece projects a professional finish with faux flat-felled seams. Here’s how:
- Trim one seam allowance to 1/4" and the other to 1/2".
- Press the wider allowance over the narrow one.
- Topstitch close to the seam, encasing the allowances.
This seam construction contains bulk, reduces seam allowance exposure, and provides a clean finish inside and out – perfect for fleece! Position seams strategically to minimize heat exposure and maintain the fabric’s soft texture.
Finish Seams Properly
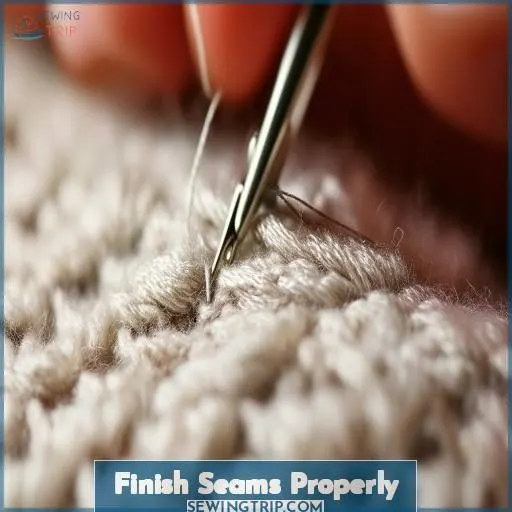
To make sure your fleece projects have a professional finish, consider serging or overcasting the raw edges. This technique not only prevents fraying but also provides a neat, polished look. Alternatively, you can use pinking shears or a zigzag stitch to enclose the raw edges, adding both stability and a decorative touch.
Serged or Overcast Edges
After grading seam allowances, serge or overcast the raw edges. This seam finish encloses the fabric edge, preventing future fraying and unraveling. Adjust your serger tension to get a balanced stitch. For a professional look, match the overcast thread color to your fleece project. The differential feed feature helps manage stretchy seams. Alternatively, create a rolled hem using a decorative stitch for an attractive edge finish.
| Technique | Advantages |
|---|---|
| Serging | Encloses & finishes seam in one step |
| Overcasting | Versatile for edges & seam allowances |
| Decorative Stitches | Add interest while finishing seams |
Zigzag or Pinking Shears
If serging isn’t an option, you’ve got two alternatives: zigzag or pinking shears.
A zigzag stitch wraps the raw edge, preventing fraying. Pinked edges, created with specialized shears, also resist raveling.
Both techniques are quick edge finishes. Though, overcasting with a zigzag provides a bit more stretch.
Ultimately, either zigzag edges or pinked edges make suitable seam finishes for fleece projects where you want a clean yet casual look.
Reduce Bulk and Stretching
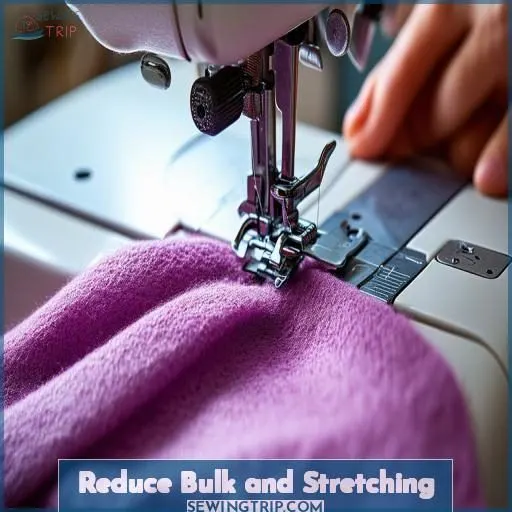
To reduce bulk and prevent stretching when sewing with fleece, start by stay stitching around any curved or bias edges to stabilize the fabric’s stretch.
You can also apply strips of woven fusible interfacing along seam lines, zipper openings, or other areas prone to distortion. Just be sure to use a low heat setting when fusing to avoid scorching the delicate fleece fibers.
Stay Stitching Techniques
Stay stitching is a must when dealing with fleece’s tendency to stretch.
You’ll want to reinforce any cross-grain cuts by stitching within the seam allowance to prevent distortion.
This simple step helps maintain the fabric’s shape and keeps those edges nice and crisp.
Just remember to stitch parallel to the cut edge, and you’re golden.
Don’t let fleece’s stretch intimidate you – stay stitching puts you in control.
Stabilize With Interfacing
Additionally, use interfacing to stabilize fleece and prevent stretching. Apply fusible interfacing to zipper edges, facings, and areas needing reinforcement. Choose knit or woven interfacing, ensuring the thickness matches your project’s needs. For non-fusible options, baste or stitch interfacing in place. With proper interfacing placement, you’ll achieve a polished finish while maintaining the fabric’s stretch and softness.
Hemming and Finishing
For a professional-looking finish on fleece projects, turned and topstitched hems create a clean edge while maintaining the fabric’s stretch. Alternatively, binding or ribbing finishes offer a decorative touch and help contain seam allowances neatly.
Turned and Topstitched Hems
After managing seam allowances, try turned and topstitched hems for a professional finish on fleece projects. Here’s how:
- Press under a narrow 1/4" hem on raw edges.
- Fold again to desired width, like 1/2" or 5/8".
- Topstitch close to folded edge using a double needle or wide zigzag.
The double row of stitching adds stability, while the turned hem neatly contains fraying. Adjust hem widths as desired – narrower hems reduce bulk.
Binding or Ribbing Finishes
For a cozy, professional finish, consider binding with fleece strips or adding elastic ribbing.
Binding provides a neat, enclosed edge perfect for cuffs, collars, and curved areas.
Ribbing stretches comfortably over hems, making it ideal for snug sleeves or leggings.
Combine binding and ribbing with serged seams for sturdy yet flexible hemmed edges.
Express your creativity while achieving a polished, cuddle-worthy look.
Embellishment Considerations
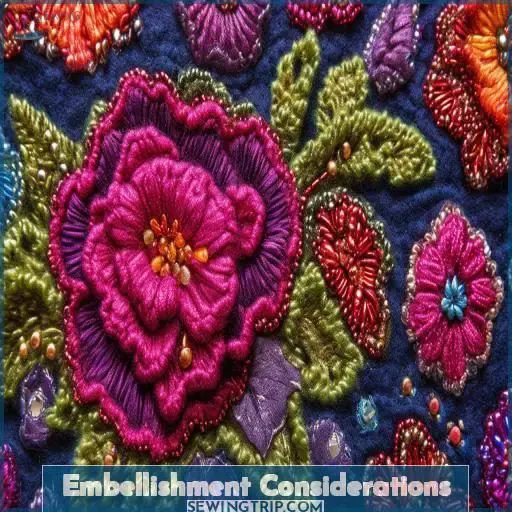
When embellishing fleece, opt for lightweight accents like simple embroidery, appliqués, or ribbon details to prevent sagging or stretching of the fabric. Decorative stitching can also add visual interest without weighing down the fleece material; consider topstitching seams with a contrasting thread color or experimenting with straight, zigzag, or satin stitch patterns.
Lightweight Embellishments
Regarding embellishments, keep them lightweight. Heavy embellishments can cause stretching or sagging. Instead, consider:
- Lightweight appliques or patches
- Fabric paint or markers for designs
- Beading or sequins applied sparingly
- Machine embroidery for personalization
Embrace the cozy nature of fleece by avoiding excessive ornamentation. Lightweight embellishments allow the fabric’s inherent softness to shine while adding a touch of flair.
Decorative Stitching Options
Instead of heavy embellishments, consider decorative stitching to enhance fleece’s appearance.
Experiment with different stitch patterns using a decorative stitch foot and thread colors that complement the fabric.
Adjust your needle size, stitch length, and presser foot pressure for best results.
Polyester or rayon threads provide beautiful sheen, while cotton or polyester topstitching threads create defined patterns.
Pressing and Ironing
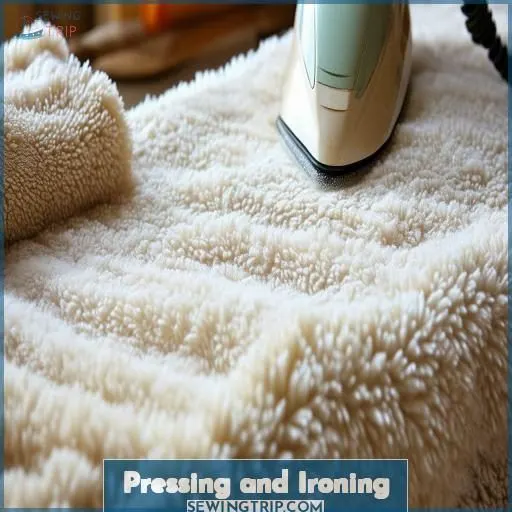
When pressing fleece, you’ll want to use a low heat setting on your iron to prevent scorching or damaging the fabric. Additionally, it’s recommended to use a press cloth or piece of scrap fabric between your iron and the fleece to create a barrier and protect the fleece from direct heat exposure.
Low Heat Settings
Apply low heat when pressing fleece to prevent lint accumulation, scorched fabric, seam distortion, and heat damage. Set your iron to these settings:
- Wool or synthetic fabric setting
- Lowest temperature possible
- No steam
- Monitor the fabric closely
Excessive heat can cause needle breakage or permanently damage the fleece’s texture. If you need to press, use caution and low heat for best results.
Use a Press Cloth
To avoid scorching or creating shine on fleece, always use a press cloth.
This helpful fabric scrap acts as a buffer between your iron’s hot surface and the delicate fleece fibers.
Place the press cloth over the area you need to press, then apply the iron set to its lowest heat setting.
The press cloth protects the fleece, allowing you to gently press seams or hems while reducing shine.
Give the fabric time to cool completely before removing the cloth to prevent any unwanted sheen.
Maintenance and Cleaning
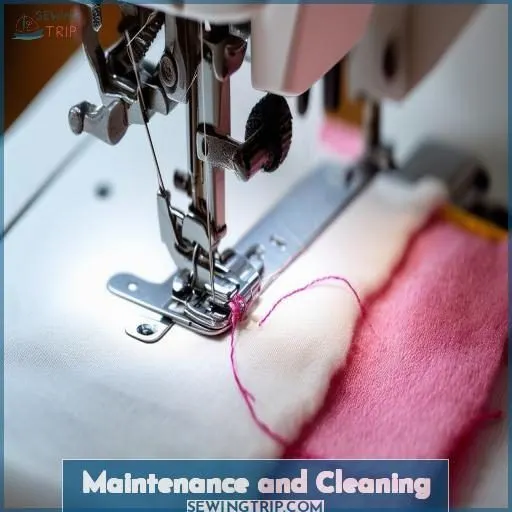
Maintaining a clean sewing machine is essential when working with fleece fabric, as its fibers can accumulate lint and debris in the machine’s internal mechanisms. After completing each fleece project, use a small, soft-bristled brush to gently remove any trapped fibers from the machine’s feed dogs, bobbin area, and other accessible parts.
Lint Removal From Machine
After completing a fleece project, lint accumulation in your machine is inevitable. Regularly cleaning your machine prevents buildup, ensuring longevity. Use a small, soft brush or lint remover pen to gently remove lint from hard-to-reach areas. Consider professional servicing if lint persists after thorough cleaning. Proper maintenance prevents skipped stitches, tension issues, and costly repairs.
Brush Away Fabric Fibers
You’ll need a small, soft-bristled brush to gently remove any lingering fibers from your machine.
After finishing each fleece project, take a few minutes to carefully brush away lint and fabric debris.
This simple maintenance step helps guarantee your machine stays in top shape.
Consider investing in a specialized lint brush or using an old, clean makeup brush for this purpose.
Stay diligent with fiber removal to avoid buildup that could ultimately impact stitch quality.
Frequently Asked Questions (FAQs)
What tension should I use when sewing fleece?
Use a low tension setting to prevent thread breakage when sewing fleece. Lower your presser foot pressure and adjust stitch length slightly longer. These small tweaks can help you conquer any project, just like a seasoned pro.
Can you sew fleece on a regular sewing machine?
Yes, you can sew fleece on a regular sewing machine. Use a ballpoint needle, polyester thread, adjust presser foot pressure, and a longer stitch length. Also, consider the nap direction to avoid mismatched textures (Source).
Why won’t my sewing machine sew fleece?
Your machine won’t sew fleece due to using incorrect needle type. Switch to a ballpoint needle, adjust tension settings, and clean out the lint after every project. Maintain slightly longer stitch lengths if necessary. (Source).
Should I use a walking foot when sewing fleece?
Using a walking foot when sewing fleece is beneficial as it helps feed the fabric evenly, preventing puckering and stretching, especially with thicker layers or pieces with nap (Source).
Can fleece be sewn by hand?
Yes, you can sew fleece by hand. Use longer stitches (8-10 per inch) and ballpoint needles designed for knit fabrics. This aids in preventing stretch and increases durability, making your hand-sewn project both effective and long-lasting.
How to prevent static when sewing fleece?
To prevent static when sewing fleece, spray an anti-static spray on your fabric, use a humidifier in your sewing area, and ground yourself by touching metal before handling the fabric .
Is fleece suitable for outdoor garments?
Of course, fleece suits outdoor garments splendidly. It provides warmth, dries quickly, and offers excellent breathability while maintaining comfort in various conditions, making it a favorite among outdoor enthusiasts .
How to avoid puckering in fleece seams?
Use a longer stitch length, reduce presser foot pressure, and opt for a ballpoint needle. Lower thread tension, avoid stretching the fabric, and sew with polyester thread to prevent puckering in fleece seams .
Can you combine fleece with other fabrics?
You can combine fleece with other fabrics by using woven cotton for facings, considering the nap, and selecting the correct needle and stitch type. Make certain seam allowances are well-managed to reduce bulk and maintain integrity .
Conclusion
Imagine you’ve sewn a cozy fleece jacket; it turned out beautifully because you identified the nap direction, used ballpoint needles, and adjusted your stitch settings.
Following the tips for sewing fleece, you expertly managed seam allowances, minimized bulk with stay stitching, and stabilized edges.

