This site is supported by our readers. We may earn a commission, at no cost to you, if you purchase through links.
Break tasks into simple steps, allow mistakes, and praise effort.
Around ages 6-9 is ideal for developing motor skills and attention spans.
Keep them motivated with doll clothes or easy projects like pillows.
Guide them through threading, knotting, and basic stitches at first.
When cutting patterns, use freezer paper or tracing techniques suited for little hands.
Most importantly, make it fun!
A comfortable workspace, positive reinforcement, and embracing mistakes as learning opportunities will make all the difference.
Ready to stitch lasting memories?
Table Of Contents
- Key Takeaways
- Considerations Before Teaching Kids to Sew
- Division of Labor When Teaching Kids to Sew
- Warming Up: Stitching Practice for Kids
- Cutting Out Patterns for Kids’ Sewing Projects
- Tips for Successful Sewing Practice With Kids
- Tools and Materials for Teaching Kids to Sew
- Starting Age and Frequency for Teaching Kids to Sew
- Frequently Asked Questions (FAQs)
- Conclusion
Key Takeaways
- Make it a bonding experience! Sewing together nurtures creativity, problem-solving skills, and patience – it’s quality time that stitches special memories.
- Start small with simple projects like doll clothes or pillows. Break instructions into bite-sized, kid-friendly steps so they don’t feel overwhelmed. A journey of a thousand stitches begins with a single thread!
- Celebrate their efforts and embrace mistakes as learning opportunities. A supportive environment where they can freely express their vision without fear of ripping it apart is key.
- With the right tools, materials, and guidance tailored for little hands, sewing can open their minds to a whole new world of imagination and craftsmanship. It’s like giving them a magic needle to weave their wildest dreams into reality!
Considerations Before Teaching Kids to Sew
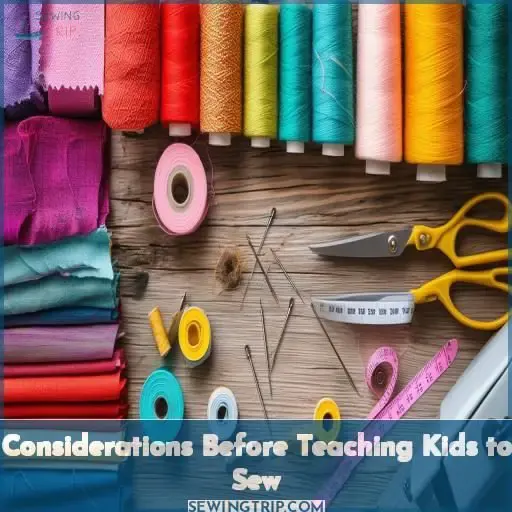
Before teaching kids to sew, manage your expectations — children often have less patience than adults and can be easily overwhelmed with too many rules. Aim for ages 6-9, when kids are typically ready to learn basic concepts; starting with hand sewing on doll clothes provides motivation and lays the groundwork for garment construction.
Patience and Expectations
You’ll need patience – sewing involves focus and fine motor skills that can challenge kids. Set realistic expectations by:
- Breaking tasks into simple steps
- Allowing for mistakes and do-overs
- Praising effort over perfection
Avoid overwhelming them with too many rules. Remember, this is about fostering independence and making memories, not mastering couture techniques.
Ideal Age Range
While patience and expectation management are key, you’ll also want to account for your child’s age. The ideal range for introducing sewing is often 6-9 years old, as:
- Fine motor skills and coordination develop
- Attention spans lengthen
- Self-esteem boosts from completing projects
This sweet spot allows kids to grasp basics while developing focus and dexterity essential for successful sewing. With proper guidance, the early childhood years can foster a lifelong love of this rewarding craft.
Motivation and Skill Building
Doll clothes provide a motivating way to teach kids garment construction basics. You’ll build their skills and confidence through easy projects like:
- Hand-sewing simple dresses or pants
- Decorating pre-made items with trims or appliques
- Creating blankets or pillows for their dolls
- Designing unique clothing from fabric scraps
Start with achievable goals, celebrate small wins, and watch their excitement for sewing grow!
Division of Labor When Teaching Kids to Sew
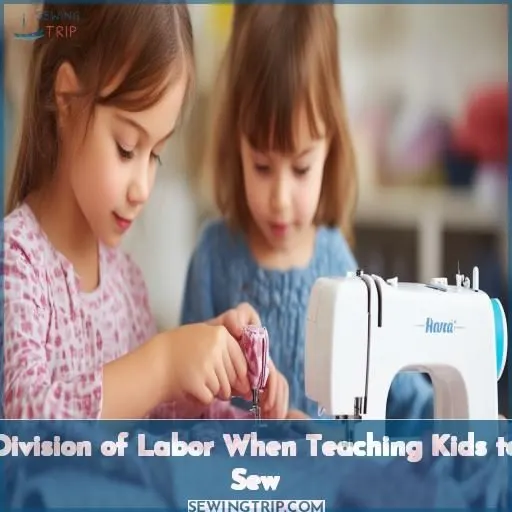
When teaching kids to sew, divide tasks strategically to build skills gradually. Initially, focus solely on stitching:
- Demonstrate threading the needle and tying a secure knot
- Guide little hands through basic running stitches
- Praise even stitches and consistent spacing
As confidence grows, allocate additional responsibilities like:
- Pinning fabric layers before cutting
- Operating the iron to press seams
- Winding bobbins and threading the machine
This measured approach balances age-appropriate skill challenges while ensuring safety under your watchful supervision. With thoughtful task division, sewing becomes an empowering journey of mastery for your aspiring crafter.
Warming Up: Stitching Practice for Kids
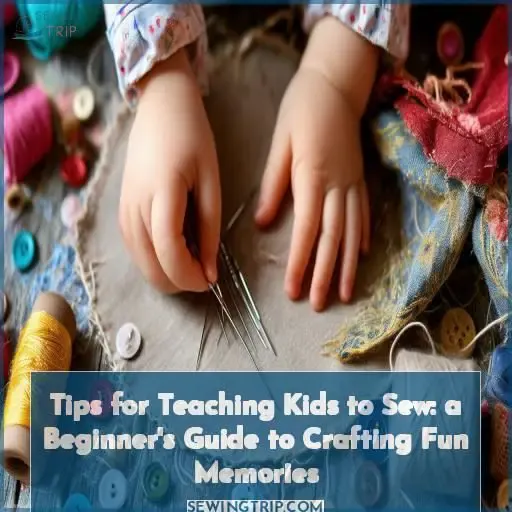
Before letting kids start stitching, make certain they understand how to properly knot the thread and hold the needle. Have them practice stitching two fabric pieces together, using a large needle for easier handling and aiming for consistent, small stitches.
Needle and Thread Preparation
After dividing roles when teaching kids to sew, prepare the needles and threads:
- Use large needles for easier stitching.
- Choose thick, double-stranded thread.
- Knot securely at the thread’s end.
- Thread needles with adult supervision.
With proper needle and thread preparation, kids can practice hand-stitching on felt fruit kits or doll clothes before cutting out fabric patterns.
Stitching Practice on Fabric
Put your stitching skills to the test!
- Secure the fabric pieces with flat pins or clips
- Double up the thread length for added strength
- Guide the needle through both fabric layers
- Keep stitches small, even, and consistent
- Take your time and focus on neat, straight lines
Mastering these basics builds confidence for tackling more complex sewing projects with your little crafter. Celebrate each stitch as a step towards more future creations!
Cutting Out Patterns for Kids’ Sewing Projects
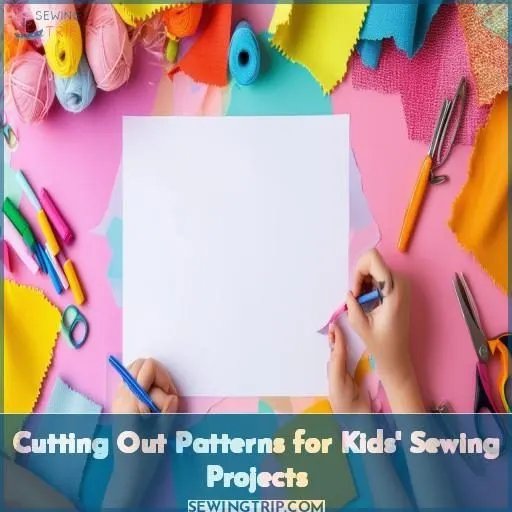
Cutting out patterns is an essential step when teaching kids to sew. Here are some pattern transfer methods and fabric cutting options:
- Pinning: Place the pattern on fabric and use pins to secure it.
- Freezer paper: Iron freezer paper onto fabric, trace the pattern, then cut out.
- Tracing: Trace the pattern directly onto the fabric with a pencil or chalk.
For cutting fabric, you have options:
- Fold fabric to cut two pieces simultaneously.
- Cut one layer for single-thickness pieces.
- Consider fabric layers and types – thicker fabrics may need sharper scissors or a rotary cutter.
Invest in precision cutting tools like fabric shears, rotary cutters, and self-healing mats. These make cutting patterns easier and more precise, setting kids up for success.
Tips for Successful Sewing Practice With Kids
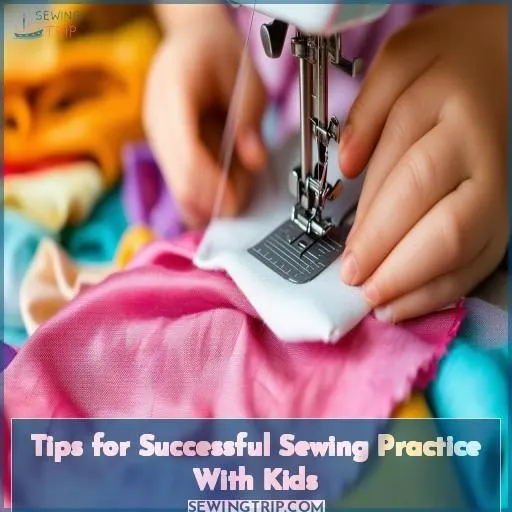
To nurture good sewing habits in kids, encourage them to maintain straight lines and consistent stitch sizes during practice sessions. Creating a comfortable workspace with proper lighting and the right tools, like a thimble to protect little fingers, sets the stage for successful sewing experiences.
Encouraging Good Habits
You’ll want to instill good habits from the start:
- Emphasize needle care and finger safety.
- Guide them in the direction of straight lines and consistent stitches.
- Praise their efforts to reinforce positive behaviors.
- Model good practices yourself as you teach.
With patience and encouragement, proper sewing techniques will become second nature.
Creating a Comfortable Environment
Creating a comfortable environment is key for success. Offer comfortable seating with good back support and guarantee suitable lighting to prevent eye strain. Organize the workspace to minimize distractions, and provide positive reinforcement throughout the process to keep kids motivated and engaged.
- Comfortable seating
- Suitable lighting
- Organized workspace
- Minimal distractions
Embracing Mistakes
Embrace mistakes as learning opportunities. They’re a natural part of the process, so:
- Positively reinforce effort, not perfection
- Avoid discouraging comments that stifle creativity
- Encourage independence by letting them problem-solve
A patient, supportive approach helps kids gain confidence. Celebrate their achievements, no matter how small – crafting fun memories matters most.
Tools and Materials for Teaching Kids to Sew
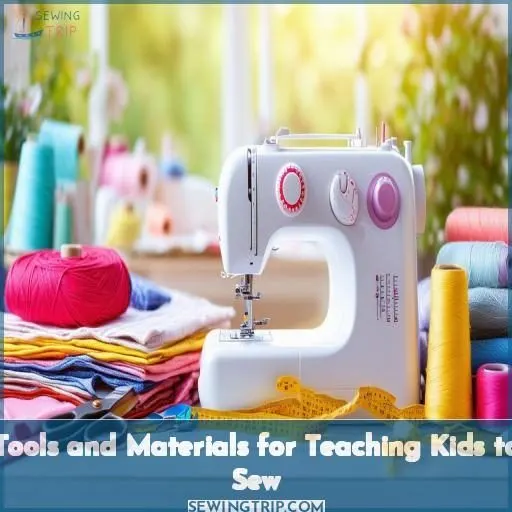
You’ll need real sewing supplies, not child-friendly toys. Use quality fabrics like felt or felted wool – inferior materials frustrate kids. A proper needle and thread are essential:
- Blunt needles with large eyes make threading easier
- Multi-purpose cotton thread is a versatile choice
- Embroidery floss works well for beginners
For sewing machines, opt for beginner models:
- Automatic needle threaders simplify setup
- Speed controls prevent overwhelming little hands
- Look for trusted brands like Brother or Singer
Child safety comes first – supervise diligently. With the right tools and materials, sewing nurtures creativity while building confidence. Their beaming smiles make every pinprick worth it.
Starting Age and Frequency for Teaching Kids to Sew
When is the best time to introduce your child to sewing? There’s no definitive age, but many experts suggest beginning whenever kids express interest, ideally around ages 6-9. Regular practice is key – keep sessions short but frequent, allowing kids to build skills gradually while focusing on simple projects that foster creativity and independence.
When to Start
You can begin teaching kids to sew whenever they show interest, but there are some considerations:
- Ages 6-9 are often ideal for introducing sewing
- Use lacing cards or simple projects as visual aids
- Always supervise for safety and patience development
Starting early fosters hand-eye coordination and creativity. With proper guidance, sewing becomes a fun, laced learning experience.
Practicing Regularly
Once your kids show interest in sewing, encourage regular practice with:
- Short, simple sewing sessions
- Small projects like doll blankets
- Using scrap fabrics for practice
- Gradually building their sewing skills
Frequent, bite-sized practice allows kids to steadily develop their skills without feeling overwhelmed. Keep sessions engaging yet manageable.
Support and Encouragement
You’ll need to assist them with tricky steps, but let kids complete as much as possible. Celebrate their achievements, no matter how small:
- Praise their effort, not just the result
- Point out what they did well
- Allow them to show off their work
- Encourage them to keep practicing
Independence and Creativity
You’ll want to encourage their free-form sewing and child-led projects to foster imagination development. Allow creative expression by:
- Letting them design their own patterns
- Guiding fabric cutting and threading
- Supporting frequent sewing opportunities
Nurturing creativity builds problem-solving skills essential for lifelong learning.
Frequently Asked Questions (FAQs)
What is the best way to teach a child how do you sew?
Start by teaching them how to thread the needle and make basic stitches. Let them practice on scrap fabrics before moving on to simple projects like doll clothes or pillows. Be patient, give clear instructions, and celebrate their progress!
At what age should you teach a child to sew?
Start teaching kids to sew around ages 6-9, when their dexterity and attention span make them receptive learners. However, every child develops differently, so gauge their interest and readiness.
What is the first thing a beginner should sew?
You’ll want to start with simple projects like placemats, coasters, or pillowcases. These allow you to practice skills like straight stitching, seam allowances, and finishing techniques without overwhelming complexity.
Can you teach a 5 year old to sew?
Yes, you can teach a 5-year-old basic sewing skills with proper supervision. Start with lacing cards or simple projects using plastic needles and yarn. Keep sessions brief, focus on hand-eye coordination, and celebrate their achievements. With patience and encouragement, sewing can foster creativity and fine motor skills.
How do I motivate a reluctant child?
Tie sewing into their interests – create projects featuring their favorite characters or colors. Make it fun with music or rewards for completed tasks. Most importantly, keep it positive and celebrate their efforts.
What are good first sewing projects?
Good first sewing projects for kids include pillows, tote bags, and simple clothing items like pajama pants or skirts. Start with easy patterns and fabrics like cotton or felt—and always supervise young sewers for safety.
How can I make sewing more fun?
Well, why not turn sewing into a zany adventure? Craft silly outfits for st■ animals or design wacky accessories. Let their creativity run wild! Sewing becomes an imaginative playground when you embrace the absurd.
How do I teach left-handed sewing?
For left-handed sewing, position the machine to your right. Attach thread spools to the opposite spool pin. Adjust tension and bobbin winding based on manufacturer instructions. Practice guiding fabric smoothly from the right side.
What safety precautions should I take?
Always closely supervise kids near the sewing machine needle. Establish firm rules like keeping fingers away, and never leaving the machine unattended when threaded. Childproof the workspace by safely storing sharp objects. Prioritize safety first when teaching kids this valuable skill.
Conclusion
Will you engage in this rewarding craft and create lasting bonds? Teaching kids to sew fosters patience, resilience, and creativity. Follow these tips for teaching kids to sew – from prepping materials to cultivating a supportive environment. With guidance and an open-minded approach, sewing promises enjoyable quality time and lifelong memories.

