This site is supported by our readers. We may earn a commission, at no cost to you, if you purchase through links.
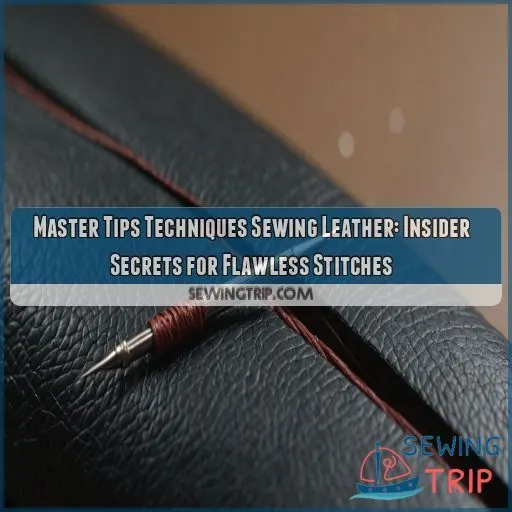
Don’t be afraid to experiment with different thread gauges and colors to match your leather.
Next, master the saddle stitch, and don’t worry if it takes practice (it’s like riding a bike, you’ll get the hang of it!).
From there, it’s all about working with leather edges, using the right tools, and troubleshooting common issues.
With these insider secrets, you’ll be sewing leather like a pro – and we’re just getting started!
Table Of Contents
- Key Takeaways
- Choosing the Right Thread
- Essential Tools for Leather Sewing
- Mastering the Saddle Stitch
- Working With Leather Edges
- Leather Sewing Techniques
- Preparing Leather for Sewing
- Common Leather Sewing Challenges
- Tips for Sewing Leather Accents
- Advanced Leather Sewing Techniques
- Troubleshooting Leather Sewing Issues
- Frequently Asked Questions (FAQs)
- Conclusion
Key Takeaways
- You’re going to want to master the Saddle Stitch – it’s the most common leather stitching technique for a reason! With a bit of practice, you’ll be sewing like a pro in no time, and your leather projects will shine with even, professional-looking stitches.
- Don’t be afraid to experiment with different thread gauges and colors to match your leather – it’s like finding the perfect match! Remember, 75% of leatherworkers prefer hand-stitching for its precision, so take your time and get comfortable with that thread.
- When working with leather edges, you’ve got three main techniques to master: turned edge seams, cut edge seams, and edge binding. Each has its own unique benefits and challenges, but with practice, you’ll be a pro at creating a professional finish that elevates your entire piece.
- To avoid common mistakes like uneven stitches, thread tension troubles, and needle breakage, take a deep breath and remember that it’s okay to make mistakes – they’re an opportunity to learn and master the craft! Check your thread tension, adjust your needle size or stitch spacing, and use a stitching pony or double-sided tape to prevent leather slippage.
Choosing the Right Thread
Choosing the right thread for sewing leather makes all the difference between a beautiful, professional-looking finish and a messy, amateurish one. By understanding thread types, thickness, color, and materials, you’ll be able to select the perfect thread for your leather project and achieve those flawless stitches you’ve been dreaming of.
Understanding Thread Types
Sewing leather is all about picking the right thread. You’ll want to choose a waxed thread, specifically designed for leather, in a color that complements your project. Heavy-duty threads like polyester are great for withstanding the rigors of Leather Sewing. Make sure you get a thread labeled "leather thread" to make sure you’re getting the best match for your project.
Thread Thickness and Strength
Now that you know the basics of thread types, let’s talk thread thickness and strength. When sewing with leather, you want a thread that can withstand the material’s thickness and durability. Here are three things to keep in mind:
- Thread gauge: A lower gauge means a thicker thread. For leather, you’ll want a gauge between 0.5 and 1.5.
- Thread material: Waxed thread is a popular choice for leather sewing due to its durability and resistance to tangling.
- Thread tension: Make sure to keep an even thread tension to avoid puckering or distorting the leather.
Thread Color and Matching
Choosing the right thread color can make or break your leather project. Don’t be afraid to experiment with thread color trends and matching techniques. Consider dyeing your leather to create a cohesive look. Brush up on color theory to make sure your thread complements your leather accents. You can also repurpose leather scraps to create matching thread alternatives.
Thread Materials and Durability
Now that you’ve mastered thread color and matching, it’s time to think about thread materials and durability.
You want a thread that’s going to last, right?
Waxed thread is a great choice – it’s strong, durable, and resistant to wear and tear.
Look for threads made from high-quality materials like cotton or polyester.
Consider the thread’s lifespan when choosing the perfect one for your project.
Essential Tools for Leather Sewing
As you start your leather sewing journey, you need to gather the right tools for the job.
You’ll be stuck fighting with inadequate equipment and mediocre results if you don’t.
By investing in a few key tools, like curved sewing needles, a precision utility knife, and a trusty scratch awl, you’ll set yourself up for success.
You’ll be well on your way to creating flawless, professional-grade stitches.
1. Curved Sewing Needles for Upholstery
For leather sewing, you’ll need curved sewing needles for upholstery in your toolkit. These needles are perfect for working with thick leather and creating smooth, even stitches. Here are three things to keep in mind:
- Choose the right size: 49mm or 51mm curved needles are ideal for most leather projects.
- Consider the type: Glover’s needles are great for heavy-duty leather work, while sail needles are better for lighter projects.
- Handle with care: Curved needles can be brittle, so be gentle when handling them to avoid breakage.
2. X-ACTO Z-Series Precision Utility Knife
For precision cutting on your leather projects, the X-ACTO Z-Series Precision Utility Knife is a game-changer. With its zirconium nitride-coated blade, you’ll get sharp cuts every time. Just be aware that the safety cap can wear out the handle, so handle with care. It’s perfect for small cutting projects, and alternative blades are available for purchase.
3. Tandy Leather Scratch Awl
Now that you’ve got your X-ACTO knife, let’s talk about the Tandy Leather Scratch Awl. This little guy is perfect for piercing holes for saddle stitching, and its 2-1/2" sharp blade makes it a breeze to use. Just be aware that some users have reported a loose shaft, and it’s not ideal for making large holes.
Mastering the Saddle Stitch
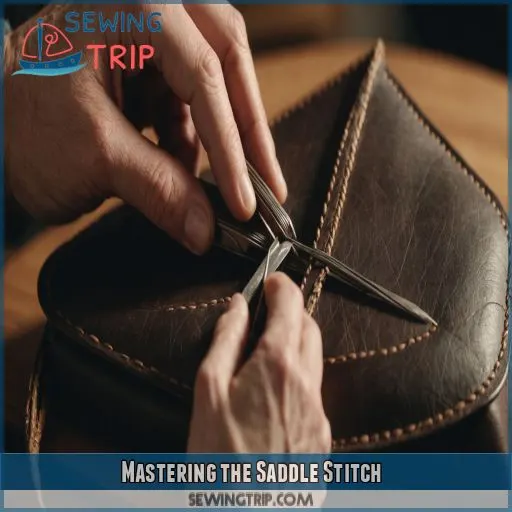
As you get ready to master the saddle stitch, you’ll discover that this fundamental skill is really important for sewing leather by hand, offering both durability and a professional finish. With practice and patience, you’ll be able to tackle this stitch like a pro, whether you’re using the one needle or two needle method, and achieve flawless results that elevate your leather projects to the next level (Source).
One Needle Vs. Two Needle Method
You’re ready to master the saddle stitch! When deciding between one needle or two, consider your project’s needs. A two-needle method produces neater stitches, but can be more challenging. A one-needle method is great for smaller projects or when ease of use is key.
- One Needle Method: Ideal for small projects, beginners, or when hand fatigue is a concern.
- Two Needle Method: Suitable for larger projects, cut edge seams, or when stitch quality is paramount.
- Project Suitability: Consider the type of project, leather thickness, and desired finish when choosing your needle method.
Saddle Stitch for Beginners
You’re ready to master the saddle stitch. This versatile stitch is perfect for sewing leather seams, and with a few tips, you’ll be a pro in no time. Here’s a quick rundown to get you started:
| Saddle Stitch Variations | Stitch Tension | Tools for Beginners |
|---|---|---|
| One Needle | Not too tight, not too loose | Curved sewing needles |
| Two Needle | Even, consistent tension | Stitching pony, awl |
| Tips | Practice on scrap leather | Use thick waxed thread |
Tips for Even Stitches
You’ve got the saddle stitch down, now it’s time to perfect those even stitches! To achieve this, remember:
- Keep your tension even: Not too tight, not too loose. You want a smooth, consistent stitch.
- Maintain a consistent stitch length: This will help you stay in rhythm and avoid uneven stitches.
- Practice, practice, practice: The more you sew, the more even your stitches will become. Happy sewing!
Common Mistakes to Avoid
Now that you’ve got the hang of even stitches, let’s talk about common mistakes to avoid. Don’t pull that thread too tight, or you’ll pucker the leather. Use the right needle size, and keep your stitch spacing consistent. Prep that leather properly, and don’t forget to backstitch at the end. Trust us, your thread (and your sanity) will thank you.
Working With Leather Edges
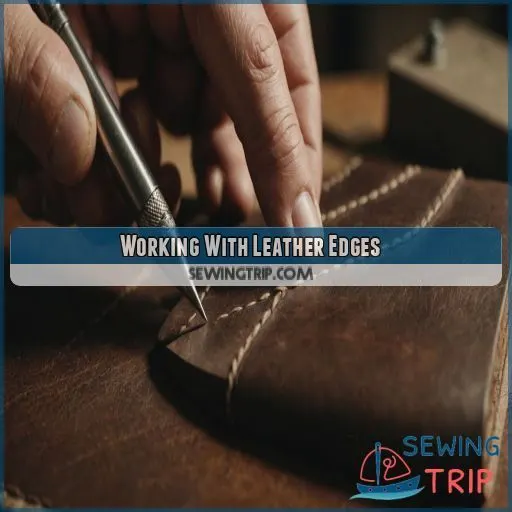
When working with leather edges, you’ll encounter three main techniques: turned edge seams, cut edge seams, and edge binding – each with its own unique benefits and challenges. Mastering these techniques will help you achieve a professional finish and take your leather projects to the next level, whether you’re making a stylish bag or a rugged accessory.
Turned Edge Seam Technique
You’re ready to master the turned edge seam technique! This method involves sewing pattern pieces together inside out, then flipping the seam so the grain side of the leather is exposed. To achieve a polished look, make sure to carefully prep your leather edges and use the right sewing tools. Hand sewing offers more control and precision.
Cut Edge Seam Method
When you’re going for a rustic look, the cut edge seam method is your best friend.
This technique leaves the stitches and cut edge of the leather visible, giving your project a beautifully rugged aesthetic.
To achieve this look, simply match the bottom center of the gusset to the bottom center of the back bag and sew around with a saddle stitch.
Edge Binding for a Finished Look
Now that you’ve mastered the cut edge seam, let’s give your leather project a polished finish with edge binding! Select a leather strip that complements your project, and use a stitching pony to secure it in place. With the right binding tools, you’ll achieve a flawless, professional finish that elevates your entire piece.
Hiding Stitches and Edges
Now that you’ve mastered edge binding, let’s talk about hiding stitches and edges. You want your leather project to look sleek and professional, right? Here are some tips to help you achieve that:
- Use turned edge seams to conceal stitches and edges
- Opt for cut edge seams when you want a more rustic, exposed look
- Combine edge binding with stitching techniques for a flawless finish
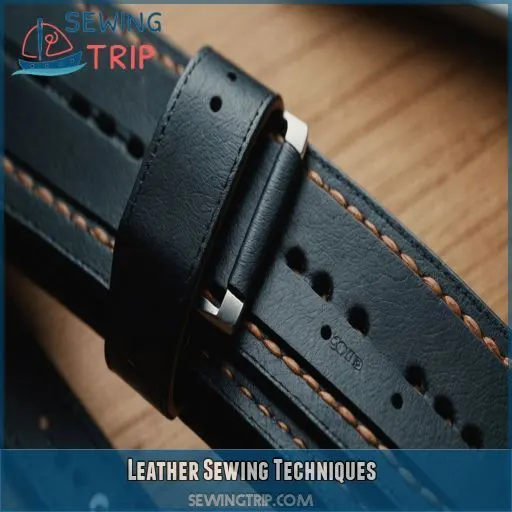
Leather Sewing Techniques
As you get hands-on with leather sewing, you’ll discover that mastering various techniques is key to achieving professional-looking results. In this section, you’ll learn essential leather sewing techniques, including backstitching for security, braiding and strap creation, punching holes for sewing, and sewing in braided straps.
Backstitching for Security
Backstitching is your secret weapon for locking in those beautiful leather seams. To master the backstitch, focus on consistent stitch length and tension. Try different backstitch variations to find what works best for you. This simple technique helps lock your thread and makes your seams tougher, giving you peace of mind and a professional finish.
Braiding and Strap Creation
Now that you’ve mastered backstitching, let’s get creative with braiding and strap creation. A well-crafted braided strap can elevate your leather project from functional to fabulous. Here are some tips to get you started:
- Use high-quality leather strips for a polished look
- Calculate strap length carefully to avoid bulk or sag
- Experiment with different braid patterns and tensions
- Finish your strap with a sturdy leather conditioner
- Choose hardware that complements your strap design
Punching Holes for Sewing
Punching holes for sewing – the secret to flawless stitches! To get it right, focus on consistent hole spacing, taking into account the leather thickness and type of awl or punching tool you’re using. Don’t be afraid to experiment with different tools until you find the one that works best for you. Practice makes perfect, after all!
Sewing in Braided Straps
First, measure the braided strap length carefully.
Make sure it’s not too tight or too loose.
Then, place the strap where you want it.
Consider the braid thickness and strap placement.
Secure the braid ends with a few stitches.
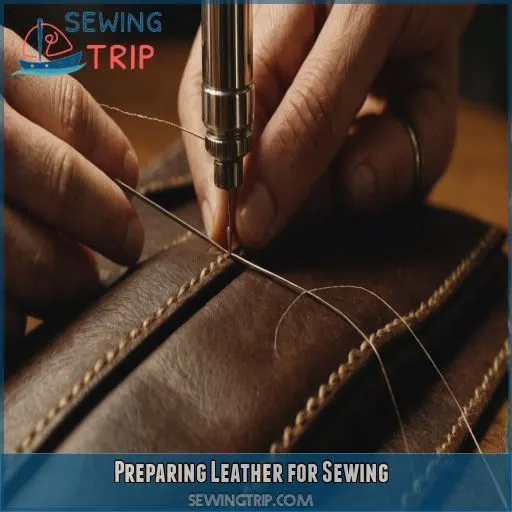
Preparing Leather for Sewing
As you get ready to sew your leather project, you’ll want to make sure your leather is properly prepared to get those stitches looking sharp.
You’ll need to measure and cut your leather.
Then, you’ll need to punch sewing holes.
Using a stitching pony will help you to secure your leather.
Finally, you’ll want to secure your leather with double-sided tape.
This prep work will help you achieve a professional-looking finish.
Measuring and Cutting Leather
When measuring and cutting leather, accuracy is key. You’re basically setting the foundation for your project, so take your time. Here are three tips to get you started:
- Respect the grain: Always cut in the direction of the grain to avoid tears and uneven edges.
- Use the right tools: Invest in sharp fabric shears or a leather cutter for clean cuts.
- Mark it up: Use a ruler and marking tools to make sure your patterns and cuts are precise.
Punching Sewing Holes
Now that you’ve measured and cut your leather, it’s time to punch those sewing holes! To avoid wonky stitches, use a punch with a consistent prong spacing. For thicker leathers, use a heavier-duty punch or a mallet to tap those holes into place. Keep your holes evenly spaced and aligned, and you’ll be stitching like a pro in no time!
Using a Stitching Pony
When using a stitching pony, you’re basically giving your hands a helping friend. Clamp pressure is key – too loose, and your leather will slip; too tight, and you’ll end up with puckers. Experiment with different pony types to find the one that works best for you. With practice, you’ll be stitching like a pro in no time!
Securing Leather With Double-Sided Tape
When working with leather, securing it with double-sided tape can be a lifesaver. Use a strong, fabric-specific tape and apply it to the flesh side of the leather. Press firmly to make sure the tape sticks. For easy removal, use a gentle tape or a hair dryer to loosen the adhesive. Just remember, tape is temporary – stitches are forever!
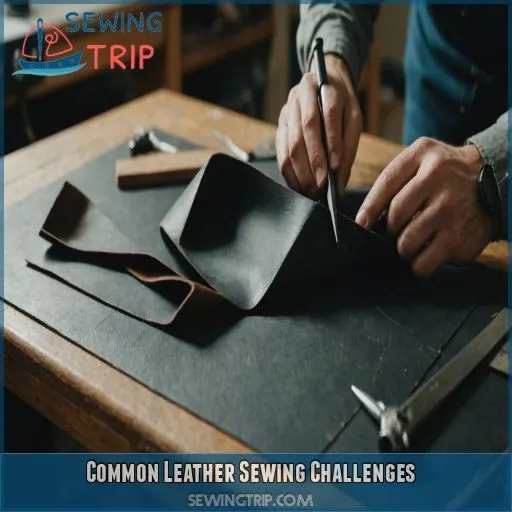
Common Leather Sewing Challenges
When working with leather, you’ll inevitably encounter some common challenges that can make or break your project. From dealing with thick, stubborn leather to managing thread tension, let’s tackle these issues head-on and explore some practical tips and techniques to help you overcome them and achieve flawless stitches.
Dealing With Thick Leather
Thick leather can be a beast to work with, but don’t let it intimidate you. To tame the beast, follow these tips:
- Choose the right tools: Invest in sturdy, sharp needles and a trusty awl to help you pierce through the thickness.
- Adjust your stitch tension: Ease up on the thread to avoid puckering or distorting the leather.
- Select the right needle size: A larger needle will make it easier to sew through thick leather.
- Prep your leather: Use a stitching pony and double-sided tape to keep everything in place.
Working With Thin Leather
When working with thin leather, use a smaller needle size to prevent puncturing the material.
Adjust your thread tension to avoid puckering or distorting the leather.
Use a stitching pony to maintain even stitches.
Consider edge binding for a polished finish.
Avoiding Pinch Points and Creases
When sewing leather, pinch points and creases can be a real pain. To avoid them, plan your project carefully, taking into account the leather’s thickness and grain direction. Proper clamping and sewing pressure are also key. Here are some tips to keep in mind:
- Clamp leather pieces together firmly, but not too tightly
- Use a stitching pony to maintain even pressure
- Sew in the direction of the grain to minimize creases
- Use a curved needle to navigate tight spaces
Managing Thread Tension
Now that you’ve mastered avoiding pinch points and creases, it’s time to tackle thread tension!
To achieve flawless stitches, keep your thread taut but not tight – think of it as a gentle hug for your leather.
Consistent tension is key, so try to maintain a steady rhythm while sewing.
Avoid puckering by loosening your thread slightly as you navigate curves.
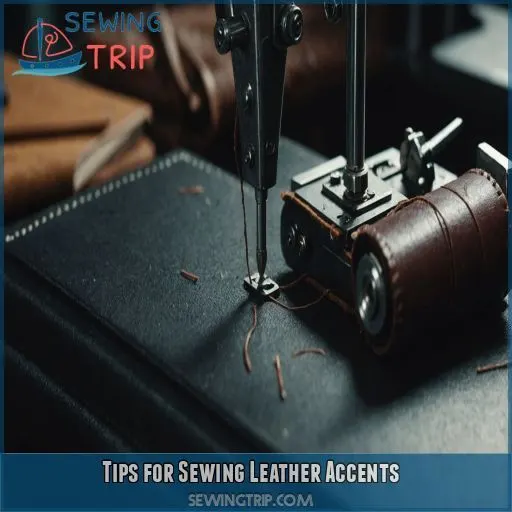
Tips for Sewing Leather Accents
When sewing leather accents, you want to make sure you’re choosing the right leather type for the job – think about the texture, color, and weight that’ll complement your project. By selecting the perfect leather and matching your thread colors, you’ll be well on your way to creating professional-looking accents that add a touch of personality to your finished piece.
Choosing the Right Leather Type
Time to pick the perfect leather for your project!
Consider the thickness: too thin and it’s fragile, too thick and it’s a beast to sew.
Check the grain direction: you want it to flow smoothly.
Think about the finish: glossy or matte?
And don’t forget tooling potential and durability.
Your leather choice will make or break your project, so choose wisely!
Matching Thread Colors
Finding the perfect thread color for your leather project can be a thrill.
It’s like finding the perfect leather sole-mate.
To get it right, consider the leather dye and color theory.
Look for thread brands that offer a range of colors, like Fil-Tec or Superior Threads.
Test the thread on a scrap piece of leather to make sure it’s a perfect match.
Your leather accents will thank you!
Adding Decorative Stitches
Time to get fancy with your leather stitching! Adding decorative stitches can elevate your project from functional to fabulous. Here are some tips to get you started:
- Experiment with different stitching patterns, like the herringbone or chevron, to add visual interest.
- Use decorative thread in contrasting colors to make your stitches pop.
- Don’t be afraid to try new stitching designs and placement – it’s all about experimentation and having fun!
Using Leather Hardware
You’re ready to add the finishing touches to your leather project with some sleek hardware. Attaching snaps, rivets, and studs can seem intimidating, but trust us, it’s easier than you think. Here’s a quick rundown on hardware types and how to choose the right color for your project.
| Hardware Type | Best for |
|---|---|
| Snaps | Lightweight, flexible projects |
| Rivets | Heavy-duty, load-bearing applications |
| Studs | Decorative accents, added texture |
| Buckles | Adjustable straps, secure closures |
| Zippers | Large, enclosed spaces, ease of use |
Choose hardware that complements your leather’s color and style, and don’t be afraid to experiment with different combinations. Happy building!
Advanced Leather Sewing Techniques
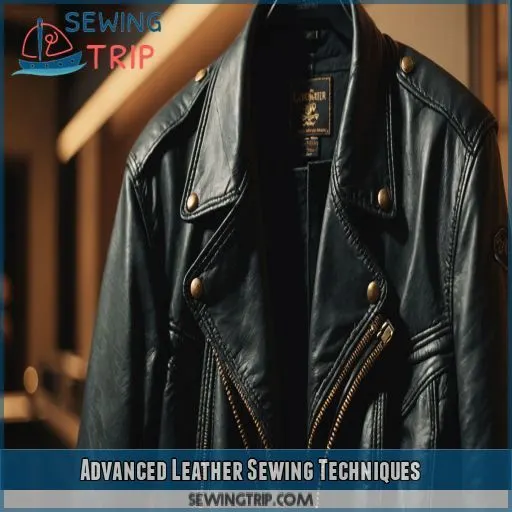
You’re ready to take your leather sewing skills to the next level with advanced techniques that will make your projects truly shine. From creating turned edge seams to braiding and weaving leather, we’ll cover the expert tips and tricks you need to achieve flawless stitches and professional-looking results.
Creating a Turned Edge Seam
The turned edge seam – a game-changer for leather enthusiasts! To master this technique, follow these steps:
- Prep your edges: Use a beveler or edge beveler to smooth out the leather edges.
- Sew inside out: Place the leather pieces flesh-side out and sew along the edge.
- Flip and press: Flip the seam right-side out and press the edge with a bone folder.
- Topstitch for perfection: Topstitch along the edge for a clean, finished look.
Making a Cut Edge Seam
Now that you’ve mastered the turned edge seam, it’s time to get a little rough around the edges with the cut edge seam. This technique is all about embracing the rustic look, with visible stitching that adds character to your leather creations.
| Cut Edge Seam Variations | Tips for Success |
|---|---|
| Single row stitch | Use a consistent stitch spacing for a clean look |
| Double row stitch | Alternate stitch directions for added durability |
| Decorative stitch | Experiment with different patterns for a unique touch |
| Thick leather | Use a heavier thread weight for added strength |
| Thin leather | Opt for a lighter thread weight to avoid bulk |
Braiding and Weaving Leather
Get ready to elevate your leather game with braiding and weaving! Mastering these techniques will give you the freedom to create stunning, one-of-a-kind pieces. Experiment with different leather braiding patterns and weaving techniques to achieve the perfect braid thickness. From strap creation to leather weaving projects, practice makes perfect, so don’t be afraid to try and try again.
Using Leather Interfacing
When working with thin or stretchy leathers, consider using leather interfacing to add stability and structure. Choose from various interfacing types, like fusible or sew-in, and place them strategically to support your project. Interfacing benefits include reduced stretching and a more polished finish. Experiment with interfacing in projects like bags, wallets, or belts for a professional touch.
Troubleshooting Leather Sewing Issues
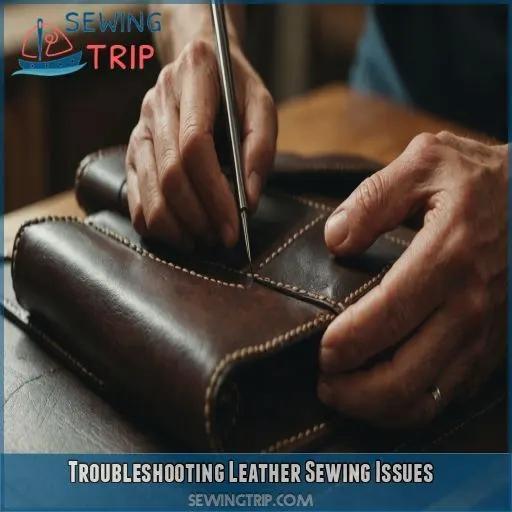
You’re sewing along, feeling confident, and then disaster strikes – a broken thread, uneven stitches, or worse, your leather starts to stretch or shrink in ways you never imagined.
Don’t worry, friend, we’ve all been there.
With a few insider secrets and troubleshooting tips, you’ll be back on track in no time, stitching like a pro and creating flawless, professional-looking leather pieces.
Dealing With Broken Threads
Don’t let broken threads break your stride. When dealing with thread breakage, try these troubleshooting tips:
- Use high-quality threads that can withstand the demands of leather sewing
- Master the art of rethreading without causing further damage
- Learn knotting methods to prevent thread slippage
- Check your stitch tension to avoid putting too much pressure
- Inspect your thread for signs of wear and tear before it’s too late
Fixing Uneven Stitches
Uneven stitches got you down? Don’t worry, friend! It’s usually a simple fix. Check your thread tension – too tight or too loose can cause wonky stitches. Adjust your needle size or stitch spacing, and make sure your pony pressure is even. Leather thickness can also affect stitch quality, so keep that in mind. Happy sewing!
Managing Leather Stretch and Shrinkage
Ah, the pesky stretch and shrinkage issue! You’ve carefully crafted your leather masterpiece, only to have it morph into a different shape. To minimize this risk, pre-soak your leather to understand its behavior. Consider grain direction and project planning to accommodate potential changes. Temperature control is also important, as extreme temperatures can worsen stretching or shrinking.
Solving Common Sewing Mistakes
Don’t worry, we’ve all been there – uneven stitches, thread tension troubles, and needle breakage. To solve these common sewing mistakes, start by adjusting your thread tension and checking for stitch gaps. Prevent leather slippage by using a stitching pony or double-sided tape. And remember, it’s okay to make mistakes – they’re an opportunity to learn and master the craft!
Frequently Asked Questions (FAQs)
What is the best way to sew on leather?
Did you know 75% of leatherworkers prefer hand-stitching for its precision? You’ll want to master the saddle stitch, using thick waxed thread and a two-needle method for even, professional-looking stitches that’ll make your leather projects shine!
What is the most common leather stitching technique?
You’re about to master the most common leather stitching technique: the saddle stitch! It’s a double stitch that’s strong, neat, and professional-looking. With a bit of practice, you’ll be sewing like a pro in no time!
What is the best stitch pattern for leather?
You’re looking for the best stitch pattern for leather? Hands down, it’s the saddle stitch! This double stitch provides unbeatable strength and a professional finish. Give it a try and see the difference for yourself!
What is the best stitch length for leather?
You’ll want to measure your seam length and multiply it by 5 to determine your thread length. As for stitch length, aim for even, consistent stitches that aren’t too tight, about 1/8 inch apart.
What are the benefits of hand sewing leather over machine sewing?
You’ll love the benefits of hand sewing leather! You get greater control and precision, but it’s also a valuable skill that’s easy to master, even for beginners, and can be super relaxing.
How do I handle thick or hard-to-pierce leather pieces?
When dealing with thick or hard-to-pierce leather, don’t struggle – use a thimble and a strong, sharp needle (Source), or try skiving the leather to thin it out , making it easier to sew.
What is the best way to sew leather curves or corners?
Sewing leather curves or corners? Don’t stress! Use a stitching pony to keep things steady, and take small, even stitches to maintain control. Go slow, and use a bit of patience – it’s like following a winding path.
Can I use regular sewing needles for leather sewing?
You’ll want to ditch those regular sewing needles for leather-specific ones. They’re designed with a stronger, thicker point to handle tough leather, making your stitching easier and more reliable – trust us, your fingers will thank you!
How do I prevent uneven or loose stitches in leather sewing?
Like a maestro conducting a symphony, you want your stitches to be in perfect harmony. To prevent uneven or loose stitches, use a consistent tension, keep your thread taut, and backstitch at the end of each seam.
Conclusion
You’ve made it! You’re now a certified leather-sewing rockstar, armed with the most coveted tips and techniques for sewing leather.
You’ve mastered the saddle stitch, tamed those pesky leather edges, and even conquered the art of thread matching.
Your creations are now the stuff of legend, flaunting flawless stitches that’ll make even the pros jealous.
Pat yourself on the back, you’ve earned it!
With these insider secrets, you’ll be sewing leather like a pro in no time.

