This site is supported by our readers. We may earn a commission, at no cost to you, if you purchase through links.
Imagine creating a fabric jigsaw puzzle that transforms plain cloth into amazing quilts or custom clothing pieces.
For this crafty escapade, you’ll need sharp scissors, a trusty rotary cutter, and fusible web—your new best friend.
Whether you’re zigzagging or satin stitching, applique offers endless creative freedom.
Ready to explore the colorful world of applique? Who knows, you might just unthread a whole new passion!
Want to uncover the magic behind applique’s intricate stitches? Keep reading!
Table Of Contents
- Key Takeaways
- What is Applique?
- Essential Tools for Applique Techniques
- Preparing Fabric for Applique Projects
- Mastering Raw Edge Applique Techniques
- Turned Edge Applique Methods
- Machine Applique Tips and Tricks
- Hand Applique Techniques
- Advanced Applique Techniques
- Finishing and Caring for Applique Projects
- Frequently Asked Questions (FAQs)
- Conclusion
Key Takeaways
- Appliqué is like crafting a quilted puzzle, layering and stitching fabrics to transform everyday materials into eye-catching art. You’ll need tools like sharp scissors, a rotary cutter, and fusible web to get started – think of them as your crafting sidekicks.
- Dive into various appliqué techniques for endless creativity! Whether you’re embracing raw edges with a frayed flair or neatly folding with a needle-turn approach, each method adds unique character to your projects, much like choosing how you take your morning coffee.
- Choosing the right materials is essential. Consider the fabric’s texture and color harmony – like assembling ingredients for a perfect sandwich. Cotton for stability or felt for creativity, paired with fusible web, can make your pieces sing.
- Machine or hand? Both appliqué approaches have their charms! Secure those pieces with a trusty sewing machine or relax with needle and thread in hand. It’s all about finding what fits your style and taking your fabric artistry to the next level.
What is Applique?
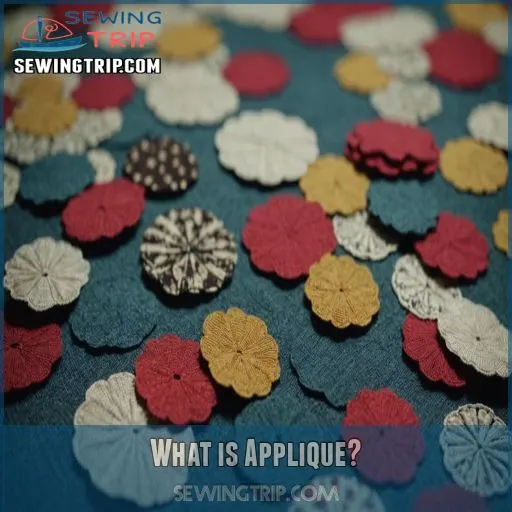
Applique is the art of layering and stitching fabric shapes onto a background to create stunning designs.
Mastering applique techniques will open up a whole new world of creative possibilities for your fabric projects.
Whether you’re a seasoned quilter or a beginner sewing enthusiast, applique is a technique that can be enjoyed by all.
Definition and Basic Concept
Imagine crafting a fabric masterpiece using applique, a technique that adds pizzazz to your projects!
Applique involves stitching shapes onto fabric.
It’s like a fabric puzzle—fitting pieces together just so.
Whether you’re using quaint needles or modern machines, the right tools and materials turn amateurs into pros.
Let applique basics spark your creativity today!
Types of Applique Techniques
Dive right into appliqué with these types of techniques that promise creativity and flair! From the classic to the quirky, here’s a taste:
- Needle-turn: Manually turn edges for a smooth finish.
- Raw edge: Embrace frayed edges with artistic stitching.
- Reverse: Peekaboo layers reveal surprise designs.
- Decorative: Add pizzazz with fancy stitches.
- Turned edge: Prepped to perfection with fusible web.
Materials Used in Applique
Crafting applique magic starts with choosing the right materials. You’re in the driver’s seat with options like cotton, reliable and stable, or adventurous felt for daring designs. A fusible web is your best friend, simplifying complex patterns. Keep these applique tools handy to make your project sit up and sing. Check this guide for more:
| Material | Use | Tips |
|---|---|---|
| 100% Cotton | Foundation for smooth applique | Pre-wash to avoid shrinkage |
| Felt | Adds depth and texture | Doesn’t fray |
| Fusible Web | Secures pieces before stitching | Choose appropriate weight |
Applications in Quilting and Clothing
When appliqué finds its way into quilting and clothing, magic happens. Everywhere you look, there’s a chance to elevate style with aplomb:
- Transform dull quilts with vibrant appliqué quilt patterns.
- Revamp plain clothing, brimming with appliqué design inspiration.
Applique fabric choices: endless, yet rewarding.
Great for beginners.
Simple appliqué techniques offer endless creativity.
Flex your art muscles today!
Essential Tools for Applique Techniques
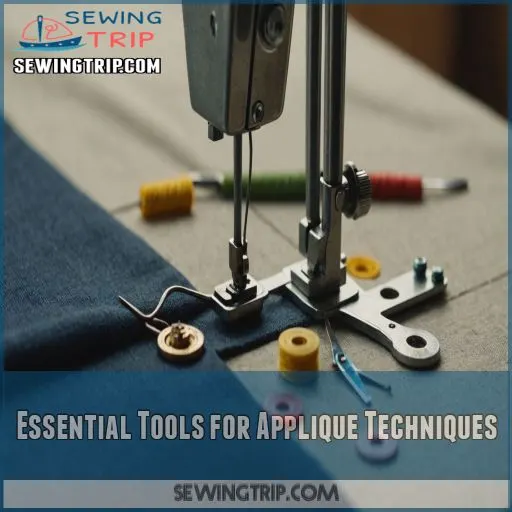
When you get started with applique, having the right tools is important.
Invest in a good pair of sharp applique scissors – they’ll make cutting those intricate shapes a breeze.
A rotary cutter and mat are also must-haves, allowing you to slice through fabric with precision.
And don’t forget the fusible web – this handy adhesive will help your applique pieces stick like a dream.
Of course, you’ll need a trusty sewing machine, and an embroidery hoop can be a game-changer for hand applique.
Apliquick tools, designed specifically for turned-edge techniques, are a real lifesaver too.
With these essentials in your crafting arsenal, you’ll be well on your way to mastering the art of applique.
Preparing Fabric for Applique Projects
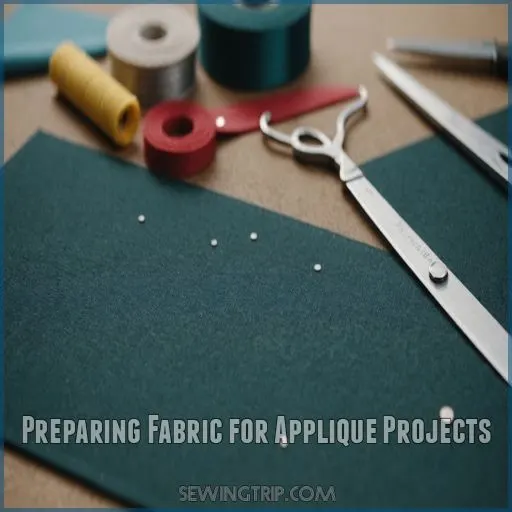
Ready to bring your applique projects to life?
Let’s make sure you start off on the right foot by selecting snazzy fabrics and cutting them into eye-catching shapes.
These shapes will stick like magic with fusible web—it’s like giving your fabric pieces an instant VIP pass to the project party!
Selecting Appropriate Fabrics
With the right tools in hand, it’s time to pick fabrics that sing in harmony. Consider fabric weight and fiber content for stability. Think color matching—because your masterpiece deserves it. Here’s how:
- Explore playful patterns and solid fabrics.
- Test fabric stability with gentle pulls.
- Check color bleed with a wash.
- Balance design vibrancy and texture.
Cutting and Shaping Applique Pieces
Cutting and shaping applique pieces is a dance of precision – snip, trim, and finesse those fabric forms until they’re ready to shine.
Trace templates with a light hand, then wield your scissors like a pro to carve out intricate shapes.
Tame fraying edges by cutting just beyond the lines, and get ready to piece together a fabric masterpiece.
Fusible Web Application
Using fusible web for fabric appliqué feels like wielding a magic wand for your projects.
Choose your fusible web type depending on your needs—light for dainty designs, heavy for robust shapes.
Stick it to your fabric’s wrong side, follow with a hot iron, and voila!
It’s foolproof, beginner-friendly, and ready for some decorative stitch appliqué.
Tracing and Transferring Designs
Stencil techniques and fabric marking tools are your best friends here.
Use a light box to see through those tricky layers, ensuring perfect pattern accuracy.
Heat transfer paper makes things easy-peasy—like magic!
Channel your creativity, and remember, tracing isn’t just child’s play; it’s the heart of creating sweet heart appliqué masterpieces.
Mastering Raw Edge Applique Techniques
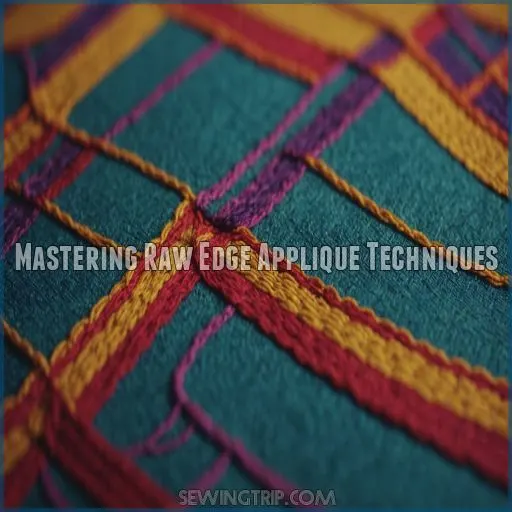
Explore your inner fabric artist with the power of raw edge applique!
From straight stitches to zigzags and beyond, these techniques will have your projects popping with personality in no time.
Straight Stitch Applique Method
Falling in love with the straight stitch applique method? It’s a breeze!
Begin by selecting a fabric that’s calling your name—quality matters.
Adjust your machine settings, choosing a medium stitch length for precision.
Look out for trouble! Shorter stitches protect your work, reducing puckering.
Explore DMC threads for different finishes, adding flair without the fuss.
Start stitching, and transform creativity into magic!
Zigzag Stitch Applique Technique
A zigzag stitch adds charm to your applique after mastering the straight stitch. Try zigzag stitch variations to fit your style, and choose the right thread for a polished look. It’s perfect for playful elements like a "Molly and Mama" Christmas cushion cover.
Experiment with stitch width
Match thread color creatively
Zigzag beginner-friendly
- Classic fabric match-ups
- Troubleshoot unexpected snags
Blanket Stitch Applique Approach
After mastering zigzag stitches, blanket stitch adds a charming touch to your applique adventure.
Picture the blanket stitch variations as friendly swirls hugging your fabric edges.
Think about your thread selection guide like choosing candy—endless and delightful, especially when you consider the different needle types and coatings!
Find the sweet spot with your applique stitch tension, and you’ll uncover endless applique design ideas that bring history to life.
Satin Stitch Applique Process
Satin stitch applique is a game-changer, my friend! This elegant technique adds a professional touch to your projects.
Experiment with different satin stitch variations to find your signature style.
Remember to choose the right needle, adjust thread tension, and select fabrics that play nicely.
Dial in the stitch density for a polished look that’ll wow onlookers. It’s time to bring out your inner fabric artist!
- Satin stitch variations
- Needle choice
- Thread tension
- Fabric types
- Stitch density
Turned Edge Applique Methods
Turning raw fabric edges can seem like magic, but with turned edge applique, you’ll master creating smooth, hidden edges that make projects shine.
Whether you’re using freezer paper, interfacing, or assembling complex shapes, these techniques will transform your fabric explosions into art that even Bob Ross would envy—happy little appliques everywhere!
Freezer Paper and Starch Technique
Ah, the wonders of freezer paper and starch! With hand applique, you can create pristine turned edges by ironing freezer paper types onto your fabric. Lack starch? No worries—use glue as a handy alternative.
For machine applique, make sure you keep everything secure as you stitch! These simple turned edge tips make your project shine with professional flair.
Leave-in Foundation Method
The Leave-in Foundation Method is a game-changer in applique, offering sleek edges with minimal fuss.
Think of it like a safety net for your fabric art.
Popular foundation fabrics like soft voile or muslin make the process a breeze.
This technique suits both hand and machine stitching, but watch the foundation thickness—too thick, and you’re wrestling, not sewing. Choosing the right needle size is key for smooth sailing!
Interfacing Technique for Edge Turning
Interfacing is a fabulous fix for turning those appliqué edges with ease! You’ve got options galore – fusible or sew-in, lightweight or heavy-duty. Grab your invisible thread and get ready to stitch up a storm. The key is finding the right interfacing weight to create crisp, defined edges that’ll make your design shine. Appliqué just got a whole lot smoother!
Choosing the right interfacing is key to achieving crisp, defined edges for your appliqué designs.
- Choose the right interfacing type: fusible or sew-in.
- Select the appropriate interfacing weight based on your fabric.
- Use invisible thread for a seamless finish that mimics hand stitching.
Pre-assembling Complex Shapes
Got interfacing sorted? Great! Let’s talk pre-assembling complex shapes in applique. It’s like organizing a sock drawer—saves time and sanity!
Pre-assembling complex shapes in applique is like organizing a sock drawer—it saves time and sanity!
Pre-assembly Tips Complex Shape Ideas Applique Design Workflow
Say goodbye to confusion and hello to masterpiece efficiency!
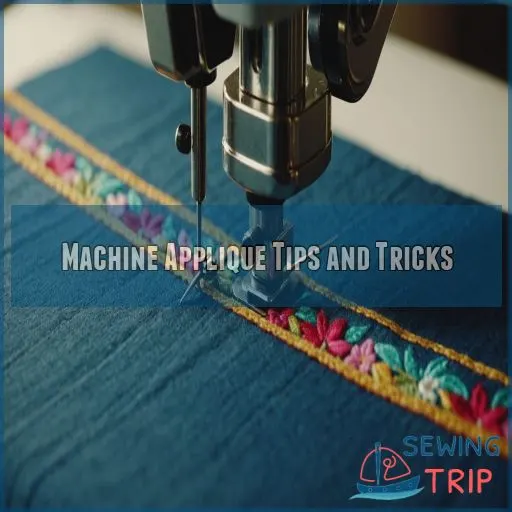
Machine Applique Tips and Tricks
When you’re tackling machine appliqué, picking the right needle and thread is like choosing the perfect toppings for your pizza—get it right, and everything’s smooth!
Tweak your stitch settings, employ stabilizers for added oomph, and troubleshoot those pesky hiccups like a pro, making your sewing adventure seamless and stress-free.
Choosing the Right Needle and Thread
When diving into machine appliqué, choosing the right needle and thread is akin to selecting the perfect dance partner for a waltz.
Machine appliqué requires careful consideration of the needle and thread, much like selecting a dance partner.
Imagine prancing with a slim needle that matches the delicate fabric type and a thread weight that’s neither too flashy nor too drab, striking the perfect balance of thread sheen, understanding thread weight recommendations.
It’s all about rhythm and harmony!
Adjusting Stitch Length and Width
Adjusting your stitch length and width is key for machine applique success. Shorter stitches work best for tight curves, while longer stitches handle straight edges with ease.
Tweak the width to accommodate fabric thickness – a narrow zigzag for delicate fabrics, wider for bulkier materials.
Experiment to find the perfect settings for your applique type and machine. It’s all about finding that sweet spot!
- Stitch Length Impact
- Width Variation for Fabric
- Applique Type Considerations
- Machine Settings Optimization
- Experimentation is the Key
Using Stabilizers for Better Results
Finding the right stabilizer is akin to choosing the ideal sidekick for your applique journey.
Types of stabilizers abound; here’s a quick rundown for you:
| Stabilizer Type | Usage Scenario | Removal |
|---|---|---|
| Tear-Away | Simple fabrics | Easy |
| Cut-Away | Stretchy materials | Permanent |
| Wash-Away | Temporary designs | Disappears |
Rely on stabilizer alternatives like embroidery hoops for lighter fabrics, especially when using techniques like in the hoop embroidery in the hoop embroidery techniques.
Troubleshooting Common Machine Applique Issues
Ever felt like your sewing machine has a mind of its own? Troubleshooting machine applique issues doesn’t have to drive you up the wall.
Machine applique troubleshooting can be tackled by addressing common problems. If stitches pucker, check thread tension and needle size.
Fabric shifting can be prevented by using stabilizers.
Becoming a maestro of machine applique requires patience and persistence. After all, practice makes perfect—unlock your freedom to create without fear!
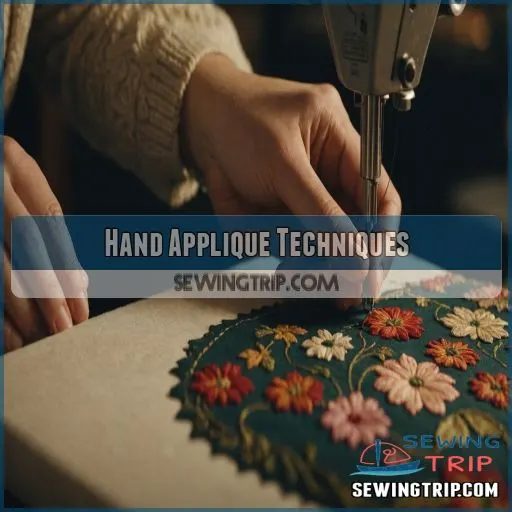
Hand Applique Techniques
Get ready to bring your fabric to life with the magic of hand applique techniques that add personality and charm to any project you tackle.
Whether you’re elegantly turning needles or whimsically embellishing with embroidery floss, these methods will have you stitching like a pro—with enough creativity to patch Picasso himself!
Needle-turn Applique Method
If you’re craving the timeless charm of hand applique, the needle-turn method is a must-try.
Needle-turn applique is a soothing journey that rewards patience and attention to detail.
Grab your sharpest needles and choose a high-quality thread that complements your fabric.
As you gently fold and stitch each edge, let the rhythmic motions transport you to a world of tranquil creativity.
Invisible Stitch Technique
Let’s sneak into the world of the invisible stitch. It’s perfect for hand applique where you want to hide your tracks.
Imagine hiding secrets in plain sight – stitch by stitch, your applique becomes a delightful mystery!
Grab your needle and:
- Choose a fine thread blending with your fabric.
- Pick a sharp needle for precision.
- Select tight-weave fabrics.
Blanket Stitch by Hand
Mastering the blanket stitch by hand is like finding that perfect playlist—it just feels right.
Ideal for hand-stitching techniques, this stitch neatly secures your edges.
Take control with stitch tension and choose your thread color wisely, as it dramatically impacts your design.
Embroidery Floss Embellishments
Embroidery floss embellishments can jazz up your appliqué projects with vibrant colors and playful textures! Why settle for plain when you have an embroidery floss rainbow at your fingertips?
Enjoy the creative freedom to explore:
- Floss colors bursting with life.
- Stitch variations for added flair.
- Texture effects that tantalize the senses.
- Thread count experimentation to find your style.
Add some pizzazz to your stitches!
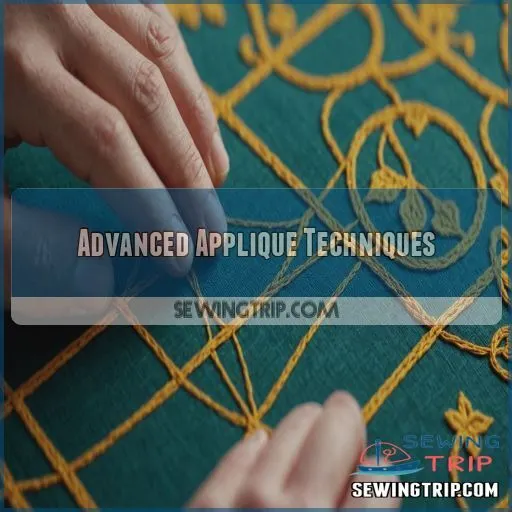
Advanced Applique Techniques
Ready to take your applique skills to the next level?
Get into advanced techniques like reverse applique, layered designs, and 3D effects – the possibilities are endless!
With a little creativity and practice, you’ll be crafting fabric masterpieces that will wow everyone.
Reverse Applique Method
You’ve mastered hand applique, so get ready for some fabric magic with reverse applique.
Imagine this: cutting out designs to reveal layered fabric underneath, using background fabric like a magician pulling rabbits from hats.
This creates mesmerizing negative space designs.
Trust your creativity, and let the scissors work their charm as you play with enticing textures and stunning cutouts!
Layered Applique Designs
Layered applique designs offer a delightful fabric sandwich. Imagine piling your favorite ingredients on a burger, yet you’re layering fabric types.
Stack shapes to create textured, multidimensional art. Layered applique projects, like quilting a sunset, provide depth.
You’ll find endless inspiration fusing layers, with ideas bursting from nature’s palette to worlds of fantasy!
3D Applique Effects
Transform your fabric into a 3D wonderland by using techniques like creating puffy appliques or 3D fabric flowers.
Layered applique adds rich dimensional details, making designs pop.
Play with texture to give your pieces life, as if your imagination leapt off the page.
Embrace this journey, and you’ll make fabric art that’s as dynamic as your creative spirit!
Combining Applique With Embroidery
Combining applique with embroidery elevates your fabric artistry to new heights! Imagine intricate embroidered applique designs that dance across your project, each stitch detail adding depth and dimension. When done right, the placement, fabric choice, and color palette create a harmonious masterpiece. Get ready to wow with this dynamic duo of textile techniques!
Careful planning is key to successful embroidered applique.
Consider motif placement and stitch variety.
Fabric selection is crucial.
Choose fabrics that complement each other in both texture and hue.
Experiment with color palettes to achieve a cohesive, visually striking result.
- Carefully plan your embroidered applique design, considering motif placement and stitch variety.
- Select fabrics that complement each other in both texture and hue.
- Experiment with color palettes to achieve a cohesive, visually striking result.
Finishing and Caring for Applique Projects
So, you’ve mastered your applique masterpiece, but how do you keep it looking fabulous for the long haul?
Let’s explore the art of pressing, quilting, washing, and displaying to make sure your handiwork stays dainty and delightful, all without summoning the dreaded fabric gremlins!
Pressing and Blocking Completed Applique
Pressing and blocking are like the spa day your appliqué deserves.
After all that labor, give your fabric a steam treatment with an iron.
Gently shape each piece to perfection, ensuring seams lay flat and smooth.
Think of it as pampering your project for a polished finish.
Your hard work deserves to strut its stuff wrinkle-free!
Quilting Around Applique Designs
Once you’ve blocked your appliqué masterpiece, it’s time to quilt around it!
Choose your quilting density carefully—too dense, and it might overpower your design like a thunderstorm in a teacup; too sparse, and it could feel a bit lost.
Thoughtful stitch placement and thread choice can highlight your appliqué.
Washing and Maintaining Appliqued Items
You’ll want to treat your appliquéd masterpieces with extra care to keep them looking their best for years to come.
When washing, opt for a gentle detergent and avoid fabric softener, which can break down the delicate stitches.
Ironing appliqués on the wrong side using a low heat setting, and blotting any stubborn stains with a clean cloth will also help preserve your work.
- Use a gentle, bleach-free detergent
- Avoid fabric softener to preserve stitches
- Iron appliqués on the wrong side with low heat
Displaying and Storing Applique Works
Your appliqued masterpiece needs a cozy home! Instead of stuffing it in a drawer, consider displaying it. Applique frames or shadow boxes turn your creations into art. Storage boxes safeguard them from dust. Wall hangings and gallery displays can stir admiration from guests. Let your pieces shine—after all, they’re little stitched dreams, not just fabric!
| Applique Home | Purpose | Mood |
|---|---|---|
| Frames | Artful Display | Proud and Joyful |
| Shadow Boxes | Protection | Nostalgic and Warm |
| Gallery Wall | Visual Impact | Awe and Inspiration |
| Storage Boxes | Safe Keeping | Calm and Secure |
Frequently Asked Questions (FAQs)
What is the easiest applique method?
Ever tried taming a wild beast? That’s straight stitch applique for you! It’s the simplest creature to handle.
Just stitch around your fabric’s edge.
Easy-peasy, lemon squeezy—and satisfying for the control freak within!
How to applique step by step?
Get started with appliqué!
Select your design, trace it onto fusible web, and fuse to the fabric.
Secure with a hot iron and stitch around the edges.
Practice makes perfect, so start with simple designs.
What are the different types of applique techniques?
You’ve got appliqué options galore! Explore needle-turn for polished edges, raw edge for casual flair, reverse for depth, or machine for speed.
Experiment with decorations like beads and sequins to create unique, eye-catching designs.
What is the best stitch for applique?
Imagine transforming a simple tote bag into a showstopper with a vibrant floral applique.
The zigzag stitch is a game-changer, securing those edges while adding a delightful touch of whimsy.
Trust me, it’s a sewing superpower you’ll want in your arsenal.
Can I use a decorative stitch for appliqué?
Decorative stitches can add flair to your appliqué, giving it character and charm.
Whether you fancy a playful zigzag or an artistic scroll, stitching can transform your project from plain Jane to a masterpiece.
How do I choose the right needle and thread for appliqué?
When picking needle and thread for appliqué, think of them as Batman and Robin: unbeatable together.
For lightweight projects, a 70/10 needle with a 50-weight cotton or polyester thread works wonders, offering smooth, precise stitching.
Can I use fabric glue instead of fusible web?
You can certainly swap out fusible web for fabric glue!
It’s like using glue in art class—just make sure to apply it smoothly.
How do I secure appliqué pieces before stitching?
Securing your appliqué pieces is like taming a wild stallion – with a gentle touch and strategic placement, you’ll have them under control before you can say "needle and thread."
Anchoring those fabric shapes with a few well-placed pins or clips, and you’re ready to stitch up a storm.
What are some common mistakes to avoid in appliqué quilting?
Appliqué quilting woes? Don’t skimp on prep!
Avoid selecting poor fabric quality and rushing placement.
Ignoring proper stitches leads to frayed edges.
Remember, hasty hands don’t craft flawless appliqués—precision and patience are your trusted allies.
Conclusion
Imagine this: you’ve journeyed from clueless beginner to applique virtuoso, stitching your creativity into vibrant, unique designs.
With tutorials on applique techniques, you now command colors and textures with ease, like a maestro with their symphony.
Each project tells a tale, each stitch a note in your fabric masterpiece.
So, embrace applique’s fabric artistry today, armed with your new skills and enthusiasm.
Sew on, adventurer!

