This site is supported by our readers. We may earn a commission, at no cost to you, if you purchase through links.
Measure and cut elastic to fit your child’s waist. Cut tulle strips to double your desired skirt length. Using a slip knot technique, attach each strip to the waistband, ensuring an even spread.
For added flair, adorn with ribbons or flowers. Tighten those knots to keep everything secure and gather them closely for maximum fluffiness. Using tulle on 6-inch rolls simplifies the process.
Stick around to learn more tricks for a fuller, dazzling tutu!
Table Of Contents
Key Takeaways
- Ready to make a tutu that’ll make your little one twirl with joy? Let’s dive into the magical world of tulle and creativity!
- With just a few supplies like tulle, elastic, and scissors, you can create a masterpiece that will make your child feel like a princess. It’s like giving them a superpower to spread happiness wherever they go!
- Don’t be afraid to experiment with different colors and textures of tulle to create a tutu that’s as unique as your child. Let your imagination soar and embrace the inner fashionista within you!
- Whether it’s for a Halloween costume or just for everyday dress-up, a tutu is a timeless piece that will bring endless smiles and twirls. It’s like a magic wand that transforms ordinary moments into extraordinary adventures!
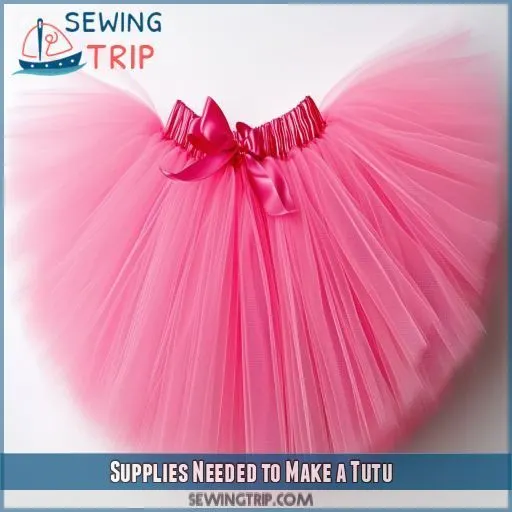
Supplies Needed to Make a Tutu
To create a stunning tutu, you’ll need specific supplies that guarantee quality and durability.
First, gather 3-4 rolls of tulle or glitter tulle for added sparkle. You can find various tulle colors to match your theme or occasion.
You’ll also need elastic for the waistband; make sure its tension is snug but comfortable for the wearer.
Scissors are essential for cutting your tulle into strips. Consider using the back of a chair or a piece of cardboard to maintain consistency in the strip length.
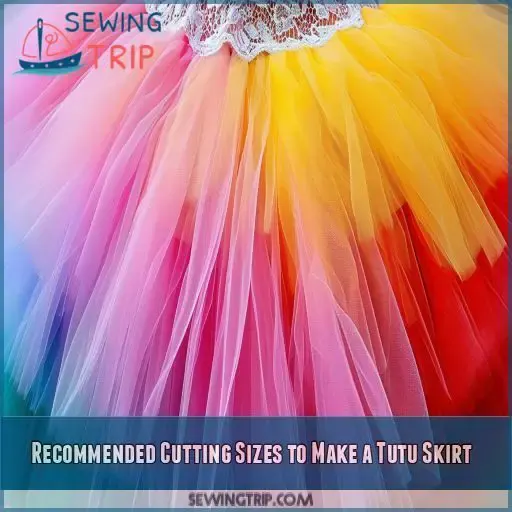
Recommended Cutting Sizes to Make a Tutu Skirt
When cutting tulle for a tutu, measure the length based on the child’s age and desired skirt length. Make sure each tulle strip is double the desired finished length to allow for effective knotting and fullness.
Child’s Age – Recommended Length of Finished Tutu
To guarantee your DIY tutu fits perfectly, consider the child’s age when determining the finishing length:
- Newborn to 1 year: 8-10 inches.
- 1-2 years: 10-12 inches.
- 3-5 years: 12-14 inches.
- 6-8 years: 14-16 inches.
These measurements provide a fluffy and appropriate tutu style that suits different age ranges (Source).
Recommended Length of the Tulle Strips
For the perfect tutu, cut tulle into 7-inch strips, with lengths doubled based on the desired skirt length. Here’s a quick guide:
- Age 1-2: 32-inch strips
- Age 3-5: 36-inch strips
- Age 6-8: 40-inch strips
It’s easy and fun to create, whether for a cute Halloween costume or everyday dress-up!
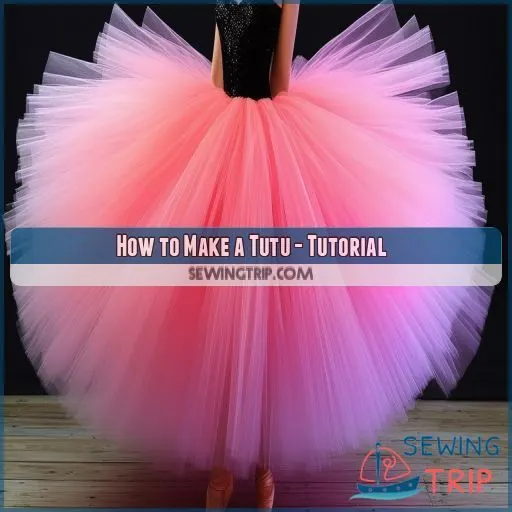
How to Make a Tutu – Tutorial
To start your tutu, first create a waistband by measuring and cutting the elastic to your child’s waist size plus an overlap for sewing or tying. Next, cut tulle into strips double the desired skirt length, then Fold each strip and tie them onto the waistband using a Slip knot technique until the waistband is fully covered .
Part 1 – Create a Waistband for the Tutu Skirt
To create the waistband for your tutu, begin by cutting the elastic to your child’s waist measurement minus four inches. Secure the ends by sewing or tying them together to form a loop. This will serve as the base for attaching the tulle.
- String Length: Double the desired skirt length
- Comfort: Avoid overly tight elastic
- Finish: Optional embellishments
- Ease: Perfect for no-sew projects
Part 2 – Cut Tulle
For your tutu, cut tulle based on the child’s age. Follow this guide:
- Newborn to 1 year: 14-inch strips
- 3-5 years: 18-inch strips
- 9-12 years: 22-inch strips
Ensure you cut double the desired length for a full tulle skirt. To make holiday tutus or a princess tutu, consider vibrant tulle colors and textures .
Part 3 – Tie Tulle on the Tutu Waistband
Fold a tulle strip in half, creating a loop. Slide the loop under the elastic and pull the ends through, securing it with a tight knot. Repeat this for all strips, ensuring even distribution along the waistband.
- Alternate tulle colors for interesting themes
- Consider lace alternatives and satin ribbons for added effect
- Experiment with themed variations like a villain tutu
- Add embellishment ideas like sequins or flowers
Where to Start Tying Tulle Onto the Waistband?
To start tying tulle onto the waistband, follow these steps:
- Begin at the back center of the waistband for a seamless look.
- Use a slip knot to secure each piece of tulle.
- Maintain even knot spacing by pushing knots together as you proceed.
- Overlap tulle slightly to achieve even distribution and fullness.
Make sure knots are secure and evenly spaced for a neat finish.
Option: Do You Want a Tutu With Glitter Sequins?
Want to jazz up your tutu? Consider adding sparkling sequins!
- Personalized tutus: Use glitter tulle to create unique, dazzling designs for any occasion.
- Holiday-themed tutus: Alternate solid and glitter tulle for festive flair, ideal for running marathons or visiting Disney.
- Layered tutus for adults: Experiment with different materials and add a ribbon instead of elastic for a sophisticated touch.
[tutorialsmake a tutu, holiday, themed tutus, running marathons, visiting disney, personalized tutus, ribbon instead of elastic, layered tutus for adults, experimentation with tulle materials, photo prop, child’s tutu].
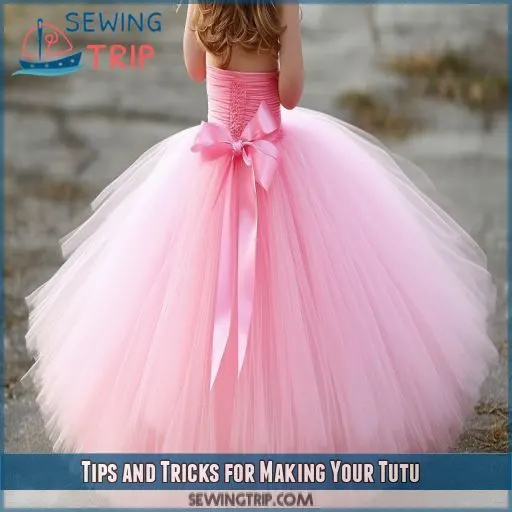
Tips and Tricks for Making Your Tutu
Now that you’ve mastered the basics, let’s delve into some tips and tricks to perfect your tutu-making process.
- Embellishing tutus: Add ribbons, flowers, or sequins for extra flair. These can be sewn or glued onto the tulle.
- Tulle alternatives: Experiment with different materials like lace or organza for a unique look.
- Experimenting with patterns: Alternate between various colors and textures of tulle to create a vibrant, layered effect. Don’t be afraid to mix in glitter tulle for some sparkle.
- Knotting techniques: Tighten each knot securely to prevent slipping. For a fuller tutu, push the knots tight together.
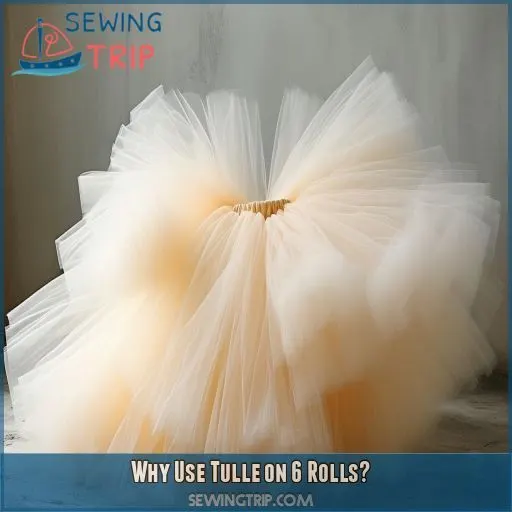
Why Use Tulle on 6 Rolls?
Using six rolls of tulle guarantees your tutu is consistently beautiful and easy to manage. Primarily, rolls provide a uniform width, making them ideal for achieving a professional finish. Consequently, they’re convenient for tulle storage and transportation, helping maintain the material’s quality and consistency. Finally, using rolls simplifies cutting tulle to your desired length, ensuring all strips are even.
- Consistent Width: Rolls provide a uniform 6-inch width, perfect for seamless knotting around the waistband.
- Easy Storage & Transport: Rolls are easy to store and transport, preventing wrinkles and maintaining tulle integrity.
- Efficient Cutting: Cutting tulle from rolls ensures all pieces are of identical length, simplifying the tutu-making process. .
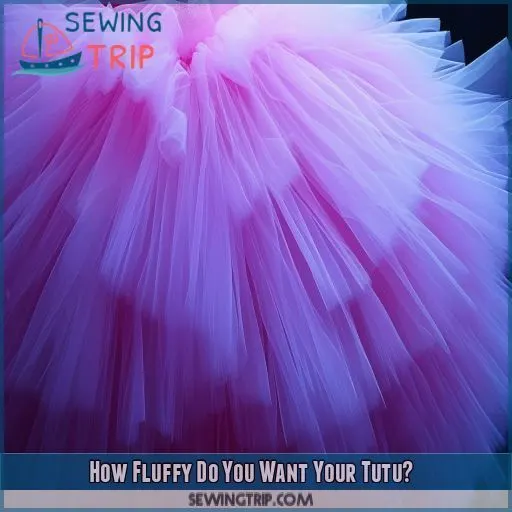
How Fluffy Do You Want Your Tutu?
Deciding how fluffy you want your tutu depends on several factors, including fabric choices, age appropriateness, and desired volume. Here are some tips to achieve the perfect puff:
- More Tulle for Fullness: Use more rolls of tulle for a fluffier skirt. For example, a tutu for a 3-5 year old typically requires 5-6 rolls, but adding extra rolls can increase the volume .
- Layering: Experiment with layered tutus. Adding a second layer of tulle, about 8-10 inches shorter than the first, creates depth and texture variations .
- Color Combinations: Alternate between different colors for a vibrant look. This adds visual interest and richness to the design .
- Embellishment Options: Incorporate glitter tulle or other embellishments like ribbons and sequins for an extra sparkle .
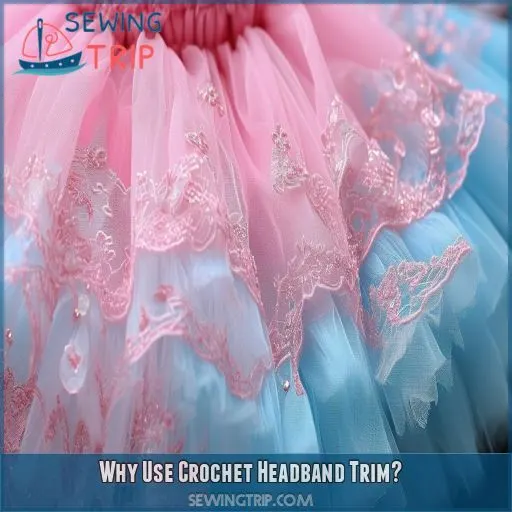
Why Use Crochet Headband Trim?
Using a crochet headband trim for your tutu offers several benefits. First, it adds durability, ensuring the tutu withstands active use and play. Second, the trim comfortably expands, which makes it fit snugly without irritation. Third, headband trims offer versatile embellishment styles for a personalized touch.
Consider these advantages:
- Matching Colors: Easily find trims that align with your color scheme, enhancing the overall look.
- Alternatives: Headband trims can be swapped with ribbons or elastics to suit different styles or preferences.
- Embellishments: Attaching flowers, buttons, or bows to these trims is a breeze, allowing for creative, decorative flourishes that make each tutu unique.
Opting for headband trims simplifies your tutu-making process, marrying comfort with flair.
Frequently Asked Questions (FAQs)
How to make a homemade tutu?
Did you know a homemade tutu can be created in under an hour? Simply cut tulle to double your desired length, fold it, slip-knot over elastic, and repeat until the band is full and fluffy. .
How many pieces of tulle do I need for a tutu?
You need to cut about 22-inch strips of tulle, doubling the desired skirt length. For short tutus, use 3-4 rolls, while long tutus require 7-8 rolls, with age-specific lengths added to the elastic size .
How do you cut fabric for a tutu?
Start by cutting the tulle into strips double your desired skirt length. Use 6-inch rolls for short tutus and age-specific lengths for long tutus, adding one inch for each additional year .
How to make a ribbon tutu without sewing?
Cut tulle into strips, fold each strip in half, and loop the folded end over a ribbon. Pull the loose ends through the loop, tighten, and repeat until the ribbon is full .
How do I measure elastic for waist?
Did you know 80% of successful tutus start with precise measurements? Measure the child’s waist, subtract 4 inches, and cut the elastic to that length for a snug yet comfortable fit .
Can tutus be machine washed safely?
You can machine wash tutus on a gentle cycle, using cold water and a mesh laundry bag to protect the fabric. Avoid high spin settings and air dry to maintain the tulle’s shape and integrity.
Is tulle material hypoallergenic and safe for kids?
When Mia made her daughter a tutu, she wanted it to be hypoallergenic. Tulle fabric, generally made from nylon or polyester, isn’t hypoallergenic but is rarely irritating for most kids. Always monitor for any reactions.
How do I prevent tulle from fraying?
To prevent tulle from fraying, you can use a lighter to carefully seal the edges, avoiding direct contact to prevent burning. Alternatively, you can hem the edges with a sewing machine for a neater finish.
Can I add lights to a tutu for sparkle?
You can add lights to a tutu by carefully threading battery-powered fairy lights through the tulle. Secure the battery pack to the waistband for easy access. This adds a magical sparkle to your tutu.
Conclusion
To wrap it up, did you know the average tutu uses nearly 25 yards of tulle? Now you’ve learned to measure, cut, and tie tulle with a slip knot technique to create an enchanting tutu.

