This site is supported by our readers. We may earn a commission, at no cost to you, if you purchase through links.
 Sewing pockets like an expert is within your reach! In this tutorial, you’ll master 10 essential steps to achieve perfect results every time.
From preparing patterns to reinforcing openings, you’ll learn the ins and outs of creating functional, stylish pockets. Whether you’re adding them to a homemade garment or upgrading store-bought items, these techniques will elevate your sewing skills.
Join us as we explore the realm of pocket-making, empowering you to craft clothing that’s both fashionable and practical. Let’s embark on your journey to pocket perfection!
Table Of Contents
- Key Takeaways
- Prepare Your Pattern & Garment
- Cut Out Pocket Pieces
- Mark Pocket Placement on Garment
- Attach Interfacing for Patch Pocket
- Sewing Inseam Pockets
- Sewing Patch Pockets
- Finish Edges of Pocket Pieces
- Topstitching and Backstitching Pocket Seams
- Reinforce Pocket Openings
- Final Pressing and Finishing Touches
- Frequently Asked Questions (FAQs)
- Conclusion
Key Takeaways
- Pocket perfection isn’t just a pipe dream – with the right prep and pattern, you’ll be sewing like a pro in no time. Remember, measure twice, cut once, and your pockets will fit like a glove!
- From patch to inseam, every pocket tells a story. Choose your fabric wisely, and you’ll create pockets that not only look fab but can take a licking and keep on ticking.
- Reinforcement is the name of the game when it comes to pocket durability. Think of it as giving your pockets a superhero suit – they’ll be ready to tackle whatever life throws at them!
- The devil’s in the details, folks! Those final pressing and finishing touches are like the cherry on top of your pocket sundae. A little extra TLC here, and your pockets will be the talk of the town.
Prepare Your Pattern & Garment
Before you embark on sewing pockets, it’s imperative to prepare for a successful outcome. Begin by selecting an appropriate template that complements your desired pocket design. Whether you opt for inseam or patch pockets, ensure that your pattern aligns with your garment’s aesthetics.
Next, consider fabric compatibility. The material you select for your pockets should harmonize with your main fabric in both weight and texture. Remember to factor in seam allowances when planning your layout!
Now, let’s address pocket placement. This aspect can significantly impact your garment’s functionality and appearance. Utilize tailor’s chalk to delineate potential locations, taking into account both aesthetic and practical considerations. Bear in mind that pockets should be positioned naturally, where your hands would instinctively rest.
Cut Out Pocket Pieces
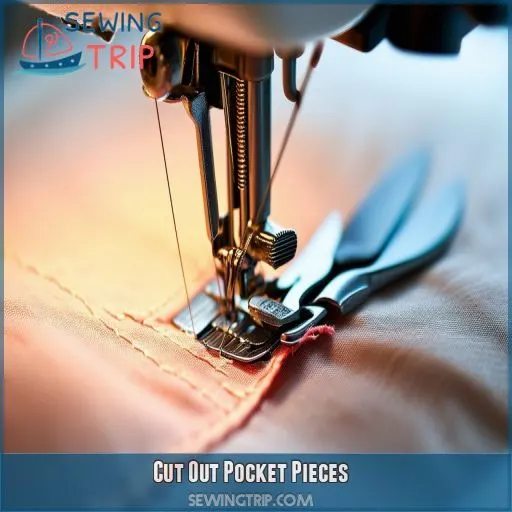
Now that you’ve prepared your pattern and garment, it’s time to cut out your pocket pieces. This step is essential for achieving well-fitted, functional pockets. You’ll want to choose fabric that complements your garment while considering durability and comfort. Here’s a quick guide to cutting out your pocket pieces:
- Trace your pocket pattern onto the chosen fabric, ensuring proper alignment with the grain.
- Add seam allowances if not included in the pattern, typically 5/8" for most garments.
- Cut carefully along the marked lines, using sharp scissors for clean edges.
- For patch pockets, consider adding interfacing for extra structure.
Mark Pocket Placement on Garment
Now that you’ve cut out your pocket pieces, it’s time to mark their placement on your garment. This step is vital for achieving professional-looking results. Grab your pattern and a piece of tailor’s chalk – it’s your best friend for accurate markings.
Lay your garment flat, right side up. Carefully transfer the pocket placement markings from your pattern onto the fabric. Pay close attention to pattern accuracy; even a small deviation can throw off your entire project.
For inseam pockets, mark along the side seam where the pocket opening will be. If you’re adding patch pockets, outline their shape on the garment. Remember to account for seam allowances when marking.
Don’t rush this step – precision now will save you headaches later. Once you’re confident in your markings, give the garment a quick press to set the chalk. You’re now ready to move on to the next exciting phase of your pocket-sewing adventure!
Attach Interfacing for Patch Pocket
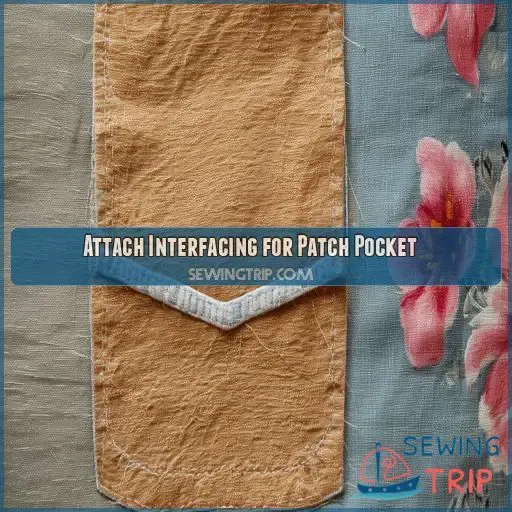
Now that you’ve marked your pocket placement, it’s time to add some hidden strength to your patch pocket. Interfacing is your secret weapon for creating sturdy, long-lasting pockets that won’t sag or stretch out of shape. Choose an interfacing that’s compatible with your fabric – lightweight for delicate materials, medium for sturdy cottons. Cut a piece slightly smaller than your pocket shape, leaving the seam allowance free.
Place the interfacing on the wrong side of your garment, directly behind where you’ll attach the pocket. Use a press cloth and iron it in place, following the manufacturer’s instructions. This step might seem small, but it’s essential for pocket longevity. The interfacing provides a stable foundation, preventing the pocket from pulling at the garment over time.
Sewing Inseam Pockets
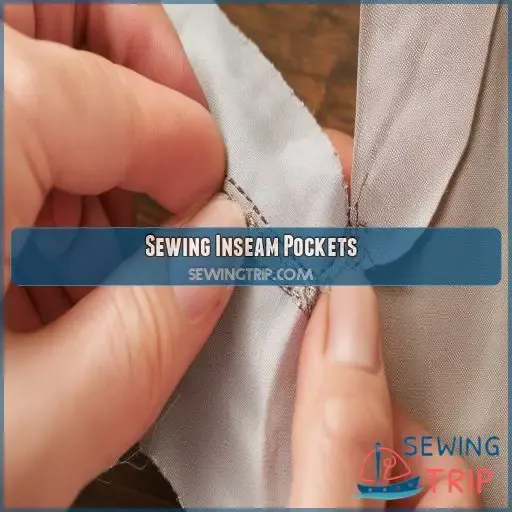
Now that you’ve attached the interfacing for your patch pocket, let’s tackle inseam pockets. These hidden gems are a staple in many garments, offering both functionality and a clean look. Start by marking your pocket placement on the front piece using tailors chalk. Precision is key here, so take your time.
Next, pin your pocket pieces to the garment, right sides together. Align the straight edges carefully with the side seam. When sewing, use a 5/8" seam allowance for a secure attachment. Don’t forget to finish the edges of your pocket pieces before attaching them – this prevents fraying and adds durability.
After stitching, press the pockets open and topstitch the seam toward the pocket. This reinforces the pocket and keeps it in place. Remember to choose fabrics that complement your garment while being sturdy enough for frequent use. With these steps, you’ll create inseam pockets that are both stylish and long-lasting.
Sewing Patch Pockets
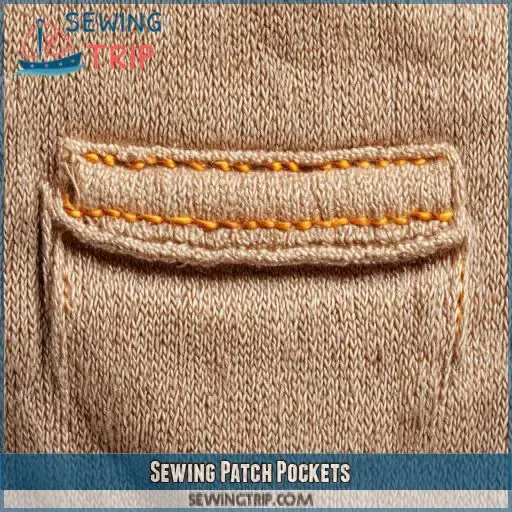
Now that you’ve mastered inseam pockets, let’s tackle patch pockets. These versatile additions can elevate your garment’s style and functionality. Start by drawing your pocket shape on fabric, including seam allowance. Use tailors chalk for precision in pocket placement. Cut out the pocket and fold the top edge down twice, creating a neat finish. Stitch this top seam for a polished look.
Next, shape your pocket by folding in the remaining edges and pressing. For a professional touch, consider fabric matching to blend seamlessly with your garment. Pin the pocket in place, ensuring it’s straight and aligned.
Time for the edge stitch! Sew around the pocket, leaving the top open. Reinforce the top corners with backstitching for durability. For dress pockets, pay extra attention to seam reinforcement. Finally, give your patch pocket a good press to crisp up those edges. You’ve just added a stylish, functional element to your creation!
Finish Edges of Pocket Pieces
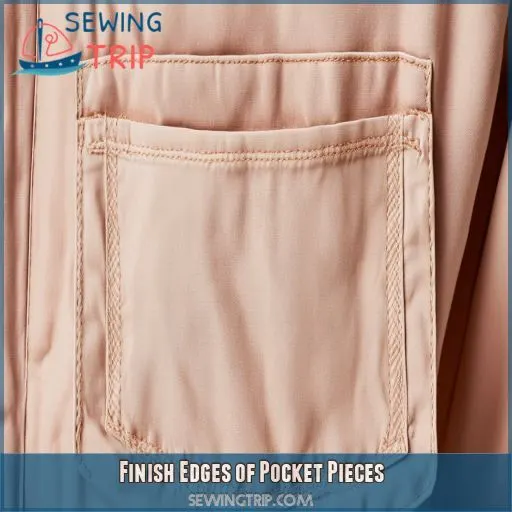
Now that you’ve cut your pocket pieces, it’s time to finish those edges. This critical step prevents fraying and gives your pockets a professional look. Grab your serger or pinking shears and get ready to transform those raw edges into something sleek and durable.
Start by pressing your seams flat – it’s a small step that makes a big difference. Using scraps? Perfect! They’re ideal for pocket lining. Marking carefully with tailor’s chalk guarantees precise pocket placement. Remember, a smaller seam allowance works best when stitching pockets.
For a polished finish, consider these options:
- Zig-zag stitch: Quick and effective for most fabrics
- Serging: Creates a clean, professional edge
- French seams: Ideal for delicate or sheer fabrics
Whether you’re adding skirt pockets or sprucing up a jacket, secure finishing is key. Pay extra attention to high-stress areas like pocket openings. With these techniques, your pockets will be as sturdy as they’re stylish!
Topstitching and Backstitching Pocket Seams
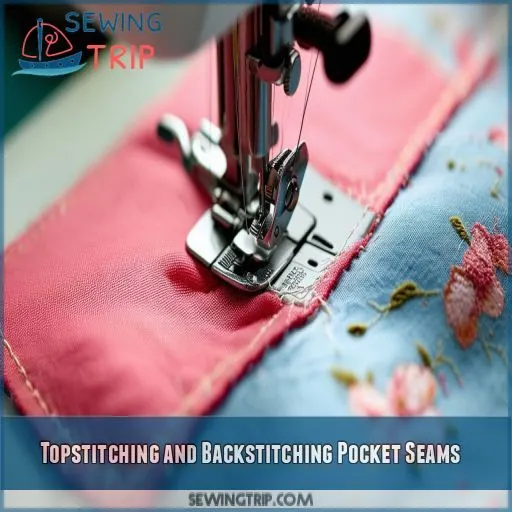
Now that you’ve finished the edges of your pocket pieces, it’s time to focus on topstitching and backstitching. These techniques will give your pockets a professional appearance and guarantee durability. Start by selecting the right thread color to complement or contrast with your fabric. Set your machine to a medium stitch length for topstitching, typically around 3mm. Using tailor’s chalk, mark your seam allowance as a guide.
Begin topstitching 1/8 inch from the pocket edge, keeping your lines straight and even. When you reach corners, pivot carefully for crisp angles. For added strength, backstitch at the beginning and end of each seam. Pay special attention to high-stress areas like pocket openings.
Remember to adjust your iron’s heat setting to suit your fabric. Press as you go, creating sharp edges and flat seams. This attention to detail will elevate your pocket game, giving you that polished, crafted look you’re after.
Reinforce Pocket Openings
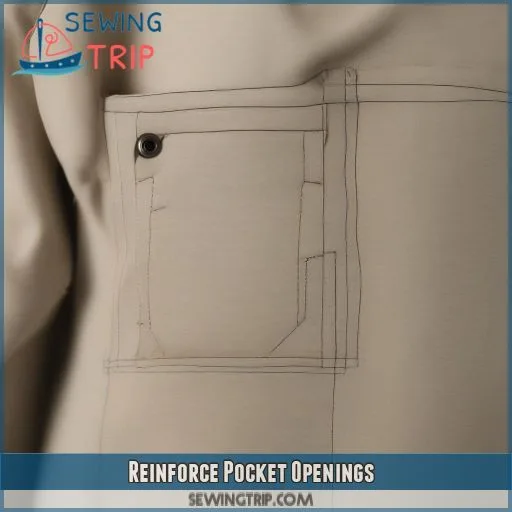
Now that you’ve sewn your pockets, it’s time to strengthen those openings. This essential step guarantees your pockets can endure everyday use. Start by identifying the stress points – typically the top corners of your pocket placement. You’ll want to focus your reinforcement efforts here.
Here’s how to fortify your pocket openings:
- Use a shorter stitch length for added strength
- Back stitch at least 1/4 inch at each corner
- Apply interfacing to the wrong side of the fabric behind the pocket
- Increase seam allowance slightly at stress points
- Consider bar tacks for heavy-duty reinforcement
Final Pressing and Finishing Touches
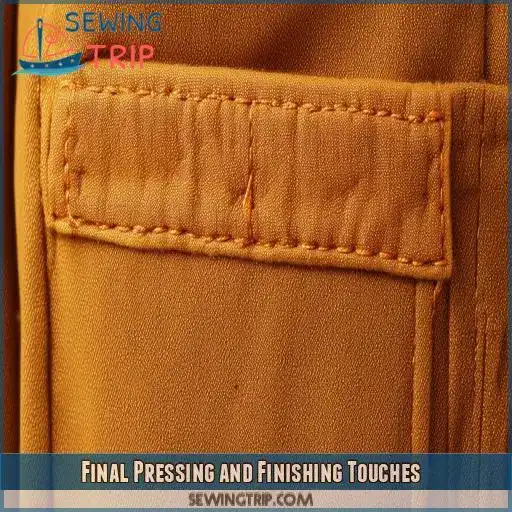
Now that you’ve reinforced your pocket openings, it’s time for the finishing touches. Give your pockets a final press, making sure all seams lie flat. For a professional look, consider topstitching around the pocket edges. This adds visual appeal and also strengthens the pocket. When pressing, use a pressing cloth to protect delicate fabrics and avoid shine marks.
Don’t forget to finish any raw edges inside the pocket. A serger or zigzag stitch works wonders here, preventing fraying and extending the life of your garment. For concealed raw edges, fold them under and stitch close to the fold.
Reinforce pocket seams one last time by stitching along the existing seam lines. This extra step ensures your pockets can handle daily wear and tear.
Frequently Asked Questions (FAQs)
How do I choose the right fabric for pocket linings?
Choose pocket lining fabric that’s durable yet comfortable. Consider the garment’s use and weight. Opt for breathable cotton for everyday wear, silk for luxury items, or sturdy polyester for heavy-duty pockets. Match or complement the main fabric’s color and texture.
Can I add pockets to a garment without a pattern?
You can add pockets without a pattern, and you’ll love the freedom it brings. Measure, mark, and pin your desired pocket placement. Cut fabric, fold edges, and sew carefully. It’s empowering to customize your garments creatively.
What are alternatives to traditional pockets for lightweight fabrics?
You’ve got options! Try hidden zipper pockets, patch pockets with lightweight interfacing, or fabric-matched slip pockets. For delicate fabrics, consider internal elasticated pouches or detachable pockets secured with snaps. Each alternative preserves your garment’s drape while adding functionality.
How do I modify pocket size for different body shapes?
Did you know 68% of women are dissatisfied with their pockets? To modify pocket size, consider your body’s curves. Measure hip width and adjust pocket width proportionally. For fuller figures, increase depth slightly. You’ll achieve a more flattering, functional fit.
When should I use decorative stitching on pocket edges?
You’ll want to use decorative stitching on pocket edges when you’re aiming for a bold, stylish look. It’s perfect for casual wear, children’s clothing, or when you’re feeling creative. Just make sure it complements your garment’s overall design.
Conclusion
Like a skilled craftsman adding the final flourish to a masterpiece, you’ve now mastered the art of sewing pockets. By following these 10 essential steps, you’ll create functional, stylish pockets that elevate your garments.
From pattern preparation to reinforcing openings, you’ve learned techniques that’ll serve you well in future projects. Remember, practice makes perfect.
As you apply these techniques for sewing pockets, you’ll develop a keen eye for detail and precision. Your newfound skills will transform ordinary clothing into personalized, practical pieces you’ll love to wear.

