This site is supported by our readers. We may earn a commission, at no cost to you, if you purchase through links.
 You’re about to master the slip stitch, crochet’s ultimate seamstress! This versatile stitch creates invisible joins, seams pieces flawlessly, and adds decorative flair.
Simply insert your hook, yarn over, and pull through for a smooth, polished finish.
Slip stitches secure closures, edge neatly, and traverse rows with ease.
From baby booties to beanies, granny squares to surface embroidery, it’s an essential ally.
With a bit of tension mastery, you’ll whip up professional-looking pieces like a pro.
So grab that hook – your slip stitch journey to flawless finishing awaits!
Table Of Contents
- Key Takeaways
- What is a Slip Stitch in Crochet?
- How to Crochet a Slip Stitch
- Uses of the Slip Stitch in Crochet
- Patterns That Use the Slip Stitch
- Tips for Working Slip Stitches
- Hand Sewing a Slip Stitch
- Slip Stitching in Knitting
- Benefits of the Slip Stitch
- Slip Stitch Edging Techniques
- Troubleshooting Slip Stitches
- Frequently Asked Questions (FAQs)
- Conclusion
Key Takeaways
- The slip stitch is a fundamental crochet technique used for joining rounds, seaming pieces, creating edging, and traveling across rows without adding height.
- Mastering the slip stitch opens up a world of possibilities, allowing you to construct everything from basic shapes to intricate patterns with a professional finish.
- Slip stitches can be used for decorative surface embellishments that resemble embroidery, adding unique visual interest to crochet projects.
- Maintaining proper tension is crucial when working slip stitches to achieve a neat, even, and flexible finish.
What is a Slip Stitch in Crochet?
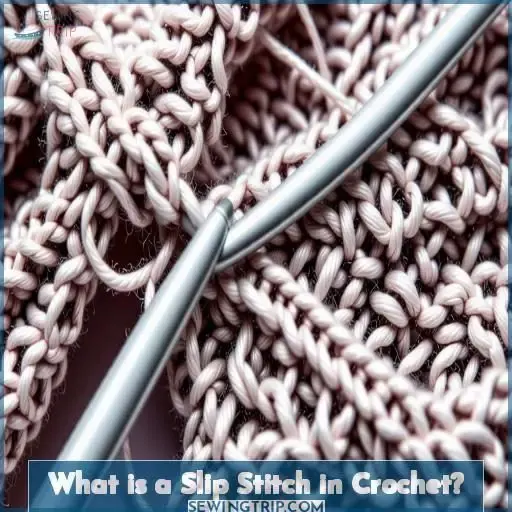
The slip stitch is a fundamental crochet technique that’s a must-learn for any crocheter.
This compact stitch is the shortest of all the basic crochet stitches, making it perfect for joining rounds, seaming pieces, and creating edging.
While not often used alone to build fabric, the slip stitch is an essential tool for adding structure and clean finishes to your crochet projects.
Mastering the slip stitch will open up a world of possibilities, from classic crochet booties to decorative surface stitching.
Get ready to elevate your crochet skills with this versatile stitch!
How to Crochet a Slip Stitch
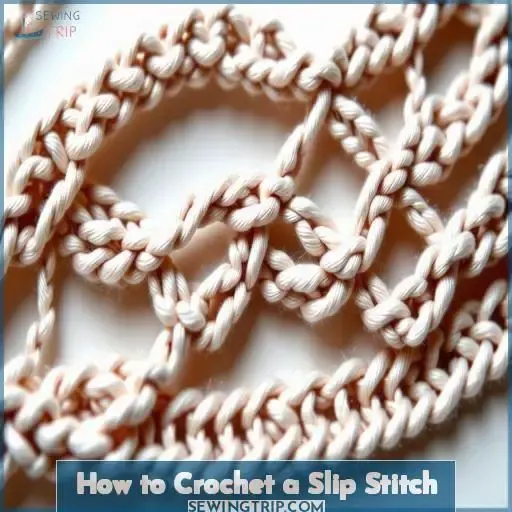
To crochet a slip stitch, insert your hook into the next stitch, then yarn over and pull the yarn through both that stitch and the loop already on your hook. With this simple technique, you’ll connect stitches and rounds seamlessly, creating a smooth, clean finish to your crochet projects.
Insert Hook Into Next Stitch
To crochet a slip stitch, insert your hook into the next stitch, yarn over, and pull the yarn through both the stitch and the loop on your hook. Maintain consistent tension and keep your hook placement precise for a neat, even fabric. Mastering this essential technique is key to seamless slip stitch crochet.
Yarn Over and Pull Through
Next, yarn over by bringing the hook down below and behind the working yarn. Pull that yarn through the stitch and the loop on your hook. This creates the slip stitch, the shortest crochet stitch used for:
- Joining rounds
- Traveling across rows
- Seaming crochet pieces
- Decorative edging
Pull Loop Through Loop on Hook
To complete a slip stitch in crochet, after yarn over, pull the loop through the loop on the hook.
This step creates a neat connection between stitches.
Adjusting yarn tension affects the appearance and flexibility of slip stitches.
Incorporate surface slip stitching for decorative flair, or use the slip stitch for invisible joins to give a seamless finish.
It’s versatile for reinforcing edges and adding embellishments.
Uses of the Slip Stitch in Crochet
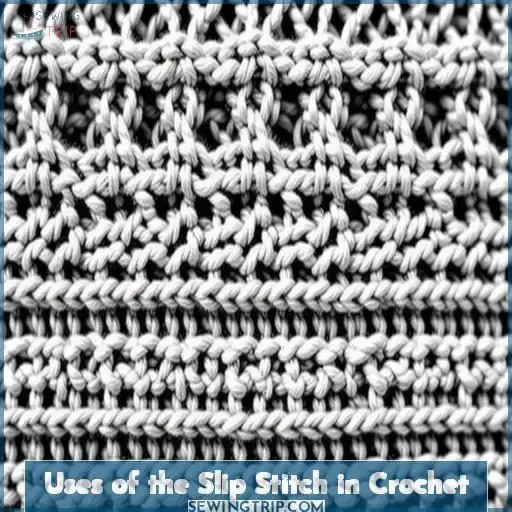
The slip stitch is a versatile crochet essential used for joining foundation chains, connecting rounds, traveling across rows without adding height, seaming pieces together, and creating decorative edging. Mastering the slip stitch opens up a world of possibilities, allowing you to seamlessly construct everything from basic shapes to intricate patterns with a professional finish.
Joining Foundation Chain
To join the ends of your foundation chain, simply slip stitch into the first chain to form a seamless ring. This invisible join creates a clean, decorative edging that’s perfect for projects worked in the round. (Source)
Joining Rounds
When using slip stitch variations in crochet, it serves to seamlessly join rounds. Its versatility extends to joining complex shapes and adding invisible joining for a polished look. Additionally, slip stitches can be utilized for edging embellishments.
- Seamless joining of rounds
- Versatile for joining complex shapes
- Invisible joining for a polished look
- Edging embellishments
Traveling Across a Row
The slip stitch allows you to travel across rows without adding height, perfect for edging, seaming, and creative applications. Just insert your hook, yarn over, and pull through to glide seamlessly across your work.
Seaming Crochet Pieces
The slip stitch is perfect for seamlessly joining crochet pieces, mending garments, reinforcing edges, and adding decorative embellishments. Its small size makes it ideal for discreet seams and edging without adding bulk.
Creating Slip Stitch Edging
Slip stitch edging adds a polished touch to your crochet projects. Experiment with different hook sizes, contrasting yarns, and surface slip stitch embellishments for decorative edging patterns that showcase your creativity .
Patterns That Use the Slip Stitch
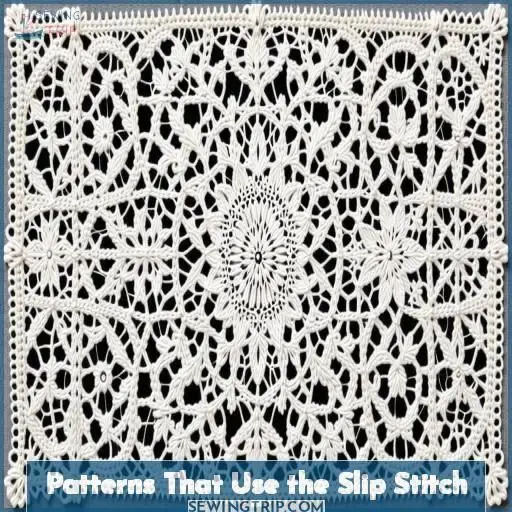
Check out these classic patterns that showcase the versatile slip stitch:
The charming Classic Crochet Baby Booties with their folded cuffs.
The snug Easy Crochet Ribbed Beanie perfect for winter.
The sweet Free Crochet Heart Pattern for home decor or accessories.
The timeless Granny Square, a staple motif.
The slip stitch shines in finishing touches and seamless joins, making it a must-learn technique for crocheters of all levels.
Classic Crochet Baby Booties
When making classic crochet baby booties, choose soft yarn for comfort. Use the recommended hook size for the chosen yarn weight. Experiment with color combinations and add embellishments for a personalized touch. Keep in mind that the slip stitch is commonly used in baby bootie patterns for seamless joining and edging. (Source)
Easy Crochet Ribbed Beanie
Create a stylish slip stitch beanie with a ribbed pattern, perfect for a beginner beanie crochet project. Follow an easy beanie design to master the creation of a classic accessory. The slip stitch technique aids in achieving seamless stitches for a polished look.
Free Crochet Heart Pattern
The free crochet heart pattern is a beginner-friendly project that lets you create adorable heart shapes in various color combinations. These versatile hearts make thoughtful gifts and can be embellished with beads, buttons, or other decorations. Get creative and crochet a heartfelt masterpiece!(Source)
How to Crochet a Granny Square
To crochet a granny square, follow basic steps incorporating slip stitch: insert hook, yarn over, pull through loops. Granny squares offer endless creativity with various patterns, motifs, and blanket designs. Explore the versatility of granny square construction through different variations and motifs.
Tips for Working Slip Stitches
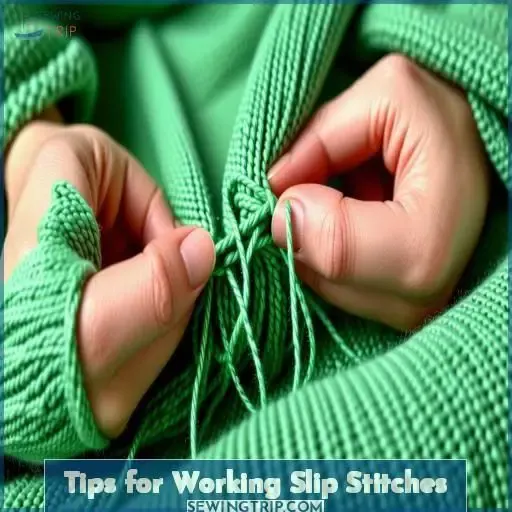
Keep your tension loose when working slip stitches for edging – it’ll give you a neater, more flexible finish. You can use surface slip stitches to add decorative details resembling embroidery chain stitches, perfect for customizing your crochet projects.
Maintain Loose Tension
When working slip stitches, keep your tension loose. Tight tension can cause your stitches to look uneven and distort the fabric. To adjust:
- Relax your grip on the yarn
- Allow the yarn to flow freely through your fingers
- Maintain a consistent, gentle tension throughout your project
Surface Slip Stitches Resemble Embroidery
When working slip stitches, it’s crucial to remember that surface slip stitches bear a striking resemblance to the embroidery chain stitch.
This renders them an exceptional option for ornamental embellishment on textured fabric.
This needlework technique imparts a distinctive and refined flair to your crochet ventures.
By attaining proficiency in the surface slip stitch, you can effortlessly elevate the visual allure and texture of your creations.
Use Surface Crochet for Decoration
Surface crochet adds decorative motifs to your projects. Embroider effects with contrasting yarn for eye-catching embellishments. Experiment with different weights and textures to create unique looks. Elevate basic garments with surface crochet accents. Explore endless possibilities to make your crochet truly one-of-a-kind. Get creative and have fun with this versatile technique!
Hand Sewing a Slip Stitch
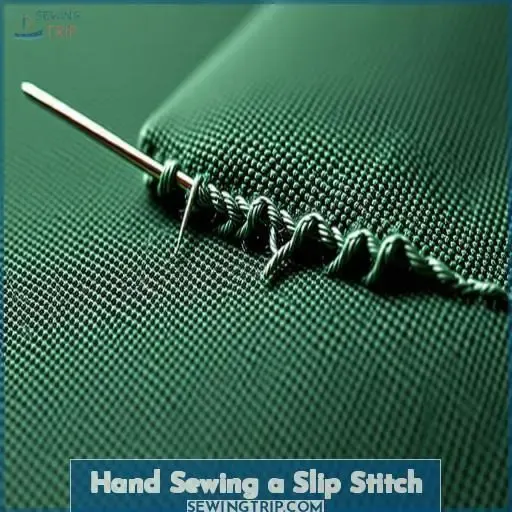
To hand sew a slip stitch, first bury the knot behind the first fold of the hem.
Then, grab 1-2 threads on the garment across from the exit point.
Insert the needle into the back of the hem close to the exit point.
Move the needle through the tunnel 1/2 inch to the left.
Bring the needle out of the tunnel in a direction facing the back of the folded edge.
Bury Knot Behind First Fold
Start by burying the knot behind the first fold of the hem to keep it hidden. This helps maintain proper tension and guarantees your slip stitches remain virtually invisible on the garment’s exterior.
Grab Threads on Garment
Next, grab a few threads on the garment directly across from where your needle exited the hem. This creates a secure connection between the two fabric layers. Hemming techniques, reinforcing stitches, and invisible seam joining are key benefits of this step.
- Grab threads on garment for secure hold
- Reinforcing stitches strengthen bias binding finishing
- Invisible seam joining creates a clean look
- Hemming techniques require grabbing garment threads
- Closure strengthening relies on grabbing garment threads
Insert Needle Into Back of Hem
To begin, insert your needle into the back of the folded hem, close to where it last exited. This conceals the thread and prepares you to navigate the tunnel of the fold.
Move Needle Through Tunnel
Now, move the needle through the tunnel, keeping the length, size, tension, thread, and fabric thickness in mind. This creates a secure, invisible stitch that connects the folded edges seamlessly.
- Maintain consistent tunnel depth
- Choose a needle that fits the thread
- Keep stitches loose yet taut
- Select thread suited to fabric weight
- Adjust technique for thicker materials
Bring Needle Out of Tunnel
Next, bring your needle out of the tunnel near the back of the folded edge of the hem. This keeps your stitches hidden and creates a secure hold.
| Step | Action |
|---|---|
| 1 | Move needle through tunnel, 1/2 to the left |
| 2 | Bring needle out of tunnel near the back of folded edge |
| 3 | Repeat to continue slip stitching |
| 4 | Secure with knot at end |
Slip Stitching in Knitting
In knitting, the slip stitch is performed by inserting the needle into the next stitch as if to work it, passing the yarn between the needles as if to purl, but instead pulling the working yarn through the stitch on the needle and letting the old stitch slip off.
This creates an elongated, unworked stitch that can be used for various purposes like shaping, decorative stitchery, or redistributing stitches across needles.
Inserting Needle Into Stitch
To insert your needle into the stitch, simply slide it under the front loop of the next stitch on your knitting. Be mindful of your tension and use stitch markers to keep your slip stitches even. The thickness of your yarn and hook size will also affect the look of your slip stitches.
Passing Yarn Over Needle
Next, pass the yarn over the needle.
This simple motion allows you to pick up the yarn and prepare to pull it through the stitch.
Pay close attention to your yarn tension – too tight and the stitch will be rigid, too loose and it may unravel.
The right yarn weight and needle size will guarantee a smooth, even slip stitch.
Pulling Yarn Through Stitch
When pulling yarn through a stitch in knitting, maintain appropriate yarn tension for consistent outcomes.
Verify that the hook size corresponds with the yarn weight.
Modify stitch positioning accordingly.
This step is vital for joining methods and creating smooth fabric.
By focusing on yarn tension, hook size, and stitch positioning, you will master the technique of pulling yarn through stitches proficiently and seamlessly.
Benefits of the Slip Stitch
You’ll appreciate the slip stitch’s ability to create an invisible seam from both sides of your crochet work, providing a clean, professional finish. Its tight, secure hold also makes it incredibly versatile for hemming, attaching seams, and closures, ensuring your pieces stay together flawlessly.
Invisible From Both Sides
The slip stitch creates an invisible seam, binding, or closure on both sides of your garment. It’s perfect for hems, bias bindings, and reinforcing edges. The key is keeping the stitches hidden behind the folded edge, inserting the needle into the tunnel, not through the fabric, and bringing it out the back.
- Invisible from both sides
- Suitable for hems, bindings, seams, closures
- Requires small needle eye and single thread
Secure Hold
The slip stitch‘s secure hold makes it invaluable for strengthening seams and joining crochet pieces. Its decorative effects, like surface slip stitches resembling embroidery, add visual interest. Whether used for edging, traveling across rows, or connecting rounds, the slip stitch’s versatility is unmatched. Understanding this essential crochet technique opens up a world of seamless stitches.
Versatile for Hemming, Seams, Closures
The slip stitch is a versatile tool for creating invisible seams, strong closures, and professional-looking folded edges. Its small size and ability to move across stitches without adding height make it perfect for a variety of applications, from hemming to seaming to decorative edging. Master this essential stitch for a polished, put-together look in all your crochet projects.
Slip Stitch Edging Techniques
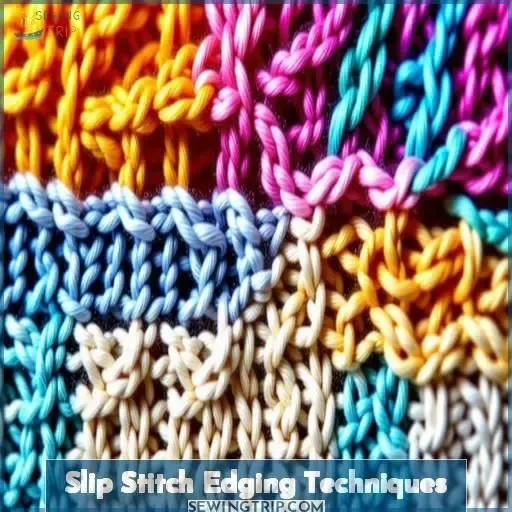
You can use slip stitches to travel across rows without adding height to your crochet work, creating a neat and cohesive look. Another edging technique involves decorative surface slip stitching, which resembles embroidery and adds intricate details to your crochet fabric.
Traveling Across Rows
- Joining granny squares
- Edging afghans and blankets
- Finishing hats and cowls
- Attaching appliqués
- Invisible seams
Decorative Surface Stitching
Slip stitches aren’t just for joining and edging – they make fantastic decorative surface stitches too!
Use a contrasting yarn color to embroider designs, words, or shapes onto your crochet fabric. The slip stitch’s chain-like appearance resembles embroidery floss, allowing you to add intricate embellishments.
Experiment with different yarn weights and textures for unique effects.
Surface slip stitches are a quick way to jazz up a plain project. Outline motifs, write names, or add a decorative trim – the possibilities are endless!
Slip stitches are a versatile tool for embellishing garments and accessories with custom yarn art.
Troubleshooting Slip Stitches
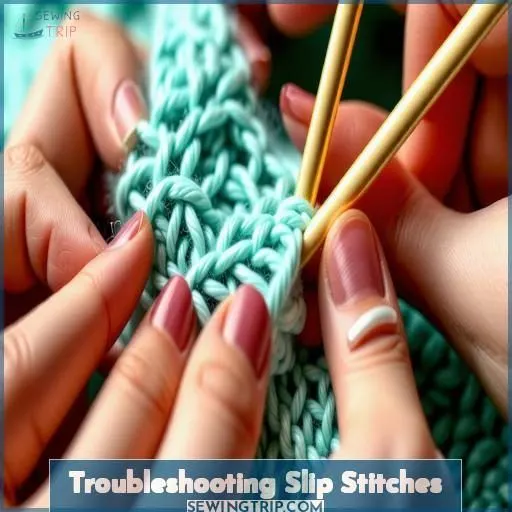
Troubleshooting slip stitches is a breeze once you know the common pitfalls. Avoid twisted stitches by ensuring the legs aren’t crossed. Maintain consistent tension to prevent gapping or puckering. If your slip stitches look messy, try these tips:
- Use a smaller hook for tighter stitches
- Work into the back loop only for a neater edge
- Experiment with slip stitch variations like the surface slip stitch for decorative effectsW
ith a little practice, you’ll be slip stitching like a pro in no time! Don’t be afraid to get creative – slip stitches are versatile and can elevate any crochet project.
Frequently Asked Questions (FAQs)
How to do a slip stitch step by step?
Insert hook, yarn over, pull loop through stitch and loop on hook… It’s that easy! But don’t rush – slow beginnings build expertise. Stay patient as you loop your way to slip stitch mastery.
How to hand sew a slip stitch?
Grab a thread, pass your needle through the hem’s inside folds, then out. Pick up 1-2 threads from the fabric, insert the needle close to the exit point, create a short tunnel, bring it out towards the hem’s back. Repeat for an invisible stitch.
How to slip a stitch in knitting for beginners?
Mastering slip stitches is like solving a Rubik’s cube – a few twists and you’ve got it! Hold the working yarn in front, insert needle into next stitch, yarn over, pull through loop. Repeat across the row for a seamless finish.
What is the point of a slip stitch?
The slip stitch is versatile – it joins rounds, seams pieces, creates edging, and travels across rows without height gain. Master this crochet fundamental and open up endless creative possibilities.
How do you avoid loose slip stitches?
Ditch the loose loops! For snug slip stitches, keep that yarn taut as you join each stitch. Avoid slacking on tension – maintain firm control over your hook and yarn. Practice makes perfect for this essential crochet technique.
How do slip stitches differ from other stitches?
Slip stitches are unique as they’re horizontal passes through existing stitches, allowing you to join pieces or rounds without adding height. Other stitches, like doubles or trebles, actually build vertical fabric with each pass.
What crochet techniques require the slip stitch?
To master slip stitches, you’ll need them for seaming pieces together, creating edges, joining rounds, and traveling between stitches without added height. Practice makes perfect!
What are the most common mistakes when slip stitching?
You’ll commonly miss grabbing the full stitch when inserting your hook, creating sloppy edges. Also, keeping tension even on your slip stitches takes practice for a smooth, consistent look.
How do you properly tension slip stitches?
For proper slip stitch tension, hold your yarn loosely behind your work. As you slip stitch, gently pull the working yarn to create a consistent, flat fabric. Check your tension frequently and adjust as needed for an even, smooth finish.
Conclusion
Mastering the tutorialsslip stitch grants flawless crochet finishes. From joining pieces subtly to ornamental edgings, it’s an invaluable resource. With a bit of tension practice, you’ll effortlessly enhance your work – creating impeccable baby booties, beanies, and more. So pick up your hook; the tutorialsslip stitch journey to exquisite crochet awaits!

