This site is supported by our readers. We may earn a commission, at no cost to you, if you purchase through links.
Look for a strong motor to tackle thick fabrics, adjustable presser foot pressure for control, and free arm capability for those tricky tubular scout uniform parts.
Multiple stitch options give you versatility, while an automatic needle threader saves time and frustration.
With the right features, attaching scout patches will be a breeze, and you’ll be one step closer to earning that sewing badge.
Table Of Contents
Key Takeaways
- Scout patch sewing demands a machine with muscle. Look for a strong motor, adjustable presser foot pressure, and a free arm to wrangle those tricky tubular bits.
- Multiple stitch options and an automatic needle threader are time-saving treats, ensuring you sew those patches like a pro.
- The right sewing techniques are key. Master the straight and zigzag stitches, choose the perfect needle, and tension for your fabric, and hey, presto – you’re golden.
- Maintenance matters! Keep your machine humming with regular cleaning, oiling, and needle replacements. It’s like giving your car an oil change – necessary to keep things running smoothly.
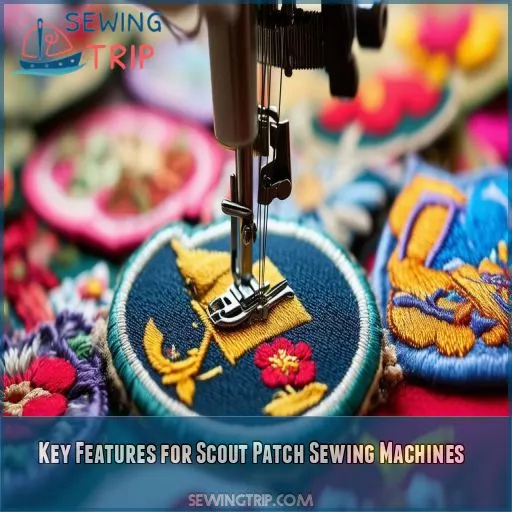
Key Features for Scout Patch Sewing Machines
You’re ready to tackle those scout patches, but is your sewing machine up to the task? Let’s explore the key features you’ll need in a sewing machine to make your patch-attaching adventures a breeze and keep those badges secure for years to come.
Strong Motor for Thick Fabrics
You’ll want a sewing machine with a strong motor to tackle those thick scout patches.
It’s like having a trusty workhorse in your crafting arsenal!
A powerful motor makes sure you can stitch smoothly through multiple layers without a hitch.
No more frustrated sighs or broken needles – just effortless sewing that’ll make you feel like a patch-attaching pro.
Trust us, your future self will thank you for this game-changing feature!
Adjustable Presser Foot Pressure
You’ll love the adjustable presser foot pressure feature when sewing scout patches. It’s like having a superpower for your fabric! With this nifty control, you can:
- Breeze through thin patches without puckering
- Tackle thick embroidered patches with ease
- Get even stitches on any fabric thickness
Say goodbye to wonky patches and hello to pro-level results. It’s your secret weapon for patch perfection, giving you the control you crave and the belonging you seek in your scouting community.
Free Arm Capability
Moving on from adjustable presser foot pressure, let’s talk about free arm capability. This feature’s a game-changer when you’re sewing scout patches on sleeves, pants, or vests. It’s like having an extra set of hands! Just slip the fabric tube over the free arm, and you’re good to go. Check out this table to see why it’s so handy:
| Garment Type | Without Free Arm | With Free Arm |
|---|---|---|
| Shirt Sleeves | Frustrating | Breeze |
| Pant Legs | Hair-pulling | Piece of cake |
| Vest Pockets | Nightmare | Dream come true |
| Uniform Cuffs | Impossible | Easy as pie |
Multiple Stitch Options
You’ll want a sewing machine that’s not a one-trick pony in terms of stitches.
From the trusty straight stitch to the versatile zigzag, having multiple options is like having a Swiss Army knife for your patches.
Decorative stitches can add flair, while a satin stitch gives a polished edge.
Don’t forget the buttonhole stitch – it’s a lifesaver for those pesky iron-on patches that just won’t stay put!
Automatic Needle Threader
You’ll love the automatic needle threader feature – it’s a real game-changer!
Gone are the days of squinting and frustration.
With just a flick of a lever, your needle’s threaded in seconds.
It’s like having a tiny robot assistant doing the tricky work for you.
This feature’s especially handy when you’re tackling multiple scout patches, keeping your sewing session smooth and enjoyable.
Adjustable Stitch Length and Width
You’ll love having control over your stitch length and width.
It’s like having a magic wand for your patches! Adjust the length for stronger or looser holds, and play with the width for different effects.
Whether you’re stitching tiny Brownie badges or hefty Eagle Scout patches, you’ll nail the perfect tension every time.
It’s a game-changer for your scouting sewing adventures!
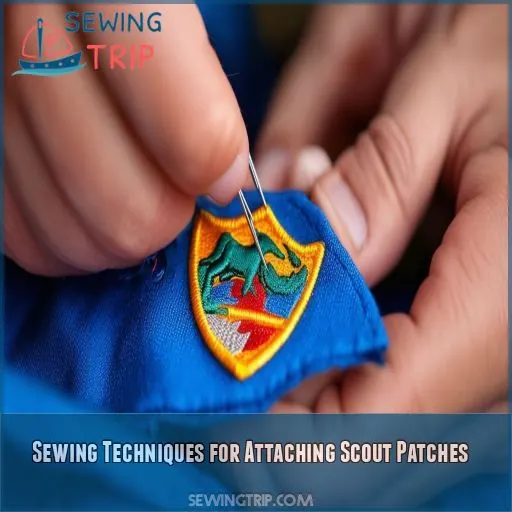
Sewing Techniques for Attaching Scout Patches
You’ve got your patches and your sewing machine ready to go, but now what? Let’s explore the best techniques for attaching those hard-earned scout patches, ensuring they’ll stay put through countless adventures and washings.
Straight Stitch Vs. Zigzag Stitch
For attaching scout patches, you have two main stitches in your arsenal: straight and zigzag.
The straight stitch is your go-to for a clean, professional look. It’s like drawing a crisp line around your patch.
The zigzag, on the other hand, is your flexible friend. It’s perfect for patches with intricate edges or when you need a bit more give in your stitching.
Proper Needle Selection for Patch Material
You’re on the right track to patch perfection!
Choosing the right needle is like picking the perfect dance partner for your fabric.
For lightweight patches, a size 70/10 needle will glide through smoothly.
Medium-weight patches? Go for an 80/12.
And for those hefty, embroidered beauties, an 90/14 or 100/16 will do the trick.
Thread Choice and Tension Adjustment
Now that you’ve got the right needle, let’s talk thread and tension. Choosing the perfect thread is like finding the right dance partner for your patches. Here are some tips to keep you in stitches:
- Match thread color to your patch or uniform
- Opt for high-quality polyester thread for durability
- Start with medium tension and adjust as needed
- Test on scrap fabric before tackling the real deal
- Remember, tension too tight can pucker, too loose can leave gaps
Using a Walking Foot for Even Feed
Now that you’ve got your thread and tension sorted,
let’s talk about your new best friend: the walking foot.
This nifty attachment is a game-changer for sewing scout patches.
It’ll feed both layers of fabric evenly, preventing any pesky puckering or shifting.
Whether you’re dealing with slippery synthetic patches or thick cotton uniforms,
a walking foot makes sure your stitches stay straight and true.
It’s like having an extra pair of hands guiding your fabric!
Securing Stitches at Start and End Points
Now that you’ve got your patches feeding smoothly, let’s lock those stitches in place!
You don’t want your hard work unraveling, right?
At the start and end of each seam, backstitch a few stitches to secure them.
It’s like tying a knot in your shoelaces – it keeps everything together.
Whether you’re using a Brother CS7000X or a Singer Quantum Stylist 9960, this technique will make sure your Boy Scout patches stay put.
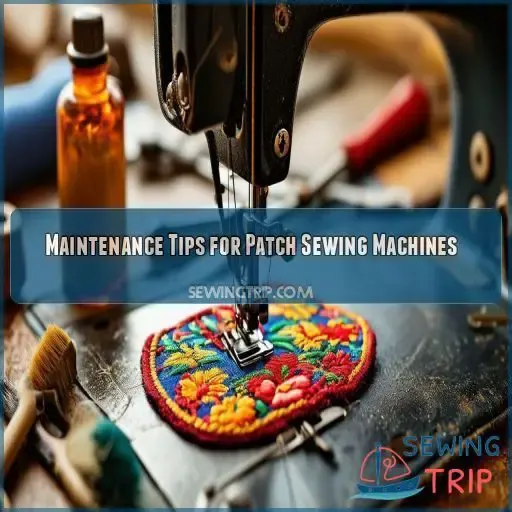
Maintenance Tips for Patch Sewing Machines
You’ve got your trusty sewing machine for attaching those scout patches, but don’t forget it needs some TLC too! Let’s explore some simple maintenance tips that’ll keep your patch-sewing sidekick in top shape for years to come.
Regular Cleaning of Lint and Debris
Now that you’ve mastered patch attachment, let’s tackle the grime!
Regular cleaning is your sewing machine’s best friend.
Lint and debris can build up faster than gossip at a scout meeting.
Don’t let your trusty machine become a dust bunny’s dream home!
A quick clean after each project keeps your machine purring like a contented cat.
It’s easier than earning a tidiness badge, we promise!
Oiling Moving Parts
Keeping your machine’s moving parts oiled is super important for smooth running. Sewing machines are like cars—they need lubrication to run well.
Most sewing machines come with a small bottle of oil. If not, grab some from your local craft store.
But, beware! Over-oiling can be as bad as under-oiling. So, follow the manufacturer’s instructions for the right spots and amounts.
Replacing Needles Frequently
Keeping your needles sharp and durable is key to sewing success. Here’s why you should replace them frequently:
- Wear and Tear: Needles wear out over time, becoming dull and less effective.
- Fabric Damage: A dull needle can cause fabric damage, such as puckering or skipped stitches.
- Broken Needles: They can break, especially if they’re not replaced regularly, causing potential injury and machine damage.
- Stitch Quality: Fresh, sharp needles produce neater, more precise stitches, ensuring your scout patches look their best.
- Machine Maintenance: Regular needle changes are part of maintaining your machine, keeping it in good condition and ensuring smooth stitching.
Proper Storage to Prevent Dust Accumulation
Storing your sewing machine isn’t about letting it gather dust and become a forgotten friend. You want to keep it in tip-top shape, ready to tackle any project. Here’s how to do it:
- Find a safe spot: Pick a storage area that’s dry, cool, and dust-free. A closet or cabinet is perfect.
- Cover up: Invest in a good-quality dust cover to keep your machine clean and protected.
- Accessories: Store your machine’s accessories and parts in a separate container to keep them organized and easy to find.
Professional Servicing Schedule
Sewing machines are built to last, but they need a little TLC to keep humming along. Here’s a simple service schedule to keep your machine ready for any sewing project:
- Annual Check-Up: Every year, have a pro give your machine a once-over. They can spot any problems before they turn into big headaches and make sure everything’s running smoothly.
- Seasonal Cleaning: Give your machine a good cleaning every season to get rid of dust and lint buildup. Think of it like a spring cleaning for your sewing pal! This helps it run smoothly and keeps the dust bunnies away.
- Oil Change: Just like your car, your sewing machine needs a little oiling to keep things moving. Check your manual for specific instructions. Every machine has its own quirks!
- Needle Know-How: Keep an eye on those needles and swap them out regularly, especially when you’re working with thicker fabrics. A dull or bent needle can cause all sorts of trouble.
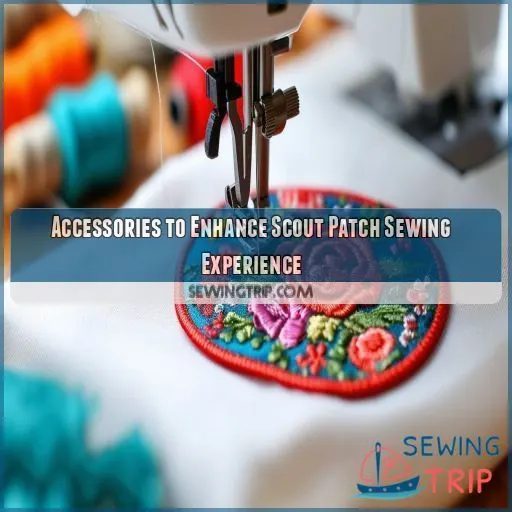
Accessories to Enhance Scout Patch Sewing Experience
Sure, you’ve got the right tools, but are you making the most of them? Beyond the basics, there’s a whole world of accessories to elevate your scout patch sewing game. From precision placement to mistake-proof stitching, these add-ons will streamline your process and guarantee flawless results.
Specialized Presser Feet for Patch Edges
When sewing scout patches, a specialized presser foot can make all the difference. This accessory helps guide your fabric for a precise stitch along the patch’s edge.
The post bed roller foot is a great option for sewing machine for scout patches. It’s designed for sewing thick fabrics and multiple layers, ensuring your patches are securely attached. This foot is a must-have for sewing on scout crafts, especially when working with light or delicate fabrics.
Seam Rippers for Mistake Correction
Mistakes are inevitable, especially when you’re just starting out.
That’s where a seam ripper comes in handy. It’s like an eraser for your sewing projects, letting you undo stitches and fix errors without leaving a trace.
Seam rippers are a must-have accessory for any sewing enthusiast, and they’re especially useful when attaching scout patches.
With a seam ripper, you can quickly correct any mistakes and make sure your patches are perfectly placed.
Fabric Markers for Accurate Placement
Fabric markers are a game-changer for accurate patch placement on scout uniforms. Here’s why they’re a must-have accessory:
- Mark the Spot: Fabric markers let you temporarily mark the exact position for your patches. No more guesswork or uneven placements.
- Seamless Alignment: With fabric markers, you can make sure patches are straight and aligned with the fabric’s grain, creating a polished look.
- Prevent Mistakes: By marking the stitching line, you avoid sewing a patch in the wrong spot. It’s like having X-ray vision for your sewing projects!
Fabric markers are essential for scout leaders or parents wanting perfection in patch placement. They take the guesswork out, making sure placements are precise.
Sewing Machine Extension Table
When sewing scout patches, a sewing machine extension table is a game-changer. It provides a larger work area, giving you the space to maneuver bulky items like scout uniforms with ease. Say goodbye to cramped quarters and hello to a seamless sewing experience!
| Sewing Machine Extension Table |
|---|
| More room to navigate larger projects |
| Better control over fabric positioning |
| Less risk of accidental needle pricks |
| Enhanced stability for precise stitching |
LED Lighting for Better Visibility
Sewing scout patches can be a breeze with the right lighting. Here’s why LED lighting is a must-have accessory for your sewing space:
- Bright Workspace: LED lights provide ample illumination, making sure your sewing area is bright and well-lit. No more squinting or struggling to see those intricate details.
- Eyesight Impact: Good lighting reduces eye strain, especially when working with dark-colored fabrics or fine details. It’s a small change that makes a big difference to your comfort and productivity.
- Light Quality: LED lights offer a clear, natural light that enhances color accuracy. This means you can match thread colors perfectly and make sure your patches are placed just right.
- Sewing Machine for Scout Patches: When choosing a sewing machine, look for one with built-in LED lighting. This feature makes sure you have direct light right where you need it, making it easier to sew with precision.
Frequently Asked Questions (FAQs)
Can you sew scout patches with a sewing machine?
Yes, you can sew scout patches with a sewing machine. It’s like using a hammer to tap in a nail – the right tool for the job. You can also hand sew, but it’s quicker and easier with a machine.
What is the best sewing machine for Boy Scout patches?
What’s the best sewing machine for Boy Scout patches?" you ask? Well, the Brother CS7000X is a great pick for beginners. If you’re more experienced, try the Singer Quantum Stylist
What kind of sewing machine do I need for patches?
You’ll need a machine with precise sewing ability and smooth operation. The Brother GX37 is a good option, with a variety of stitches, including zigzag and stretch stitches, ideal for sewing patches on hats. The Brother CS6000i is another great choice, with its variety of stitches and automatic needle threader.
What is the best sewing technique for patches?
The best technique depends on the patch and fabric. Machine sewing is sturdy and long-lasting, while hand sewing offers more control and precision, especially for complex or delicate fabrics.
How do I attach a patch to a hat?
Sewing patches on hats? You’ll need a good sewing machine with key features like a feed dog and a walking foot. Practice on scrap fabric first, and always use the right thread type and a sharp needle.
What stitch should I use for badges?
For badges, a straight stitch is the quickest and easiest method. It’s also the least visible. More experienced sewers may prefer a whip stitch or blanket stitch.
What is a zig-zag stitch for?
Zig-zag stitch is used for sewing stretchy materials like lingerie and knit fabrics. It’s also used for neatening raw edges and seam finishing.
How much do sewing machines cost?
Sewing machine prices vary. Basic machines start from $50, while more advanced models can cost over ,000. It’s possible to find a good machine for under 0.
Where can I learn more about sewing?
Online courses and YouTube channels are great for learning to sew. Skillshare and Udemy offer free and low-cost courses, while Debbie Colgrove shares her 40+ years of experience on The Spruce Crafts.
Conclusion
Sewing on scout patches is a breeze with the right machine and know-how.
You now have the tools to select a sewing machine that can handle the task, as well as the techniques and maintenance tips to make sure you succeed.

