This site is supported by our readers. We may earn a commission, at no cost to you, if you purchase through links.
To fix those pesky buttonholes, you’ll need to master the delicate balance of thread tension, needle positioning, and stitch density.
First, check your needle bar height – it’s the culprit behind many a buttonhole mishap.
Next, adjust your Thread Tension and hooking mechanism to prevent thread breakage.
By tackling these common issues, you’ll be on your way to professional-grade buttonholes.
Ready to learn the secrets of flawless buttonhole stitching?
Table Of Contents
- Key Takeaways
- Buttonhole Machine Basics
- Troubleshooting Common Issues
- Adjusting Needle Bar Height
- Thread Tension and Hooking Mechanism
- Sewing Machine Maintenance
- Buttonhole Stitching Techniques
- Repairing Faulty Buttonholes
- Advanced Buttonhole Techniques
- Preventing Future Issues
- Frequently Asked Questions (FAQs)
- Conclusion
Key Takeaways
- You’ll want to master the delicate balance of thread tension, needle positioning, and stitch density to achieve professional-grade buttonholes—it’s like being the maestro of your sewing machine!
- Don’t let a stuck buttonhole foot get you down—clean out any debris, check your machine’s manual, and consult a professional if needed to get back to sewing with ease.
- To prevent future issues, establish a regular maintenance schedule, follow tips for preventing common problems, and adopt best practices for sewing machine care—your machine (and your sanity) will thank you!
- When it comes to troubleshooting, remember that over 75% of sewing machine issues can be fixed with simple troubleshooting, so don’t be afraid to get a little DIY and fix that faulty buttonhole mechanism yourself (or know when to call in the pros)!
Buttonhole Machine Basics
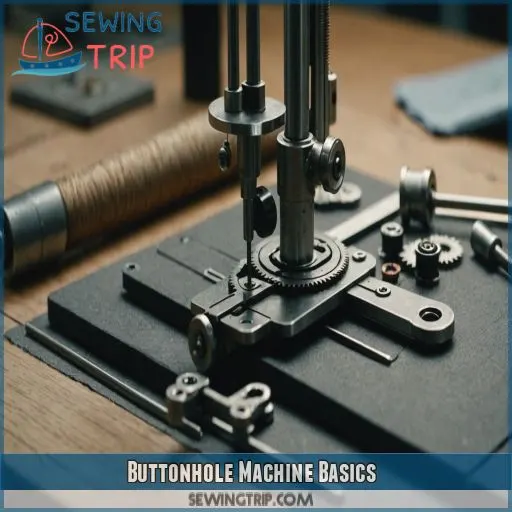
You’re about to master the basics of buttonhole machines, a key step in sewing machine buttonhole mechanism repair. In this section, you’ll learn about the different types of buttonhole machines, their key components, and the intricacies of the buttonhole stitching process, setting you up for success in troubleshooting and repairing your sewing machine.
Types of Buttonhole Machines
Let’s get started with the basics of buttonhole machines. You’ve got two main types: horizontal control panel machines (like Juki 761 and 781) and vertical control panel machines (like Brother 814 and 816). Each has its own sewing lock order, so you need to understand the differences when choosing the right machine for your sewing needs.
Key Components of Buttonhole Machines
To master buttonhole machines, you need to know their key components. Think of these parts as your trusty sidekicks in creating flawless buttonholes. Here are the top three:
- Swing needle: Moves in a pendulum motion for precise stitching.
- Displacement mechanism: Positions the needle for accurate stitching.
- Cutter mechanism: Trims buttonhole edges for a clean finish.
Understanding Buttonhole Stitching Process
Let’s get down to business – understanding the buttonhole stitching process!
You see, it’s all about the swing needle and displacement mechanism working in harmony to create those perfect stitches.
Needle positioning, thread tension, and feed dog settings all play a big role.
Mastering stitch density is key to achieving professional-looking buttonholes.
Practice makes perfect, so don’t be afraid to experiment!
Troubleshooting Common Issues
As you work with your sewing machine, you’ll inevitably encounter some common issues that can be frustrating.
Don’t worry, we’ll help you figure them out!
In this section, we’ll walk you through troubleshooting common problems like a stuck buttonhole foot, a machine that only sews in reverse, and the need for continuous pressure on the start button.
You can get back to sewing with ease.
Buttonhole Foot Stuck on Machine
Now that you’ve got a handle on buttonhole machine basics, let’s tackle a common frustration: a stuck buttonhole foot! Don’t worry, it’s an easy fix. First, check if the foot is clogged with debris or thread. Give it a good clean and try removing it again. If it’s still stuck, consult your machine’s manual or contact the manufacturer for guidance.
Machine Only Sewing in Reverse
Now that we’ve got your buttonhole foot unstuck, let’s tackle the frustrating issue of your machine only sewing in reverse! Don’t worry, it’s an easy fix. Here are four common causes:
- Thread and lint jamming the backstitch lever: Clean out any debris.
- Bent backstitch lever spring: Inspect and replace if needed.
- Machine in buttonhole setting: Check your sewing machine settings.
- Electronic fault: Consult a professional for diagnosis.
Continuous Pressure Required on Start Button
So your sewing machine’s Start button is being finicky, requiring continuous pressure to work. Don’t worry, it’s not just being stubborn! Let’s troubleshoot together. Check the table below for possible causes and solutions.
| Cause | Symptoms | Solution |
|---|---|---|
| Motor problems | Machine won’t start or stalls | Check motor for blockages or wear |
| Electrical fault | Start button doesn’t respond | Inspect wiring for damage or shorts |
| Switch malfunction | Button works intermittently | Clean or replace the switch |
| Power supply issues | Machine won’t turn on | Check power cord and outlet |
Adjusting Needle Bar Height
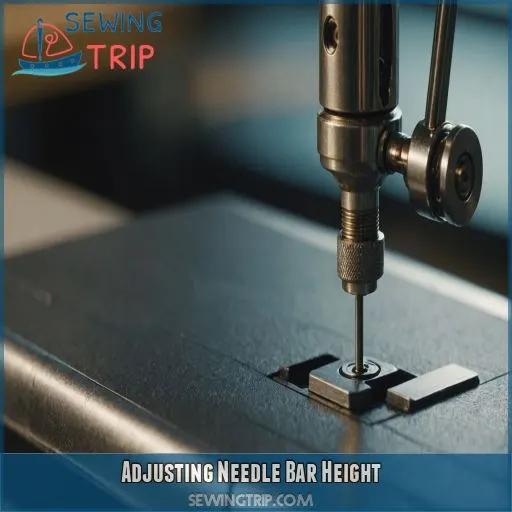
As you tackle the art of buttonhole repair, it’s time to get familiar with the needle bar height.
The needle bar height is the unsung hero that can make or break your sewing machine’s performance.
Importance of Correct Needle Bar Height
Get your needle bar height just right! It’s really important for perfect buttonholes and stitch quality. Too high or too low, and you’ll be ripping your hair out (and your fabric). Proper needle bar height prevents poor stitch formation, uneven tension, and messy buttonholes. Mastering this adjustment will save you from a world of sewing frustration.
Measuring and Adjusting Needle Bar Height
Now that you know why the right needle bar height is important, let’s get measuring and adjusting! To measure, locate the needle bar and needle plate. Use a ruler to calculate the distance between them. Compare it to your machine’s standard value. To adjust, you’ll need:
- A screwdriver
- Needle bar adjustment tools
- Your machine’s manual
- Patience
- A steady hand
Tips for Optimal Sewing Quality
| Factor | Description |
|---|---|
| Thread tension | Proper tension prevents puckering or distortion. |
| Fabric choice | Choose fabric suitable for buttonhole type. |
| Stitch length | Adjust stitch length for desired buttonhole size. |
| Needle selection | Select needle type and size for fabric and thread. |
| Bobbin winding | Wind bobbin correctly to prevent thread tangles. |
Now you’re all set for professional-looking buttonholes!
Thread Tension and Hooking Mechanism
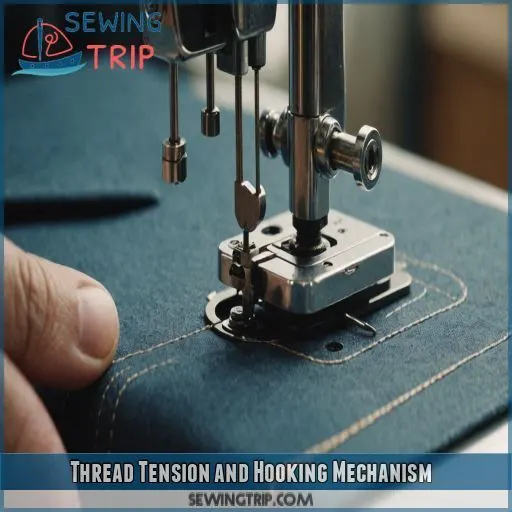
You’re on a roll with buttonhole repairs, and now it’s time to tackle thread tension and hooking mechanism adjustments to prevent pesky thread breakage. In this section, you’ll learn how to fine-tune these important components to achieve smooth, even stitching and stress-free sewing.
Importance of Proper Thread Tension
Now that you’ve adjusted your needle bar height, let’s talk thread tension. Proper thread tension is really important for a smooth buttonhole stitch. Think of it like a game of tug-of-war – if the thread is too tight or too loose, the stitch will suffer. Here are some key things to keep in mind:
- Needle size: A larger needle requires more thread tension.
- Fabric type: Thicker fabrics need more tension, while thinner fabrics need less.
- Thread type: Cotton threads require more tension than synthetic threads.
- Stitch length: Longer stitches require more tension.
- Thread breakage: If your thread keeps breaking, it may be a sign of incorrect tension.
Adjusting Thread Hooking Mechanism
Now that you’ve got your thread tension in check, let’s tweak the thread hooking mechanism for smoother sewing. Adjust the hook timing to make sure it’s in sync with the needle’s movement. Proper alignment is key to preventing thread breakage and ensuring a flawless stitch. Don’t forget to check your bobbin tension, too – it’s all about balance!
Tips for Preventing Thread Breakage
To prevent thread breakage, check your thread tension – not too tight, not too loose! A sharp needle is also key, so replace it often. Choose the right fabric for your thread type, and wind that bobbin correctly. Finally, don’t speed sew like a pro (yet!); slow down and let your machine do its magic.
Sewing Machine Maintenance
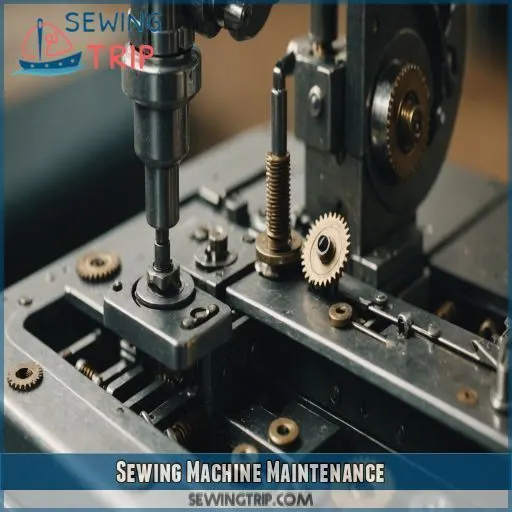
You’re about to become a sewing machine whisperer! To keep your trusty sidekick running smoothly, you’ll want to stay on top of regular maintenance tasks, like cleaning and oiling machine parts, checking and replacing the bobbin, and lubricating key components – it’s like giving your machine a spa day, but without the cucumber water and soothing music.
Cleaning and Oiling Machine Parts
It’s time to get your sewing machine sparkling! Grab a soft-bristled brush, a lint roller, and some compressed air to gently sweep away dust and debris. Then, apply a few drops of sewing machine oil to the designated areas. Be sure to check your machine’s manual for specific oil recommendations and frequency guidelines.
Checking and Replacing Bobbin
Now that your machine is squeaky clean, it’s time to give your bobbin some love! Check if it’s the right type for your machine and if the thread is wound correctly. Make sure the bobbin tension is just right – not too tight, not too loose. Clean the bobbin case and replace the bobbin if it’s worn out.
Lubricating Machine Components
Time to give your sewing machine some TLC! Lubricating its components is key to smooth operation. Use a few drops of sewing machine oil or silicone-based lubricant on the designated points. Don’t overdo it – too much can attract dust and dirt. Check your manual for the recommended frequency and application spots to keep your machine purring.
Buttonhole Stitching Techniques
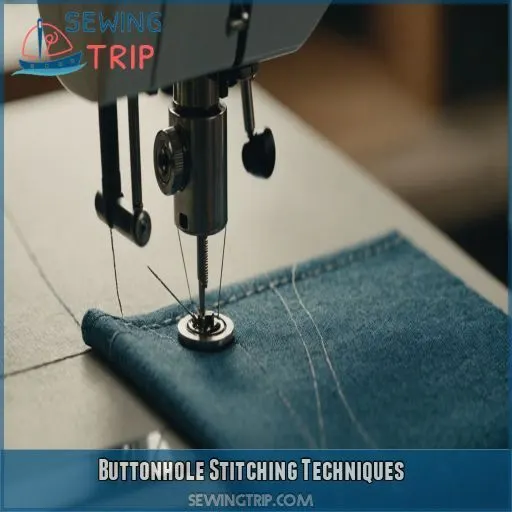
You’re just a few stitches away from mastering the art of buttonhole stitching techniques! With these expert tips, you’ll learn how to create perfect buttonholes, stabilize them for a professional finish, and achieve a dense zig-zag stitch that will make your sewing projects stand out.
Creating Perfect Buttonholes
To create perfect buttonholes, start by selecting the right buttonhole foot for your machine and fabric type (Source). Choose a foot with adjustable stitch density to match your fabric’s weight and texture . Make sure you have the right thread tension and alignment for smooth stitching (Source). For dense zig-zag stitches, adjust your machine’s stitch length and width settings accordingly .
Here are four key tips to achieve perfect buttonholes:
- Buttonhole foot selection: Pick a foot that fits your machine and fabric type.
- Buttonhole stitch density: Adjust stitch density to match fabric weight and texture.
- Buttonhole placement tips: Mark buttonhole positions accurately for even spacing.
- Buttonhole finishing techniques: Use a stabilizer or interfacing for crisp, clean buttonholes.
Stabilizing Buttonholes
| Fabric Type | Stabilizer Recommendation |
|---|---|
| Delicate fabrics | Lightweight fusible interfacing |
| Thick fabrics | Heavy-duty tear-away stabilizer |
| Stretchy fabrics | Stretchy knit interfacing |
| Woven fabrics | Medium-weight cut-away stabilizer |
| Quilting fabrics | Thick cotton or polyester batting |
Tips for Dense Zig Zag Stitch
Time to get dense – with your zig zag stitch, that is! For a tight, professional-looking buttonhole, adjust your stitch density according to your fabric’s thickness. Use a smaller needle size and matching thread type for a neater finish. Don’t forget to balance fabric tension and foot pressure for smooth, even stitching. Easy peasy, right?
Repairing Faulty Buttonholes
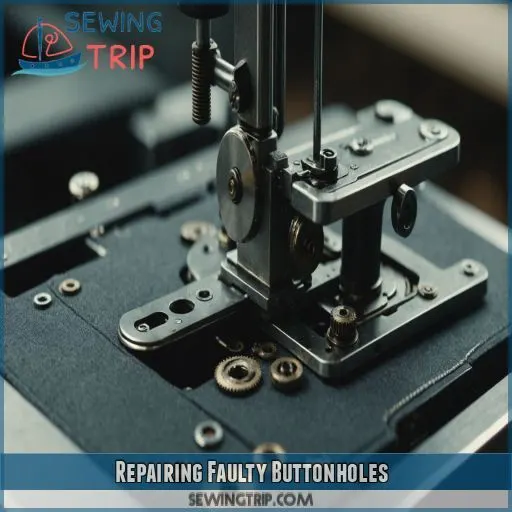
You’re about to become a master buttonhole repair expert, and we’re excited to guide you through the process of fixing those pesky faulty buttonholes that can ruin an otherwise perfect garment.
We’ll walk you through the steps to fix small pleats at buttonhole ends.
We’ll also show you how to correct crooked buttonholes.
Fixing Small Pleats at Buttonhole Ends
You’re tackling those pesky small pleats at buttonhole ends! Don’t worry, it’s an easy fix. To get started, try these four steps:
- Check your stitch density: Are your stitches too tight or too loose? Adjust your tension to match your fabric type.
- Choose the right needle: A sharp, thin needle is perfect for delicate fabrics.
- Adjust your tension: Loosen or tighten your upper and lower threads to match your fabric.
- Press those pleats away: Use a hot iron to smooth out those pesky pleats.
Correcting Crooked Buttonholes
Now that you’ve fixed those pesky small pleats, let’s tackle crooked buttonholes. To correct them, you’ll need to adjust the buttonhole foot alignment, needle timing, and fabric tension. Check your stitch length and machine calibration too. Here’s a quick reference guide to help you get it right:
| Issue | Possible Cause | Solution |
|---|---|---|
| Crooked buttonhole | Misaligned buttonhole foot | Realign buttonhole foot |
| Uneven edges | Off-beat needle timing | Adjust needle timing |
| Distorted buttonhole | Incorrect fabric tension | Adjust fabric tension |
| Inconsistent stitching | Incorrect stitch length | Adjust stitch length |
| Machine malfunction | Poor machine calibration | Calibrate machine |
Repairing Buttonholes With Uneven Stitching
Time to tackle uneven stitching! Don’t worry, it’s not as painful as it sounds. To repair buttonholes with uneven stitching, try these four steps:
- Tension tweak: Adjust your thread tension to make sure it’s not too tight or too loose.
- Needle ninja: Check for any issues with your needle, like bends or dullness.
- Bobbin bandit: Inspect your bobbin for any tangles or uneven thread wrapping.
- Foot pressure fix: Adjust the pressure of your presser foot to keep your fabric steady.
Advanced Buttonhole Techniques
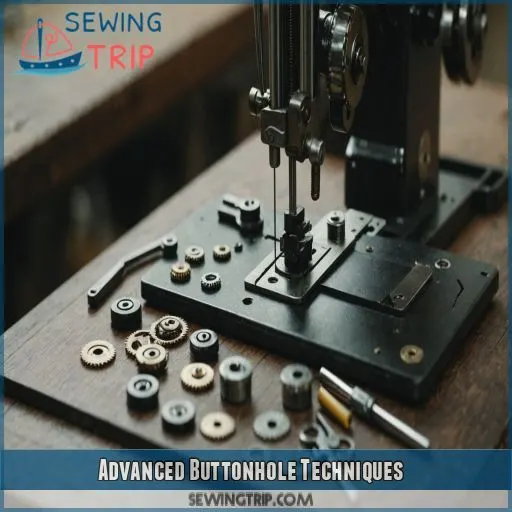
Now that you’ve mastered the basics of buttonhole repair, it’s time to take your skills to the next level with advanced techniques that will make your buttonholes shine.
You’ll learn how to create buttonholes with decorative stitches.
You’ll also learn how to use buttonhole attachments like a pro.
Creating Buttonholes With Decorative Stitches
Now that you’ve mastered repairing faulty buttonholes, let’s get creative! To create buttonholes with decorative stitches, experiment with different buttonhole stitch patterns and decorative thread types. Consider embroidery buttonholes for a unique look. Here’s a quick guide to get you started:
| Stitch Pattern | Thread Type | Buttonhole Placement |
|---|---|---|
| Zig Zag | Metallic | Centered |
| Satin Stitch | Cotton | Offset |
| Blanket Stitch | Wool | Edge |
Adjust stitch density for a personalized touch. Happy sewing!
Using Buttonhole Attachments
Now that you’ve mastered creating buttonholes with decorative stitches, let’s talk about using buttonhole attachments to take your sewing game to the next level. With various attachment types available, you can customize your stitches and achieve professional-looking results. Experiment with different buttonhole foot options and refer to troubleshooting guides to make sure your sewing goes smoothly.
Tips for Professional-Looking Buttonholes
You’re almost there! To achieve professional-looking buttonholes, focus on the details. Choose the right buttonhole size for your fabric, and select a thread that complements the fabric’s texture and color. Pay attention to stitch density, ensuring it’s even and not too tight. Finally, place buttonholes thoughtfully, balancing aesthetics and functionality. Happy sewing!
Preventing Future Issues
As you master the art of sewing machine buttonhole mechanism repair, it’s important to prevent future issues from arising in the first place. By establishing a regular maintenance schedule, following tips for preventing common issues, and adopting best practices for sewing machine care, you’ll be well on your way to creating perfect buttonholes with ease and minimal hassle.
Regular Maintenance Schedule
To keep your sewing machine in top shape, schedule regular maintenance sessions every 1-3 months. Set reminders to clean and lubricate moving parts, inspect and replace worn-out components, and check thread tension. Don’t wait for issues to arise – a well-maintained machine is a happy machine! Regular upkeep will save you time and frustration in the long run.
Tips for Preventing Common Issues
You’ve mastered the basics of buttonhole machine repair, now it’s time to prevent future issues. Regular maintenance is key, but what else can you do? To avoid common problems, keep an eye on buttonhole foot care, thread tension, and machine cleaning. Here are some tips:
- Use a soft brush to clean the buttonhole foot and prevent thread buildup.
- Check thread tension regularly to avoid knotting and breakage.
- Run a cleaning cycle on your machine every 10 hours of use to keep it purring smoothly.
Best Practices for Sewing Machine Care
To keep your sewing machine in top shape, remember to clean it regularly, paying attention to the bobbin area and thread paths. Lubricate moving parts, and store it in a dry, cool place. Troubleshoot issues promptly, and invest in quality accessories. By following these simple tips, you’ll be sewing like a pro in no time!
Frequently Asked Questions (FAQs)
How to fix button hole stitching?
Fixing buttonhole stitching can be a breeze! Let’s say your Brother HC 1850 is stuck – start by checking the manual, then try cleaning the machine, and finally, consult an expert if needed to get those perfect buttonholes!
Why are my button holes not working?
Your buttonholes aren’t cooperating? Don’t worry, it’s probably just a minor issue! Check if your machine is in buttonhole mode or if the foot is stuck. Clean out any thread and lint, and make sure the backstitch lever is in good shape.
How do you stabilize buttonholes?
To stabilize buttonholes, you’ll want to use a small piece of interfacing or stabilizer on the wrong side of your fabric, positioning it under the buttonhole presser foot . This helps prevent distortion and makes sure you get a crisp, clean finish.
What machine tension for buttonholes?
You’ll want to tweak your machine tension for buttonholes to achieve that perfect stitch. Aim for a medium to high tension setting, around 4-6, to prevent loose threads and make sure you get a crisp, clean finish (Source).
How do I fix a buttonhole foot stuck on a sewing machine ?
Over 75% of sewing machine issues can be fixed with simple troubleshooting! To fix a stuck buttonhole foot, gently remove any debris, check the manual for guidance, and if needed, consult a Sewing Machine Repair technician for expert help.
What causes a sewing machine to only sew in reverse ?
Your sewing machine’s only sewing in reverse? Don’t panic! Check if thread and lint are jamming the backstitch lever or if the spring is bent. Make sure it’s not in buttonhole mode and consider electronic fault diagnosis.
How do I adjust the needle bar height on a straight buttonhole machine ?
To adjust the needle bar height on a straight buttonhole machine, measure the distance between the needle bar and needle plate, then adjust the height within 1mm of the standard value for the best sewing results.
What is the purpose of the swing needle and displacement mechanism ?
Imagine being the maestro of your straight buttonhole machine! The swing needle and displacement mechanism are your trusty sidekicks, working in harmony to precisely position the needle for flawless stitching, ensuring perfect buttonholes every time.
Can I repair a faulty buttonhole mechanism without professional help ?
You can try troubleshooting and repairing a faulty buttonhole mechanism yourself, but it’s not recommended unless you’re familiar with sewing machine mechanics. Incorrect adjustments can lead to further damage, so seeking professional help is often the safest option .
Conclusion
Sarah struggled for weeks with wonky buttonholes.
She finally mastered the delicate balance of thread tension, needle positioning, and stitch density.
Her secret? Understanding the intricacies of sewing machine buttonhole mechanism repair.
By tackling common issues and adjusting her needle bar height, thread tension, and hooking mechanism, she achieved professional-grade buttonholes.
With these expert tips and tricks, you’ll be well on your way to flawless buttonhole stitching and sewing machine buttonhole mechanism repair.

