This site is supported by our readers. We may earn a commission, at no cost to you, if you purchase through links.
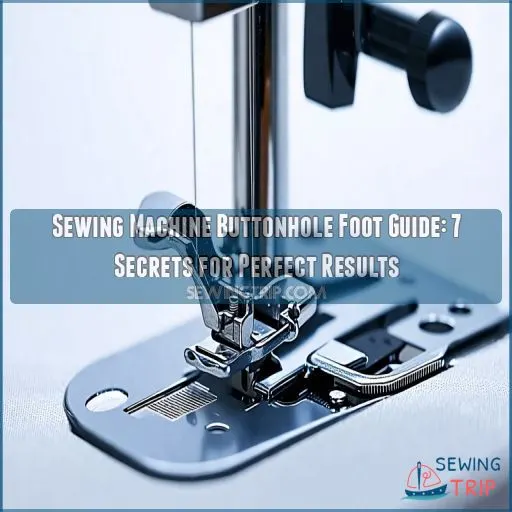
This handy attachment ensures precision and consistency, turning you into a buttonhole magician. With options like one-step and four-step feet, you can tailor your choice to your machine’s whims.
As you attach the foot, align and click, adjusting tension like a pro. A buttonhole foot makes identical buttonholes a breeze, offering transparent visibility so you can see where the magic happens.
Now, don’t you feel like sewing royalty? Get into the nitty-gritty details, and you’ll be mastering seams in no time.
Table Of Contents
- Key Takeaways
- What is a Sewing Machine Buttonhole Foot?
- Benefits of Using a Buttonhole Foot
- How to Attach a Buttonhole Foot
- Step-by-Step Guide to Making Perfect Buttonholes
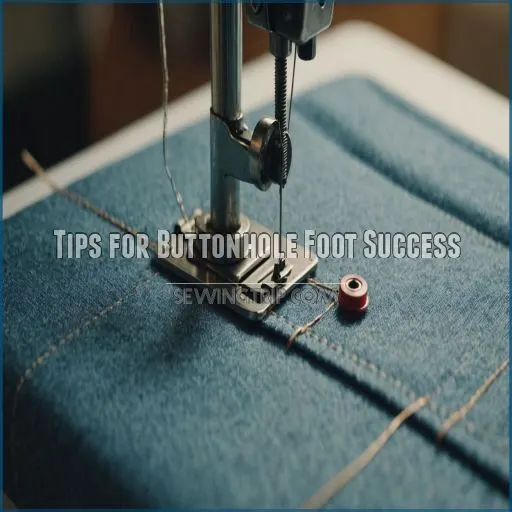
- Tips for Buttonhole Foot Success
- Creative Uses for Buttonhole Feet
- Maintaining Your Buttonhole Foot
- Frequently Asked Questions (FAQs)
- Conclusion
Key Takeaways
- You’ll love how a buttonhole foot guides your fabric precisely, helping you create perfectly sized, identical buttonholes every time.
- Get to know the two main types: the one-step foot for quick, automatic buttonholes, and the four-step foot for hands-on control.
- Compatibility is usually a breeze with universal presser feet, but always check your machine’s model against compatibility charts.
- Regular cleaning and proper storage ensure your buttonhole foot stays in top shape, ready for any sewing adventure.
What is a Sewing Machine Buttonhole Foot?
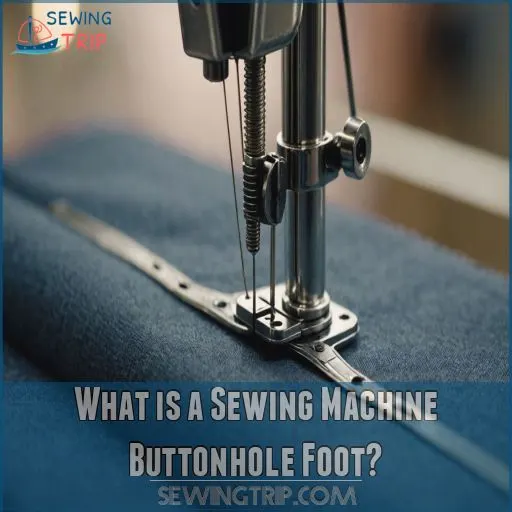
You’ll love the sewing machine buttonhole foot, your new best friend for creating perfect buttonholes every time.
This nifty attachment guides your fabric and needle precisely, making those tricky buttonholes a breeze for beginners and pros alike.
Definition and Purpose
Mastering buttonholes can be a game-changer for your sewing projects. A buttonhole foot is your trusty sidekick, clipping onto your machine to help you create perfect buttonholes . It guides your fabric, ensuring precise stitching and consistent sizing for each buttonhole you make.
Here’s why you’ll fall in love with your buttonhole foot:
- It’s like having a personal tailor at your fingertips
- Say goodbye to wonky, uneven buttonholes
- Feel the thrill of professional-looking results
- Boost your confidence in tackling tricky projects
- Open up a world of creative possibilities in your sewing
Types of Buttonhole Feet
Now that you know what a buttonhole foot does, let’s explore the different types.
You’ll find two main varieties: one-step and four-step feet.
The one-step foot is like magic – it creates the entire buttonhole in one go.
Four-step feet, on the other hand, require you to measure and sew in four separate steps.
Each type has its own charm, so let’s unravel their secrets together!
Compatibility With Different Sewing Machines
You’ve got your buttonhole foot, but will it fit your machine?
Don’t sweat it! Most modern sewing machines use universal presser feet, making compatibility a breeze.
If you’re not sure, check your machine’s brand and model against a foot compatibility chart. Some brands even offer universal adapters, so you can mix and match feet like a sewing superhero.
Remember, a well-fitting foot is key to buttonhole success!
Benefits of Using a Buttonhole Foot
You’ll love using a buttonhole foot because it takes the guesswork out of creating perfect buttonholes every time.
With this nifty tool, you’ll get precise sizing, identical results, and a clear view of your work, making those tricky buttonholes a breeze.
Precise Buttonhole Sizing
Let’s talk about getting those buttonholes just right.
Choosing the right buttonhole foot for your machine is essential, as it allows for size adjustment features for customization. With a buttonhole foot, you’re in control of the perfect fit.
It’s like having a tailor in your sewing machine. You can adjust the buttonhole width to match your button size exactly, no more gaping shirts or popped buttons.
The foot helps you navigate fabric stretch and stitch density, so you’ll nail the right tension every time. It’s your secret weapon for buttonhole customization.
Easy Identical Buttonholes
Once you’ve mastered your buttonhole foot, you’ll be churning out perfect buttonholes like a pro.
This nifty tool remembers the size you’ve set, allowing you to sew several identical buttonholes without breaking a sweat. No more measuring and marking each one!
It’s like having a mini-factory on your sewing machine. You’ll breeze through shirt plackets and jacket fronts, creating professional-looking results that’ll make you feel like a sewing superhero.
Improved Sewing Visibility
The transparent design of a buttonhole foot gives you a crystal-clear view of your work.
Say goodbye to squinting and hello to precision! With improved needle visibility, you’ll nail those buttonholes every time.
Plus, the sliding mechanism keeps fabric tension just right.
It’s like having x-ray vision for your sewing machine – you’ll see exactly where that needle’s headed, making buttonholes a breeze for sewists of all levels.
How to Attach a Buttonhole Foot
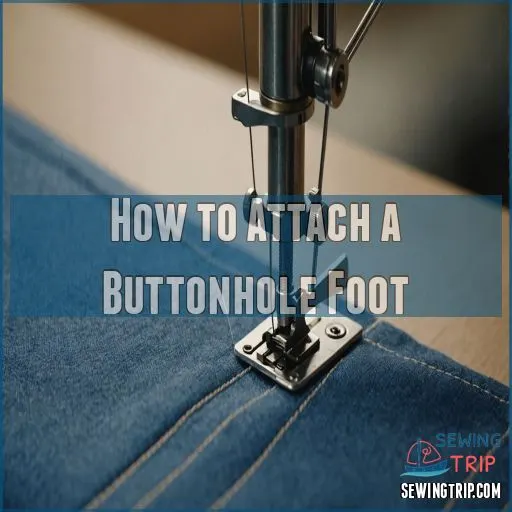
You’re about to become a buttonhole pro with this foolproof guide to attaching your buttonhole foot.
Get ready to snap that nifty gadget onto your sewing machine and create perfect buttonholes every time.
Step-by-Step Installation Guide
Now that you’ve got your buttonhole foot, it’s time to attach it to your machine. You’ll feel like a pro in no time!
Here’s how to install it:
- Unclip your current presser foot
- Align the buttonhole foot’s snap-on bar with your machine
- Press down until you hear a satisfying ‘click’
- Adjust the black slider to fit your button size
Remember, compatibility is key. If your snap-on bar doesn’t fit, don’t force it – grab a low-shank adapter instead.
Troubleshooting Common Attachment Issues
You’ve attached your buttonhole foot, but something’s not quite right? Don’t worry, we’ve all been there! Let’s tackle some common hiccups together. From pesky alignment issues to stubborn screws, we’ll get you back on track faster than you can say "perfect buttonhole."
| Issue | Quick Fix |
|---|---|
| Foot misalignment | Reposition and secure |
| Loose screws | Tighten with screwdriver |
| Needle jamming | Check for debris, realign |
Remember, a well-attached foot is your ticket to buttonhole bliss!
Adjusting Tension and Pressure
With your buttonhole foot in place, it’s time to fine-tune those settings.
Adjust your thread tension to match your fabric thickness – too tight and you’ll pucker, too loose and you’ll have gaps. Tweak the foot pressure to keep things smooth sailing.
Remember, your buttonhole size and stitch quality depend on this balancing act.
Don’t be afraid to test on scrap fabric first to avoid any potential pucker.
Step-by-Step Guide to Making Perfect Buttonholes
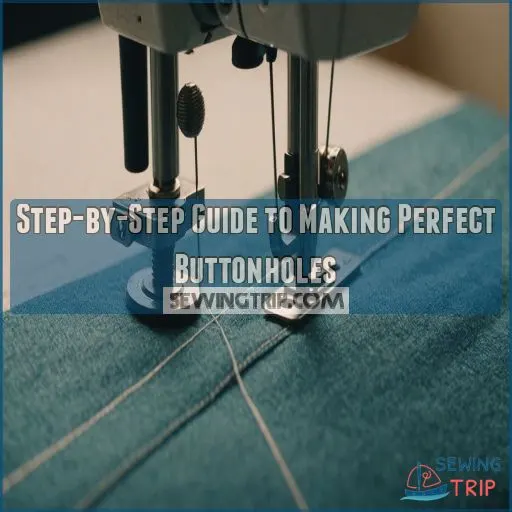
You’re about to become a buttonhole pro with this step-by-step guide. Get ready to transform those button-sized mysteries into perfectly crafted openings that’ll make your sewing projects shine.
Marking and Measuring Buttonholes
Let’s get those buttonholes placed like a pro!
Grab your fabric pen or chalk – it’s time to mark your masterpiece (Source).
First, try on your garment and pin the widest part of your bust. This’ll be your starting point for perfect placement.
Now, space your buttonholes 3 to 3.5 inches apart. Remember, patterns aren’t one-size-fits-all, so trust your instincts. You’re the boss of your buttons!
Setting Up Your Sewing Machine
Ready to conquer buttonholes? Start by threading your needle and winding the bobbin. To make sure your fabric is stable, consider using interfacing for buttonholes, choosing the appropriate weight for your fabric.
Snap on your buttonhole foot and adjust the tension – aim for a balanced stitch without visible bobbin thread. Check your manual for machine-specific settings; you might need to thread the bobbin case differently.
Take a deep breath and remember: practice makes perfect! Soon you’ll be stitching buttonholes like a pro, adding that final touch to your projects with confidence.
Using One-Step Buttonhole Feet
One-step buttonhole feet are your secret weapon for perfect buttonholes.
Snap the foot in place and pull down the sensor bar. Place your chosen button in the guide plate at the back, then slide it closed.
Lower the foot and press the start button – it’s like magic! Your machine will create a flawless buttonhole in one smooth operation, securing the ends automatically.
Using Four-Step Buttonhole Feet
While four-step buttonholes require more effort, they offer greater control over your results.
To start, mark your fabric and attach the buttonhole foot.
Set your machine to the first buttonhole stitch and sew the left side, stopping at the bottom mark. Switch to stitch 2 for the bar tack, then 3 for the right side, and finally 4 for the top bar tack.
Finishing and Cutting Buttonholes
The final frontier of buttonhole creation is upon you!
Grab your seam ripper and carefully slice through the center, stopping just shy of those reinforced edges. Don’t rush – precision is key here.
Once open, reinforce the corners with a few hand stitches for extra durability.
You’ve conquered the buttonhole beast – now take a deep breath and admire your handiwork.
Tips for Buttonhole Foot Success
You’re about to become a buttonhole boss.
From picking the perfect thread to taming tricky fabrics, you’ll learn how to sidestep common buttonhole blunders.
You’ll create flawless fasteners every time.
Choosing The Right Thread and Needle
For buttonhole success, you’ll want to pair the right thread and needle like a match made in sewing heaven.
Choose a thread weight that’s sturdy yet slim, and a needle size that’s just right for your fabric.
Don’t forget to adjust your stitch length and thread tension to perfection. It’s like finding the Goldilocks zone – not too tight, not too loose, but just right.
Working With Different Fabric Types
Ready to tackle buttonholes on different fabrics? You’ve got this!
For thin fabrics, use tear-away stabilizer to prevent puckering. With thick fabrics, grade your seams for fewer layers.
Stretchy fabrics? Try a stretch buttonhole setting if your machine has one.
Always test on scraps first. Remember, fabric thickness affects buttonhole placement and thread selection. With practice, you’ll be a buttonhole pro in no time!
Troubleshooting Common Buttonhole Problems
Struggling with buttonhole blues? Don’t throw in the towel just yet! You’ve got this. Let’s tackle those pesky problems head-on and make your buttonholes shine.
Here are some common issues and how to fix them:
- Buttonhole puckering: Use stabilizer to prevent fabric from bunching up
- Uneven stitches: Adjust your tension and practice consistent sewing speed
- Skipped stitches: Clean your machine and try a new needle
- Buttonhole too tight or loose: Fine-tune the screw for perfect fit
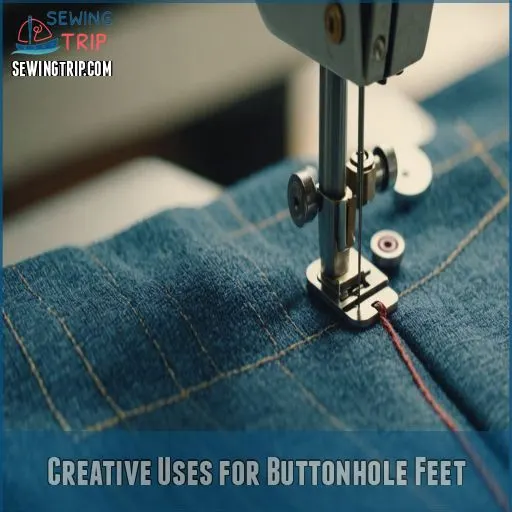
Creative Uses for Buttonhole Feet
Your buttonhole foot isn’t just for buttons anymore!
You can explore your creativity and use it to add unique decorative elements to your projects.
From fancy stitching on handbags to eye-catching accents on home decor items.
Decorative Buttonholes
Ever wondered how to jazz up your buttonholes?
Your trusty buttonhole foot isn’t just for functional closures.
Try buttonhole embroidery to add flair to cuffs and collars. Mix up stitching styles and fabric choices for eye-catching results.
Play with buttonhole placement to create unique patterns. You can even revive vintage techniques for a touch of nostalgia.
Your sewing machine buttonhole foot is your ticket to creative freedom – let your imagination run wild!
Buttonholes for Non-Clothing Projects
Your buttonhole foot isn’t just for clothes. You can also use die-cutting techniques to create custom embellishments, such as making custom sticker labels, to add an extra touch to your projects.
Let’s explore some creative uses for this versatile tool in non-clothing projects. You’ll be amazed at the possibilities:
- Buttonhole bags: Add stylish closures to handbags and totes
- Buttonhole crafts: Create unique embellishments for scrapbooks and cards
- Buttonhole jewelry: Design one-of-a-kind accessories with fabric and buttons
- Buttonhole home decor: Spruce up pillows, curtains, and table runners
Who knew this little foot could pack such a punch in your crafting adventures?
Combining Buttonholes With Other Techniques
Think beyond garment buttonholes—consider combining buttonholes with techniques like embroidery and quilting. Imagine neat buttonholes enhancing quilted designs or appliqué patterns.
Use buttonholes for patchwork projects, adding both flair and function.
Topstitch around buttonholes to create a unique, textured effect.
Experiment with buttonholes creatively; their uses aren’t limited and can elevate any sewing project into something special with a unique textured effect.
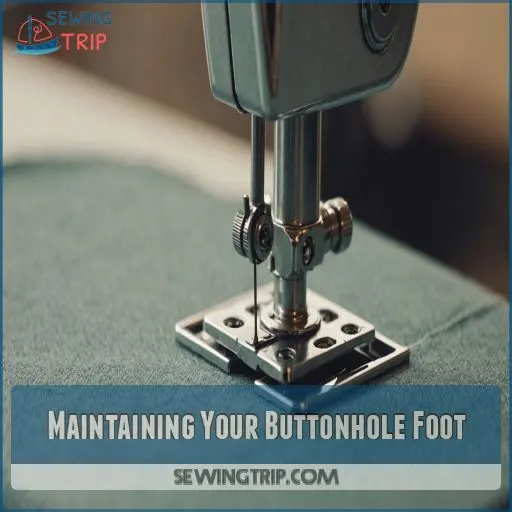
Maintaining Your Buttonhole Foot
Keeping your buttonhole foot in tip-top shape is as easy as pie and just as rewarding when your buttonholes turn out perfectly.
Regular cleaning and careful storage will extend its life, ensuring your sewing projects always come together smoothly, with perfectly formed buttonholes always achievable.
Cleaning and Oiling
Proper buttonhole foot care keeps your sewing on point.
Use oil types specific for your machine and cleaning tools to remove lint and grime. Maintain a regular maintenance schedule to prevent buildup and guarantee smooth operation.
Here’s a quick guide:
- Use manufacturer-recommended oil types.
- Clean after every five projects.
- Gather necessary tools: brush, cloth, and small screwdriver.
Storing and Protecting
After cleaning and oiling your buttonhole foot, focus on its storage.
Tuck it safely in a small, clear container for easy access.
Make sure it’s protected from dust and moisture—like hiding treasures from curious hands.
With proper storage and care, your buttonhole foot will stay in tip-top shape, ready for your next sewing adventure!
When to Replace Your Buttonhole Foot
Your buttonhole foot is like a trusty sidekick – it’s always there to help you create perfect buttonholes.
But even the best of friends need to be replaced sometimes.
Look for signs like worn-out stitching, broken parts, or frequent jams.
If your results are inconsistent, it may be time for a new machine purchase.
Don’t worry, your sewing machine will thank you! (Source)
Frequently Asked Questions (FAQs)
What is a buttonhole foot on a sewing machine?
Imagine sewing like a Victorian tailor — the buttonhole foot is your trusty gadget for crafting precise buttonholes.
It attaches to your machine, guiding stitches perfectly, and makes buttonholes sized exactly for your chosen button.
How do you make a buttonhole on a sewing machine?
To make a buttonhole on a sewing machine, attach the buttonhole foot, mark your fabric, and select the buttonhole stitch.
Insert the button, lower the lever, and let the machine handle the stitching.
Can you sew buttonholes without a buttonhole presser foot?
You might think you need a buttonhole presser foot, but you don’t!
With a zigzag stitch, some practice, and patience, you can manually sew neat buttonholes.
Just measure your button, adjust settings, and carefully stitch.
How does a buttonhole foot work?
The buttonhole foot simplifies creating buttonholes by holding your fabric steady while guiding the needle along.
After attaching it, insert your button to set the size and let the machine sew a perfect buttonhole.
How to use a buttonhole foot on a sewing machine?
Mastering the buttonhole foot is a breeze, my friend!
Simply clip it on, set your machine, and let the magic happen.
With a few easy steps, you’ll be sewing buttonholes like a pro in no time!
What setting do you set a sewing machine for a button hole?
To set up your sewing machine for a buttonhole, adjust the stitch length to about 5, width to 4 or 5, and lower the upper tension slightly for a neat finish.
Use your machine’s manual for specifics.
What are the different types of buttonhole feet?
Did you know buttonhole feet simplify sewing by 50%?
You’ll find two main types: automatic 1-step and manual 4-step.
Automatic feet are common on modern machines, while manual feet require more hands-on effort and precision.
Do you need a special foot for button holes?
No, you don’t need a special foot for buttonholes, but it certainly makes the process easier and stress-free.
A buttonhole foot offers precision, saving you from wrestling with fabric alignment and stitch consistency (Source).
How do I troubleshoot uneven buttonholes?
Uneven buttonholes can be tricky, but try adjusting your stitch length and tension.
Stabilize your fabric with starch, and consider using a manual zigzag stitch.
Test on scraps first, and then tweak as needed.
Can buttonhole feet be used on all fabrics?
While buttonhole feet aren’t universally suitable for all fabrics, they typically work well with woven materials.
However, stretchy or delicate fabrics might pose challenges, requiring stabilizers or specific needle choices to prevent mishaps during sewing.
Whats the difference between one-step and four-step buttonholes?
A one-step buttonhole lets you sew the entire buttonhole automatically in one go.
The four-step buttonhole requires you to manually change stitches after each part, offering more control but needing extra effort.
Where can I buy replacement buttonhole feet?
You can find replacement buttonhole feet at sewing supply stores, online retailers, or directly from your sewing machine manufacturer.
Look for universal snap-on feet that are compatible with your machine model.
How do I adjust tension for buttonhole sewing?
Setting tension for buttonhole sewing is important for neat results.
First, check your machine’s manual for specific settings.
If bobbin thread shows on top, slightly reduce upper tension, usually around 3 or 4 works wonders, due to proper upper tension.
Conclusion
Just like the cherry on top of a sundae, mastering the sewing machine buttonhole foot guide perfects your sewing projects.
You’ll marvel at how easily precision becomes second nature, crafting uniform buttonholes with a confidence you didn’t know you had.
With these tips, you harness the full potential of your sewing machine. Each step you’ve learned makes it simpler and more fun to create, ensuring every buttonhole is as beautiful as the last.
Happy sewing!

