This site is supported by our readers. We may earn a commission, at no cost to you, if you purchase through links.
Yes, you can sew an invisible zipper with a regular zipper foot! It’s a straightforward process that requires precision.
First, prepare the fabric and invisible zipper carefully.
Pin the zipper’s right side to the right side of the fabric, aligning the zipper coils and fabric edges.
Sew along the zipper’s guidelines, about 1/8 inch from the teeth.
When done, press the seam allowance and inspect the zipper closure to make sure it lies flat.
With some practice, you’ll be inserting invisible zippers like a pro using your regular zipper foot.
If you’d like more guidance, the following steps provide a detailed tutorial.
Table Of Contents
- Key Takeaways
- Can You Sew an Invisible Zipper With a Regular Zipper Foot?
- Prepare the Garment
- Prepare the Invisible Zipper for Sewing
- Pin the Zipper to the Garment Right Sides Together
- Sew Along the Guidelines on the Invisible Zipper
- Finish Sewing the Seam
- Sew an Invisible Zipper With a Regular Zipper Foot
- Finishing Touches
- Conclusion
Key Takeaways
- Yes, you can sew an invisible zipper with a regular zipper foot by following precise steps.
- Prepare the fabric and invisible zipper, pinning the zipper to the fabric’s right side and sewing along the zipper’s guide lines.
- Press the seam allowance and inspect the zipper closure to ensure it lies flat.
- With practice, you can become proficient in inserting invisible zippers using your regular zipper foot.
Can You Sew an Invisible Zipper With a Regular Zipper Foot?
Yes, you can sew an invisible zipper with a regular zipper foot. The process is slightly different from using an invisible zipper foot, but it’s still possible. Here’s a step-by-step guide:
- Prepare your zipper and fabric: Lay out your fabric, pulling it smooth and ironing the fabric area if necessary. Mark the top edges at your desired allowance where you want your zipper to be, and mark your desired vertical seam allowance.
- Prepare your zipper: Unzip your zipper, then press and iron the zipper teeth away from the zipper tape. Lift the iron periodically to avoid melting your zipper teeth or coils.
- Sew the zipper: Position the zipper teeth under the left groove of the foot and begin sewing down from the top edge. Make sure to reverse stitch and forward to keep in place. Keep stitching until you’ve reached the point where your needle is parallel to your zipper stopper. Reverse and forward at the end to keep it in place and remove from the sewing machine.
- Sew the other side of the zipper: Flip your entire project so that your sewn side lays on top of the unsewn piece. Make sure the zipper edge is lined up with the seam allowance line at the top and side, and pin into place. Sew the zipper to the other side of your fabric piece and repeat the steps as before.
- Finish off the seams: Pull the zipper all the way closed and place the right sides of your fabric together. Adjust the zipper tail ends so it’s out of the way, then place your foot as close as possible to your stitched line, then sew an additional 2 inches. Remove the zipper foot and install your regular presser foot. Sew your fabrics together by following your previously stitched line.
Remember to tack the ends of the zipper tape to the seam allowance to make it easier to pull your zipper. If you’re using a regular presser foot, it may be more visible, but it’s still possible to achieve a professional look with some practice.
Prepare the Garment
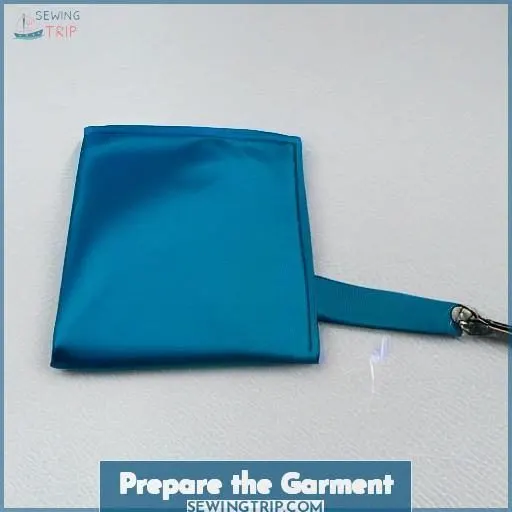
Start by selecting the perfect fabric for your project and ensuring proper seam allowances.
Baste the zipper tape to the fabric using a hand sewing needle.
Iron the zipper teeth away from the tape using the lowest heat setting to prevent damage.
Finish the edges of your fabric with a serger or zigzag stitch.
Choose an invisible zipper that matches your fabric and sewing machine.
Pin the zipper to the left side of the garment, aligning the outside edge of the zipper tape with the finished edge of the fabric.
Sew along the guidelines on the invisible zipper, 1/8 inch away from the teeth.
Prepare the Invisible Zipper for Sewing
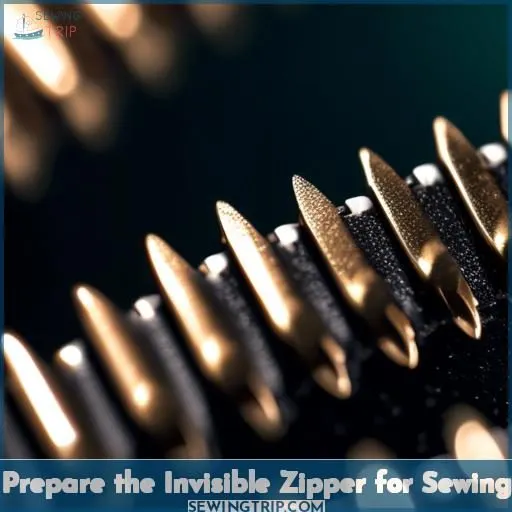
Before you embark on the realm of concealed zippers, let’s prepare the zipper tape meticulously.
Gather your iron and apply a gentle touch; we’re aligning those teeth without a flaw.
Select your thread judiciously—consider lightweight yet durable options.
Now, arrange those zipper teeth as if deciphering a complex puzzle, ensuring they’re aligned with precision.
Attach the zipper tape to your garment with temporary stitches, akin to laying the foundation for a grand tapestry.
With your standard zipper foot at your disposal, you’re poised to unveil the invisible.
Pin the Zipper to the Garment Right Sides Together
To attach the zipper to the garment right sides together, follow these steps:
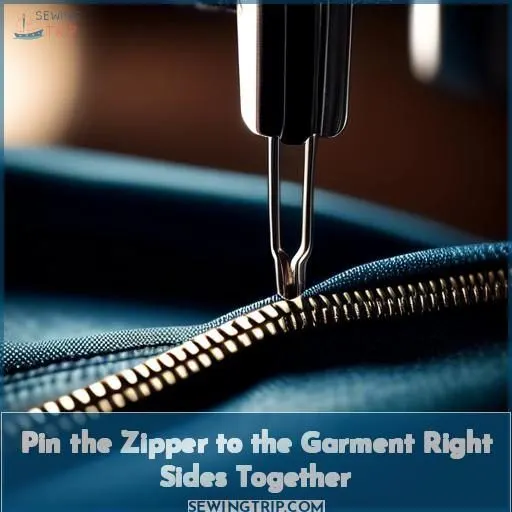
- Lay the fabric and zipper on a clean, flat surface, right sides facing each other.
- Align the zipper coils with the fabric edges, making sure the right side of the zipper tape is against the right side of the fabric.
- Pin the zipper in place, making sure the outside edge of the zipper tape and the finished edge of the fabric line up.
- Check the back of the invisible zipper for a line that indicates where to sew.
- Sew along the guidelines on the invisible zipper, 1/8 away from the teeth.
- When the foot crashes into the zipper pull, backstitch and stop sewing.
- Close the zipper and pin the opposite zipper tape to the other side of the fabric or skirt.
- Sew along the guidelines on the invisible zipper.
- Switch the needle or zipper foot to the other side and sew down the other side of the zipper in the same manner.
- Stop sewing when you get to the zipper pull.
Remember to clean finish the raw edges of the fabric before starting the zipper installation process. This will ensure a neat and professional finish for your garment.
Sew Along the Guidelines on the Invisible Zipper
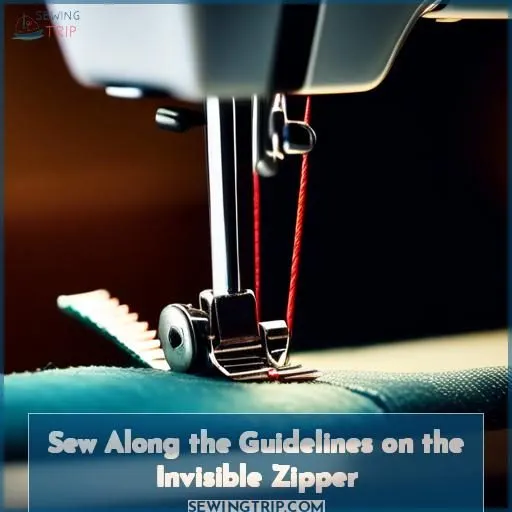
Sewing an invisible zipper with a regular zipper foot is a piece of cake!
To start, ensure your fabric is neatly finished and the zipper is prepared by unzipping and ironing the teeth away from the tape.
Next, pin the zipper to the left side of the garment, lining up the outside edge of the zipper tape with the finished edge.
Sew along the guidelines on the invisible zipper, 1/8 inch away from the teeth.
When the foot hits the zipper pull, backstitch and stop sewing.
Repeat these steps for the other side of the zipper, switching the needle or zipper foot to the other side.
Finally, sew the seam finishing and attach the zipper tape to the binding for a neat finish.
Finish Sewing the Seam
Now that you’ve sewn the invisible zipper, it’s time to finish the seam.
Start by aligning the zipper tape with the seam allowance and pinning it in place.
Then, switch to a regular zipper foot for the next step.
This foot has notches that help you sew closer to the edge, ensuring a secure and even stitch.
Use a matching thread and adjust the machine needle size and stitch length according to the fabric type.
As you sew, keep an eye on the shoulder template to maintain proper alignment.
Once you’ve finished sewing, remove the zipper foot and switch to a regular presser foot to finish the seam.
Don’t forget to remove the basting stitches and clean up the seam before ironing it flat.
Sew an Invisible Zipper With a Regular Zipper Foot
- Zipper Placement: Align the zipper top stop 1/2 below the fabric top edge and lay the zipper tape face down along the fabric edge.
- Foot Pressure: Use a hand sewing needle to baste the zipper tape to the fabric.
- Fabric Type and Tension Adjustment: Switch the zipper foot to correspond to the zipper teeth, adjust the stitch length, and tension as needed for the fabric type.
Finishing Touches
Once you’ve vanquished the coiled zipper beast with your trusty regular foot, it’s time for the grand finale: the finishing invisible touch. You’ll want to press that seam allowance as if it’s strutting the red carpet, crisp and flawless. If the zipper closure is being stubborn and refuses to conceal itself, a bit of hand sewing will convince it to cooperate. Remember, the basting technique is your secret pact with perfection. Now, step back and marvel at your handiwork—smooth as a diplomat’s embrace.
| Step | Detail | Tip |
|---|---|---|
| 1 | Press seam allowance | Use a cloth to shield fabric |
| 2 | Inspect zipper closure | Verify it’s hidden and lies flat |
| 3 | Hand sewing if required | Invisible stitches are the objective |
| 4 | Remove basting stitches | Carefully, to prevent puckering |
| 5 | Admire your work | Celebrate the seamless triumph |
Conclusion
Like a seasoned craftsman shaping a masterpiece, you’ve now become a sewing virtuoso.
Having conquered the art of installing an invisible zipper with a standard zipper foot.
Through meticulous execution of the detailed guidelines, you’ve soared to new sewing heights.
Unlocking the ability to seamlessly integrate professional-looking invisible zippers into your garments.
Revel in this newly acquired mastery.
Boldly embrace future endeavors.
Flaunt your precise craftsmanship with each invisible zipper sewn using your faithful regular zipper foot.

