This site is supported by our readers. We may earn a commission, at no cost to you, if you purchase through links.
To attach a snap-on presser foot, first confirm your machine has a universal shank. Then, remove the presser foot adapter and attach the snap-on presser foot firmly, ensuring a tight fit and connection to the shank. Check the connection to the presser foot lever.
If you encounter attachment problems, tighten the presser foot screws, align the presser foot shank with feed dogs, clean the shank, inspect the connection bar and release lever, or change the presser foot if needed.
When selecting a presser foot, become familiar with varieties, identify specific functions required, verify compatibility with your sewing machine, and consider presser foot capabilities.
Adjust the presser foot by setting tension and foot height, adjusting foot pressure control, experimenting, and practicing. Regularly clean and maintain your presser foot by lubricating moving parts with sewing machine oil, storing in a protective case, and replacing worn or damaged feet.
Table Of Contents
Key Takeaways
- Confirm your sewing machine has a universal shank before attaching a snap-on presser foot.
- Remove the presser foot adapter and attach the snap-on presser foot firmly, ensuring a tight fit and connection to the shank.
- Check the connection to the presser foot lever and troubleshoot any attachment issues by tightening screws, aligning shanks, cleaning the shank, examining the connection bar and release lever, or replacing the presser foot.
- Select the appropriate presser foot for your project, adjust the foot’s tension and height, and maintain your presser foot for optimal operation.
How to Attach a Snap on Presser Foot?
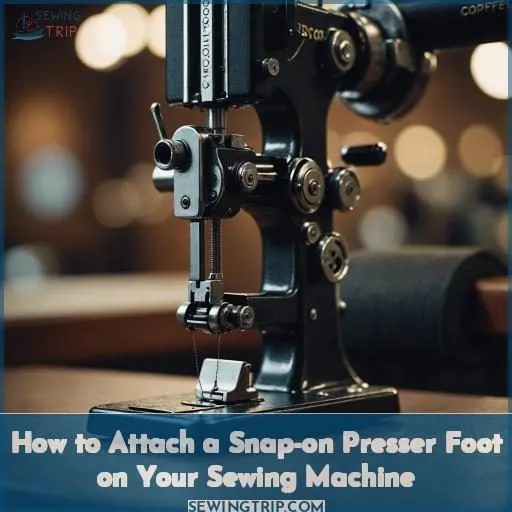
To attach a snap-on presser foot, start with the shank in the highest position, using the presser foot lever on your machine. Place the presser foot under the shank, aligning the connection bar with the notch on the shank. Lower the foot until it snaps in place.
To detach the foot, raise it to the highest position and then press the lever or button, depending on your machine. The foot drops off and can be exchanged for another.
Preparing the Machine
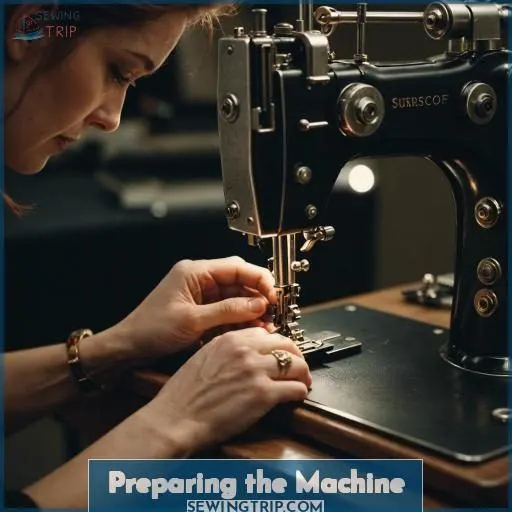
Before delving into the technique of installing a snap-on presser foot, it’s imperative to verify that your sewing machine is adequately prepared. Determine the type of shank your machine has, whether it’s a universal or specific shank, by consulting the machine’s manual or examining the presser foot itself.
Subsequently, detach the presser foot adapter, which serves as the component that secures the presser foot in position. Proceed to attach the snap-on presser foot, ensuring a snug fit and secure connection. Verify the foot’s connection with the shank and the presser foot lever.
Bear in mind that a well-prepared machine is the cornerstone of a successful sewing endeavor.
Troubleshooting Attachment Issues
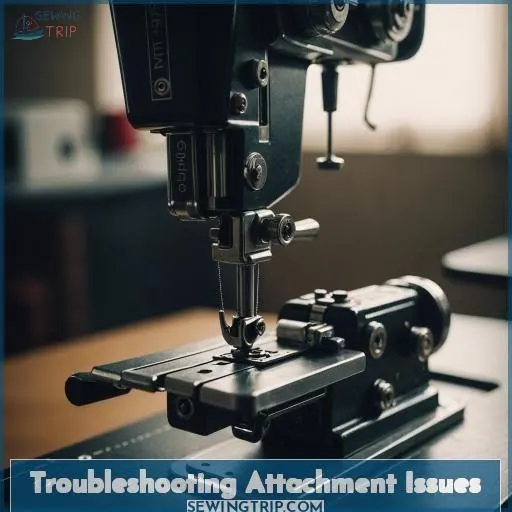
Now that your machine is prepared, it’s time to tackle any attachment issues. First, check the tightness of your presser foot screws. If they’re loose, tighten them to guarantee a secure connection.
Next, align the presser foot shank with the feed dogs. Misalignment can cause problems with your stitching. If you’re still experiencing issues, clean the shank with a soft brush or cloth to remove any debris.
Diagnose the problem by checking the connection bar and release lever. If all else fails, you may need to replace your presser foot.
Choosing the Right Presser Foot
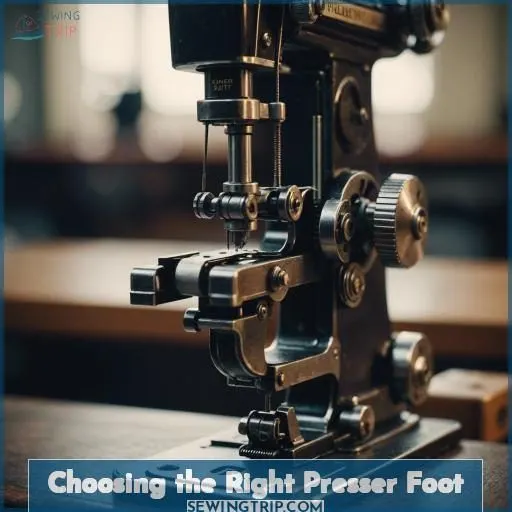
Selecting the appropriate snap-on presser foot is essential for optimal sewing machine operation and project achievement. Here are three salient considerations:
- Presser Foot Varieties: Familiarize yourself with the diverse presser foot options, including general-purpose, zipper, buttonhole, and ornamental, to guarantee compatibility with your project.
- Presser Foot Capabilities: Identify the specific functions required, such as modifying stitch length or width, for optimal outcomes.
- Presser Foot Suitability: Verify the compatibility of your presser foot with your sewing machine model. Refer to the manufacturer’s instructions or seek professional guidance if necessary.
Adjusting the Presser Foot
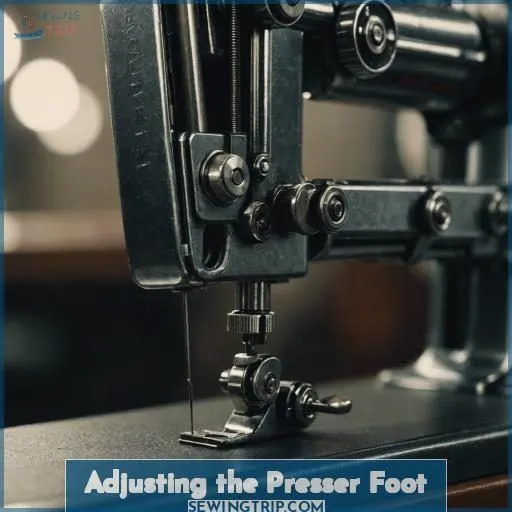
Now that you’ve chosen the right presser foot for your sewing project, it’s time to adjust it to suit your needs. Different presser foot types require different tension settings and foot heights. For example, a ballpoint foot is great for sewing through thicker fabrics, while a universal foot works well for most sewing techniques.
Adjusting the foot pressure control can help you achieve the perfect stitch length and tension.
The key to mastering your presser foot is practice and patience. With a bit of tweaking and experimentation, you’ll be able to create beautiful, seamless stitches every time.
Maintaining and Caring for Your Presser Foot
Maintaining and caring for your presser foot is crucial for superior sewing performance and longevity. Here are some tips to keep your presser foot in excellent condition:
- Cleaning: Regularly clean your presser foot to remove dust, lint, and debris that may accumulate during sewing. You can use a soft-bristled brush or a damp cloth to gently clean the foot’s surface. For stubborn stains or corrosion, consider using a non-toxic cleaning solution like Evaporust, which is designed to remove oil and rust from metal surfaces.
- Lubricating: Apply a light coating of sewing machine oil to the presser foot’s moving parts to guarantee smooth operation. This will help prevent wear and tear and enhance the foot’s overall performance.
- Storage: Store your presser foot in a protective case or box when not in use. This will help protect the foot from dust, moisture, and other environmental factors that can damage the foot over time.
- Replacement: If your presser foot is worn, damaged, or no longer functions properly, consider replacing it with a new one. This will guarantee that your sewing machine continues to perform at its best.
- Troubleshooting: If you encounter issues with your presser foot, such as skipped stitches or fabric not feeding properly, consult your sewing machine’s user manual or contact a professional technician for assistance.
Frequently Asked Questions (FAQs)
Can I use a universal snap-on adapter?
Sure, you can use a universal snap-on adapter to attach a snap-on presser foot to your sewing machine. These adapters are designed to allow you to use snap-on presser feet on machines that originally came with screw-on feet.
They’re available for both low shank and high shank machines, and can be a great investment if you want to expand your sewing machine’s capabilities.
How often should I replace my presser foot?
To replace your presser foot, you’ll need to remove the old one and install the new one. Most modern sewing machines have a lever that releases the presser foot, allowing you to easily click in a different foot.
For older models, you may need to unscrew the presser foot to release it. Always refer to your machine’s manual for specific instructions on changing the presser foot.
Are snap-on feet compatible with older machines?
Snap-on feet are generally compatible with older machines, but it depends on the specific model and brand of your sewing machine. Most Japanese-made machines, such as Janome, Brother, and Pfaff, use snap-on feet.
However, some older machines may require screw-on feet or an adapter to use snap-on feet. To determine if snap-on feet are compatible with your older machine, you can check the machine’s manual or contact the manufacturer for specific information on the type of presser foot it uses.
What is the cost of a snap-on foot?
You’ll be over the moon to know that a snap-on presser foot can cost less than a fancy cup of coffee, making it a steal for the transformation it brings to your sewing game.
Can snap-on feet improve sewing accuracy?
Snap-on feet can indeed improve sewing accuracy. These feet are designed to attach easily to your sewing machine, opening up the array of specialty presser feet for specific techniques such as pintucks, couching, and precision piecing.
They’re often interchangeable between brands but may attach in the same manner with a release lever or button on the back of the shank. By using snap-on feet, you can change the presser foot quickly, which can lead to more accurate sewing results.
Conclusion
By adhering to these steps, you’ll proficiently affix a snap-on presser foot to your sewing machine. Begin by verifying your machine’s universal shank and detaching the presser foot adapter. Subsequently, attach the snap-on presser foot securely, guaranteeing a firm connection to the shank.
If you experience attachment difficulties, resolve them by tightening screws, aligning shanks, cleaning the shank, examining the connection bar and release lever, or replacing the presser foot.
Always select the appropriate presser foot for your project, calibrate the foot’s tension and height, and maintain your presser foot for optimal operation.

