This site is supported by our readers. We may earn a commission, at no cost to you, if you purchase through links.
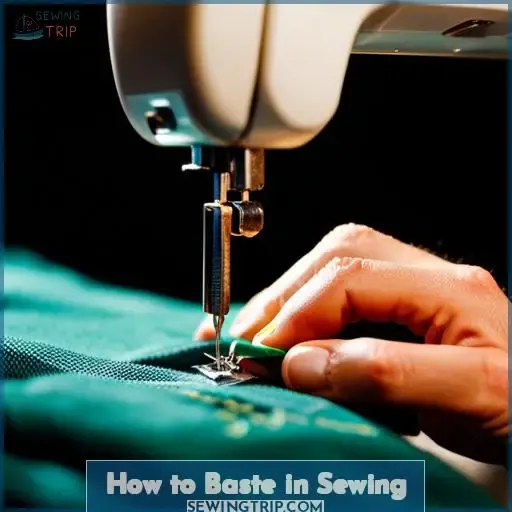
Basting in sewing can be a tricky endeavor, like navigating through a maze without a map. With the right tools and techniques, however, you can become an expert baster in no time. In this article, we will explore the ins and outs of basting, including what it is, when to use it, which tools you need for successful results, as well as step-by-step instructions on how to hand or machine baste.
Table Of Contents
- Key Takeaways
- What is a Basting Stitch?
- When Should You Use a Basting Stitch?
- What Tools Do You Need for Basting?
- How to Hand Baste in Sewing?
- How to Machine Baste in Sewing?
- How to Baste for Garment Fitting?
- How to Baste Zippers?
- How to Baste for Home Décor?
- How to Baste for Quilting?
- How to Baste for Serging?
- Frequently Asked Questions (FAQs)
- Conclusion
Key Takeaways
- Basting is a temporary straight stitch used to hold fabric layers together until the final seam is sewn.
- Hand basting offers more control than machine basting and is often necessary for garment fitting.
- Different fabrics require various adjustments when doing any type of garment sewing, including pins, needle sizes/types, threads used, and even stitch lengths on machines due to their unique thicknesses and weights.
- Basting is essential for achieving a professional finish in home decor projects, quilting, and serging.
What is a Basting Stitch?
A basting stitch is a temporary straight stitch used to hold fabric layers together until the final seam is sewn, allowing you to easily test-fit or construct garments and quilts.
There are two main types of basting: hand and machine. Hand basting uses a running stitch with long or short stitches, which can be removed more easily than those made by machine.
Machine basting should use lightweight thread inside the seam allowance, close to the final line. Backstitching at the start and end should be avoided! Thread options include bobbin thread, cotton embroidery floss, or other thin threads that won’t pull out easily when removing stitches later on.
When it comes time for removal, always take extra care as pulling them out incorrectly could cause damage. So, make sure they’re loosened first using a seam ripper, then snipped away one by one if needed.
When Should You Use a Basting Stitch?
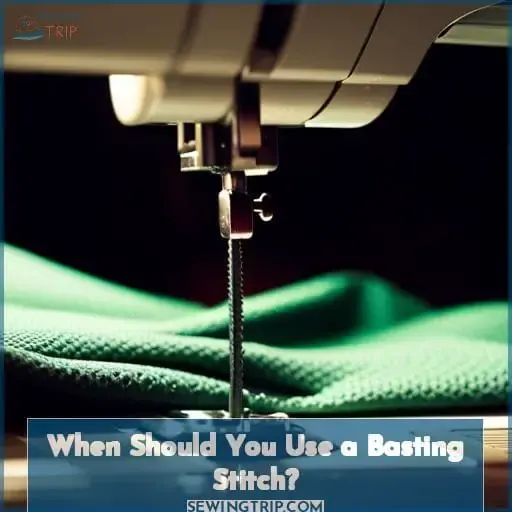
You should use a basting stitch when sewing projects that require extra accuracy or those that are too big for the machine. Over 70% of all garments need at least some hand-basting. Hand basting is often used for fitting purposes in garment sewing and to hold trims like piping, rick rack, and pom poms.
Machine basting with long stitches placed inside the seam allowance can be done quickly but should be removed carefully using a seam ripper. Baste with threads tailored to the fabric: lightweight thread is best for light fabrics while heavier thread works better on thick ones.
Set your machine’s stitch length longer than normal; this will make it easier to remove later without damaging your fabric.
Always sew just inside (or along) the seam allowance so that any adjustments won’t affect your finished piece! Lastly, remember to test out each type of stitching before starting work. Test by pulling them apart easily as well as seeing how much they shift after being sewn.
What Tools Do You Need for Basting?
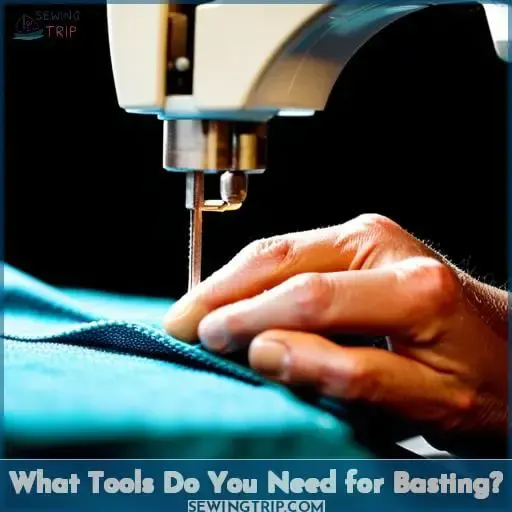
When it comes to basting, having the right tools is essential. Depending on the project, you may need a hand-sewing needle and thread for hand basting or a sewing machine with special settings for machine basting.
For both types of basting, selecting the right type of thread is important. Bobbin thread or another lightweight thread can be used in place of regular sewing threads when using your sewing machine. You’ll also need to adjust your stitch length according to how long you want your stitches.
Longer stitches are best suited for heavier fabrics, whereas shorter stitches may work better on lighter fabrics as they’re easier to remove afterwards.
Finally, making sure that you use proper seam allowance will help ensure accuracy when stitching. This means keeping all seams within 1/4 (6 mm) from their designated lines so that they don’t unravel or become misshapen after being sewn together permanently later on.
With these tips in mind, and depending on the make/model of machines one owns, even novice sewers should find mastering basic techniques like using temporary straight stitch relatively easy!
How to Hand Baste in Sewing?
Gently stitch your fabric together by hand basting for precise control and accuracy. To start, use a piece of interfacing to provide stability while stitching. Then, pin the layers of fabric together and thread a hand-sewing needle with single thread, knotting it at the end.
Begin sewing just inside the seam allowance using a running stitch – long or short depending on what you’re aiming for – until you reach one side’s edge. Remove pins as needed along the way so that they don’t get caught in stitches. When finished, test removability before continuing onto the next section or securing stitches by sewing one or two in place at the end, leaving tail threads.
Hand basting offers more control than machine basting because it allows variation in how tight each stitch is sewn. However, it also requires careful removal after use to avoid damaging any delicate fabrics chosen for your project, such as set-in sleeves where free motion sewing can’t be used due to limited space under the armhole opening.
For best results when machine basting seams, choose the longest possible length setting on a regular straight seam foot. This will ensure easier removal later without disrupting surrounding areas. Make sure the bobbin/lightweight thread won’t show up too much either, which could affect aesthetics if left behind accidentally once the seam is completed properly.
How to Machine Baste in Sewing?
Using a machine baste is an efficient way to temporarily hold fabric in place – up to four times faster than hand basting! To begin, set the stitch length on the sewing machine to a long stitch. For best results, adjust the tension and use a foot specifically designed for this type of stitching.
The first stitch should start inside of the seam allowance close to the final seam line. It’s important not to make any backstitching at both ends of each seam you sew, as it may cause difficulty when removing stitches later on.
When using thicker threads with modern sewing machines, remember that longer stitches don’t pull out as easily, so take extra care when doing so.
Lastly, there are many techniques one can explore, such as gathering fabrics together or creating decorative effects like piped seams and pom-poms, all made easier with well-placed basting stitches!
Bullet point list:
- Adjusting tension & using specialized feet help achieve optimal results while machine basting
- Thread choice affects how easy/hard it is to remove stitches from heavier fabrics
- Remember no backstitching when starting/ending seams
How to Baste for Garment Fitting?
To fit garments perfectly, basting is an essential step. Basting helps to control the fabric area and make sure it fits the desired shape or size of a garment.
To begin, first pin your fabric in place to hold all layers together. Then select either hand basting or machine basting for your fitting techniques depending on which one you are comfortable with using.
If hand-basting, thread a single thread through a needle and knot at the end. Sew along just inside the seam allowances with running stitches that can be long or short as needed for stability of each section being sewn together until reaching intended length while testing stitch removability throughout this process.
If opting for machine basting, use lightweight threads such as bobbin threads instead of regular sewing ones. Set up stitch length so that it’s longer than usual stitching lengths but not too long because they will have difficulty pulling out when done fitting.
Adjust tension accordingly if necessary. Also, avoid backstitching at start/end points since these stitches need to be removed manually after finishing fittings with seam ripper before pressing fabrics afterwards.
It is important to remember that different fabrics require different types of adjustments when doing any type of garment sewing, including pins, needle sizes/types, threads used, and even stitch lengths on machines due to their unique thicknesses and weights.
How to Baste Zippers?
Zipping up a garment can be tricky, but basting the zipper in place makes it easier. There are several types of zippers that you may need to install: standard length, invisible, and separating.
To get started with installing your zipper, first determine its placement and size based on the type of fabric used for the project as well as how many layers will be involved. For most projects, use a thread tail that is two or three times longer than what would normally be used when sewing seams.
When using an automatic setting on your machine to make long stitches (3-4mm), keep in mind that these stitches should come close to but not cross over onto any existing seam lines.
Finally, choose a lightweight material like polyester thread or cotton-covered polyester when stitching around metal zippers. This will help avoid extra wear and tear from friction caused by bulkier materials such as nylon or acrylic threads rubbing against the teeth of the zipper’s coil during the installation process.
- Installing Zippers
- Zipper Types
- Exact Seam Allowance
How to Baste for Home Décor?
When it comes to home décor, basting is your best friend! Basting techniques can help you achieve a professional finish on curtains, pillowcases, and other decorative items. Choosing the right fabric is essential when using basting stitches. For heavier fabrics such as upholstery materials, use a longer stitch length of around 8 inches for added strength.
Lighter fabrics require shorter distances between stitches to prevent puckering or stretching.
Before starting any basting project in home décor sewing, measure out the area that needs stitching and add an extra inch for seam allowance. Begin by setting up your machine with a contrasting thread type that will be easy to remove later on if necessary.
To start stitching, find the correct starting point of an entire area or short distance within it where two pieces are joined together temporarily without backstitching so they can easily be removed later before finalizing seams with permanent stitches.
These should follow immediately after removing all temporary ones, including those made during fitting sessions held intermittently throughout the construction process depending on design complexity.
In summary, when preparing for home décor projects using basting techniques, consider fabric choices carefully, adjust stitch lengths accordingly based on weight, always leave ample seam allowance, employ contrasting thread types allowing easy removal afterward, and begin at precise points along areas needing attention while avoiding backstitches altogether!
How to Baste for Quilting?
Basting is a great way to keep quilt layers together while you sew, and it only takes about 10 minutes of your time for every square foot of fabric.
Before basting, all fabrics should be pre-washed and prepared according to the pattern instructions. Use either a hand stitch or machine stitch when basting – both are effective ways of securing the layers before sewing.
Hand stitching requires using long running stitches with thread knotted at one end. Machine basting uses an extra long straight stitch set on the longest length available on your specific machine model.
To ensure accuracy in pattern matching, use pins along each edge where two pieces meet or place them at certain points if specified by the pattern instructions. Then run a seam allowance from pin to pin across each piece before securing them with pins again just outside that line.
When selecting which type of manual pre-programmed baste stitch best fits your needs, consider whether you need an exact straight line for accurate piecing or free motion flexibility around curves and angles as needed in more intricate patterns such as appliquéd designs or free form patchwork motifs created without templates.
No matter what technique used during quilting basics preparation process, always remember how important maintaining even tension between top and bottom threads is when creating those perfect stitches!
How to Baste for Serging?
For serging, you’ll need to use a longer stitch than for hand basting, as the fabric layers will be more securely held together.
- Thread choice is important; opt for a lightweight bobbin thread or another suitable upper thread.
- Sew inside the seam allowance close to the final stitching line.
- Adjust your machine’s stitch length accordingly.
- Attach a darning foot if necessary.
- Remember that loose stitches aren’t ideal when working with super thick fabrics.
Baste quickly and accurately by utilizing preprogrammed settings on your sewing machine. This way, you won’t have to worry about changing up needle positions or adjusting other settings mid-project. Once all of your pieces are in place, it’s time to secure them using an even longer stitch length before moving onto the final stitching process.
Frequently Asked Questions (FAQs)
What is the difference between hand basting and machine basting?
Hand basting is faster and easier to remove than machine basting. For instance, hand-basted stitches are sewn with a running stitch, while machine-basted stitches use a long stitch setting on the sewing machine.
Hand basting also allows for better control of the area being sewn, but both methods require fabric to be pinned beforehand. The key differences between these two methods are that hand stitching should be tested for removability and requires one or two extra stitches at the end of seams, while machines can sew without backstitching in place at start/end points.
What is the longest stitch length available on a sewing machine?
The longest stitch length available on a sewing machine will vary depending on the make and model. Most machines offer up to five millimeters, but some can go as long as eight to ten millimeters. To achieve longer stitches, look for a pre-programmed basting stitch or use the manual setting.
How do I make sure the basting stitches can be removed easily?
Before basting your fabric, it is important to test the stitches for removability. Use a running stitch with the appropriate thread and needle size, starting inside the seam allowance. Vary the stitch length and make sure to knot off at the end of the seam. Avoid backstitching and pressing the fabric until the basting stitches have been removed.
What type of thread should I use for basting?
Threading your needle for basting is like painting a picture – pick the right hue to make it come alive. For hand-basting, a single thread and knotted end work best. Machine basting can use bobbin or lightweight thread.
Can I use a manual pre-programmed basting stitch for free motion sewing?
Yes, you can use a manual pre-programmed basting stitch for free motion sewing. However, you will need to attach a darning foot and ensure that the longest stitch length is set correctly on your machine.
Conclusion
In conclusion, basting is an essential part of sewing that will help you create a beautiful and professional-looking project. It may take some practice and patience, but with the right tools, techniques, and a little bit of know-how, you can achieve amazing results.
Don’t feel intimidated by the idea of basting – it’s really quite simple, and once you get the hang of it, you’ll be hooked! So don’t be afraid to give it a try – you won’t regret it! Your finished product will be something you’ll be proud to show off and enjoy for years to come.

