This site is supported by our readers. We may earn a commission, at no cost to you, if you purchase through links.
 Ready to add a bit of flair and drama to your next sewing project? Learning how to sew ruffles is the perfect way. This step-by-step guide will demonstrate all the basics, so you can easily create beautiful frills on everything from dresses and skirts to aprons or blankets.
With just a few simple steps—and some patience!—you’ll be prepared for ruffle success in no time. Let’s get started! First, select your fabric. Lightweight, fluid fabrics like chiffon, organza, and lace work best.
Cut long strips that are 2 to 3 times the desired finished width of the ruffle. For more dramatic ruffles, cut wider strips.
Set your machine to a basting stitch length, the longest on your machine. Sew a row of basting stitches down the center of the ruffle strip. Do not backstitch at either end. Grab one end of the thread tails, and gently pull to gather the fabric.
Pin the ruffles onto your project item, spacing the gathers how you’d like. You may need to adjust the fullness. Sew the ruffles in place using a normal stitch length. Add as many rows of ruffles as desired to create a tiered effect.
And that’s it! With a bit of practice, you’ll be embellishing everything in sight with fabulous frills and fluttery ruffles.
Table Of Contents
- Key Takeaways
- Step 1: Prepare the Ruffle Fabric Strip
- Step 2: Finish the Ruffle’s Hem First
- Step 3: Machine Stitch to Finish Hem
- Step 4: Apply the Gathering Stitches
- Step 5: Pin the Ruffle to the Seam Before Gathering
- Step 6: Pull Basting Stitch Threads to Gather
- Step 7: Pin the Ruffle’s Seam
- Step 8: Machine Stitch the Ruffle Seam
- Step 9: Clean Finish the Ruffle Seam’s Raw Edge
- Step 10: Iron the Ruffle Seam Properly
- Conclusion
Key Takeaways
- Select lightweight, fluid fabrics like chiffon or lace for ruffles.
- Cut fabric strips 2-3 times the desired width of the ruffle.
- Set the sewing machine to the longest basting stitch length.
- Press finished seam allowances away from gathers with an iron.
Step 1: Prepare the Ruffle Fabric Strip
To get started, you’ll need to cut a ruffle fabric strip that’s 2-3 times longer than the edge you’ll attach it to, just like preparing a ribbon that’s as long as an Olympic swimming pool. When choosing your ruffle fabric, consider different options and their impact on the final look and volume of your project.
Once you have your fabric strip ready, it’s time to create gathers for that beautiful frilly effect. Stitch two wide machine gather lines using either a gathering foot or longer stitches with bright thread for easy visibility.
With your gathers in place, pin the ruffle perpendicular to the desired edge before stitching them together with a seam close to the gathered area.
Finish off by serging or zigzagging along the seam allowance and ironing it away from gathers for a clean finish.
Step 2: Finish the Ruffle’s Hem First
To ensure a professional-looking ruffle, it’s important to start by finishing the hem of your fabric strip. This step will not only give your ruffle a clean and polished appearance, but also prevent fraying over time.
To finish the hem:
- Fold over the raw edge twice.
- Stitch the folded edge down using a machine.
The double-folded machine-stitched hem will provide durability and stability to your ruffle.
Remember that proper fabric preparation is key in achieving excellent results when sewing ruffles. Make sure to measure out two times the desired coverage width for your fabric strip and finish its edges before attaching it to your project.
- Fold over raw edge twice
- Stitch folded edge down using machine
- Double-folded hem provides durability
- Proper preparation ensures optimal results
Step 3: Machine Stitch to Finish Hem
Butch up and get your machine ready for an indelicate stitch, babe! You gotta get heavy-handed and crank that thread tensioner for a hem like nothing else. A stout seam finish calls for the meanest machine setup you can get. Take no prisoners and stitch that hem down hard, fast, and final – it’ll be the baddest base for bountiful billows once gathered.
Forget finesse, this is about function, durability, and making your mark. Get gritty.
| Speed | Thread Tension | Needle |
|---|---|---|
| Fast | High | Thick |
| Furious | Max | Industrial |
| Mach 10 | Vice Grip | Concrete |
Once you’ve powered through the foundation with your machine on ultra-beast mode, you’ll be ready to move on from that delicate dressmaking nonsense.
Step 4: Apply the Gathering Stitches
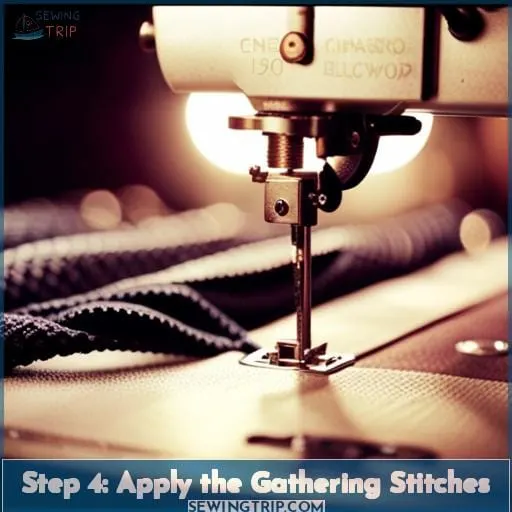
After hemming the edge, you’ll sew two long basting stitches down the middle for gathering up this ruffly strip later. Set your machine to the longest stitch length and use contrasting thread, so these gathering lines will stand out.
Pull both threads at once when gathering. For more control, try sturdy dental floss instead of thread.
Mark key points on the ruffle and base to ensure exact placement and avoid shifting when attaching the gathered ruffle. Keep even tension when pulling the threads to create beautiful gathers. Add a pin at the end to secure before stitching the ruffle in place right next to the gathering stitches.
With precision and the right techniques, you’ll achieve the perfect ruffled edge.
Step 5: Pin the Ruffle to the Seam Before Gathering
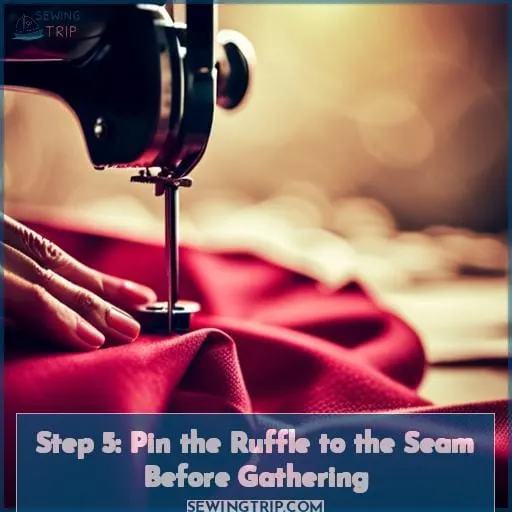
Pin the gathered ruffle perpendicular to the edge, like a delicate flower blossoming from its stem. Ensure the ruffle is precisely positioned before gathering by pinning it to the seam.
This prepares you for even gathering and ruffle placement. Gathering shifts the fabric, so pre-pinning provides an unchanged reference point. Take care when pinning delicate fabrics to avoid holes or snags. Pin generously, as movement during stitching can distort placement.
Proper preparation leads to successful ruffle application. With the gathering complete, maintain control throughout stitching to keep the ruffle precisely positioned.
Step 6: Pull Basting Stitch Threads to Gather
You’ll pull the basting threads to evenly gather the ruffle before pinning it in place.
- Keep tension even on both threads as you pull.
- Work from the center toward the ends.
- Adjust gathers by loosening threads if needed.
- Distribute fullness evenly along the ruffle.
Gently tug the top and bottom threads to create the ruffle fullness you desire. Focus on keeping the gathers distributed evenly so the ruffle hangs smoothly when attached. Avoid pulling too tight or you may break the threads. Check spacing and make any adjustments before pinning the ruffle in position on your project.
Step 7: Pin the Ruffle’s Seam
You wanna position the gathered ruffle perpendicular to the edge before stitchin’ it down. When pinning, take your time to align the ruffle seam precisely where ya want it. Space the pins close together, goin’ through both layers, to prevent any shiftin’ or wrinklin’.
Use the gathers and midpoint as guides for centerin’ the frilly trim. Proper positioning and pinning are crucial steps for achievin’ a flawless finish.
Move those gatherin’ threads outta the way and stitch real close to them, backstitchin’ at the ends.
Careful prep means you’ll get a crisp ruffle every time. And remember, patience is a virtue when handlin’ finicky fabrics like this.
Step 8: Machine Stitch the Ruffle Seam
Stitch the ruffle seam close to the gathering for a secure and polished finish. After pinning your gathered ruffle perpendicular to the seam edge, take your time machine stitching the ruffle seam. Use a narrow seam allowance, keeping the stitching line near the gathering stitches for a tidy appearance.
Removing gathering threads after this step will leave minimal tails along the finished side seam. Consider thread colors too – a matching thread blends in while contrast makes a statement. Play with different ruffle variations like using a ruffler foot for ease. Keep pressing the gathering foot lever as you sew.
Master these little tricks for flawless machine-sewn ruffles every time. With practice, you’ll have the skills to create fabulous frills on any project.
Step 9: Clean Finish the Ruffle Seam’s Raw Edge
To achieve a polished look, neatly finish the raw edge of the ruffle seam using either serging or zigzag stitching. After stitching the ruffle seam close to the gathers, clean finish this raw edge to prevent fraying.
For a professional edge, use a serger to enclose the raw seam within the overlocking stitching. Or apply a zigzag stitch very near the seam’s raw edge. Adjust your machine’s stitch width so the zigzags just catch the edge without going too far onto the ruffle.
Whichever method you choose, take time to press the finished seam allowances away from the ruffle gathers using an iron.
Step 10: Iron the Ruffle Seam Properly
Start by carefully ironing the seam allowance away from the gathers to create a clean and polished look for your ruffle.
- Set the iron to the appropriate heat setting for the fabric. Too hot risks scorching delicate material.
- Lift and lower the iron in smooth motions to prevent dragging the fabric. Let the iron sit briefly to allow heat to penetrate wrinkles.
- For stubborn creases, use spray starch or a damp pressing cloth to help relax fibers. Avoid excessive moisture.
With a light touch and patience, you can achieve a perfectly crisp ruffle that maintains its elegant shape. Proper pressing is the finishing touch that completes your gorgeous ruffled project.
Conclusion
Start by preparing the ruffle fabric strip. Make sure it’s 2-3 times longer than the edge you want to gather.
Next, finish the hem by double folding and machine stitching. This will prevent fraying.
Then, apply two rows of basting stitches for gathering. Space the stitches about 1/4 inch apart.
Pin the ruffle to the garment edge evenly before gathering. This helps control gathers.
Pull the basting threads to gather the fabric until it matches the length you need.
Stitch the ruffle seam in place, then clean finish edges with a serger or zigzag stitch to prevent fraying.
Finally, iron the seam allowance away from the gathers so they remain flat and crisp.
With some simple preparation and patience, you can sew beautiful frilled edges. This technique opens up lots of creative possibilities!

