This site is supported by our readers. We may earn a commission, at no cost to you, if you purchase through links.
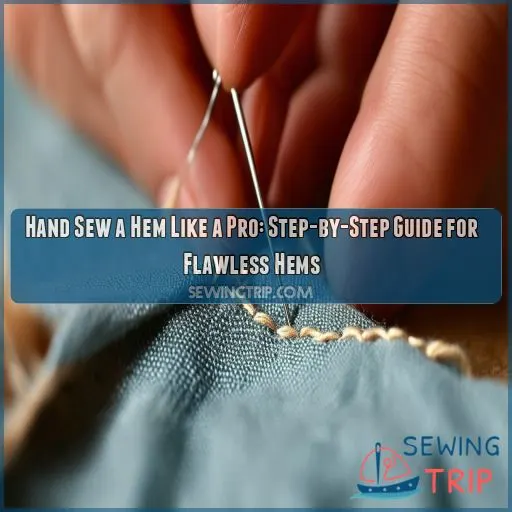
 Bring your sewing skills to the next level with The Magic of Hand-Sewn Hems! You will go from zero to hero, knowing how to hand sew a hem like a professional.
This step-by-step guide contains techniques used by experts in making flawless hems on any garment. You will gain confidence to try even the most problematic fabrics, ranging from choosing the right tools to using different stitching methods.
Get ready to elevate your craftsmanship and achieve professional-quality results that’ll make your clothes look tailor-made.
Table Of Contents
Key Takeaways
- Ready to turn those saggy pants into show-stoppers? Picking the right needle and thread is like choosing the perfect dance partner – it’ll make or break your hemming tango!
- Ironing isn’t just for Sunday best. Smooth out those wrinkles before you start, or your hem might end up looking like it had a rough night out.
- The slip stitch is your new BFF. Master this ninja move, and your hems will be so stealthy, even Sherlock Holmes couldn’t spot them.
- Different fabrics are like different personalities – each needs its own special treatment. From silky divas to bulky tough guys, you’ll learn to handle ’em all like a pro.
How to Hand Sew a Hem?
To hand sew a hem, you’ll need the right tools: a suitable needle, matching thread, and accurate measurements. Start by prepping your fabric – iron out wrinkles and mark your hemline.
Choose your stitch technique based on fabric type; slip stitch works well for most hems. For delicate fabrics, use fine needles and threads, while heavier materials might need a stronger approach.
Keep your stitches small and even, working alternately for a professional look. Finish by securing the thread and pressing the hem for a crisp finish.
With practice, you’ll be hemming like a pro in no time. Ready to elevate your sewing skills?
Selecting the Right Tools
To hand sew a hem like a pro, start by selecting the right tools. Choose a needle suited for your fabric, pick matching thread, and measure your seam allowance accurately.
Choosing Proper Needle
When choosing a needle for hand sewing a hem, consider the fabric you’re working with. You’ll want to match the needle size and type to your material.
A finer needle is ideal for delicate fabrics, while heavier fabrics require a sturdier needle.
Pay attention to the needle point and sharpness. A sharp point works best for woven fabrics, while a ballpoint needle suits knits.
Picking Matching Thread
Thread weight, color matching, and fiber compatibility are important considerations when choosing your coordinating thread. Use thread that’s suitable for the thickness and texture of the fabric being used to make invisible hems with the same color thread as the fabric.
Or, if you’re adventurous, contrast stitching does give quite a striking look. Just remember: as much as decorative threads add a little flair to functional sewing, they do need to be strong enough.
The right thread choice really makes a huge difference in elevating your work from amateur to professional level in terms of its craft.
Measuring Seam Allowance
Now that you have matched your thread, it’s time to deal with seam allowance. If you want to have a difference between a lopsided and great-fitting hem, take your ruler or measuring tape and get out precise markings on the fabric.
Keep in mind to pick markings that can wash out easily. Add your usual 5/8 inch seam allowance to it and fold carefully.
This little piece provides wiggle room for an exact fit.
Preparing the Fabric
Before you hem, make sure to take the time to prepare your fabric properly. This is where the magic begins—with these steps to save you headaches later on:
- Iron out any wrinkles or creases. A smooth surface is your best friend when it comes to precise hemming.
- Check the grain of your fabric. This should be straight so that you don’t have some kind of wonky hem that makes your piece look like a funhouse mirror.
- Measure and note your hemline in the garment. You can use a little chalk or set some pins as guideposts to help you stay on track.
- If necessary, trim excess fabric. Don’t hesitate with those scissors—if a little more needs to go now, you might avoid struggling later.
Stitching Techniques
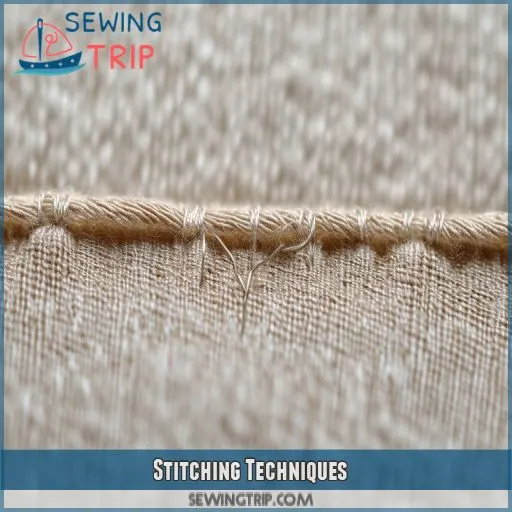
Now it’s time to learn how to stitch, since you’ve prepped your fabric. Match your needle size and thread type to your fabric weight; heavy fabrics require big needles and heavier-duty threads. Keep your stitch length consistent. For a professional inside stitch, aim for small, even stitches about 1/4 inch apart.
For hems, the slip stitch really is your best friend. It’s practically invisible from the right side yet secure enough to take a few twists and turns. To work it, you catch a few threads of the folded edge in, then make a small stitch in the garment, as shown working alternately.
Handling Different Fabrics
The adoption of a good hemming technique is necessary when handling various kinds of fabrics.
On sheer fabrics, the sewing should be done using either a very narrow hem or fusible tapes to create a clean edge with no bulk. With delicate materials like silk, extra care has to be taken; one must use fine needles and threads that don’t leave obvious holes.
If you find bulky fabric, grade your seams for less thickness or use bias tape for a professional finish. Watch for fraying edges with loosely woven textiles; a zigzag stitch or an overcast edge may prove your best friend here.
Use a stretch stitch or ballpoint needle on stretchy textiles to preserve the elasticity. Even denim might need a sturdier needle, and lace could use a rolled hem.
After all, each fabric has its own quirks. Soon enough, these fabric-specific techniques will have you hemming like a pro!
Finishing and Securing the Hem
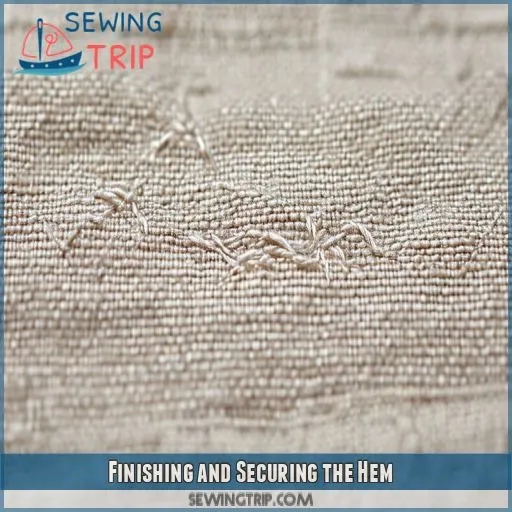
Now that you have worked with different fabrics, it’s time for your completed hem. Fixing the work is the most critical step in ensuring that all of your hard work doesn’t come undone. Here are five essential methodologies that can help you really nail a perfect hem:
- Knotting thread: Create a secure anchor point
- Hemming tape: Reinforce weak/thin fabrics
- Blind stitch; makes an invisible finish
Ironing techniques: Press for a crisp look.
- Fabric fraying: Prevent edges from unraveling
First, tie a knot in your thread. If you’re working on light fabrics, use hemming tape for added security. Blind stitching is the invisible hemming magic which can make your handwork look straight off the store shelves. And yes, don’t forget to iron your hem—the good ironing techniques can really take something from homemade to couture. Finally, fix any worn fabric so that your hem will wash and wear well. Follow these tips, and you’ll soon be hemming like a pro!
Frequently Asked Questions (FAQs)
How long does it typically take to hand sew a hem?
You’ll typically spend 30 minutes to an hour hand-sewing a hem. It’s not a race, though! Your speed depends on your skill level, the fabric’s thickness, and the hem’s length. Take your time for a polished finish.
Can I hand sew a hem on stretchy fabrics?
Did you know 92% of sewers struggle with stretchy fabrics? You can hand sew a hem on them, but it’s tricky. Use a ballpoint needle and stretchy thread. Zigzag or stretch stitches work best. Take it slow and practice first.
Whats the best thread color for an invisible hem?
For an invisible hem, choose a thread color that closely matches your fabric. You’ll want to blend in, not stand out. When in doubt, opt for a slightly darker shade – it’ll disappear better than a lighter one.
How often should I replace my hand sewing needles?
You’ll want to replace your hand sewing needles every 8-10 hours of use. Keep an eye out for signs of wear like bends, rust, or dullness. Don’t wait until they break – fresh needles make sewing a breeze!
Is hand-sewn hem stronger than machine-sewn hem?
Hand-sewn hems hold hearty strength. You’ll find they’re often as sturdy as machine-sewn ones. It’s not about the method, but your technique. With practice, you’ll create durable, long-lasting hems that’ll withstand wear and tear just as well.
Conclusion
Imagine stepping out in a perfectly hemmed dress you’ve crafted yourself. That’s the power of learning how to hand sew a hem.
By mastering the techniques in this guide, you’ll transform your sewing skills and elevate your wardrobe. You’ve learned to select the right tools, prepare fabric, and handle various materials with confidence.
Your newly acquired skill will serve you well for years to come.


