This site is supported by our readers. We may earn a commission, at no cost to you, if you purchase through links.

Start by prepping your fabric: iron those wrinkles out and pin the layers tight like your grandma’s hug. Choose a stitch—running stitch for quick fixes or backstitch for strength.
Hide the knot at the back and keep your stitches even, like marching ants. Finish with a neat knot or backstitch for security. Just like a well-baked cake, practice makes perfect. Stick around—there’s more to explore about hand-sewn seams that’ll leave you stitching like a pro.
Table Of Contents
- Key Takeaways
- Hand Sewing Basics
- Preparing Your Fabric
- Threading and Starting Your Stitch
- Basic Hand Sewing Stitches
- Hand Sewing a Seam
- Types of Hand-Sewn Seams
- Troubleshooting Common Issues
- Finishing Techniques
- Advanced Hand Sewing Techniques
- Improving Your Hand Sewing Skills
- Frequently Asked Questions (FAQs)
- Conclusion
Key Takeaways
- Start by getting your fabric prepped—think of it like setting up your sewing stage. Iron out the wrinkles and pin the layers tight. You’ll avoid sewing mix-ups later, just like how you avoid that awkward stumble when you’re on a first date.
- Choose the right stitch for the job. A running stitch is your quick fix, and a backstitch will hold everything steady—each one has its special role.
- Keep your stitches even, like little soldiers marching. This way, when you finish with a discreet knot, your seam is going to be strong, not unlike how a cake needs a solid foundation before you add the frosting.
- Troubleshoot those pesky issues like puckered seams and tangled threads. Think of it as ironing out the bumps in your sewing road. With a bit of patience, you will soon sew like a pro, dealing with twists and tangles like you’re sorting through tangled holiday lights.
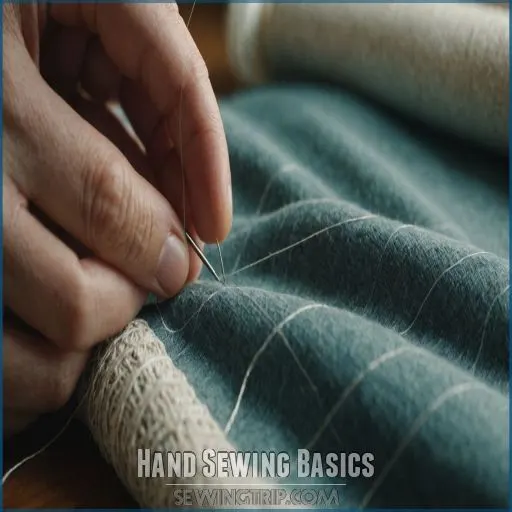
Hand Sewing Basics
Hand sewing offers greater precision and control for delicate fabrics or intricate areas.
It’s a convenient way to tackle quick alterations, sewing projects, or mending – and you can do it anywhere.
Essential Hand Sewing Tools
Gathering your essential hand sewing tools is like assembling a team for a crafty adventure.
You’ll need needles and threads—consider needle sizes and thread types for different tasks. Add a needle threader to make life easier.
Don’t forget fabric shears and a seam ripper for the inevitable oops moments. Also, keep a fabric pen or tailor’s chalk handy!
Choosing the Right Needle Type
You’ve got your toolkit ready, now let’s pick the right needle for your hand sewing adventure. Consider the fabric weight and thread thickness.
A sharp needle point is key for smoother stitching.
Use a finer needle for delicate fabrics, and a robust one for heavier materials.
Remember, the right needle type means less fabric tension and a neatly sewn seam.
Thread Selection for Hand Sewing
When it comes to hand sewing, choosing the right thread is like finding the perfect dance partner.
Consider thread weight, type, and color to match your fabric.
A single thread suits light fabrics; double thread boosts durability.
Avoid tangles with shorter lengths.
Remember, thread texture affects knot tying and sewing ease, making hand sewing a breeze, unlike machine sewing!
Preparing Fabric for Hand Sewing
While selecting the perfect thread, consider your fabric choice equally important.
Start by prepping your fabric: it’s like a warm-up lap before a race!
- Pre-wash your fabric to avoid surprises later.
- Iron for a smooth, drama-free start.
- Mark with tools to keep lines in check.
Embrace the journey, avoiding fabric fraying, and enjoy your hand-sewing practice!
Preparing Your Fabric
Before you start sewing, take a moment to get your fabric ready—it’s like setting the stage for a great play.
By marking your stitch line and pinning layers, you’ll save yourself from sewing woes and those awkward “oops” moments later on.
Marking a Straight Stitch Line
A tiny secret to hand stitching like a pro: use marking tools for straight lines.
For creating an invisible seam, consider using a blind stitch which is versatile for any fabric and creates an invisible hem. Whether it’s painter’s tape or a trusty chalk pencil, different fabric require different tactics.
Hemming techniques for pants also involve selecting the right stitch, such as a slip stitch for lightweight fabrics.
Accuracy tips? Lay a ruler alongside your fabric before marking. You’ll soon stitch the perfect straight line for every plain seam, whip stitch, or even invisible seams!
Pinning Fabric Layers Together
First, line up the fabric pieces you’ll be sewing together, making sure the right sides are facing each other.
Then, start pinning the layers in place, placing the pins perpendicular to the seam line for a more secure hold.
Space the pins about 4-6 inches apart, being careful not to distort the fabric. When you’re ready to sew, simply sweep the pins out with your fingers to start sewing together.
Using a Seam Ripper for Corrections
Imagine this: you’ve sewn the wrong seam and need a do-over.
Grab your seam ripper—your fabric’s best friend. Avoid puckered seams by gently inserting the tool, using the red ball to protect the fabric.
Choose a good seam ripper to minimize damage. Mistakes will happen, but fixing them can be as relaxing as a blind stitch.
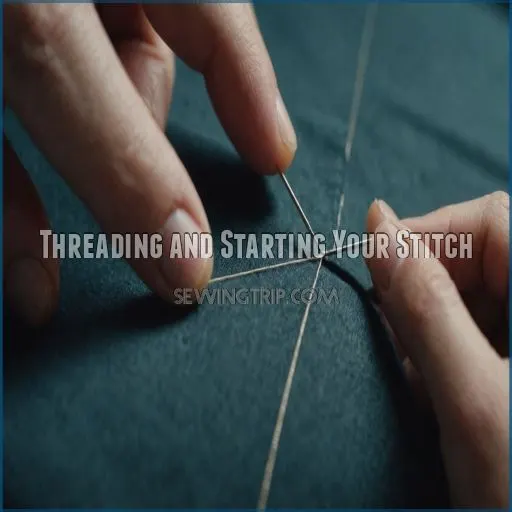
Threading and Starting Your Stitch
Getting started with hand sewing can feel like threading a wiggly spaghetti noodle through a keyhole, but don’t worry.
You’ve just got to thread your needle, tie a knot, and sneak that first stitch where nobody will notice—perhaps like hiding candy from your kids.
Threading the Needle With Single or Double Thread
You’ve pinned your fabric layers together; now grab your needle and pick a suitable thread length, typically 18 to 24 inches**.
Choose between single or double threading based on thread tension and fabric type. A larger needle size might ease threading.
Good lighting helps—it’s easier than dodging garage mirrors! Start threading steadily, using any necessary sewing supplies.
Tying a Secure Knot
Congratulations on threading your needle! Now, let’s talk knots—they’re the unsung heroes of hand sewing.
Craft a secure knot with these steps:
- Loop thread around your finger.
- Slide the loop down.
- Pull tightly.
- Repeat for knot strength.
Remember, a sturdy knot keeps your stitches in place, outsmarting unraveled seams (Source). Happy sewing!
Trimming Thread Ends for Easy Threading
Once your knot’s secure, grab those scissors. Trim the thread ends—sharp blades help make clean cuts, making threading a breeze. Match the thread length to your project without tangling frustrations.
| Thread Type | Scissor Sharpness | Length Advice |
|---|---|---|
| Cotton | Very sharp | 18-24 inches |
| Polyester | Sharp | Arm-span length |
| Silk | Sharp | Up to 30 inches |
No more knotting nightmares!
Starting the Stitch in a Hidden Area
Having trimmed your thread ends, let’s chat about starting stitches in a hidden area.
Tuck your knot into fabric folds for those polished, invisible starts.
Think about:
- Ideal starting points near seam allowances
- Clever knot placement for security
- Working through tricky fabric folds
- Concealing starts for invisible seams
- Practicing patience with needle precision
Keep experimenting until it’s second nature!
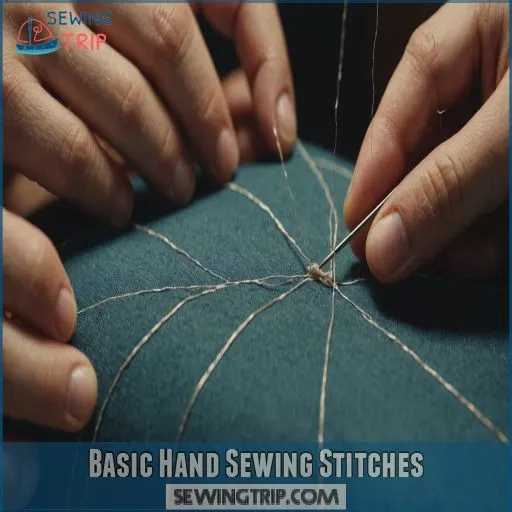
Basic Hand Sewing Stitches
Mastering the basics of hand sewing stitches is the key to nailing those perfect seams.
From the simple running stitch to the sturdy backstitch, the right technique can make all the difference in your sewing projects.
Running Stitch Technique for Simple Seams
Ready to stitch those seams? Grab your needle and thread—you’re learning the running stitch technique!
This simple up-and-down motion is perfect for joining fabric types or creating casual seam finishes.
Adjust stitch length to suit your project. Consistency is king!
Hand sewing tools make it smoother, but practice is key. Perfection is just a stitch away!
Backstitch for Stronger Seams
For a seam as strong as an ox, try the backstitch—it holds up under pressure! This stitch holds impressive seam strength compared to others.
Simply work your needle backwards, creating small overlapping stitches. To achieve this, use the backstitch technique, going forward one stitch length and then back one stitch length, creating a continuous line of stitches that double back on themselves.
Keep hand sewing tension snug but not too tight to avoid puckering. Tailor your backstitch applications to various fabric types for best results, like a pro!
Whipstitch for Felt Seams and Mending
You’ve mastered the backstitch; now let’s explore whipstitching to bond felt seams and tackle mending projects. It’s a breeze and adds charm to your work.
Picking suitable thread makes all the difference.
Sooner or later, you’ll find these situations:
- Children’s toys need a repair.
- Create soft cushions.
- Design unique ornaments.
- Personalize a handmade gift.
Ladder Stitch for Invisible Seams
Mastered the whipstitch? Let’s learn the magic of the ladder stitch next, perfect for invisible hand-sewn closures.
This stitch, also known as a slip stitch, is your secret weapon for mending and crafting, giving seams an invisible finish.
Choose matching threads and get ready to weave your needle in a way that keeps stitches hidden like a magician.
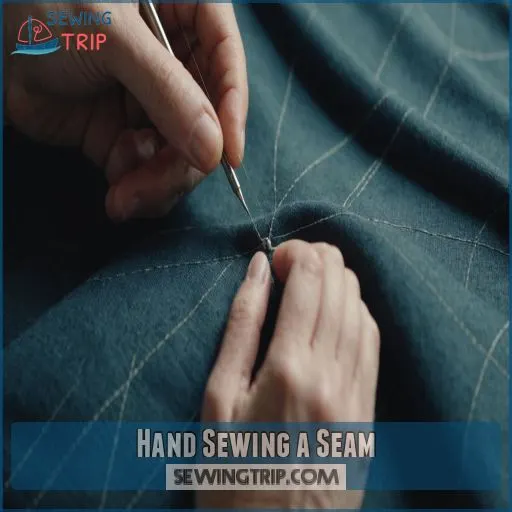
Hand Sewing a Seam
Hand sewing a seam might feel like a mystery at first, but with practice, you’ll soon stitch like a pro.
Imagine chatting with a friend, needle in hand, as you line up the fabric edges, maintain even stitches, and finish with a secure knot.
Marking and Pinning Fabric Edges
After mastering basic stitches, it’s time to tackle marking and pinning fabric edges.
With fabric marking tools, sketch your seam allowance for precise stitching.
- Align fabric edges for seamless looks.
- Use pinning techniques to secure layers.
- Space pins evenly for stability.
- Check pin placement for accuracy.
Happy pinning—let’s avoid wobbly seams!
Starting the Seam Correctly
Once you’ve marked and pinned your fabric edges, it’s time to start sewing.
Grab the right needle, one that’s sharp yet easy to handle. Thread it using the best techniques, knot securely, and select your starting point wisely.
Begin in a hidden area, securing the first stitch like a ninja—stealthy but strong, ensuring your seam stays put with a first stitch.
Maintaining Even Stitch Length
Keeping even stitch length isn’t rocket science—it’s just like dancing with your fabric!
Follow these quick steps:
- Choose a needle size that matches the fabric type.
- Maintain consistent stitch tension by holding the fabric gently.
- Use your thumb and index finger for steady hand position.
- Practice regularly for smoother, more uniform stitches.
Ending and Securing the Seam
To wrap up your hand-sewn masterpiece, use a trusty backstitch, like a knight securing his castle. Then, embrace knotting techniques for hidden knots that won’t unravel.
Carefully trim any stray threads with precision—think of it as a haircut for fabric.
Voilà, you’ve mastered seam finishing! Feel that sense of control and satisfaction? That’s you sewing brilliance.
Types of Hand-Sewn Seams
When you’re hand sewing seams, knowing the type of seam to use, such as the backstitch for stronger seams, can make your project shine perfecting the backstitch
.
From plain seams to fancy French seams, picking the right one can be as satisfying as finding the perfect pair of cozy socks on a chilly day.
Plain Seam Construction
Plain seam construction is like baking a cake without frosting—simple yet essential.
Start by aligning fabric edges with a consistent seam allowance. Use a running stitch, adjusting your stitch length for strength and finish.
Remember, even stitches and proper thread tension matter. Finally, impress your seam by pressing techniques right. It’s your sewing masterpiece waiting to happen with good seam allowance!
French Seam for Delicate Fabrics
Mastering the elegant French seam can elevate your sewing game. This technique superbly hides raw edges, perfect for delicate fabrics like silk and chiffon.
- Stitch fabrics wrong sides together with a tiny seam allowance, just like you’d learn about in the essential sewing techniques section
.
- Trim excess and press right sides together.
- Sew again, securing the seam inside.
Your seams are now as hidden as your chocolate stash!
Flat Felled Seam for Durability
A sturdy flat felled seam is a real workhorse for your clothing projects.
First, sew the seam with a generous allowance, then trim one side and fold the other over to encase the raw edge.
Edge stitch the folded side for a clean, durable finish – perfect for jeans, shirts, and more, making it a great option for creating durable finish.
Lapped Seam for Non-Fraying Materials
Lapped seams for non-fraying materials are both practical and stylish. You’ll love how they reduce bulk and add strength.
- Fabric Choices: Opt for leather or felt, which won’t unravel.
- Seam Finishing: Overlay one piece over the other for clean edges.
- Lapped Seam Applications: Optimal for decorative details like pockets or collars.
Happy sewing!
Troubleshooting Common Issues
When you’re hand sewing seams, it’s easy to run into problems like puckered seams or tangling threads that make you want to toss your needle across the room.
But don’t worry, we’ve got simple tips to help you fix these issues quickly and get back to sewing like a pro.
Dealing With Puckered Seams
So, you’re sewing, and suddenly, puckered seams appear. Don’t panic.
To ditch those unsightly ridges, play with fabric tension, adjust needle size, stitch length, and choose the right thread type.
Keep your seam allowance even, ensuring you maintain the right thread tension for smooth movement without puckering, and selecting the right needle based on the thickness of the fabric.
It’s like a dance—find the right rhythm to keep your seams smooth as butter.
You’ve got this! You’ve got this
Fixing Uneven Stitches
After flattening those puckered seams, let’s conquer uneven stitches. It’s mostly about maintaining your stitch tension and keeping an eye on the needle size.
- Check stitch tension: Avoid pulling too tight.
- Use the right needle size: Match to fabric type.
- Take breaks: Rest to avoid hand fatigue.
- Practice tips: Consistency evolves with habit.
- Relax: You’re threading a rainbow of patience.
Preventing Thread Tangles
Uneven stitches don’t have to ruin your sewing flow. Keep tangles at bay by selecting quality thread and using the right needle size. Maintain smooth thread tension. Remember, short thread lengths help too!
It’s like magic when it works. Check out these handy tips:
| Tip | Description |
|---|---|
| Thread Tension | Keeps stitches smooth |
| Needle Size | Matches your fabric type |
| Short Lengths | Prevent tangle crises |
| Quality Thread | Makes it last longer |
| Working Space | Organize to avoid confusion |
Enjoy your sewing!
Addressing Fabric Fraying
Tackling fabric fraying is like facing a bumpy road, but you’re more than ready for the journey.
Here’s how to smooth things over:
- Choose fabric types resistant to fraying.
- Use a zigzag stitch or an overcast stitch for seam finishing.
- Seal edges with Fray Check.
- Try pinking shears for a quick fraying prevention fix.
Finishing Techniques
Now that you’ve mastered the basic hand sewing stitches, it’s time to put the finishing touches on your silk fabric projects, like perfecting a hand sewn silk seam
.
From trimming and pressing seams to sealing raw edges, these simple techniques will elevate your hand-sewn creations to professional-looking results.
Get ready to take your hand sewing skills to the next level with kids’ beginner basics at Ami Porters Stitch School
!
Trimming and Grading Seam Allowances
Ever felt like your seams resemble a bulky sandwich? Trimming and grading seam allowances can help. Grab seam allowance tools and consider your fabric types. It’s all about neat edges and smooth seam finishes.
| Task | Benefit |
|---|---|
| Trim seams | Reduce bulk |
| Grade seam allowances | Layers lay flat |
| Use proper tools | Achieve professional results |
You’ll love how your garments shine!
Pressing Seams Open or to One Side
After trimming, grab your ironing tools. Consider fabric types and garment style when deciding how to press seams.
Pressing to one side strengthens seams; pressing open reduces bulk. Each technique has its charm, like picking your favorite doughnut topping.
Using quality fabric choice can also play a significant role in achieving a polished finish. Proper pinning techniques can help make sure that your seam allowance lies flat and your project looks polished.
Experiment! Use pressing techniques to make sure that your seam allowance lies flat and your project looks polished. Mastery awaits! .
Overcasting Raw Edges by Hand
Imagine this: your fabric edges are looking like a wild mess.
To tame them, try overcasting by hand. Use a whipstitch to wrap your chosen thread snugly around the edge, preventing fraying and keeping things neat.
From silk to wool, this technique works wonders. Feel like a sewing maestro as you transform raw edges into couture elegance.
Applying Seam Sealants
While hand-sewn edges love to fray like a drama queen, seam sealants can give them some chill.
Types of sealants, like Fray Check, work wonders.
When choosing the right sealant, consider the fabric type.
Apply it by dabbing gently along the edges.
Benefit from sealed seams that stay tidy.
Sealant alternatives include zigzag stitches or turning under edges.
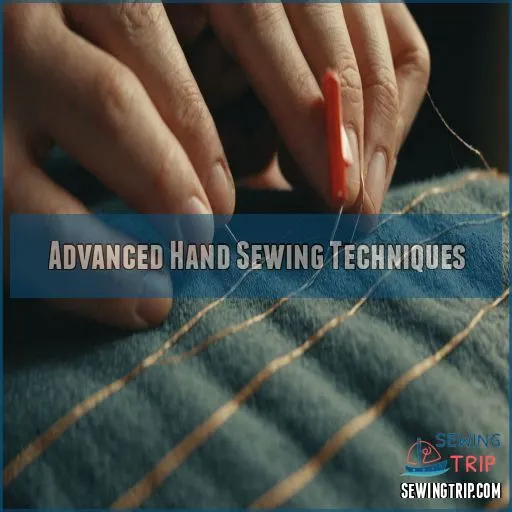
Advanced Hand Sewing Techniques
Ready to level up your hand sewing skills?
With a little patience, you’ll learn tricks for tackling curved seams.
You’ll also learn how to reinforce stress points, and even add a stylish touch to your stitches that might make your clothes the talk of the town.
Curved Seam Sewing Methods
Curved seams can be a tricky beast!
First, pin fabric, easing curves patiently. Stitch tension is your friend—keep it balanced to avoid puckers.
Trim seam allowance to help fabric manipulation, allowing smooth flow around the bend.
Embrace those sewing challenges as part of the adventure. Like taming a wild horse, curved seams require finesse but look fantastic when conquered!
Reinforcing Stress Points in Seams
Strengthen seams at stress points to prevent tears.
Lay reinforcing threads across the area, then cover them with dense buttonhole stitches. This "little bridge" technique secures the fabric and adds durability.
For an extra touch, try decorative hand-stitched tacks like arrowheads or crow’s feet. Your garments will look and last longer with a little bridge technique.
Decorative Hand-Sewn Seam Finishes
Check out decorative hand-sewn seam finishes—these add a splash of flair to your projects. Use embroidery stitches and decorative knots to elevate simple seams into artful expressions.
You can experiment with different threads, such as perle cotton or stranded floss, to add dimension to your stitches, as seen in varied embroidery stitches.
Try your hand at fabric applique or vintage trims for a touch of nostalgia, and don’t be afraid to combine stitches for unique patterns.
Discover stitch variations; they’re not just stitches, they’re little footprints of creativity on fabric.
Invisible Seam Techniques
Master invisible seams with slip and ladder stitch variations, perfect for creating seamless finishes on hand-sewn hems or plush toys.
Imagine you’re taming fabric with secret stitches; no one the wiser!
Remember, practice makes perfect—or at least invisible. For professionally hidden seams, master these blind stitch secrets and add an extra layer of finesse to your sewing projects.
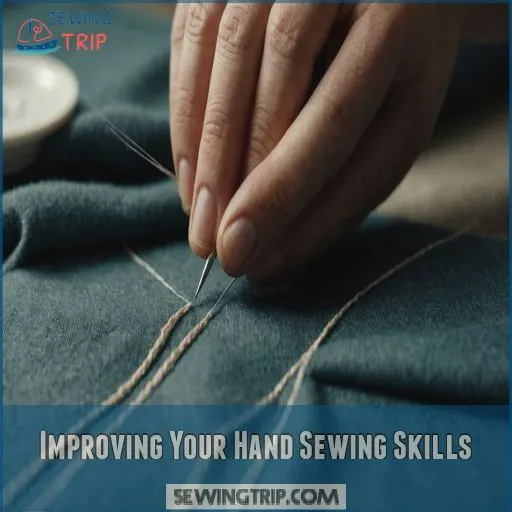
Improving Your Hand Sewing Skills
When you’re aiming to perfect your hand sewing skills, a little practice can go a long way.
Just like learning to whistle or finally mastering that tricky magic trick.
By focusing on good posture, proper lighting, and the right projects, you’ll sew like a pro in no time.
Proper Posture and Lighting
As you reinforce stress points with advanced techniques, remember that an ergonomic setup can save your back.
Good lighting impacts your ability to avoid mistakes and reduce eye strain.
In your sewing space, optimize posture to prevent those neck kinks we all dread. No need to hunch like Quasimodo, right? Enjoy sewing with comfort and clarity! .
Practice Exercises for Even Stitches
With a needle in hand, practice exercises are key to mastering even stitches. Start by focusing on consistent stitch length and gentle hand position.
They can be approached in several ways. Try these exercises:
- Use different fabric types to understand tension.
- Practice with sewing guides for accuracy.
- Experiment with simple lines, then advance to curves.
- Use practice tools like grid fabric for precision.
Choosing Projects to Build Skills
Simple projects like sewing doll clothes or small repairs are great to improve your skills.
Dedicate practice time to learn by doing; it’s like honing your craft in a bustling workshop.
Mending practice will teach patience, while each stitch teaches control.
Remember, even a crooked stitch builds skill, so grab that needle and begin your skillful adventure today! (Source)
Maintaining Hand Sewing Tools
Keeping your hand sewing tools in tip-top shape is key to effortless stitching.
Start by storing needles safely in a pincushion or magnetic strip.
Organize threads by color and type in a dedicated box or jar.
Sharpen scissors regularly with an emery board, and clean tools with a soft cloth to remove lint and oil.
Don’t forget to care for your trusty seam ripper – it’s your secret weapon for perfect overcast stitches
! (Source)
Frequently Asked Questions (FAQs)
How to hand sew a seam?
Hand sewing a seam involves threading your needle, tying a knot, and using a backstitch or ladder stitch for strength, just like when hemming your favorite pants
.
Keep your stitches uniform, and avoid pulling threads too tight for a smooth finish.
How to hand sew?
Picture threading a needle like reeling in a fish; it’s about patience and precision.
Start with a basic running stitch, then try backstitch for strength.
Securely finish by tying a knot.
Practice makes perfect, so sew on!
What is a seam in sewing?
A seam is where two pieces of fabric are stitched together, forming a line or fold.
It’s like the glue holding your clothes together.
Check your shirt’s sides—those stitches are a seam in action! .
What is the easiest way to hand stitch a seam?
Imagine fixing your favorite shirt with ease.
Try using a running stitch for your first seam—it’s beginner-friendly and straightforward. Just weave your needle in and out, keeping stitches even.
You’ll master it in no time.
How do you manually sew a seam?
Don’t sweat it, pal – sewing seams by hand is a breeze once you get the hang of it.
Just thread your needle, take small stitches, and keep the fabric taut.
You’ve got this!
What is the best stitch to hand sew a seam?
You’d think sewing a strong seam was rocket science, right?
Use the backstitch. It’s sturdy, reliable, and mimics a machine stitch.
Take small, even steps, and you’ll have seams that could withstand a tornado.
How to hand sew a seam without it showing?
Sew a seam invisibly by using the ladder stitch.
Thread your needle, hide the knot in the seam, and take tiny stitches across the opening.
Tighten gently, and the thread will disappear like a magic trick.
How to sew a straight seam by hand?
Picture sewing a quilt with your child’s kindergarten class – it’s all about creating memories.
To sew a straight seam by hand, draw a guideline, knot your thread, and weave the needle in and out consistently.
How to avoid thread tangling while sewing?
Thread can be sneaky, twisting itself into knots just when you’re in the groove.
Avoid this by using shorter lengths, letting the thread unwind occasionally.
This will also help when rolling the needle to counteract twists.
Slow down, too.
What is the best knot for starting stitches?
About 75% of sewing newbies find wrapping the thread around their finger easiest when starting stitches.
Pinch it, spin it, and—voilà—you’ve got a knot.
Practice makes perfect, and it’ll soon be second nature.
How to maintain even tension in stitches?
Keep stitches taut by using a hoop or frame to hold your fabric steady and prevent puckering.
Adjust your grip, maintain a consistent pace, and relax your hands to keep tension even.
What is the ideal thread length to prevent tangling?
You don’t want your thread tangling up like a ball of yarn, do ya?
Stick to around 16 inches – any longer and it’ll start twisting and knotting on you.
Trust me, it’s the sweet spot for smooth, hassle-free hand sewing.
How to sew small, tight curves by hand?
To hand sew small, tight curves, shorten your stitches for smoother lines.
Pivot the fabric slightly every few stitches by lifting the needle halfway, which helps maintain your curve.
Patience is key; slow and steady wins the race.
Conclusion
Just like learning to ride a bike, hand sewing seams gets easier with practice. You’ve got the basics down—tools, stitches, and techniques.
Make sure your needle is sharp and your stitches even. Start with simple projects and work your way up.
Remember, every little crooked stitch is a step toward mastery. Tackle challenges like puckered seams with patience.
You’ve got everything you need to hand sew seams like a pro. Happy stitching!

