This site is supported by our readers. We may earn a commission, at no cost to you, if you purchase through links.
 Imagine effortlessly transforming a torn garment into something beautiful or creating unique handmade pieces that showcase your personal style. With the basics of hand sewing, you can unlock the power to mend, create, and express yourself through fabric.
In this article, you’ll learn how to hand sew like a pro, from threading your needle with ease to mastering essential stitches for seams and hems.
Table Of Contents
Key Takeaways
- Practice makes perfect
- Take it slow
- Use the right thread and needle
- Try different stitches
Basic Sewing Tools
To get started with hand sewing, you’ll need a few essential tools.
First and foremost, you’ll need a good set of needles in various sizes for different fabrics and projects.
A thimble is also crucial to protect your finger from getting pricked by the needle as you sew.
Additionally, fabric markers are handy for marking measurements or patterns on your fabric before stitching.
Pins are indispensable for holding pieces of fabric together while you sew them, and a seam ripper is essential for fixing mistakes or removing stitches when needed.
Lastly, an ironing board is important to press your fabric before sewing to ensure smooth seams and professional-looking results.
Hand Sewing a Seam
Now it’s time to learn how to hand sew a seam.
There are two main types of stitches used in hand sewing: the running stitch and the backstitch.
The running stitch is ideal for items that won’t experience much wear, while the backstitch creates a stronger seam.
Let’s explore these techniques further and master the art of hand sewing seams with precision and skill.
Running Stitch
Now let’s dive into the technique of hand sewing a seam with the running stitch, which is perfect for joining fabric pieces together securely.
- Create a dashed, straight line by making small stitches.
- Adjust the length of your stitches based on whether you want them to be permanent or temporary.
- Follow these steps: bring the needle up near the top of your seam, go forward one stitch length and push it back down, repeat until you reach the end.
Mastering this versatile hand sewing stitch will give you greater control over your projects and help enhance your craftsmanship.
Backstitch
Start by bringing the needle up near the top of your seam and making sure the knot catches on the back.
Backstitch is a strong stitch used to create durable seams. It involves going forward one stitch length and then going back one stitch length, creating a continuous line of stitches that double back on themselves.
This variation of hand sewing provides extra strength and stability compared to running stitches.
Sewing an Opening Closed
To sew an opening closed, you’ll need to choose between two main methods: the slip stitch and the whip stitch.
The slip stitch is ideal when you don’t want your stitches to show. It creates a nearly invisible seam that’s perfect for joining hems together or closing openings in fabric.
On the other hand, the whip stitch can be used when it doesn’t matter if your stitches show on the back of your project.
When comparing slip stitching with backstitching, slips are more suitable for creating seamless finishes while backstitches provide stronger seams overall.
To learn how to sew an opening closed using a slip stitch, follow these simple steps:
- Fold and press raw edges inside.
- Bring needle up inside opening along fold line.
- Push needle down opposite side into folded line.
- Repeat until end of opening.
- Run needle under existing stitches at end and make knot before trimming excess thread close to fabric.
Hand Sewing a Hem
Now it’s time to perfect the art of hand sewing a hem. There are three key stitches to master: the whip stitch, blind hem stitch, and blanket stitch. These stitches will give your hems a polished finish and ensure durability in your garments or fabric projects.
Let’s dive into each technique so you can elevate your sewing skills even further.
Whip Stitch Hem
Achieving a neat and secure finish, the whip stitch hem is an essential hand sewing technique for creating professional-looking hems.
- Whip stitch hem tutorial
- Whip stitch hem vs blind hem
- Whip stitch hem vs catch stitch
- Whip stitch on jeans
- Whipstitching a pillow or cushion
Blind Hem Stitch
To achieve a blind hem stitch, follow these simple steps.
First, fold the fabric up to the desired hem length and press it.
Then, bring your needle up from the back of the fabric about 1/4-inch from the edge.
Next, go down through the fabric about 1/8-inch from the edge.
Finally, repeat these steps until you reach your desired end point on garments like jeans or a dress or even when sewing hems on pillows.
Blanket Stitch Hem
Now that you have learned how to sew a blind hem stitch, let’s explore another hand sewing technique: the blanket stitch hem.
-
How to Make a Blanket Stitch Hem
- Fold the fabric up to your desired hem length.
- Thread your needle and knot the end of the thread.
- Bring your needle up from underneath the folded edge of fabric.
- Insert it back down through both layers, creating an angled stitch.
-
Blanket Stitch Hem Tutorial
Follow these steps for creating a neat and decorative blanket stitch hem:
A) Start by folding up your fabric to create a clean edge for stitching.
B) Begin stitching from left to right by inserting your threaded needle into both layers of fabric about half an inch away from the fold line, leaving some space between each subsequent stitch.
C) Pull gently on the thread until there’s no slack but avoid pulling too tightly as it may cause puckering or distortion in delicate fabrics like silk or chiffon.
-
Blanket Stitch Hem Instructions
To sew a blanket stitch hem:
i. Fold over and press raw edges under twice towards wrong side along desired finished width; pin if necessary;
ii.Thread hand-sewing needles with single strand matching sewing thread; knot ends together securely at base near eye;
iii.Insert tip into folded-under portion close enough so that point emerges just above top foldline (about one-fourth inch);
iv.Pull first loop snugly around uppermost part where stitches should be visible only when viewed closely against background color/material used).
4.Blanket Stitch Hem Pattern
The pattern for making this type of stitched finish is quite simple:
i.Bringing yarn/needle/thread out at point A ,insert hook/needle/yarn etc.to emerge again at B.(make sure not going all way thru stuff)
ii.Interweave two pieces alternating between stitches, leaving small gaps as desired
iii. Continue until reaching end or desiring to create a closure point.
By mastering the blanket stitch hem, you can add a touch of elegance and craftsmanship to your sewing projects. With practice, this decorative stitch will become second nature and allow you to confidently finish hems on garments or embellish home decor items with beautiful detail.
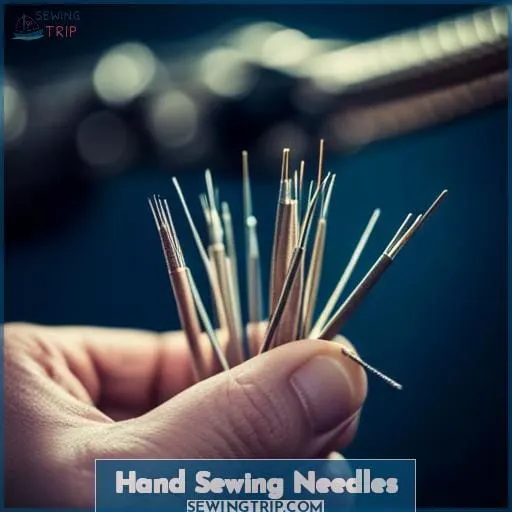
Hand Sewing Needles
To properly hand sew, you’ll need to select and use the appropriate needles.
The finest quality English needles in size 5 are a perfect start to any sewing project. This package of 20 needles ensures that you have plenty on hand for all your stitching needs.
These high-quality needles are designed for precision and durability, allowing you to create beautiful stitches with ease. Whether you’re working with delicate fabrics or thick materials, these English needles will provide the strength and versatility required for every stitch.
So don’t settle for anything less than the best when it comes to your hand sewing tools – choose these top-notch English needles for a seamless sewing experience.
| Size | Package | Finest Quality |
|---|---|---|
| 5 | 20 | Yes |
English Needles: Perfect Start For Hand Sewing
Knotting the End of Hand Sewing Thread
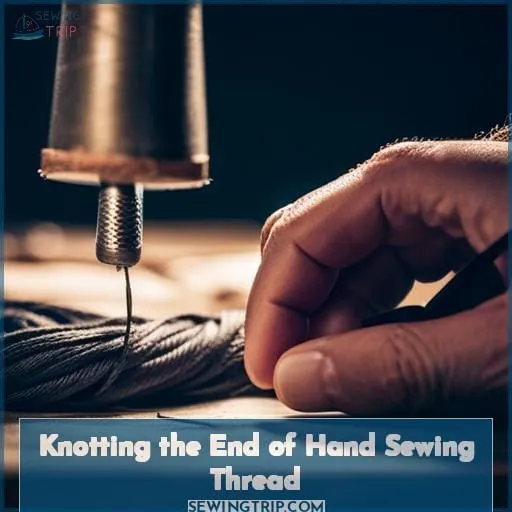
To knot the end of your hand sewing thread, hold the end of the thread on your pointer finger and wrap it around a couple of times before sliding the loops towards the end to create a secure double knot.
This ensures that your thread ends are securely fastened and won’t unravel while you sew.
If you’re having trouble threading your needle, try wetting the end of the thread with water or saliva to make it easier to pass through.
You can also use a needle threader tool or tweezers for assistance.
Another tip is to wax your thread before sewing to stiffen it, making it easier to handle and less prone to tangling.
By mastering this simple technique, you’ll have greater control over every stitch as you bring life back into old garments or create new fashion pieces from scratch.
Basic Stitches
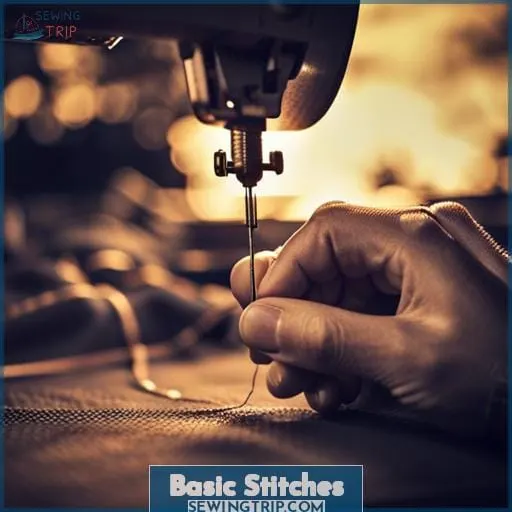
Mastering basic stitches is an essential skill for any hand sewer.
When it comes to hand sewing, there are a variety of stitches you can use to create beautiful and functional seams, hems, and decorative details.
Here are three key stitches that every aspiring seamstress should know:
- Chain Stitch: This stitch creates a series of loops that resemble the links in a chain.
- Catch Stitch: The catch stitch is commonly used for hemming garments or finishing raw edges.
- Blanket Stitch: This versatile stitch is often used to finish the edge of fabrics like blankets or quilts.
By mastering these basic stitches, you’ll have the foundation needed to tackle various sewing projects with confidence and precision.
Sewing on Buttons
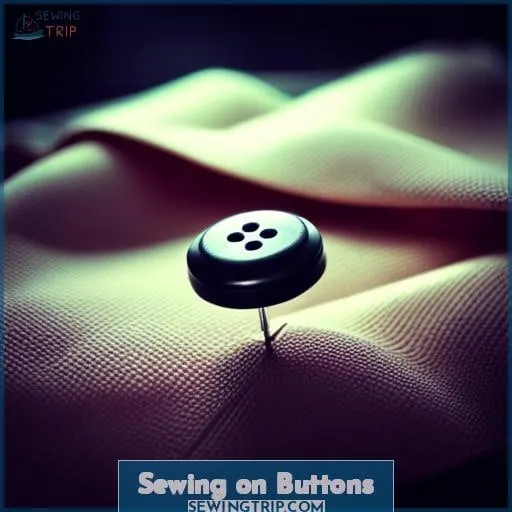
Now that you’ve mastered the art of basic stitches, it’s time to delve into the world of sewing on buttons. Whether you’re attaching a shank button or a flat button, this skill is essential for any aspiring seamstress or tailor.
Sewing on buttons allows you to add functionality and style to your garments with ease.
To begin, select the appropriate thread color and thickness for your button. Thread your needle using our previously discussed techniques. Position the button in place and start stitching through each hole in a secure manner.
So grab those needles and threads; it’s time for some hands-on learning as we dive into sewing on buttons!
Practice and Tips
Now that you’ve learned how to sew on buttons, it’s time to put your newfound skills into practice and explore some useful tips for successful hand sewing.
Here are four essential tips to help you improve your hand sewing technique:
- Practice makes perfect: Like any skill, the more you practice hand sewing, the better you’ll become. Start with simple projects or scraps of fabric before moving on to more complex items.
- Take it slow: Hand sewing requires patience and precision. Take your time with each stitch and make sure they’re even and secure.
- Use the right thread and needle: Choose a thread that matches your fabric in weight and color for seamless results.
- Try different stitches: Experiment with various stitches like backstitch or running stitch depending on the project at hand.
By following these handy tips, both beginners and kids can master basic hand-sewing techniques while creating beautiful handmade projects!
Frequently Asked Questions (FAQs)
What are some common mistakes to avoid when hand sewing?
To avoid common mistakes in hand sewing, ensure you:
- Thread your needle correctly.
- Use the appropriate stitch for your project.
- Maintain consistent tension.
- Take care not to sew too close to the fabric edge.
How do I choose the right thread for my hand sewing project?
To choose the right thread for your hand sewing project, consider the fabric weight and color.
- Opt for a finer thread with delicate fabrics.
- Opt for a heavier one with thicker materials.
Match or contrast colors to enhance your design.
What are some alternative methods to knotting the end of hand sewing thread?
To avoid knots, try anchoring your thread by making a small stitch at the starting point.
Then sew as usual, securing the end with a backstitch or slip stitch.
These techniques grant you freedom from pesky knots while sewing like a pro!
Can I use regular sewing needles for hand sewing or should I use specific hand sewing needles?
For a superior hand sewing experience, opt for specific hand sewing needles.
These fine tools are designed to handle delicate fabrics and intricate stitch work, empowering you to master the art of precision stitching.
Are there any tips for preventing my fabric from puckering or bunching while hand sewing?
To prevent unsightly fabric puckering or bunching, ensure a harmonious union of needle and thread.
Employ delicate, precise stitches with gentle tension.
The artful touch will tame unruly fibers and grant your hand-sewn creations a smooth, flawless finish.
Conclusion
In the enchanting world of hand sewing, you have unlocked the key to mending, creating, and expressing yourself through fabric.
With the basics of hand sewing tools, stitches, and techniques, you’re now equipped to transform torn garments into stunning works of art and showcase your personal style.
From the delicate running stitch to the sturdy backstitch, you have mastered the essential stitches for seams and hems.
So go forth, unleash your creativity, and sew like a pro!

