This site is supported by our readers. We may earn a commission, at no cost to you, if you purchase through links.
Whether you’re aiming to express your style, support a cause, or simply cover up a tear, we’ll explore innovative methods from self-adhesive solutions to heat-based alternatives. Dive into the world of fabric glues, Velcro, hair straighteners, and more to ensure your patches stay put on any garment.
Embrace these creative techniques and transform your items with flair and confidence, all without reaching for an iron.
Yes, you can iron on patches without an iron by using alternative methods such as a hair straightener, adhesive sheets, or even a hot cast-iron pan with a damp towel. These techniques offer quick and easy fixes for attaching patches to your clothing.
Table Of Contents
Key Takeaways
- Heat-Based Alternatives: A hair straightener can be used as an effective alternative to an iron for attaching patches. It requires setting the straightener to a low heat setting and pressing down on the patch for about 30 seconds.
- Peel-and-Stick Technique: For patches with a sticky back, simply peeling off the backing and sticking the patch onto the desired area on the clothing is a straightforward method that doesn’t require an iron.
- Adhesive Methods: Using fabric glues or adhesives is another easy way to attach patches without an iron. After applying the adhesive to the backside of the patch, it should be placed on the fabric and pressed firmly for a couple of minutes.
- Mechanical Attachment Methods: Pins or needles can serve as a quick fix for attaching patches. This method involves positioning the patch and then using pins or needles to secure it in place, which is especially useful for smaller patches.
Preparing for Patch Application
Before you embark on the creative journey of applying patches without an iron, it’s crucial to assess the compatibility of the fabric and choose the right patch design.
You’ll want to ensure the material of your clothing or accessory can withstand the method you’re planning to use, as some fabrics may be too delicate or not suitable for certain adhesives or heat sources.
Additionally, selecting a patch that complements the style, color, and message you wish to convey will enhance the overall appearance and ensure your patch stands out for all the right reasons.
Assessing Fabric Compatibility
Before you dive into the world of customizing your apparel with iron-on patches, it’s essential to assess the compatibility of your chosen fabric. Not all materials are created equal when it comes to withstanding the heat required for iron-on applications.
- Delicate fabrics like silk or wool may not tolerate the heat well. Consider alternative methods for these.
- Cotton and denim are ideal for iron-on patches due to their heat resistance and durability.
- Always use a protective cloth when applying heat to prevent damage, and consider inside-out ironing for extra protection.
Choosing the Right Patch Design
After ensuring your chosen fabric can handle the attachment method, it’s time to select the right patch design.
When picking out a patch, consider the statement you want to make. Are you aiming for bold color coordination or a subtle nod to your personal style? Think about the patch placement—whether it’s the chest for visibility or the shoulder for a touch of flair.
Custom designs offer a unique opportunity to showcase your creativity or represent a group identity. Embroidered patches provide texture and depth, while iron-on patches offer convenience.
If you’re looking for a temporary option, peel off the sticky sheet patches for easy clothing customization. Let design inspiration guide you, but always keep in mind the fabric texture to ensure a harmonious addition to your garment.
Adhesive Methods Without an Iron
If you’re looking to attach patches to your garments without the use of an iron, you have several adhesive options at your disposal.
Self-adhesive Velcro patches offer a flexible solution, allowing you to remove or reposition your patches as needed.
For a more permanent fix, fabric glues or adhesives can bond patches to your clothing; just ensure the glue is compatible with your fabric and allow it to set properly before wearing.
Additionally, adhesive sprays can provide a quick and easy method for patch application, though you should allow them to dry thoroughly to ensure a secure attachment.
Using Self-Adhesive Velcro Patches
After assessing fabric compatibility and choosing the right patch design, you’re ready to explore adhesive methods without an iron. Self-adhesive Velcro patches offer a quick and innovative solution for attaching patches to your garments.
- Select Velcro patch sizes to fit your design and placement needs.
- Choose from a variety of patch color options to match or contrast your fabric.
- Benefit from Velcro patch durability for a long-lasting application.
- Decide on the ideal placement for Velcro patches to enhance your item’s appearance.
- Consider alternative adhesive types, such as fabric adhesive or adhesive spray, for different textures and materials.
Applying Fabric Glues or Adhesives
When attaching patches without an iron, fabric glues or adhesives offer a convenient solution. For a secure bond, consider glue strength and drying time, ensuring fabric compatibility to avoid adhesive residue.
If removal is needed, some adhesives allow for easier adhesive removal. A glue gun or double-sided tape can be alternatives, and for temporary fixes, hand-sew or use pins or needles.
| Factor | Consideration |
|---|---|
| Glue Strength | Choose a strong adhesive for a durable bond. |
| Drying Time | Allow sufficient time for the glue to set. |
| Fabric Compatibility | Test on a small area to prevent damage. |
Employing Adhesive Spray
When using adhesive spray for patch application, ensure fabric compatibility to prevent staining. Spray application offers quick adhesion, but consider patch durability and adhesive strength.
Allow sufficient drying time—typically overnight—before testing the bond. For temporary fixes, a hairdryer or hair straightener may activate the adhesive without ironing.
Mechanical Attachment Methods
If you’re looking to attach a patch without an iron, mechanical attachment methods offer a practical solution. These methods are particularly useful when you’re dealing with fabrics that might be damaged by heat or when you don’t have access to an iron.
- Pin Placement: Carefully position your patch and use straight pins to hold it in place. This provides a temporary hold, allowing you to adjust the patch as needed before making it permanent.
- Needle Selection: Choose a needle that’s strong enough to penetrate the fabric without causing unnecessary damage. A thicker needle may be required for denser fabrics.
- Fabric Puncture: When sewing, be mindful of the fabric. You want to avoid creating large holes that could weaken the material or become visible around the patch.
- Temporary Hold: If you’re not ready to commit to a permanent placement, basting stitches can be used to temporarily secure the patch. This allows for easy removal or repositioning later on.
Heat-Based Alternatives
If you’re looking to attach patches without an iron, you’re in luck as there are several heat-based alternatives that can be just as effective.
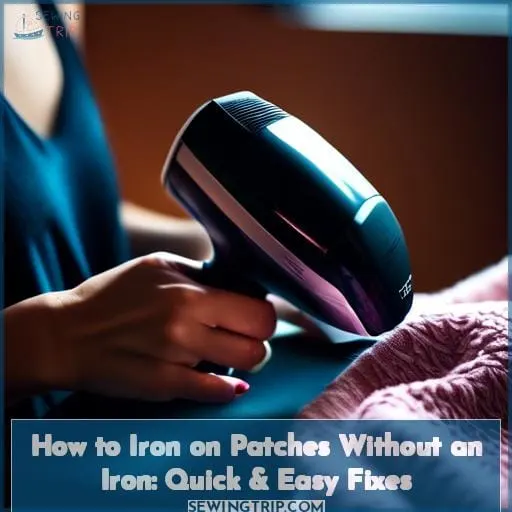
For instance, a hair straightener can be a handy tool for this task. Simply warm it up, place your patch, and press down for about 30 to 60 seconds, moving it around to cover the entire patch area.
A hairdryer can also be used to soften the adhesive on the patch; just apply heat until the patch is hot to the touch.
Alternatively, a heated frying pan can serve as a makeshift iron. Heat the pan and press the patch onto the fabric, ensuring you protect both the patch and the fabric from direct heat.
Remember to test these methods on a small area first to ensure they don’t damage the fabric.
Utilizing a Hair Straightener
If you’re considering using a hair straightener as an innovative alternative to attach patches, it’s crucial to understand the right settings to prevent damage.
| Hair Straightener Settings | Temperature | Protection Tips |
|---|---|---|
| Low | For delicate fabrics like silk | Use a heat-resistant mat |
| Medium | For sturdy fabrics like cotton | Place a thin cloth between the patch and straightener |
| High | For thick materials like denim | Test on a small area first |
| Adjustable | Match to fabric type | Keep the straightener clean to avoid residue transfer |
Applying Heat With a Hairdryer
After mastering the hair straightener method, you can also use a hairdryer to attach patches.
- Set hairdryer temperature to high
- Keep nozzle at a moderate distance
- Move hair dryer steadily
- Hold over patch briefly to secure
Pressing With a Heated Frying Pan
When transitioning from using a hairdryer to pressing with a heated frying pan as an innovative method for attaching patches, it’s crucial to understand the nuances of heat distribution.
The pan temperature must be carefully managed to avoid damaging the fabric or the patch. Consider the patch size and the fabric thickness to ensure even application of heat.
Always prioritize safety precautions to prevent burns or fires. This technique requires a keen eye for detail and a steady hand, embodying the spirit of textile preservation and care.
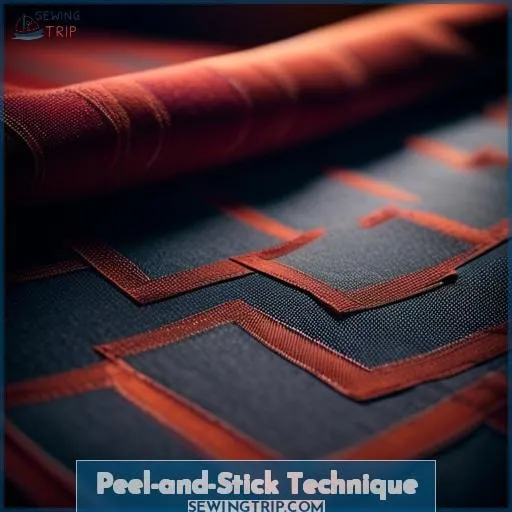
Peel-and-Stick Technique
Transitioning from heat-based methods to the Peel-and-Stick Technique offers a seamless and innovative approach to patch application. This method is particularly appealing for its ease of use, strong bond, and time-saving qualities, not to mention the added benefit of no damage to delicate fabrics.
- Prepare the Surface: Ensure the fabric is clean and free from wrinkles for optimal adhesion.
- Peel and Position: Carefully peel off the backing to reveal the adhesive, then position the patch on the garment.
- Secure the Patch: Press down firmly, especially around the edges, to establish a strong bond.
This technique is a game-changer for those who value their time and seek mastery in DIY clothing customization. It’s a straightforward process that spares you from the hassle of irons or sewing kits, while still providing a durable attachment.
Whether you’re looking to express your style or simply cover up a tear, the Peel-and-Stick method is a reliable and innovative solution.
Frequently Asked Questions (FAQs)
Can I reposition an iron-on patch after it has cooled if I am not satisfied with its placement?
Once an iron-on patch has cooled, repositioning it isn’t straightforward. You’d need to reheat the adhesive to soften it, using an iron or a hairdryer.
Then carefully peel the patch off. This process might damage both the patch and the fabric, so proceed with caution.
How do I prevent the edges of an iron-on patch from curling up after multiple washes?
To prevent iron-on patch edges from curling after multiple washes, apply a thin layer of fabric glue under the edges and press firmly. This reinforces adhesion, ensuring the patch stays flat and secure through wash cycles.
Is there a way to safely remove an iron-on patch without damaging the fabric underneath?
Imagine you’ve just discovered a vintage jacket at a thrift store, perfect except for an outdated patch. To safely remove it without harming the fabric, apply a fabric-safe adhesive remover.
Dab it onto the patch’s edges, let it sit, then gently peel away the patch. This method preserves the garment’s integrity while allowing for a fresh update.
Can I apply an iron-on patch to a stretchy fabric like spandex or will it not adhere properly?
Applying an iron-on patch to stretchy fabrics like spandex can be challenging due to the fabric’s elasticity.
Sewing the patch, using fabric glue designed for stretchy materials, or opting for Velcro for easy removal and flexibility are better options. Iron-on patches may not adhere well and could restrict the fabric’s stretch, leading to discomfort or damage.
How do I ensure that an iron-on patch will stay on a heavily used item like a backpack or shoes?
To ensure an iron-on patch stays on a heavily used item, reinforce it with stitching around the edges after applying it with heat.
Conclusion
Gone are the days when the absence of an iron meant your patches would sit unused. With the innovative methods we’ve explored, from the simplicity of adhesive sprays to the ingenuity of using a hair straightener, you’re now equipped to express your unique style and personality on any fabric.
Whether it’s supporting a cause, showcasing your interests, or simply adding a touch of flair, these techniques ensure your patches stay put, beautifully transforming your wardrobe.

