This site is supported by our readers. We may earn a commission, at no cost to you, if you purchase through links.
 You’ll need the right tools to sew jersey fabric successfully.
Use a ballpoint or stretch needle to prevent skipped stitches, and a walking foot or dual feed foot to keep the knit from shifting.
Fusible or water-soluble stabilizers add stability while you’re sewing.
When cutting, lay the jersey flat without stretching it.
Use pattern weights and cut with a rotary cutter or sharp shears.
To sew, try a stretch stitch or coverstitch for professional seams.
Adjust tension and presser foot pressure to avoid puckering.
With some practice, you’ll master techniques like binding necklines or twin-needle hems that showcase jersey’s comfortable stretch.
Table Of Contents
Key Takeaways
- Isn’t nothing to it but to do it! With the right tools and a bit of finesse, sewing jersey fabric is a breeze. Just imagine yourself lounging in that cozy, curve-hugging top or dress you whipped up yourself.
- Jersey sewing is like a dance – you’ve got to be flexible and keep that fabric flowing smoothly under the needle. Adjust the tension, use a walking foot, and let that knit stretch and recover to its heart’s content.
- It’s all about the details, baby! Perfectly finished seams, crisp hems, and necklines that won’t bag out are the hallmarks of a pro jersey sewist. Twin needles, coverstitching, clear elastic – these are your new best friends.
- Practice makes perfect, but a little preparation goes a long way. Cutting with a rotary cutter, fusing stabilizers, pattern placement – these tricks of the trade transform slinky jersey from foe to friend on your sewing table.
How to Sew Jersey Fabric?
To sew jersey fabric, use a ballpoint or stretch needle and adjust your sewing machine for stretchy fabrics. Stabilize the fabric with spray starch or fusible knit interfacing to prevent stretching while sewing.
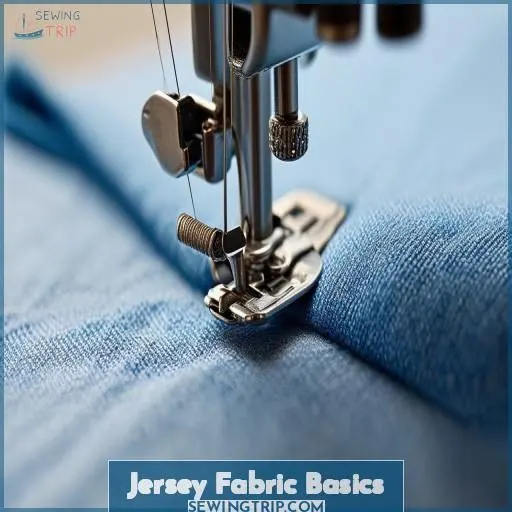
Jersey Fabric Basics
Jersey fabric is a stretchy knit known for its soft, comfortable drape.
You’ll find it in everything from t-shirts to dresses.
The key to successful jersey sewing is understanding the fabric’s weight, fiber content, and recovery.
Lighter jerseys like cotton or viscose are perfect for casual tops, while heavier ponte or scuba knits work well for structured pieces like skirts or jackets.
Good recovery means the fabric springs back into shape after stretching, reducing bagging over time.
Opacity is another factor – sheer jerseys require underlining.
With the right tools and techniques, you can master sewing stretchy jersey like a pro!
Sewing Tools for Jersey
When sewing with stretch jersey fabrics, you’ll want to use the right tools to guarantee your projects turn out beautifully. Invest in a good ball point or stretch needle to prevent skipped stitches and snagging, and consider using a walking foot or dual feed foot to keep jersey layers from shifting as you sew.
Needles
Sewing jersey requires special needles – you’ll want ballpoint or stretch needles to prevent skipped stitches and snagging. Here’s what to look for:
- Ballpoint needles have a rounded tip to slip between the fibers without piercing.
- Stretch needles are designed for knits with a special eye and deeper groove.
- Twin needles create parallel rows of stitching for a professional stretch stitch.
Get the right needle size for your fabric weight, and watch your jersey sewing soar!
Presser Feet
You’ll also need specialty presser feet for sewing jersey. A walking foot moves layers evenly to prevent stretching. An overlocker foot works with your overlocker. A twin needle creates parallel rows, great for hems. You can also adjust your presser foot pressure; lower it for knits to prevent tunneling. Try a narrow zigzag or overcast stitch too.
Stabilizers
Stabilizers help prevent jersey from stretching or getting caught in the machine. Consider these options:
- Fusible stabilizers: Iron-on backing that adds stability
- Water-soluble stabilizers: Wash away after sewing
- Tear-away stabilizers: Rip excess off when done
- Cut-away stabilizers: Trim close to stitching lines
Using the right stabilizer keeps your jersey fabric under control while sewing.
Machine Settings for Jersey
When sewing jersey fabric, selecting the correct stitch type is essential for achieving ideal stretch and recovery. You’ll need to adjust the tension and presser foot pressure on your sewing machine to accommodate the knit’s stretchiness and prevent puckering or distortion.
Stitch Types
Now that you’ve got the right tools, it’s time to tackle stitch types. For stretchy jersey, avoid straight stitches and opt for these instead:
| Stretch Stitch | Zig-Zag Stitch | Lightning Stitch | Triple Stretch |
|---|---|---|---|
| Reinforced stretch | Slight give | Reinforced lightning bolt shape | Extra reinforcement |
These specialized stitches allow the fabric to stretch without popping seams. A ballpoint or stretch needle is a must too.
Tension Adjustment
For a perfect seam on jersey, you’ll need to adjust the tension. Decrease tension slightly to prevent tunneling or popping stitches as the needle stretches the knit. The right needle choice and stitch tension create that coveted flattering drape in seam finishes when sewing jersey fabric. A little tension adjustment goes a long way!
Presser Foot Pressure
You’ll also want to adjust the presser foot pressure when sewing jersey fabric. Here are some tips:
- Reduce the foot pressure as much as possible
- Test the pressure on a scrap piece first
- Lower the pressure in small increments
- Stop when the fabric no longer stretches excessively
A lighter presser foot pressure prevents the fabric from being overstretched and distorted as it passes under the foot. With some experimentation, you’ll find the perfect pressure for achieving Professional-looking jersey garments.
Cutting and Preparing Jersey
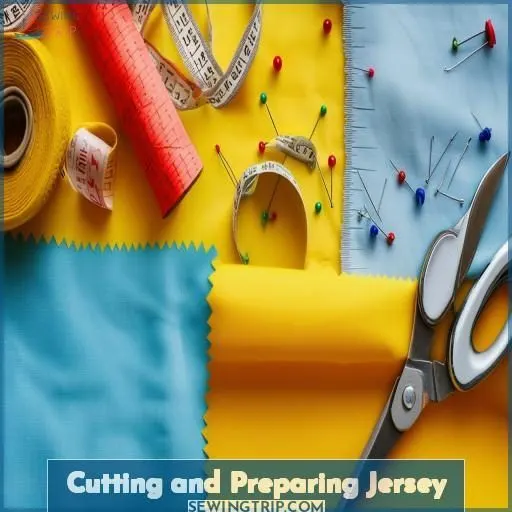
When cutting jersey fabric, you’ll want to lay it flat on your work surface without stretching or pulling it. Stabilizing the fabric with pattern weights or temporary spray adhesive can help prevent distortion while cutting out your pattern pieces.
Fabric Layout
To layout jersey fabric for cutting, you’ll want to strategically place it on your work surface. Make certain the fabric lays flat without stretching by anchoring corners with pattern weights. Orient the fabric grainline parallel to your cutting mat’s grid, carefully positioning pattern pieces within the fabric’s greatest stretch percentage.
| Fabric | Grainline | Greatest Stretch |
|---|---|---|
| Cotton | Crosswise | Lengthwise |
| Viscose | Lengthwise | Crosswise |
| Interlock | Crosswise | Lengthwise |
| Polyester | Lengthwise | Crosswise |
This layout optimizes fabric stretch while cutting, preventing distortion.
Cutting Techniques
When cutting jersey, strategically position your pattern pieces to minimize fabric stretch. Use sharp shears and cut fabric in one smooth motion. For tricky areas, opt for overlock stitching. With stretch fabrics, judicious use of lightweight interfacing or bias tape along curves helps maintain shape while bias-cut strips maximize drape. Proper pattern placement preserves designs on printed jersey.
Stabilizing Fabric
After cutting your jersey fabric, you’ll need to stabilize it. Consider these options:
- Fusing lightweight interfacing to add stability
- Using tearaway backing to prevent stretching
- Adding clear elastic tape to necklines or armholes
- Experimenting with different stabilizers for the best results
- Choosing an appropriate backing fabric like cotton muslin
With proper stabilization, sewing jersey becomes a breeze, allowing your creativity to flow freely like a breezy poncho.
Sewing Techniques for Jersey
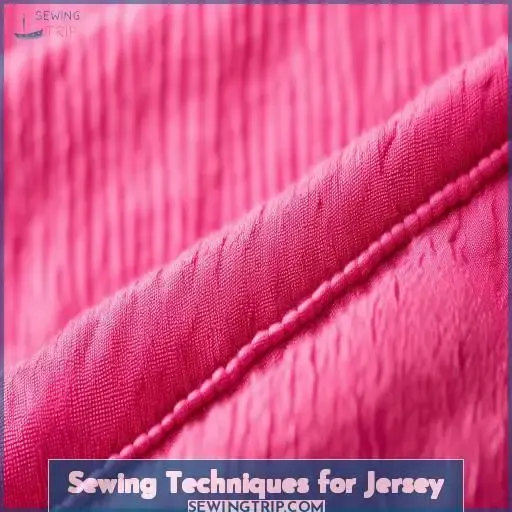
You’ll want to pay close attention to your seam finishes, hemming methods, and neckline finishes when sewing with jersey fabric. Getting these details right will help you create professional-looking jersey garments that stretch comfortably and hold their shape over time.
Seam Finishes
For professional-looking seams on jersey, you’ve got options. Use a coverstitch machine for that signature seam finish. Not a fan? Try overcasting – it creates a wavy, stretchy effect perfect for jersey’s drapey vibes. Feeling adventurous? Experiment with binding for necklines – it adds structure while keeping that cozy stretch.
| Coverstitch | Overcast | Binding |
|---|---|---|
| Pro seams | Wavy look | Necklines |
| Stretch | Jersey | Structure |
| Clean finish | No stab | Edging |
Hemming Methods
For clean professional hems, use twin needles. They create two rows of parallel stitching, adding stability to the stretchy jersey. Here’s how:
- Apply a tearaway backing on the hem’s underside
- Set up twin needle on your machine
- Stitch using a three-step zigzag or overcast stitch
Properly finished hems allow jersey garments to stretch comfortably without fraying or distorting the fabric’s beautiful drape.
Neckline Finishes
Finish neck seams with clear elastic tape to prevent stretching. Apply it to the wrong side along the neckline, then stitch. For extra stability around shoulder seams, necklines, or armholes, use a thin cotton fabric as a stabilizer. Cut it slightly larger than the area and carefully stitch overtop the stabilizing fabric. Avoid over-stretching when sewing.
Frequently Asked Questions (FAQs)
Is jersey fabric difficult to sew?
Sewing jersey fabric is like traversing a meandering stream – it demands patience and finesse. With the right tools and techniques, you can control its elastic nature and create stylish, comfortable garments.
Can you sew jersey on a regular sewing machine?
Yes, you can sew jersey on a regular sewing machine. Just use a ballpoint needle, adjust the tension, use a stretch stitch like a zigzag, and take it slow to avoid stretching the fabric too much. With the right settings and techniques, your jersey projects will turn out great!
What stitch is best for jersey?
The best stitch for sewing stretchy jersey fabric is a narrow zigzag or lightning bolt stretch stitch. This allows the stitching to stretch along with the knit fabric, preventing puckering or popped seams.
Do I need a special needle to sew jersey?
As it turns out, you’ll need a special needle to sew jersey fabric. Ballpoint needles are designed to glide smoothly between the knit loops without snagging or skipping stitches. With the right needle, sewing stretchy jersey becomes a breeze.
How do you prevent jersey from rolling at the hem?
To prevent jersey from rolling at the hem, try using a twin needle. The slightly wider zig-zag stitch helps the fabric lay flat. Alternatively, you can use a strip of lightweight knit fusible interfacing along the hem’s raw edge before hemming.
What stitch length is best for stretchy jersey fabric?
A shorter stitch length, around 2-5mm, is your knit fabric’s best friend. This prevents seams from popping and keeps your stretchy jersey in line while providing just the right amount of give.
Can you use a serger to sew jersey knits?
You can absolutely use a serger to sew jersey knits! Sergers neatly encase the raw edges, making them perfect for stretchy fabrics like jersey.
How do you stabilize shoulders on jersey garments?
Avoid stretching and twisting by carefully stabilizing jersey shoulders with clear elastic tape or iron-on seam tape – these supportive solutions guarantee a smooth finish on your knitted garment’s trickiest areas.
Is it better to sew jersey with cotton or polyester thread?
For jersey knits, opt for polyester thread. It has more stretch and elasticity, reducing puckering and tension when sewing with stretchy fabric.
Conclusion
Ultimately, sewing jersey fabric successfully depends on your dedication to mastering the techniques.
Don’t be discouraged if your first attempts look amateurish – with practice, you’ll stretch your skills.
Remember to use suitable tools like ballpoint needles and stretch stitches, stabilize the fabric properly, and adjust machine settings for knits.
Follow the expert guidance for how to sew jersey fabric, and soon you’ll create professional-looking projects that showcase this comfortable material’s flattering stretch.


