This site is supported by our readers. We may earn a commission, at no cost to you, if you purchase through links.
Start by cutting your fabric in single layers, paying close attention to the nap direction for a consistent look.
Stabilize the velvet with sew-in interfacing and steam it without ironing directly.
Use sharp needles (70/10 or 80/12) and fine polyester thread, adjusting your machine’s tension and stitch length.
Employ a walking foot to prevent creeping and finish seams with serging or a zigzag stitch.
For hems, opt for a blind stitch or single-fold hem.
Discover more specialized tips ahead!
Table Of Contents
Key Takeaways
- Velvet may seem daunting to sew, but don’t let it scare your pants off! With the right tools and techniques, you’ll be sewing velvet like a pro in no time.
- Remember to always cut and sew in the direction of the nap to avoid disturbing the fabric’s luxurious texture. It’s like petting a cat – you always go with the grain!
- Use a walking foot to keep the fabric from shifting and slipping. It’s like having a built-in velvet whisperer on your sewing machine!
- Finish your seams with serging or a zigzag stitch to prevent fraying. It’s like giving your velvet a little hug to keep it all together.
How to Sew Velvet?
To sew velvet, always cut fabric in a single layer with attention to the nap direction, and use a stabilizing interfacing. For sewing, choose the correct needle and thread, manage tension, and use a presser foot to prevent fabric from shifting .
Velvet Properties
Velvet embodies opulence and extravagance. This fabric, often crafted from materials such as silk, rayon, or synthetics, boasts an exceptionally soft texture and refined aesthetic.
The weight of velvet varies, affecting its drape and flow, lending garments a sumptuous and elegant feel. The fabric’s pile height, the dense, raised fibers, contributes to its gentle, tactile nature.
The direction of the pile, known as the nap, influences the fabric’s color saturation, imparting its characteristic depth and shimmer. Despite its demanding nature, velvet’s allure warrants the effort.
Careful seam finishes, attention to the nap, and meticulous pressing are essential for achieving an impeccable result. Mastering velvet empowers your creations to command attention and admiration (Source).
Cutting Velvet
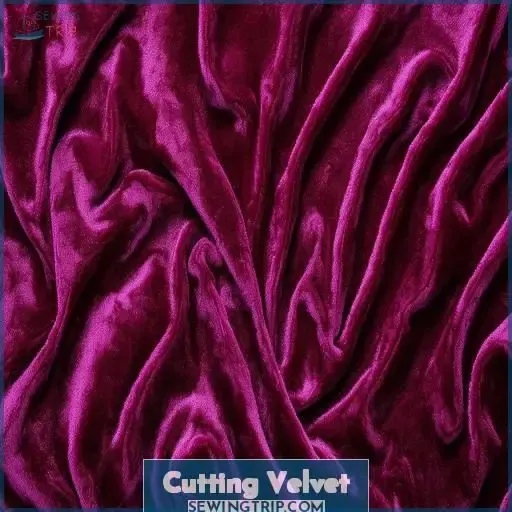
Cutting velvet correctly is essential for a professional finish, so always pay attention to the nap direction and cut single layers for precision. Mark your pattern pieces carefully using a disappearing fabric ink pen, ensuring all cuts are consistent .
Nap Direction
When cutting velvet, always align the pattern pieces in the same direction to maintain nap consistency. This guarantees uniform color saturation and wearability. For warp-pile and filling-pile fabrics, follow the directional nap to achieve the desired look .
Single Layer Cutting
To achieve precise single layer cutting of velvet, follow these steps:
- Cut velvet in a single layer using a sharp rotary cutter to maintain the cut-pile weave.
- Make sure all pieces are cut in the same direction.
- Test a small piece beforehand.
Pattern Marking
When cutting velvet, it’s essential to maintain consistent nap and precise pattern placement. Use erasable ink or tailor’s tacks for transferring markings, and prevent fabric movement by hand sewing. Always cut in a single layer and account for seam allowances .
Stabilizing Velvet
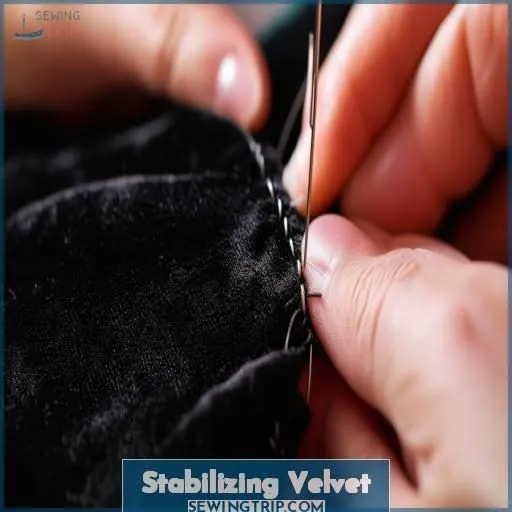
To stabilize velvet effectively during sewing, always use sew-in interfacing and avoid iron-on types, which can damage the fabric. Additionally, opt for steaming to gently press and prepare the fabric without crushing its delicate pile.
Interfacing
Interfacing velvet is essential for a polished finish. Here’s how:
- Interfacing Types: Use sew-in interfacing, like silk organza.
- Interfacing Weight: Choose light to medium weight.
- Interfacing Placement: Secure it under the velvet using hand basting.
- Interfacing Removal: Gently pull out basting threads after sewing, pressing, and hemming the velvet .
Steaming
When steaming velvet, focus solely on the front to preserve its luxurious texture. Use a velvet board or wrap your ironing board in upholstery velvet for support. Don’t let the iron touch the fabric directly—steam hovers instead. If necessary, press seams open gently using a covered board. This guarantees your velvet maintains its nap and beauty.
Sewing Velvet
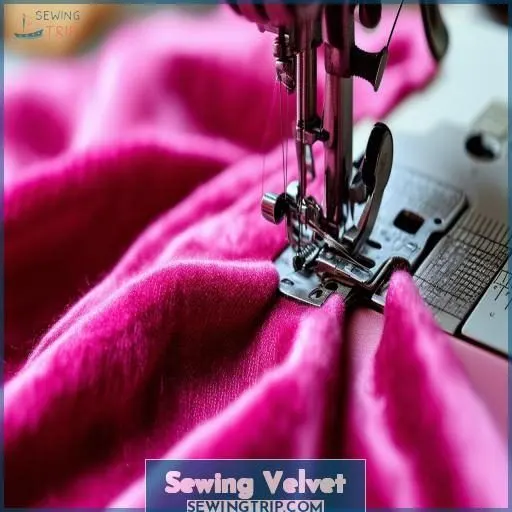
When sewing velvet, use universal or sharp needles in sizes 70/10 or 80/12, and opt for fine polyester thread for smooth seams. Adjust your machine’s settings by testing tension and stitch length on fabric scraps, using a walking foot or Teflon foot to prevent fabric marks.
Needles
When sewing velvet, use sharp needles sized 70/10 or 80/12. Make sure they fit the thread weight and stitch type to avoid fabric creep and perfect the seams.
- Choose sharp needles.
- Pick sizes 70/10 or 80/12.
- Match thread weight.
- Adjust stitch length.
Thread
When sewing velvet, opt for a fine polyester thread for final seams. This guarantees smooth stitching and less bulk. For hand-stitched details, silk organza offers excellent support .
Tension
Adjust tension settings carefully to prevent fabric bunching. Loosen the tension slightly, especially with delicate velvet, to achieve even seams. Test on scraps to confirm settings before starting .
Presser Foot
After adjusting the tension, focus on the presser foot. Use a walking foot, roller foot, or Teflon foot to prevent scarring. Lower foot pressure and adjust the differential feed for stretch.
Seam Finishes
When finishing seams in velvet, use serging or a zigzag stitch to secure the raw edges and prevent fraying . These methods add a clean, professional touch to your garment, reducing bulk while maintaining the fabric’s integrity .
Serging
When serging velvet, use serging techniques with a stretch needle and fine polyester thread to avoid bulk . Adjust the tension settings and presser foot pressure to prevent fabric damage . Here’s a quick guide:
| Task | Tool | Setting |
|---|---|---|
| Needle | Stretch needle | – |
| Thread | Fine polyester | – |
| Tension | Adjusted tension | Medium |
| Presser Foot | Walking foot | Low pressure |
| Stitch Test | Fabric scraps | Essential |
Zigzag Stitch
Now, let’s finish those seams with a zigzag stitch. This technique, also known as overcasting, helps in seam sealing and preventing fraying of your velvet fabric. Adjust your machine settings to create a decorative edge that’s not too tight. For added flair, consider a rolled hem to give your garment a polished and professional finish .
Hemming Velvet
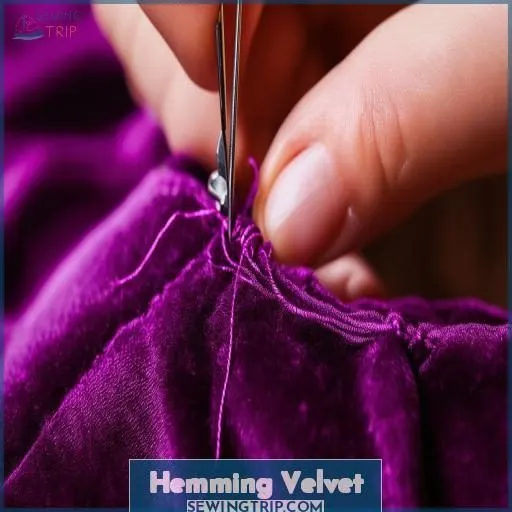
When hemming velvet, use a single-fold technique and hand sew with a blind stitch to achieve a clean and professional finish. This method guarantees the hem doesn’t add bulk or disrupt the luxurious drape of the fabric.
Blind Stitch
For a professional, concealed finish, you’ll blind stitch your velvet hem by hand, avoiding bulk. This method guarantees a seamless, polished appearance.
- Use a sharp hand sewing needle and fine thread to match the fabric.
- Conceal stitches within the hem for invisibility.
- Test on a scrap to perfect your technique.
Single Fold
To achieve a clean finish with velvet, create a single-fold hem. Hand baste the hem to avoid shifting. Then, blind stitch the hem for a lightweight and elegant seam. This technique keeps the velvet smooth and luxurious, preventing bulk and visible stitches. Utilize the table below for more detail:
| Step | Tools Needed | Technique |
|---|---|---|
| Measure Hem | Measuring Tape | Accurate |
| Hand Baste | Needle & Thread | Precision |
| Fold Hem | Fabric | Neatly |
| Blind Stitch | Sewing Needle | Finishing |
Pressing Velvet
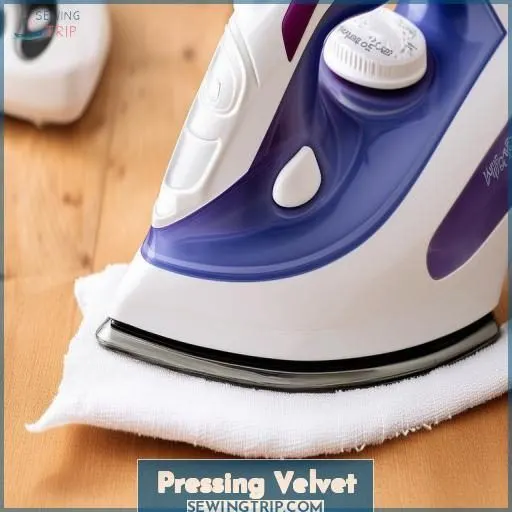
To avoid damaging velvet’s delicate pile, use a velvet board while steam pressing to prevent crushing. Always steam from the fabric’s front side and never let the iron touch directly (Source).
Velvet Board
Use a velvet board to press your velvet fabric without damaging the pile. The needles on the board, about 1/4" high, safely lift and protect the fabric’s soft texture. Place the velvet right side down on the board while pressing, ensuring to keep an even pressure. This prevents velvet from crushing and maintains its luxurious look .
Steam Pressing
When steam pressing velvet, make certain you use an upward steam direction to avoid crushing the fabric. Set the steam temperature to medium. Hover the iron with a suitable steam attachment without touching for 10-15 seconds. Utilize a velvet board to support the pile and prevent flattening while pressing, ensuring an even finish .
Preventing Creeping
To prevent velvet from creeping while you sew, hand basting is essential for keeping fabric layers in place, ensuring smooth seams. Additionally, using wonder tape along seam allowances offers a reliable guide, preventing any slipping and ensuring precision.
Hand Basting
Hand basting is a critical technique for preventing velvet creeping. By using precise hand sewing methods, you can keep your fabric stable. Here’s how:
- Choose strong thread for your basting.
- Adjust thread tension carefully.
- Use a sharp needle, ideally size 70/10.
- Opt for silk organza as your sew-in interfacing.
- Baste along seam lines to guide machine sewing .
Wonder Tape
Wonder tape is a lifesaver for preventing velvet from creeping during sewing. Apply it along seam allowances to keep layers in place, reducing bulk and maintaining the nap’s consistent look. Pin vertically through the tape, then stitch as usual. This method guarantees clean, precise seam finishes, making your velvet project look professional and polished.
Caring for Velvet
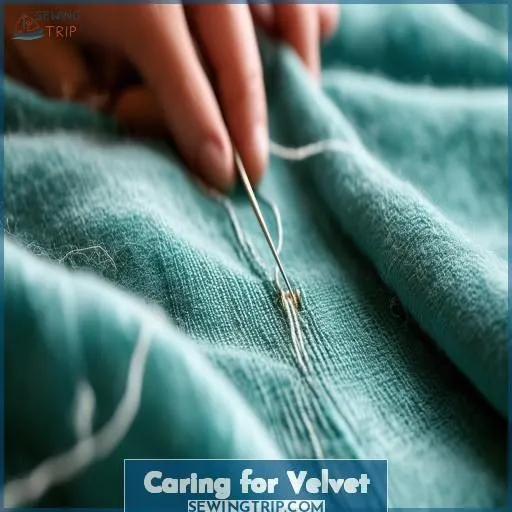
Caring for velvet is essential to maintain its luxurious texture and longevity. Here’s how you can take care of your velvet:
- Velvet cleaning: Always follow the care label, opting for professional cleaning when necessary. For small stains, gently dab with a damp cloth, avoiding scrubbing.
- Velvet storage: Keep your velvet garments on padded hangers to preserve their shape or store them rolled rather than folded to prevent creasing.
- Velvet repair: Address minor damages promptly by using fabric glue for small tears or patches for larger areas. Professional repair might be needed for significant damage.
- Velvet recycling: Reuse scraps creatively for embellishments or donate to fabric recycling programs, giving your velvet a second life while being eco-friendly.
Frequently Asked Questions (FAQs)
Is velvet difficult to sew?
Sewing velvet can be challenging due to its slippery nature and tendency to shift. Proper preparation, using the right tools, and taking your time will help you achieve beautiful results without too much frustration .
Do you need a special needle to sew velvet?
Sewing velvet is like handling fine art; you should use a sharp machine needle, size 70/10 or 80/12, to achieve precise results. This guarantees a smooth stitch without harming the delicate fabric .
What tension should I use to sew velvet?
Set your sewing machine tension between 3 to 4 for most velvet projects. Test on scraps first; adjust tension as needed to prevent puckering or loose stitches .
Which way do you sew velvet?
When sewing velvet, always stitch in the direction of the nap to avoid disrupting its texture. Using a walking foot, lower presser foot pressure, and hold fabric taut for smooth, even seams .
How can I repair damaged velvet fabric?
To repair damaged velvet, hand baste seams to prevent creeping, sew with universal needles and fine polyester thread, and press with steam instead of direct contact. Use tissue paper or tailor’s tacks for accurate markings .
What are potential uses for leftover velvet scraps?
Transform leftover velvet scraps into luxurious lavender sachets, elegant fabric bookmarks, or opulent jewelry pouches. Each project embraces velvet’s rich texture, making every creation a small, sophisticated pleasure (Source).
Can I dye velvet fabric at home?
Yes, you can dye velvet fabric at home. Choose the correct dye for the fiber content, pre-wash the fabric, and follow the dye manufacturer’s instructions carefully to achieve even color and maintain velvet’s luxurious texture .
How does velvet handle environmental humidity?
Velvet can be highly sensitive to humidity, which can alter its texture and appearance. Studies show that relative humidity levels above 60% may cause velvet to absorb moisture, resulting in potential stretching and color fading .
Are there specific quilting techniques for velvet?
For quilting velvet, stabilize layers by hand basting or using temporary adhesive spray. Use a walking foot to manage the fabric’s nap and prevent shifting. Make sure consistent stitch length for neat, professional results .
Conclusion
Think of sewing velvet as capturing a fleeting moment of luxury.
You’ve learned essential techniques to cut, stabilize, and sew this sumptuous fabric, ensuring consistent nap direction and smooth finishes.
With the right needles, thread, and tension, combined with a walking foot, you can master this material.
Finishing seams with serging or a zigzag stitch, hemming neatly, and using steam for pressing will make your velvet projects impeccable.
Embrace these tips, and you’ll truly understand how to sew velvet expertly.

