This site is supported by our readers. We may earn a commission, at no cost to you, if you purchase through links.
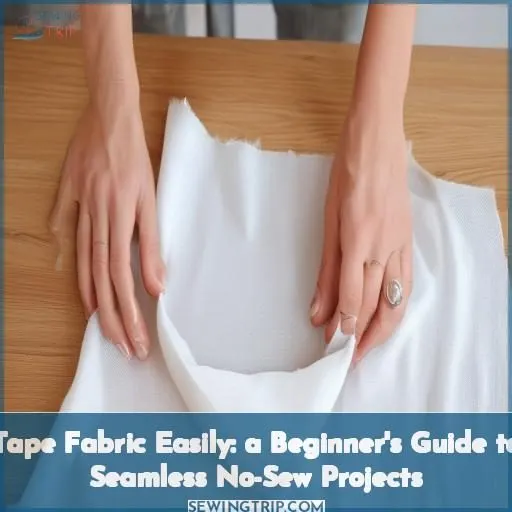
First, select the right fabric tape – permanent for lasting bonds or temporary for repositioning.
Press fabric scraps with an iron to remove wrinkles, then cut into desired shapes and sizes.
Unroll a short section of tape sticky-side up, place your fabric pieces, and run your finger along to adhere. Press firmly to activate the adhesive and smooth out any bubbles.
Now you’ve got seamless, no-sew decorative accents!
But why stop there? Keep reading to discover the full potential of fabric tape for hemming, repairs, and crafty projects.
Table Of Contents
Key Takeaways
- The key to taping fabric like a pro? Choosing the right tape for your needs – permanent for a lasting bond or temporary for that commitment-phobe lifestyle.
- Wrangle those wrinkles before you tackle taping. A good press with an iron is like giving your fabric a fresh start, so those seams and edges look crisp enough to cut glass.
- When applying that magical tape, take it slow and channel your inner zen master. Press firmly, smooth those bubbles, and your fabric pieces will adhere like they were made for each other.
- Don’t just think hemming and repairs – fabric tape opens up a whole new world of crafty possibilities! Let your creativity run wild with decorative accents, embellishments, and all sorts of fabric-y fun.
How to Tape Fabric?
To tape fabric, select a double-sided fusible fabric tape designed for no-sew projects, and carefully apply it to the right side of the fabric, pressing firmly for adhesion. Follow the manufacturer’s instructions for a seamless, temporary or permanent bond when taping fabric for decorative accents, hems, repairs or no-sew craft projects.
Selecting Fabric Tape
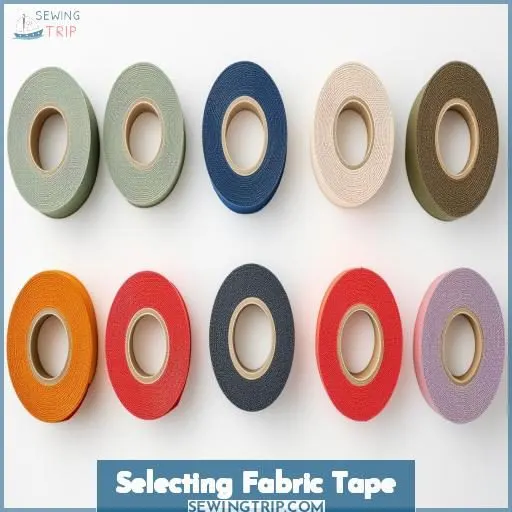
When selecting fabric tape, you’ll want to evaluate the different types available, such as permanent or temporary bonds, as well as their advantages over traditional fabric glue. Permanent tapes create a flexible yet durable bond ideal for hemming and repairs, while temporary tapes allow for easy removal and repositioning, great for temporary projects.
Types of Fabric Tape
When selecting fabric tape, you’ll encounter two main types: double-sided carpet tape and instant fabric tape. Double-sided carpet tape requires fabric scraps, while instant fabric tape bonds directly to fabric. Both offer permanent bonds, but instant tape eliminates the need for fabric cutting and preparation. Consider your project needs when choosing the ideal tape type.
Advantages Over Glue
Unlike fabric glue, no-sew tape offers instant adhesion without the mess. You’ll love how easy it’s to use – simply peel off the backing and press the tape into place for a flexible, permanent bond. No cumbersome application or heat-setting required! The versatile tape joins various fabric types for hemming, repairs, and decorative accents on garments or home decor projects.
Permanent Vs Temporary Bonds
You’ll want to evaluate the adhesive durability and bond strength for your project needs. Permanent fabric tapes offer robust, lasting bonds ideal for no-sew garment repairs, hemming, and sturdy DIY projects. Temporary tapes provide a removable hold, perfect for quick fabric tape gifts or temporary fabric-based decor. Compare strength ratings to match the right tape to your desired application.
Preparing the Fabric
Start by pressing your fabric scraps with a hot iron to remove any wrinkles. Next, sort the scraps by width and length, grouping similar sizes together – this will make it easier to apply the tape evenly.
Removing Wrinkles
Press your fabric scraps with a hot iron to smooth out any wrinkles or creases.
This vital step guarantees your no-sew projects look crisp and professional.
For stubborn wrinkles, lightly mist the fabric with water before ironing.
You can even toss scraps in the dryer with a damp cloth to release tougher creases.
Prepping the fabric properly sets the stage for seamless taping.
Cutting Fabric Scraps
Once your fabric is wrinkle-free, it’s time to cut those scraps! Follow these steps:
- Select fabrics of varying colors, patterns, and textures
- Cut scraps in assorted widths and lengths (2-6 inches is ideal)
- Use sharp scissors or a rotary cutter for clean edges
With a variety of fabric scrap sizes on hand, you’ll be ready to customize your no-sew projects to perfection!
Organizing by Size
With your fabric scraps neatly pressed, it’s time to organize them. Gather your fabric leftovers and sort by size – separate wider pieces from narrower ones. Consider color coordination for a cohesive look or mix it up for variety. Don’t let those repurposing gems go to waste! Bulk purchases also make great candidates for scrap storage solutions.
Applying Fabric Tape
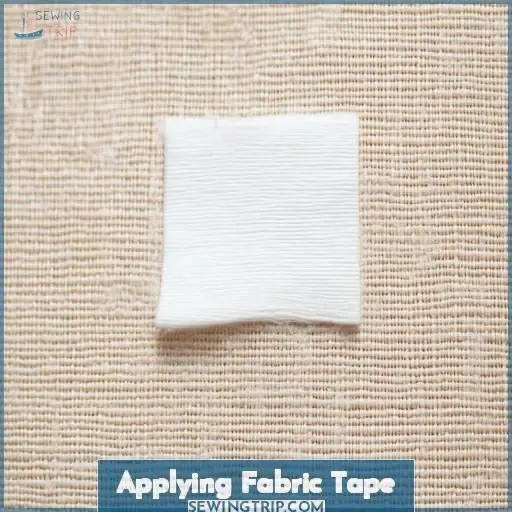
To apply fabric tape, first unroll a small section sticky-side up, then carefully place your fabric scraps on the tape without overlapping. Next, run your finger along the length of each fabric piece, pressing firmly to make sure there’s good adhesion between the tape and fabric.
Unrolling and Placing Tape
With your fabric scraps prepped, unroll a small section of double-sided tape with the sticky side facing up. Follow these steps:
- Place fabric pieces on the tape adhesive, avoiding overlaps.
- Arrange them in your desired pattern or design.
- Make sure no gaps between fabric and tape remain.
- Run your finger along each piece, pressing firmly.
The tape will now grab onto the fabric securely. Careful placement allows endless creative possibilities for your no-sew projects!
Pressing for Adhesion
With the fabric scraps perfectly aligned, it’s time to cement that adhesive bond. Gently press down along each piece, eradicating any air bubbles or wrinkles. Make sure to apply consistent pressure for ideal adhesive strength and durability.
| Step | Action | Benefit |
|---|---|---|
| 1 | Press firmly | Activates adhesive |
| 2 | Smooth out air bubbles | Prevents lifting |
| 3 | Apply even pressure | Ensures strong bond |
Versatility flourishes from this simple step – the foundation for countless creative applications.
Cutting to Desired Shape
Once adhered, grab your sharp scissors or rotary cutter and trim your fabric tape into desired shapes, like:
- Straight edges for clean hems
- Scalloped edges for decorative flair
- Diagonal cuts for mitered corners
- Curved lines for embellished accents
The possibilities are endless – cut with precision to perfectly suit your no-sew project’s needs!
Using Fabric Tape
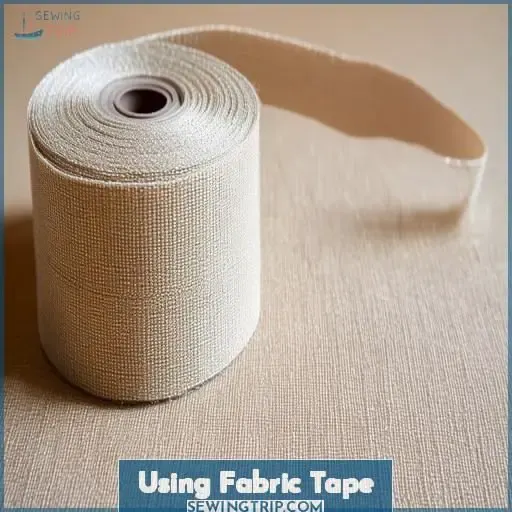
You can use fabric tape to add decorative accents to various projects, such as embellishing tote bags, pillows, or clothing with unique fabric patterns and textures. It’s also a quick solution for hemming garments, repairing torn fabric, or creating no-sew items like curtains or pillows without the need for sewing.
Decorative Accents
With fabric tape, you can add tapestry repairs, fabric embellishments, customizable borders, patterned edging, and decorative binding to any project. Simply cut your desired shape, peel off the backing, and press the sticky tape onto the fabric. Jazz up plain garments, revive worn pieces, or embellish accessories with your creative touch – no sewing required!
Hemming and Repairs
You’ll love fabric tape for quick hems and repairs. It bonds permanently to fabric edges, giving a crisp, finished look without sewing. Use it for temporary fixes or no-sew alterations like hemming pants or skirts. The possibilities expand with decorative embellishments – create unique patterns by layering contrasting fabric tapes.
No-sew Projects
With fabric tape, you can create unique, no-sew projects using leftover fabric scraps. Transform scraps into decorative accents for gifts and packaging, adding personal touches without sewing a stitch. Craft custom stocking stuffers or DIY gift toppers that wow recipients with your creativity. The possibilities are endless when you "tape" into your inner crafter!
Storing and Maintaining Fabric Tape
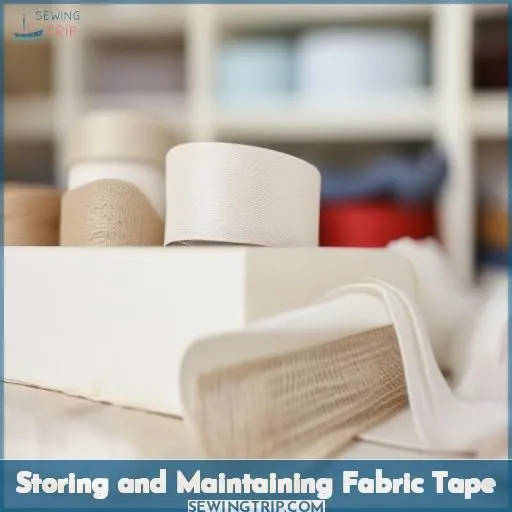
You’ll want to store your fabric tape rolls in a cool, dry place to prevent the adhesive from drying out prematurely. Keeping the tape away from direct sunlight and moisture will help extend its usability, ensuring your no-sew projects last.
Ideal Conditions
After using your fabric tape, you’ll want to store it appropriately. For ideal conditions:
- Keep it in a cool, dry place away from humidity
- Store rolls flat or hanging vertically to prevent creasing
- Separate tape widths and lengths to easily locate what you need
Storing your tape correctly guarantees the adhesive remains tacky and ready for your next no-sew project.
Preventing Adhesive Drying
To prevent the adhesive from drying out, store fabric tape rolls in an airtight container or resealable bag.
Keep them away from moisture, humidity, and direct sunlight—ideal conditions are a cool, dry place.
Before sealing, include a desiccant pack to absorb excess moisture and prolong adhesive longevity.
Environmental factors like temperature and humidity impact the tape’s shelf life, so proper storage maximizes its usability.
Extending Usability
To prolong fabric tape’s usability, store it in an airtight container away from heat and moisture. Proper storage prevents adhesive from drying out prematurely. When handling tape, be mindful of fabric types – some may require stronger adhesive than others. Always dispose of used tape properly for safety. With care, fabric tape can elevate countless no-sew projects.
Frequently Asked Questions (FAQs)
Which tape sticks to fabric?
You’ll be a fabric-taping master with double-sided carpet tape! Cut fabric scraps, stick them on the tape, trim the edges – your custom fabric tape binds materials like magic. Get creative and add a personal touch to gifts, decor, and more.
Is fabric tape or glue better?
You’ll want to go for fabric tape over glue. Tape provides an instant, flexible bond that’s perfect for hemming, repairing tears, or adding decorative details without the mess. It’s a game-changer for quick, no-sew projects!
What tape sticks fabric to skin?
To stick fabric to skin, use double-sided fashion tape or toupee tape. Apply to clean, dry skin, peel off backing, and press fabric firmly. Use sparingly and remove gently.
Can you use fabric tape instead of sewing?
A stitch in time saves nine. Yes, fabric tape is a convenient no-sew alternative. Simply cut the tape, peel off the backing, and press it into place for an instant, flexible bond – perfect for hemming, repairs, or embellishments without breaking out the needle and thread.
How long does fabric tape last?
Fabric tape lasts indefinitely if stored properly. Keep it cool, dark, and dry to prevent the adhesive from drying out. With proper care, your fabric tape will be ready whenever you need a quick, no-sew hemming or appliqué project.
Can fabric tape be used outdoors?
Using fabric tape outdoors? Only fools would risk ruining such a marvelous creation. Inside, where conditions are controlled, is fabric tape’s proper domain for enduring adhesion and elegant finishing touches.
Is fabric tape washable and dryable?
Yes, fabric tape is washable and dryable! It adheres permanently yet remains flexible after washing, so you can toss those taped projects in the laundry without worry.
Are there different adhesive strengths available?
Yes, fabric tape comes in varying adhesive strengths. For delicates, choose a lighter tack. If you’re taping curtains or outdoor fabrics, go for extra-strength hold.
Conclusion
With over 20% of households dabbling in crafting, learning how to tape fabric opens up endless possibilities. From hemming curtains to repairing upholstery, you’ve armed yourself with an invaluable skill. Seamless no-sew projects await – embrace your creativity and let fabric tape become an indispensable ally. Master the art, and effortlessly add fashionable accents that elevate any space.

